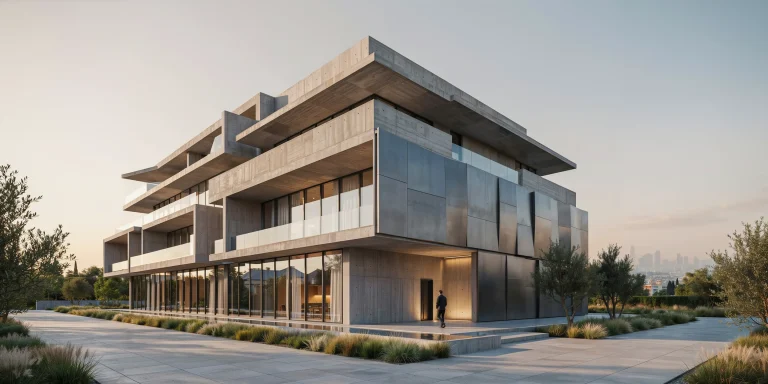
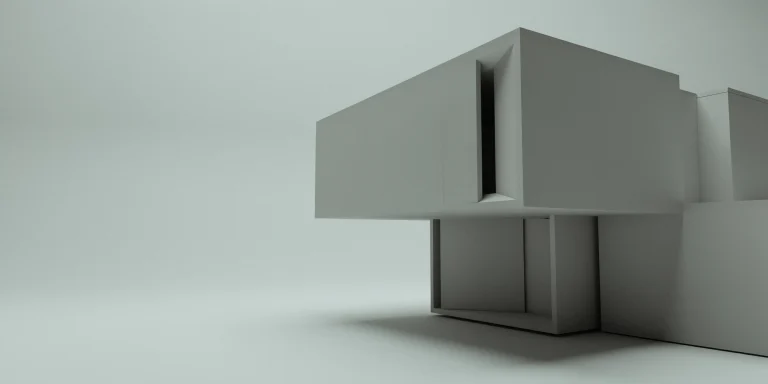
Site plan rendering is the process of turning a flat 2D layout into a clear, illustrative drawing or a depth-rich 3D visual that shows how buildings, roads, landscaping, and outdoor spaces sit together on a parcel. A strong rendered site plan reads in seconds, helps clients picture the finished project, and speeds up permit and stakeholder approvals.
Most architects already produce a CAD site plan for documentation. The gap is presentation. A black-and-white survey drawing answers the engineer’s questions but rarely moves a client or a planning board. This guide covers the full picture of site plan rendering: the difference between 2D and 3D output, the production workflow, the software that does the heavy lifting, and the lighting and entourage choices that separate a flat diagram from a drawing people actually understand.
What is site plan rendering?
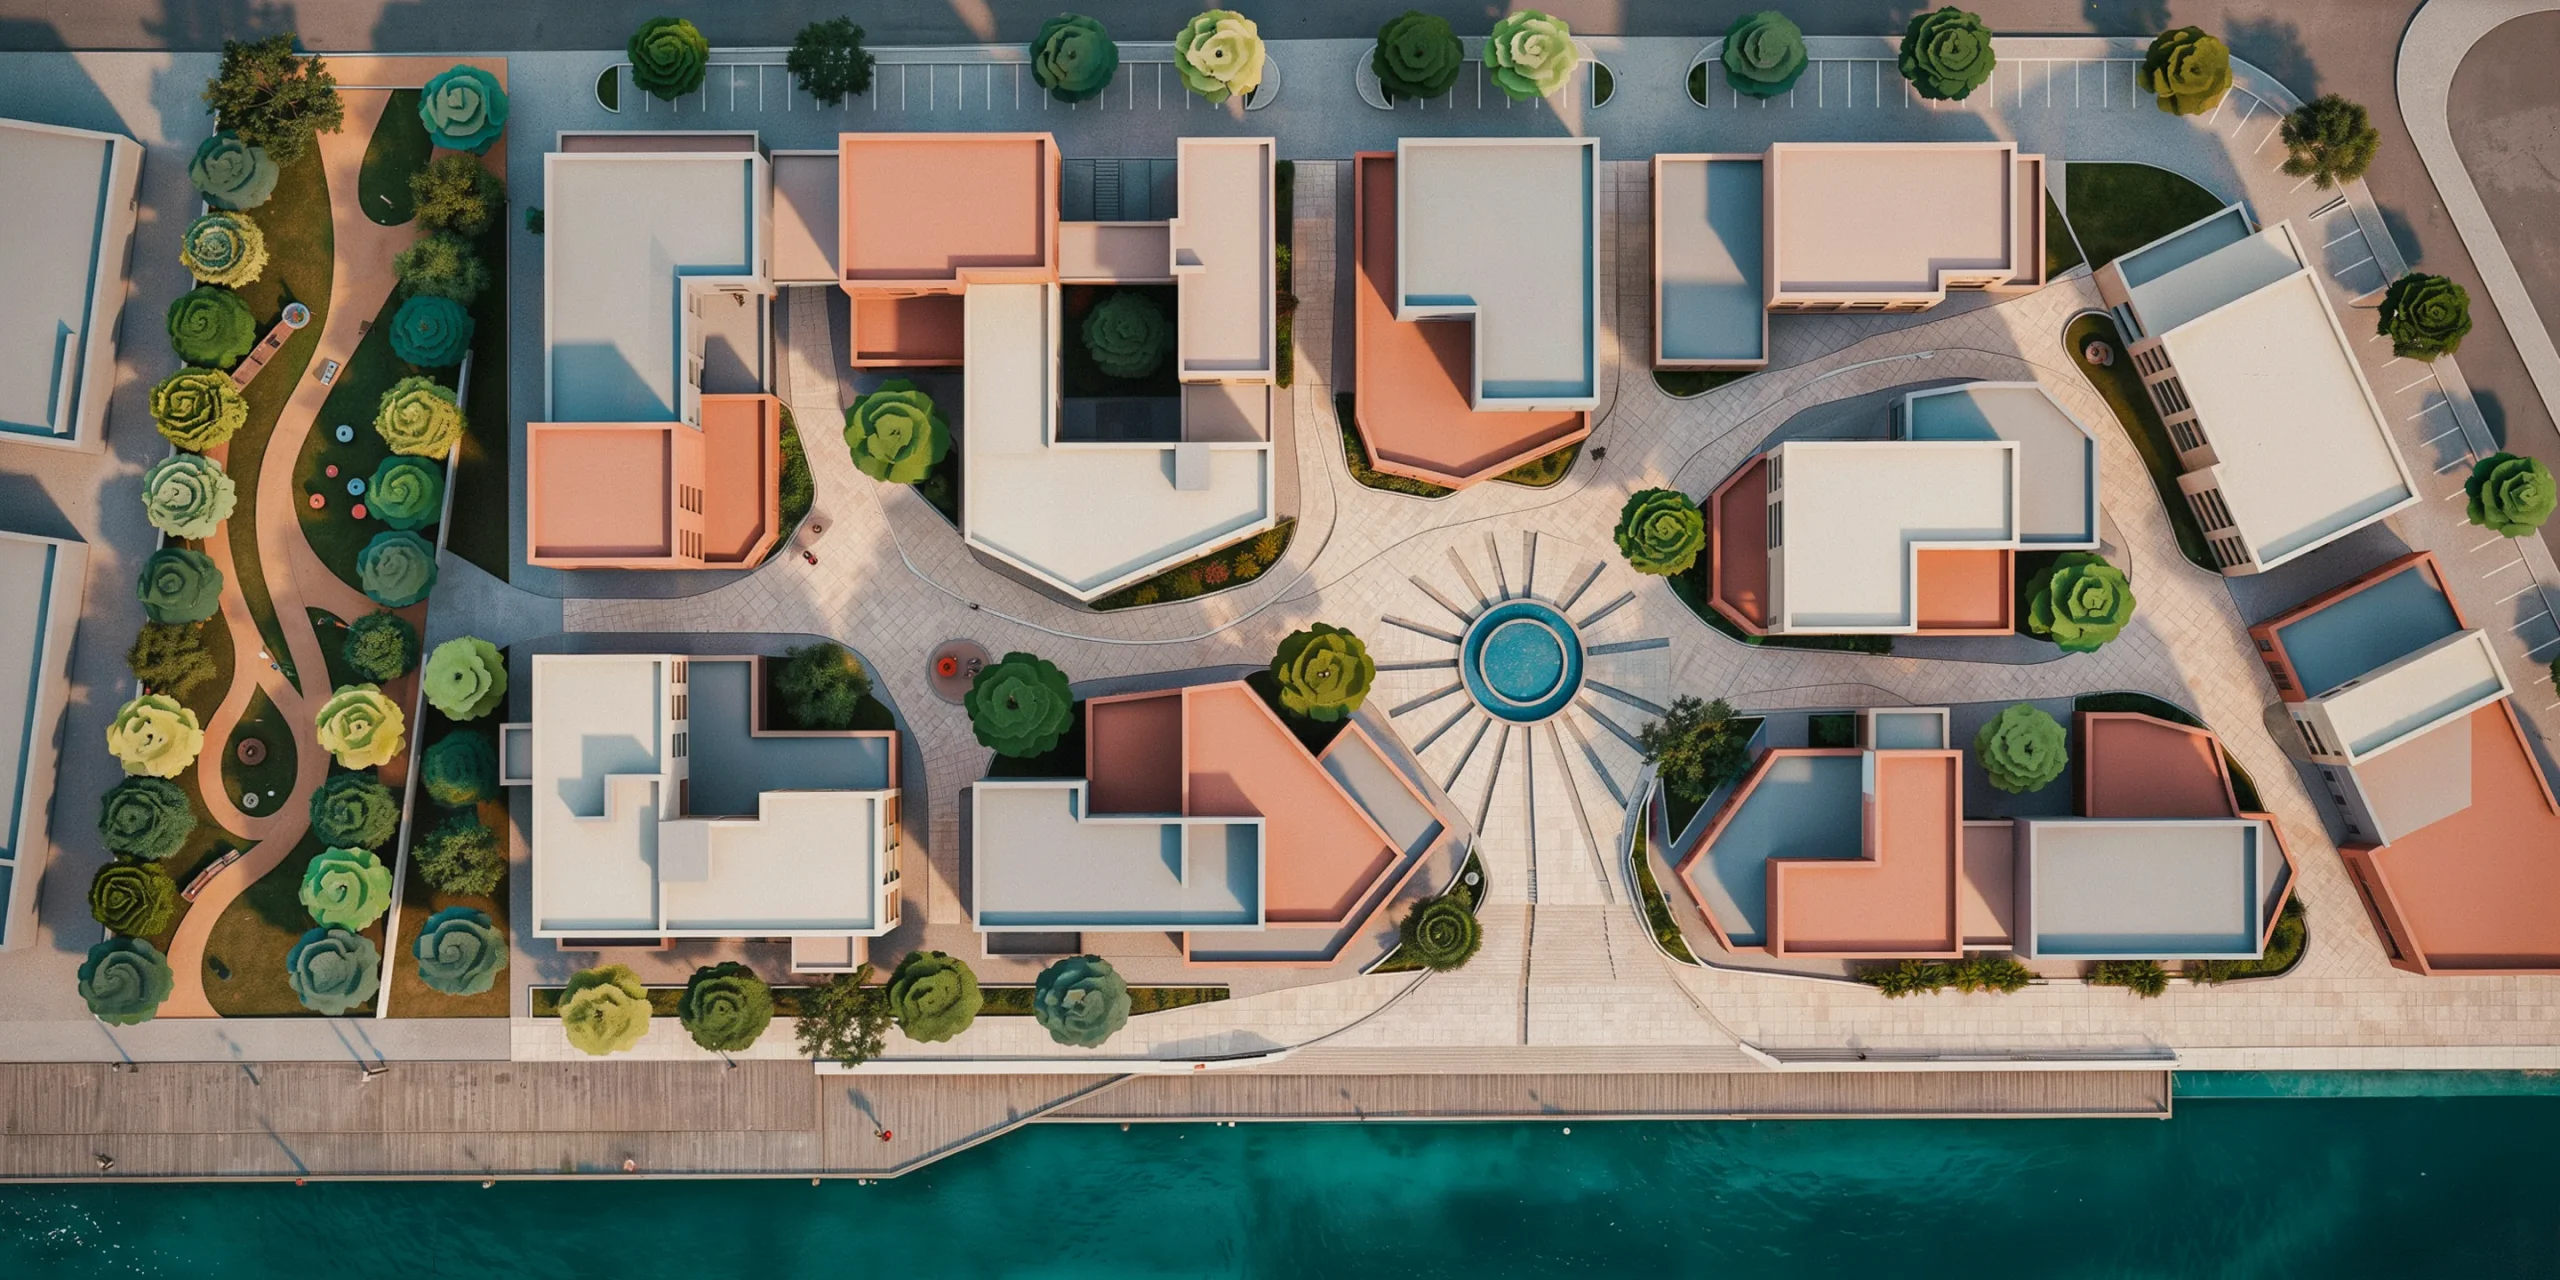
Site plan rendering is the visual treatment applied to a top-down or aerial view of a property so it communicates design intent rather than just dimensions. It takes the same geometry an architect draws in CAD, the building footprint, parking, walkways, planting, and grading, and adds color, material texture, shadow, and context. The result can stay 2D as an illustrated plan, or step into 3D as a perspective or bird’s-eye view.
You can think of it as the bridge between technical drafting and storytelling. The line work stays accurate, but the reader no longer needs to decode hatching and symbols to grasp what is being proposed.
Two outputs share the name. The first is the illustrated 2D plan, where a CAD drawing gains color fills, drop shadows, and entourage so it reads like a finished graphic while keeping exact scale. The second is the 3D site plan, where the same footprint is modeled and lit so building height, roof forms, and the surrounding terrain become visible. Both pull from the identical source geometry, which is why a single accurate base drawing can feed several presentation formats.
📌 Did You Know?
A rendered site plan is often the first image a planning board sees before any building elevation. Because it shows how a project meets the street, neighbors, and existing trees, it frequently carries more weight in early approval meetings than the building design itself.
2D vs 3D site plans: which one do you need?

The choice between a 2D and a 3D site plan comes down to who is reading it and what decision they need to make. A 2D illustrated plan stays true to scale and measurement, which suits zoning submissions, landscape layouts, and any document where accuracy matters more than atmosphere. A 3D site plan adds depth, building height, and realistic materials, which makes it stronger for client presentations, marketing, and selling a vision to non-technical stakeholders.
Many projects use both. The 2D plan handles the technical conversation, and the 3D view handles the emotional one. The table below breaks down where each format earns its place.
2D Illustrated Plan vs 3D Site Plan

| Factor | 2D Illustrated Plan | 3D Site Plan |
|---|---|---|
| Best use | Zoning, landscape layout, technical review | Client pitch, marketing, fundraising |
| Reads building height | No | Yes |
| Scale accuracy | Exact, measurable | Accurate but perspective-distorted |
| Production time | Hours | Days, depending on detail |
| Non-expert clarity | Moderate | High |
How do you create a 3D site plan rendering?
Creating a 3D site plan rendering follows a repeatable pipeline that moves from raw drawings to a finished image. The workflow is consistent whether you render in-house or hire a studio, and knowing each stage helps you supply the right files and avoid rework. Here is the sequence most archviz teams follow.
- Gather inputs. Collect the CAD or BIM site plan, a topographic survey, material schedules, and reference photos of the surrounding context so the model sits on accurate ground.
- Build the base model. Import the 2D layout and extrude buildings, roads, walkways, and grading to the correct heights in software such as SketchUp, Revit, Rhino, or 3ds Max.
- Add materials and entourage. Apply textures for paving, grass, water, and facades, then populate the scene with trees, planting, cars, and people to give scale and life.
- Set the camera and lighting. Choose a top-down orthographic view for a clean plan or an angled bird’s-eye view for depth, then position the sun for readable shadows.
- Render and post-process. Send the scene to an engine like V-Ray or Lumion, then refine contrast, color, and atmosphere in Photoshop for the final deliverable.
💡 Pro Tip
When you want a true plan view in SketchUp, switch the camera to Parallel Projection before saving the scene, not the default Perspective. Perspective subtly tapers the far edges of a site, which makes parcel boundaries look wrong to anyone checking setbacks against your dimensions.
If you work in SketchUp, the camera path is Camera then Standard Views then Top, followed by Camera then Parallel Projection, as Trimble documents in its official guide to creating 2D plans in LayOut. Saving that as a named scene lets you return to the exact plan view at any time.
Which software is best for site plan rendering?
The best software for site plan rendering depends on whether you prioritize speed, photorealism, or tight CAD integration. Most architects pair a modeling tool with a dedicated rendering engine. Lumion and Twinmotion lead on fast landscape and context work, V-Ray leads on photorealistic control, and SketchUp or Revit handle the underlying geometry.
Lumion is built for exactly this kind of work. Its nature library carries more than 1,800 plant and tree assets, and the 2026 release added dozens of photogrammetric nature models, according to Lumion’s landscape architecture page. For a clean orthographic plan, Lumion Pro includes an Orthographic View effect that switches the camera from perspective to parallel projection so you can output precise plans and sections.
For photorealistic stills where you control every light and material, V-Ray from Chaos remains the studio standard, plugging into 3ds Max, SketchUp, Rhino, and Revit. AI rendering tools now sit alongside these engines for fast concept passes, a shift covered in depth in our guide on how to use AI to render architecture.
⚖️ Pros & Cons at a Glance
✔️ Real-time engines (Lumion, Twinmotion): fast iteration, huge asset libraries, easy landscape work, instant client review.
✖️ Trade-offs: less granular light control, heavier GPU demands, results can look templated without careful art direction.
Lighting, materials, and entourage in a rendered site plan

The technical model gets you halfway. Lighting, materials, and entourage are what make a site plan feel real and worth approving. These three choices carry most of the visual weight in any presentation drawing.
Lighting and shadow
Sun position drives readability. Set the sun at a low angle to cast long shadows that reveal building height and reinforce the third dimension, or use a softer overhead light for an analytical, even plan. Shadows also ground objects, without them, trees and buildings appear to float above the page. Lighting consistently ranks as the single most influential factor in render quality, a point we cover in our breakdown of what makes a great architectural render.
Materials and texture
Distinct materials let the eye separate one surface from another at a glance. Asphalt should read differently from concrete walkways, which should read differently from grass and water. Physically based materials that respond correctly to your lighting prevent the plastic look that flattens a plan.
Entourage and context
Entourage means the people, vehicles, planting, and furniture that bring scale and life. A plaza with figures walking through it instantly communicates size and use in a way an empty paved area never can. Surrounding context, neighboring buildings, existing trees, and the adjacent street, also tells reviewers the project respects its setting. Real-time engines now ship with large libraries of these assets, so populating a busy streetscape takes minutes rather than hours of manual placement.
Balance is the skill here. Each entourage element should earn its place by clarifying scale or use, not by filling empty space. A handful of well-placed figures near an entrance does more for legibility than a crowd scattered across every path. The same restraint applies to planting: show the species and density you actually propose, since reviewers will hold the built result against the image you presented.
⚠️ Common Mistake to Avoid
Overloading a site plan with entourage until the design disappears. When every walkway is packed with stock people and the planting hides the buildings, reviewers lose the layout. Keep entourage supporting the design, not competing with it, and leave clear sightlines to the key elements you want approved.
Presentation tips for site plans that win approvals
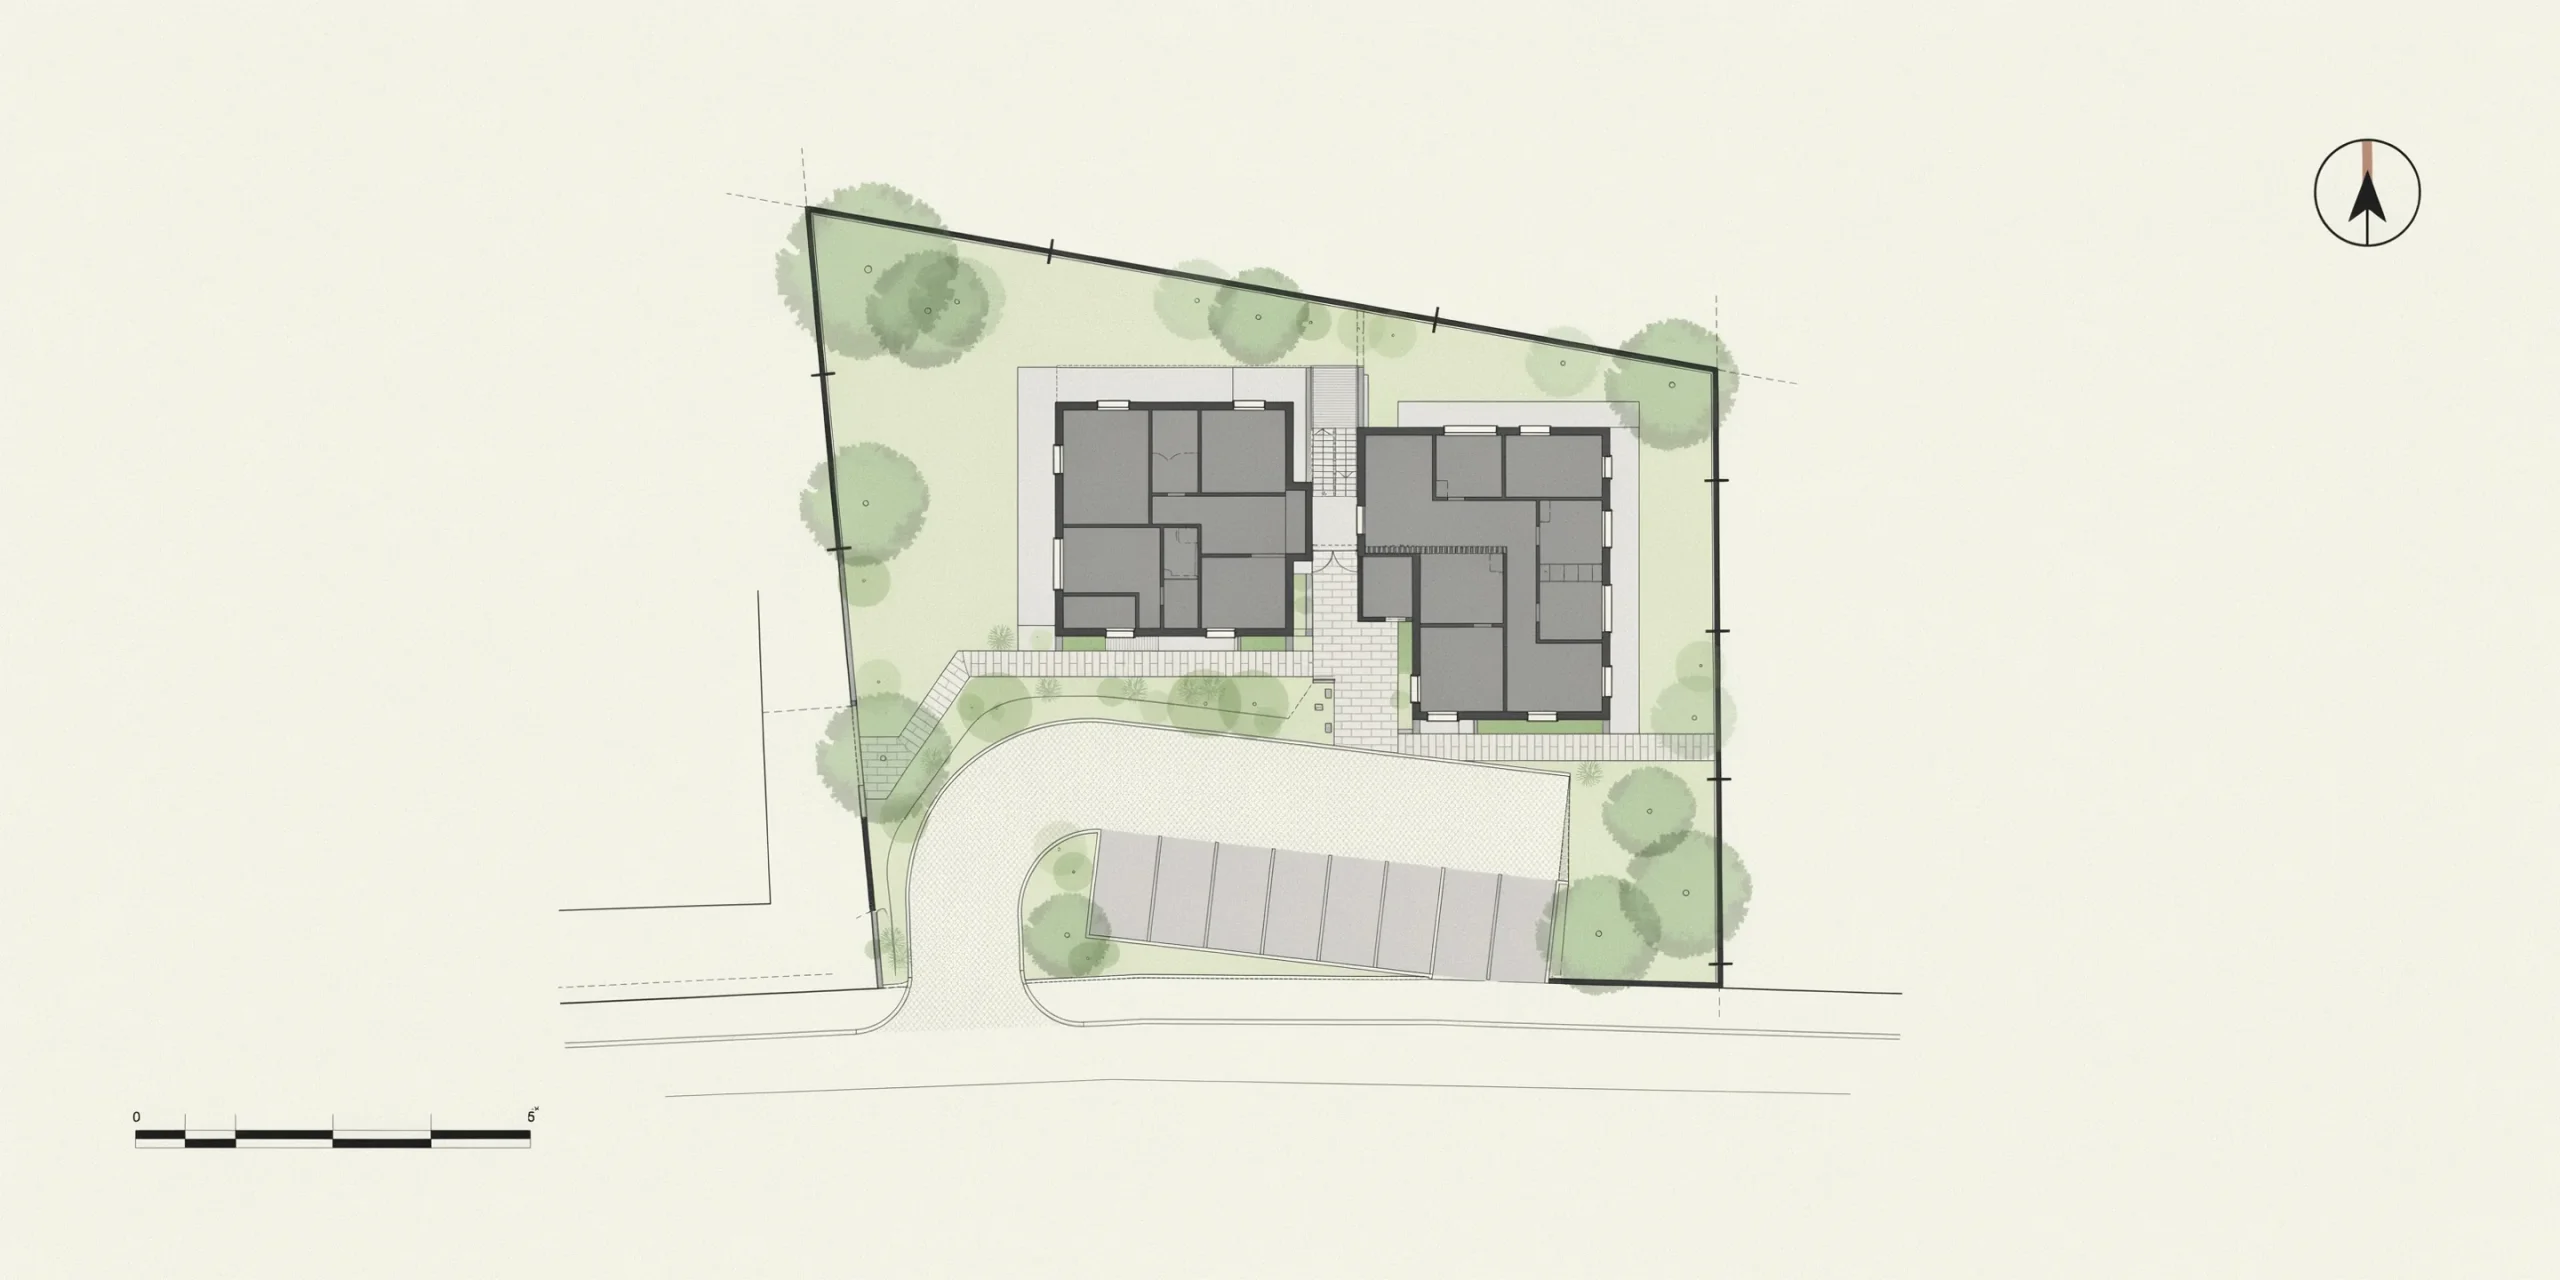
A rendered site plan only works if the audience grasps it without explanation. A few presentation habits make that happen. Keep a clear north arrow and graphic scale on every plan so reviewers can orient and measure. Label only the elements that matter to the decision at hand, since a plan crowded with text loses its visual punch.
Match the rendering style to the project phase. Early concept reviews benefit from looser, illustrative plans that invite feedback, while final approvals call for polished, near-photoreal output. That phase-based logic is the same one we apply in our comparison of photorealistic versus stylized renders. When your source geometry starts as a CAD drawing, the cleanup and conversion steps in our AutoCAD AI rendering guide help you move from line work to a presentable visual faster.
ArchDaily publishes detailed walk-throughs of plan presentation and grading realism; its technical guide to rendering landscape architecture is a useful reference for planting and topography work.
Frequently asked questions
How long does a 3D site plan rendering take?
A straightforward 3D site plan with basic massing and planting usually takes one to three days from clean CAD files. Larger developments with detailed entourage, custom materials, and multiple camera angles can run a week or more. Real-time engines like Lumion compress the iteration loop because you see changes instantly rather than waiting on each render.
Do I need a 3D model to render a site plan?
Not always. A 2D illustrated site plan can be produced directly from a CAD drawing by adding color, texture, and shadow in Photoshop or Illustrator. You only need a 3D model when you want building height, perspective views, or photoreal lighting that responds to a sun position.
What is the difference between a site plan and a floor plan render?
A site plan renders the entire parcel from above, showing buildings, parking, landscaping, and context across the property. A floor plan render shows the interior layout of a single building level. The site plan answers how the project meets its land, while the floor plan answers how people move inside it.
Putting It All Together
✅ Key Takeaways
- Site plan rendering turns accurate CAD geometry into a drawing non-experts understand at a glance.
- Use 2D illustrated plans for technical and zoning work, and 3D site plans for client pitches and marketing.
- The workflow runs from input gathering through modeling, materials, lighting, and post-processing.
- Pair a modeling tool with an engine: Lumion or Twinmotion for fast context, V-Ray for photoreal control.
- Lighting, distinct materials, and restrained entourage carry most of a plan’s visual weight.
A well-rendered site plan is one of the highest-return drawings an architect can produce, because it shapes the first impression a client or board forms about a project. Start by deciding what decision the drawing has to support, then build the level of detail and realism around that single goal.