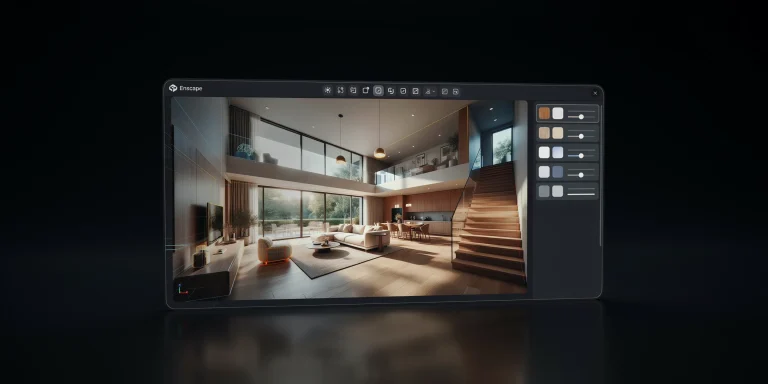
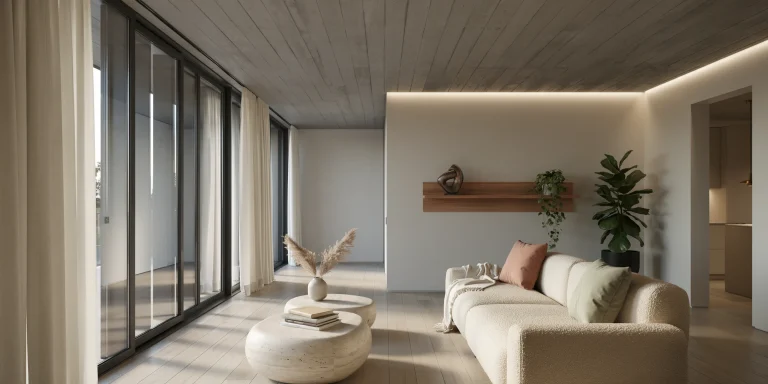
A Lumion tutorial walks you through importing a 3D model, applying materials and lighting, then producing a photorealistic still or animation in real time. Lumion is GPU-based rendering software for architects that turns SketchUp, Revit, or Rhino models into presentation-ready visuals in minutes rather than hours.
Most architects pick up Lumion because the feedback loop is fast. You move the sun, the shadows update on screen. You drop a tree, it sits in the scene instantly. This guide follows that same logic, taking you from a clean install through a finished render, then into the settings that separate a flat first attempt from a polished client image. The aim is a single Lumion tutorial that covers the full workflow without skipping the parts that usually trip up new users.
What is Lumion and how does real-time rendering work?
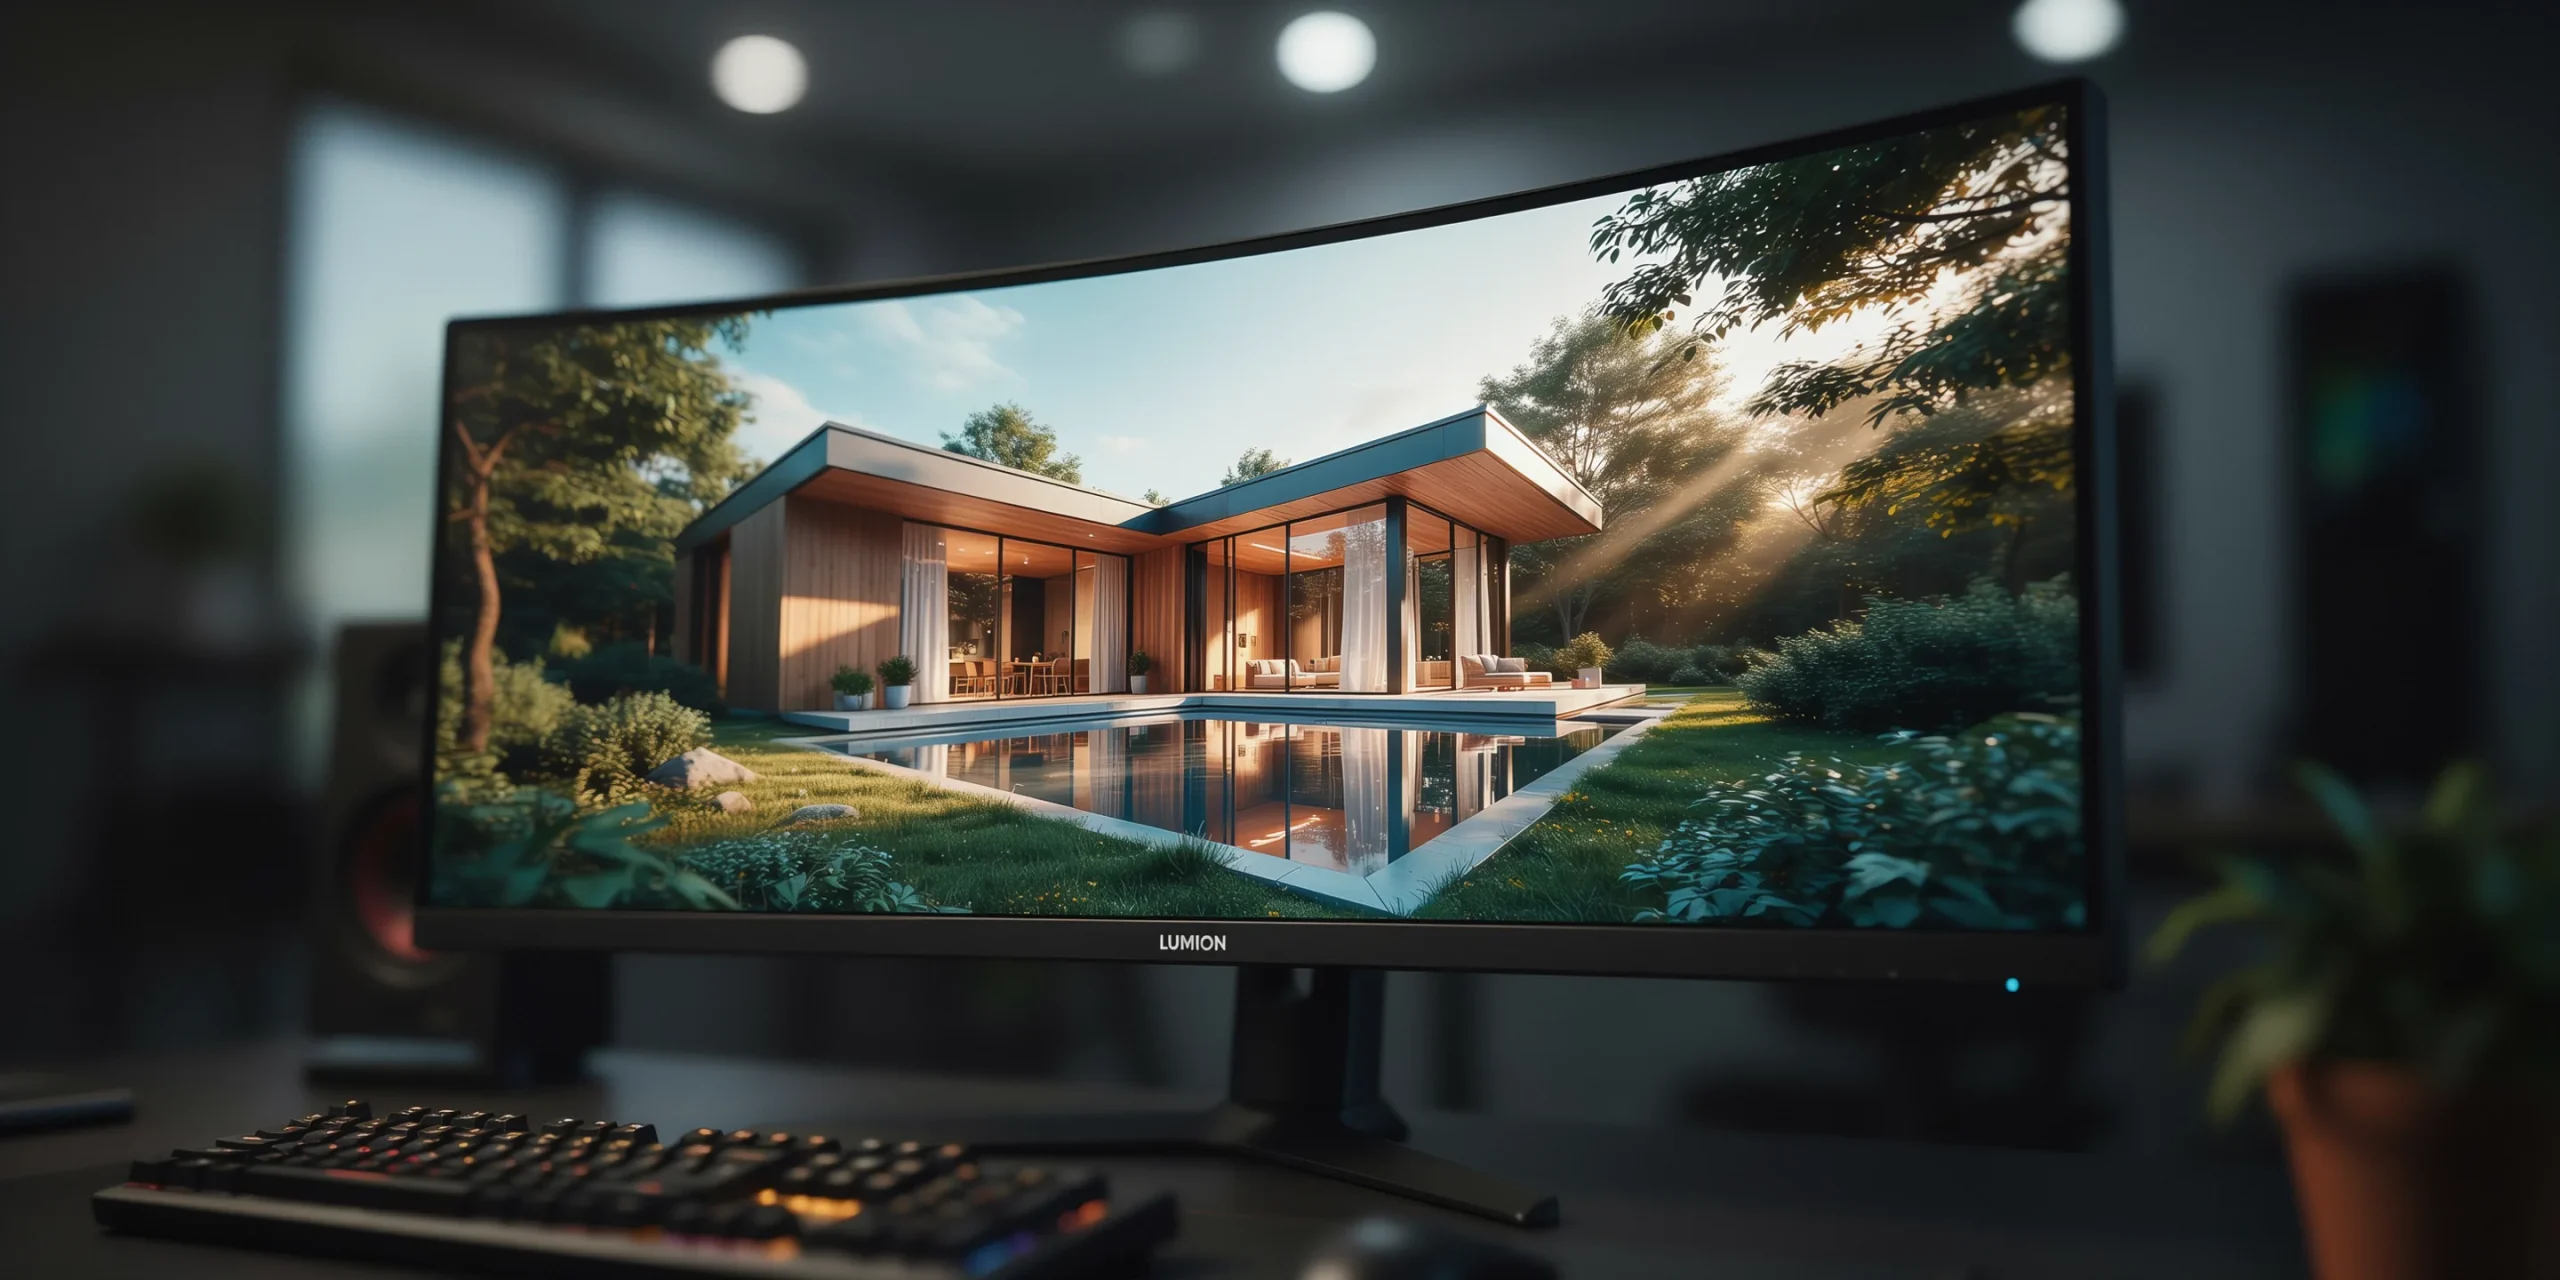
Lumion is a standalone rendering application that draws your scene using the graphics card instead of the CPU. Because the GPU handles lighting, reflections, and shadows on the fly, you see a near-final preview while you work. This is what people mean by real-time rendering: the viewport reacts to every edit, so design decisions happen in the moment rather than after a long batch render.
The 2026 release pushed this further with real-time ray tracing, which keeps reflections, soft shadows, and bounced light closer to the final output as you navigate. According to Lumion’s official product pages, the ray-traced viewport now mirrors the render result far more accurately than older versions, which cuts down on the surprise gap between preview and export.
There are two ways to work. The full Lumion Pro application runs as a separate program where you build and light the whole scene. Lumion View is a lighter plugin that lives inside SketchUp or Revit and renders a ray-traced preview without leaving your modeling software. Beginners usually start in the full application because it gives access to the complete asset library and animation tools.
📌 Did You Know?
Lumion ships with thousands of built-in models and materials, from fine-detail trees and people to fully editable PBR surfaces, as listed on Lumion’s own product page. That library is why many users render a believable site context without sourcing a single external 3D file.
What do you need to run Lumion?
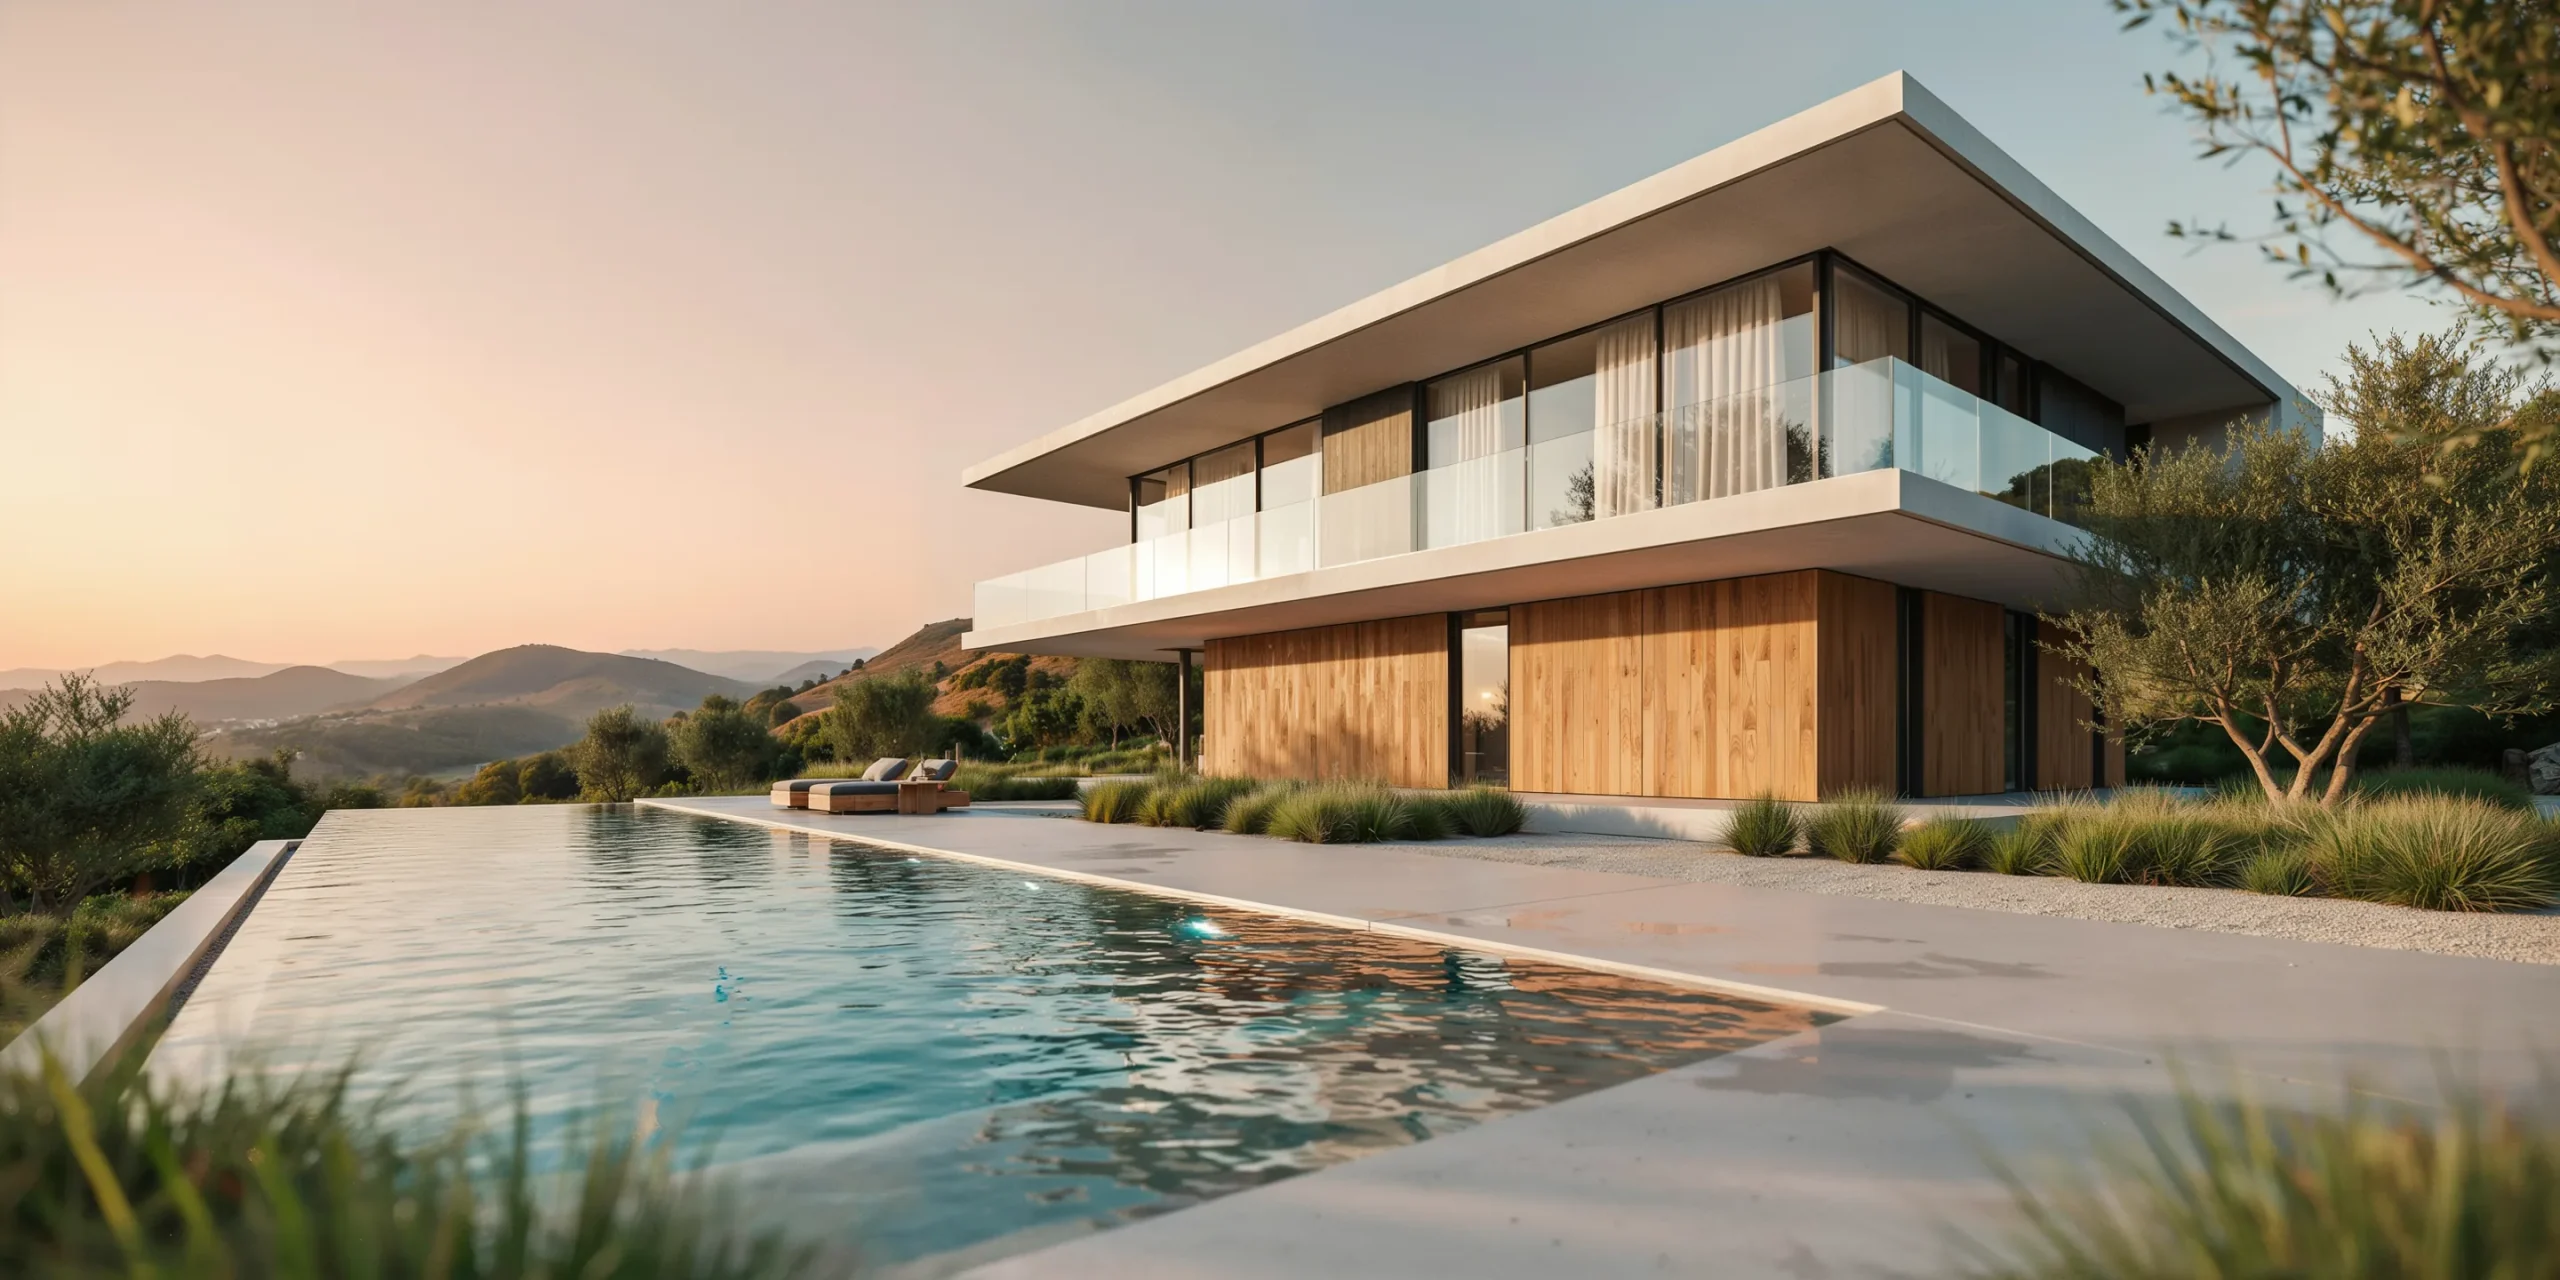
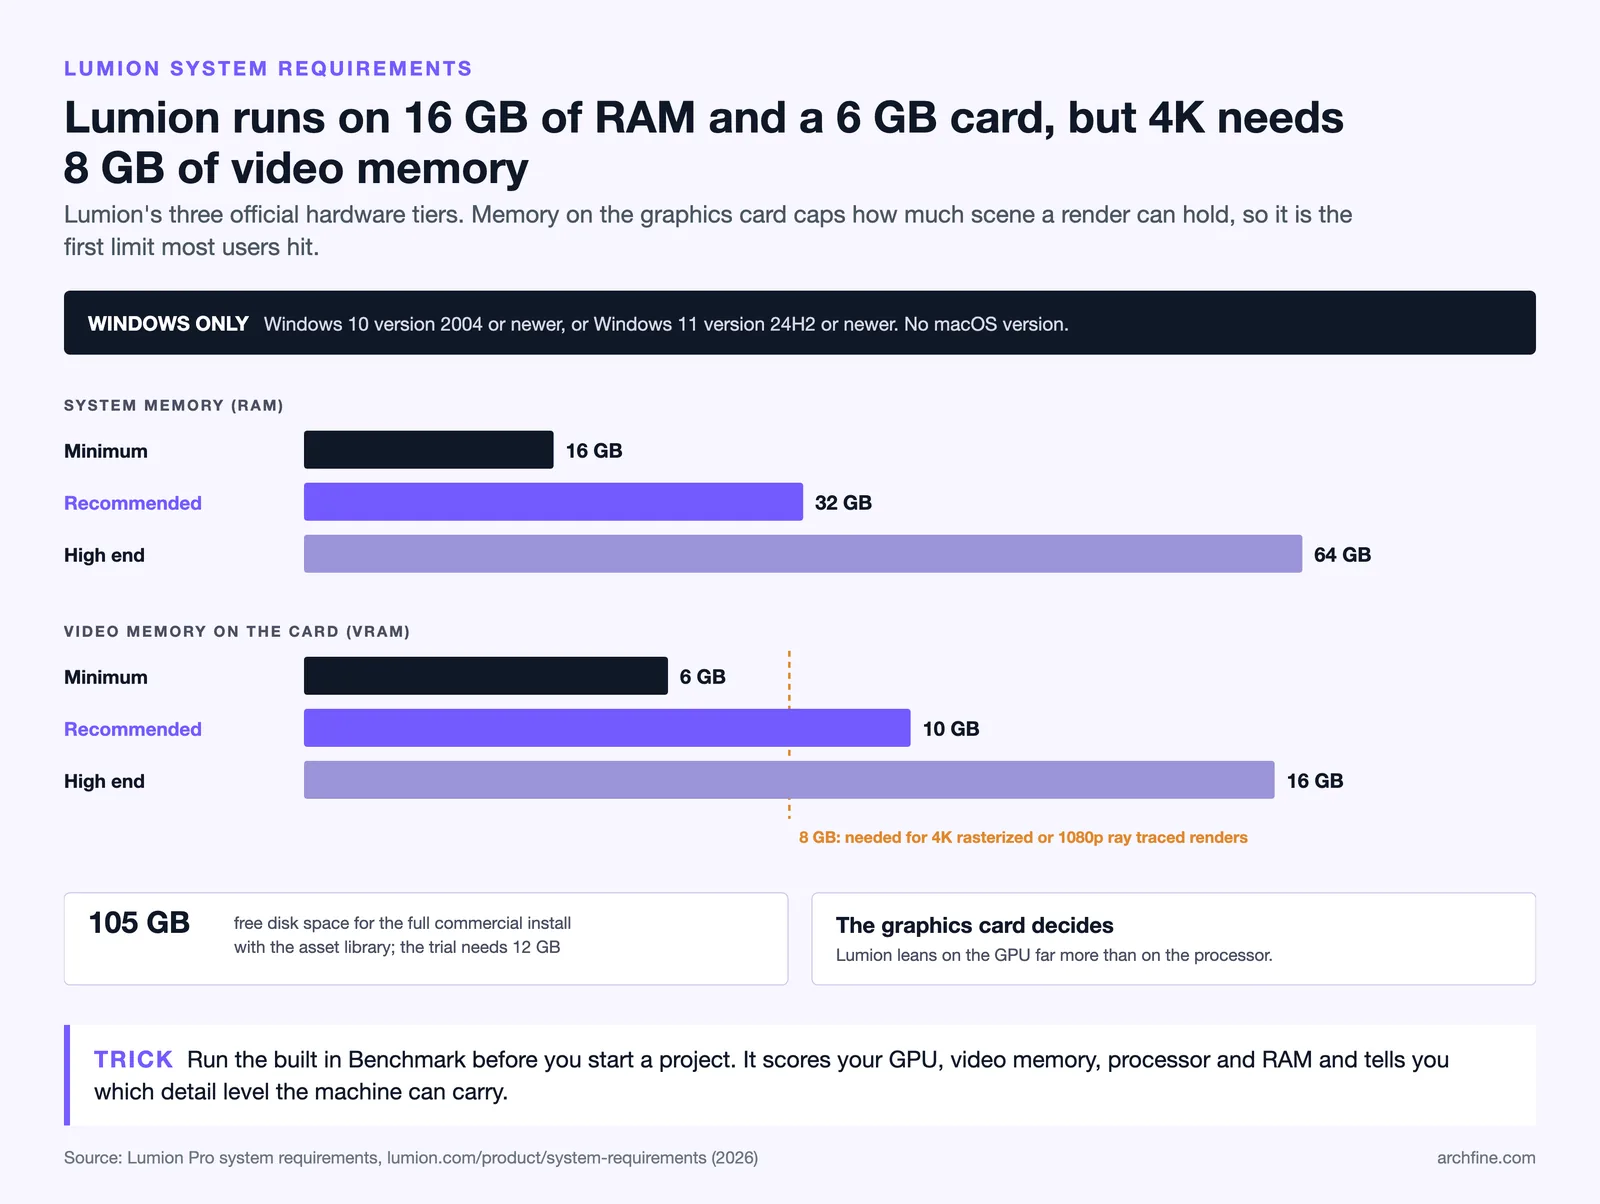
Lumion leans almost entirely on the graphics card, so the GPU is the part that decides whether your experience is smooth or frustrating. The official Lumion system requirements page treats the graphics card as the single most important component, well ahead of the processor.
The 2026 version is Windows only, requiring Windows 10 version 2004 or newer, or Windows 11 version 24H2 (Build 26100) or newer. Lumion lists 16 GB of RAM as the absolute floor, with 32 GB strongly recommended for production work and 64 GB for high-end scenes, and around 105 GB of free disk space for the full install with the asset library. Before committing to a project, run the built-in Benchmark, which scores your GPU, video memory, processor, and system memory so you know which detail level your hardware can handle.
📐 Technical Note
Video memory (VRAM) caps how much of your scene Lumion can hold for a single render. Lumion lists 6 GB of VRAM as the minimum, 10 GB as recommended and 16 GB for high-end work; 8 GB is the practical floor for 4K rasterized renders and 1080p ray tracing, while dense urban scenes with thousands of trees and reflective glass benefit from 16 GB. If renders fail or textures drop to low resolution, VRAM is the usual bottleneck, not the CPU.
How to import a model into Lumion

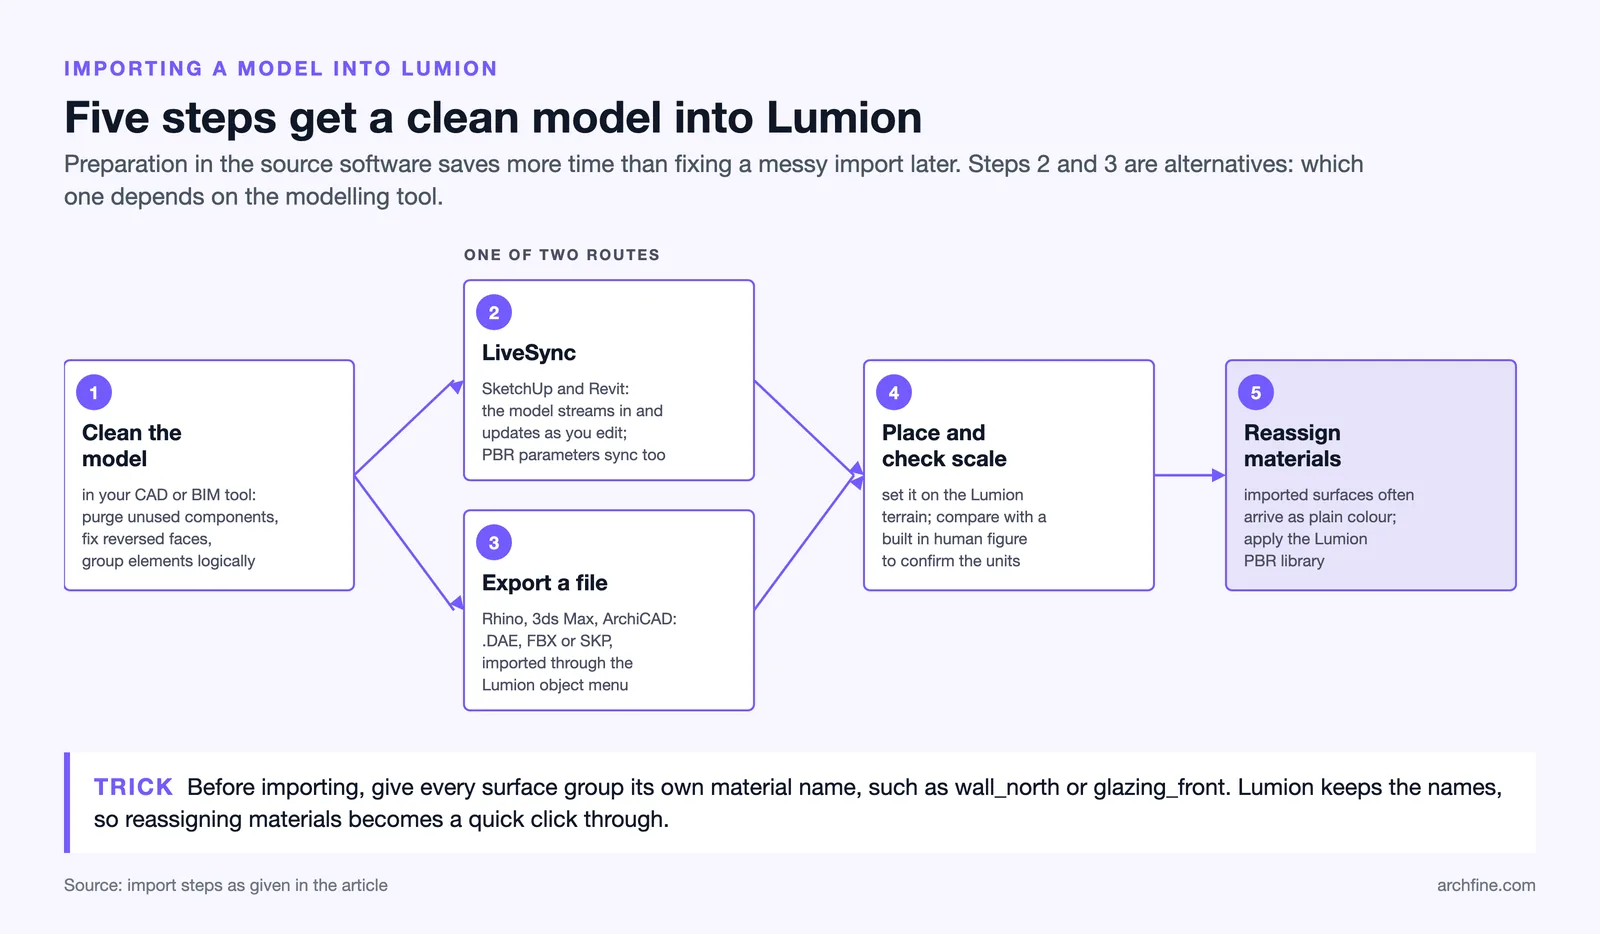
Getting your geometry into Lumion cleanly sets up everything that follows. A messy import with flipped faces or missing materials costs more time to fix than it does to prepare the model correctly first.
- Clean the model in your CAD or BIM tool: purge unused components, fix reversed faces, and group elements logically so you can reselect them in Lumion.
- For SketchUp and Revit, install the LiveSync plugin so the model streams into Lumion and updates as you edit the source file.
- For Rhino, 3ds Max, ArchiCAD, or other tools, export to a supported format such as Collada (.DAE), FBX, or SKP and import it through the Lumion object menu.
- Place the model on the Lumion terrain, then check the scale against a built-in human figure to confirm units imported correctly.
- Reassign materials inside Lumion, since imported surfaces often arrive as plain color and need the real PBR library applied.
LiveSync is the part most beginners underuse. With it active, a change in Revit or SketchUp appears in Lumion almost immediately, so you can refine the design and the visualization side by side. PBR material parameters now sync through LiveSync as well, meaning a surface set in your modeling tool carries its texture data straight into Lumion. If you also work with AI-based tools, the prep habits here overlap with the export tips covered in our guide on SketchUp AI rendering.
💡 Pro Tip
Before you import, assign distinct material names to every surface group in your modeling software, even temporary ones like “wall_north” or “glazing_front.” Lumion keeps those names, so reapplying its high-quality materials becomes a quick click-through instead of a guessing game across hundreds of identical gray faces.
Building the Lumion workflow: materials, lighting, and scene
The core Lumion workflow breaks into three passes. You set materials, then you light the scene, then you populate it with context. Working in that order avoids backtracking, because lighting reads differently once real materials are in place, and context objects depend on both.
Applying materials

Open the Materials menu and click any surface to swap in a library material. Lumion’s PBR surfaces carry physically accurate reflection and roughness values, so a concrete or oak material reacts to light the way the real thing would. Adjust the gloss, relief depth, and tint sliders to fine-tune each one, and watch the viewport update live. For glass, lower the gloss only if you want a frosted look, otherwise keep reflections sharp for a clean architectural read.
Setting the light

Lighting in Lumion starts with the sky and sun. The Sky and Weather settings let you rotate the sun, set its height, and pick a time of day, which controls shadow direction and warmth. A low sun angle gives long shadows and golden tones that flatter exteriors, while a high midday sun flattens form. Add interior spotlights or area lights from the Lights menu for night scenes or to brighten deep interiors that the sun cannot reach.
⚠️ Common Mistake to Avoid
New users often crank brightness and saturation in the editor to make a render “pop,” which produces blown-out highlights and cartoonish color. Light the scene to look natural in the viewport first, then handle mood and contrast with the photo effects at render time. Fixing exposure after the fact is far easier than recovering detail lost to over-bright materials.
Adding context and entourage
Trees, people, vehicles, and street furniture sell the scale and life of a render. Use the Objects library to place them, and rely on the 2026 Area Placement tool to scatter up to 5,000 nature items across an area in one action rather than dropping each tree by hand. Keep entourage purposeful: a few well-placed figures reading at human scale beat a crowd that distracts from the architecture.
Which Lumion render settings produce the best output?
Lumion settings split between viewport quality and render output. The viewport editor quality slider only affects how the scene looks while you work, so set it as high as your GPU allows for accurate previews. The settings that matter for the final image live in the Photo and Movie render menus, where you choose resolution, quality presets, and photo effects.

The table below maps common output goals to the Lumion settings that drive them.
| Goal | Key Setting | Recommended Value |
|---|---|---|
| Client still image | Photo resolution / quality | Quad HD (2560 x 1440) or Print (3840 x 2160), Balanced or High ray tracing preset |
| Realistic lighting | Ray tracing effect | Enabled for reflections and shadows |
| Walkthrough animation | Movie frame rate | 25 to 30 fps |
| Color and mood | Photo effects stack | Sky Light, Reflection, Color Correction |
| Marketing panorama | Panorama render slot | High quality, 360 output |
Photo effects are where Lumion images gain their finish. Sky Light softens shadows with ambient sky color, the Reflection effect adds screen-space and planar reflections, and Color Correction lets you tune contrast and white balance without touching the materials. Stack three or four effects rather than a dozen, since each one adds render time and the gains drop off quickly. The same composition principles that apply here are covered in our breakdown of what makes a great architectural render.
How to render your first image in Lumion
Once materials, lighting, and context are set, producing the final image takes a few steps. Frame the shot carefully, since composition does more for a render than any single setting.
- Navigate to your view, then store it as a camera in the Photo mode so you can return to the exact frame.
- Add photo effects in the effects panel: start with Sky Light, Reflection, and a light Color Correction pass.
- Set the output resolution, choosing Quad HD (2560 x 1440) or Print (3840 x 2160) for presentation and print work.
- Pick a Ray Tracing quality preset (Fast, Balanced, High or Extreme), with Balanced or High balancing render time against clarity for most still images.
- Render the still and review it at full size, checking for noise in shadows or stretched textures before delivery.
For deciding whether to chase full photorealism or a cleaner stylized look, the trade-offs depend on your client stage, a topic covered in detail in our comparison of photorealistic versus stylized renders. Lumion handles both, since the same scene can output a warm realistic still or a flatter diagram-style view using clipping planes and simpler effects.
Lumion versus AI rendering: where each fits
Lumion shines when you need real-time walkthroughs, animations, and full control over a 3D scene. It carries a learning curve and a hardware cost, but nothing matches it for interactive client meetings where you fly through a building live. AI rendering tools take a different route, turning a single exported view into a photorealistic still in under a minute with no scene setup. They cost less and start faster, though they do not produce animation or real-time navigation.
Many studios run both. Lumion handles motion-heavy presentations and detailed exteriors, while an AI tool covers quick concept stills and marketing images. If your pipeline runs through BIM, the export habits transfer directly to AI workflows, as shown in our guide to ArchiCAD AI rendering. The choice is less about which tool is better and more about which output a given deadline needs.
Frequently Asked Questions
Is Lumion easy to learn for beginners?
Lumion is among the more approachable rendering tools because the real-time viewport gives instant feedback. A beginner can import a model, apply materials, and produce a usable still within a first session. Mastering lighting, photo effects, and animation takes longer, but the basic workflow is learnable in a few hours of practice.
Does Lumion work on a Mac?
The current Lumion release runs on Windows only and is not natively supported on macOS. Mac users typically run it through Boot Camp on Intel machines or a Windows virtual environment, though performance on a virtualized GPU is limited. For a smooth experience, a dedicated Windows workstation with a strong graphics card is the practical route.
What is the difference between Lumion and Lumion View?
Lumion Pro is the full standalone application with the complete asset library, animation tools, and photo and movie rendering. Lumion View is a lighter plugin that renders a ray-traced preview directly inside SketchUp or Revit for fast design checks. View suits early-stage iteration, while the full application handles finished presentation output.
How long does a Lumion render take?
A single 4K still often renders in seconds to a couple of minutes on a capable GPU, far faster than CPU ray tracers. Animations take longer because every frame renders individually, so a thirty-second clip at thirty frames per second means rendering nine hundred images. Render time scales with resolution, quality presets, and scene complexity.
Putting It All Together
Quick Recap:
- Prep a clean model with named materials, then import it through LiveSync or a supported file format.
- Work in order: apply PBR materials, set the sun and lights, then add context and entourage.
- Drive your final image through Photo mode resolution, quality presets, and a focused stack of photo effects.
Your Next Step: Install the free Lumion trial, run the built-in Benchmark to confirm your GPU tier, then import one finished project and render a single 4K still using only Sky Light, Reflection, and Color Correction before adding anything more.