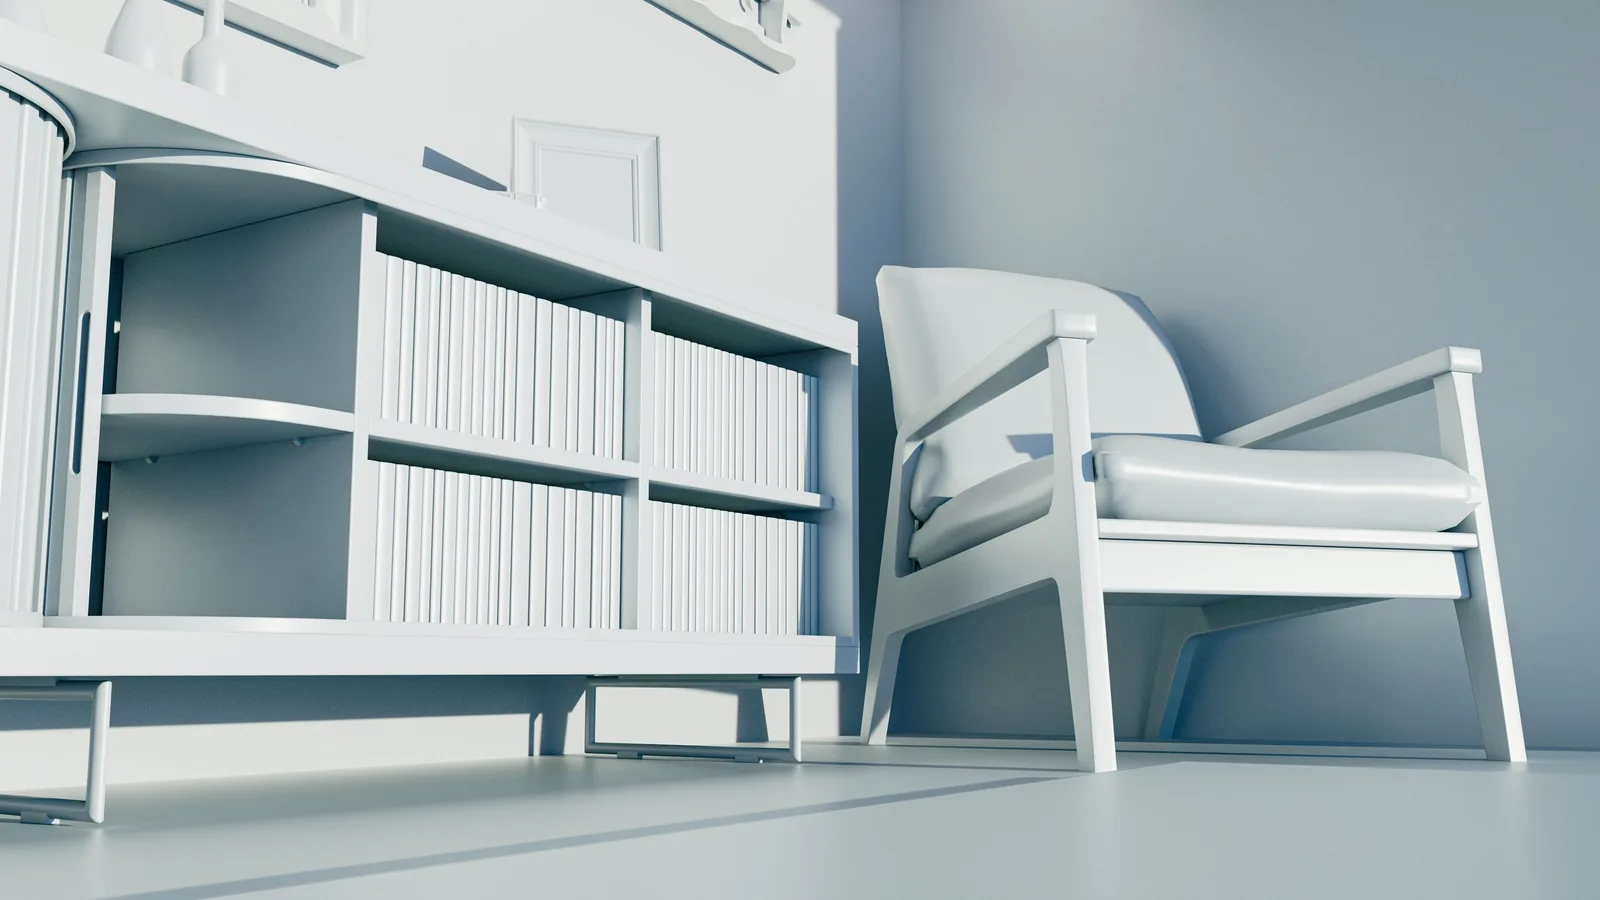

Ambient occlusion is a shading technique that darkens areas where surfaces sit close together and ambient light struggles to reach. Corners, the gap under a bench, the joint between a wall and a ceiling. It adds contact and depth to a render that flat ambient lighting alone cannot produce.
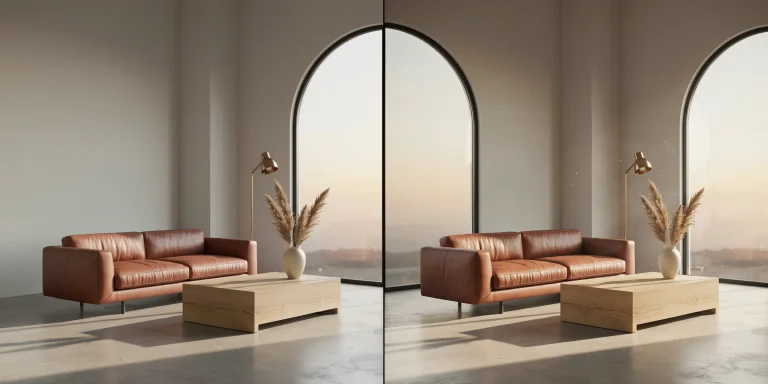
The effect is subtle enough that most people never notice it working, and glaringly obvious when it is missing. A room without it looks like objects hovering slightly above the floor, which is the visual signature of an unfinished render.
It is also one of the most misused controls in architectural visualization, because it is easy to reach for as a substitute for lighting that was never set up properly in the first place.
What Ambient Occlusion Actually Calculates
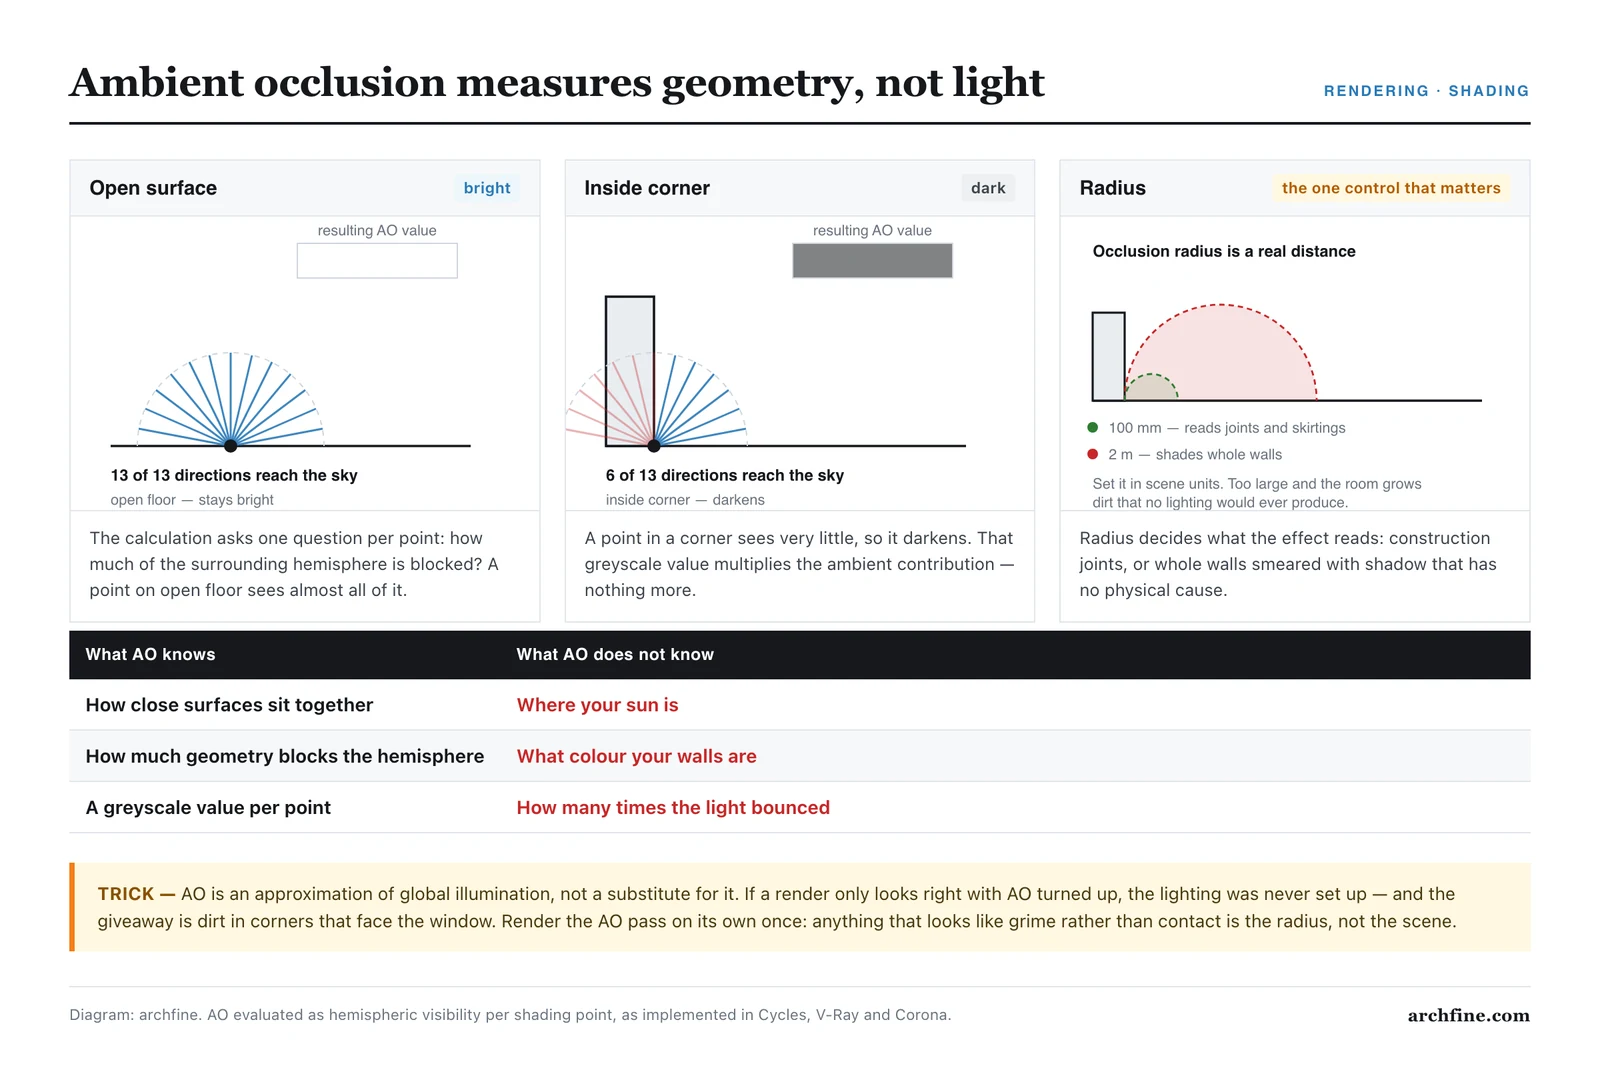
For every point on a surface, the calculation asks a simple question. How much of the surrounding hemisphere is blocked by other geometry? A point in the middle of an open floor sees almost the whole sky, so it stays bright. A point in the corner of a stair nosing sees very little, so it darkens.
The result is a greyscale value between fully open and fully enclosed. That value then multiplies the ambient contribution of the light in the scene. The formal description at the ambient occlusion entry on Wikipedia frames it as an approximation of global illumination, and that word approximation matters more than anything else in this article.
It is not a light simulation. It has no idea where your sun is, what colour your walls are, or how many bounces the light took to arrive. It only measures geometric proximity, which is why it can improve an image and lie about the physics at the same time.
📐 Technical Note
Occlusion radius is a distance in scene units, and it defines how far the calculation looks for blocking geometry. A radius of 100 mm reads joints and skirting details. A radius of 2 m starts shading whole room corners. Setting it larger than the smallest room dimension turns the entire interior grey, which is the usual cause of a render that looks dirty for no obvious reason.
Why Renders Need It At All
A physically accurate path traced render with enough bounces already produces contact shading naturally. Light genuinely fails to reach the corner, so the corner is genuinely darker. In that scenario ambient occlusion is unnecessary and adding it double darkens the image.
The problem is that full light transport is expensive. Interior scenes need many bounces before they settle, and every bounce multiplies render time. Studios working to a Friday deadline reduce bounce counts, which flattens contact shading, and then reintroduce the missing depth with a cheap geometric approximation.
Real time engines face the same pressure permanently. They cannot afford full transport at sixty frames per second, so screen space techniques stand in. The hardware side of that tradeoff is documented in NVIDIA’s material on ray tracing acceleration, which explains why the calculation is now cheap enough to run on geometry rather than screen pixels.
The Different Kinds You Will Meet
Baked into the material
Most render engines expose occlusion as a shader input. In Blender it appears as a dedicated node, described in the Blender ambient occlusion node documentation. In V-Ray it is handled by a dirt texture, covered by the Chaos documentation for VRayDirt, which also allows the effect to accumulate grime in corners rather than just darkness.
This approach gives the most control because you decide which materials receive it. Concrete and plaster benefit. Polished glass does not, and applying it there produces smudges that read as a rendering error.
As a separate render pass
The other common approach outputs occlusion as its own greyscale image alongside the main render. You then multiply it over the beauty pass in post, with full control over strength after the render has finished.
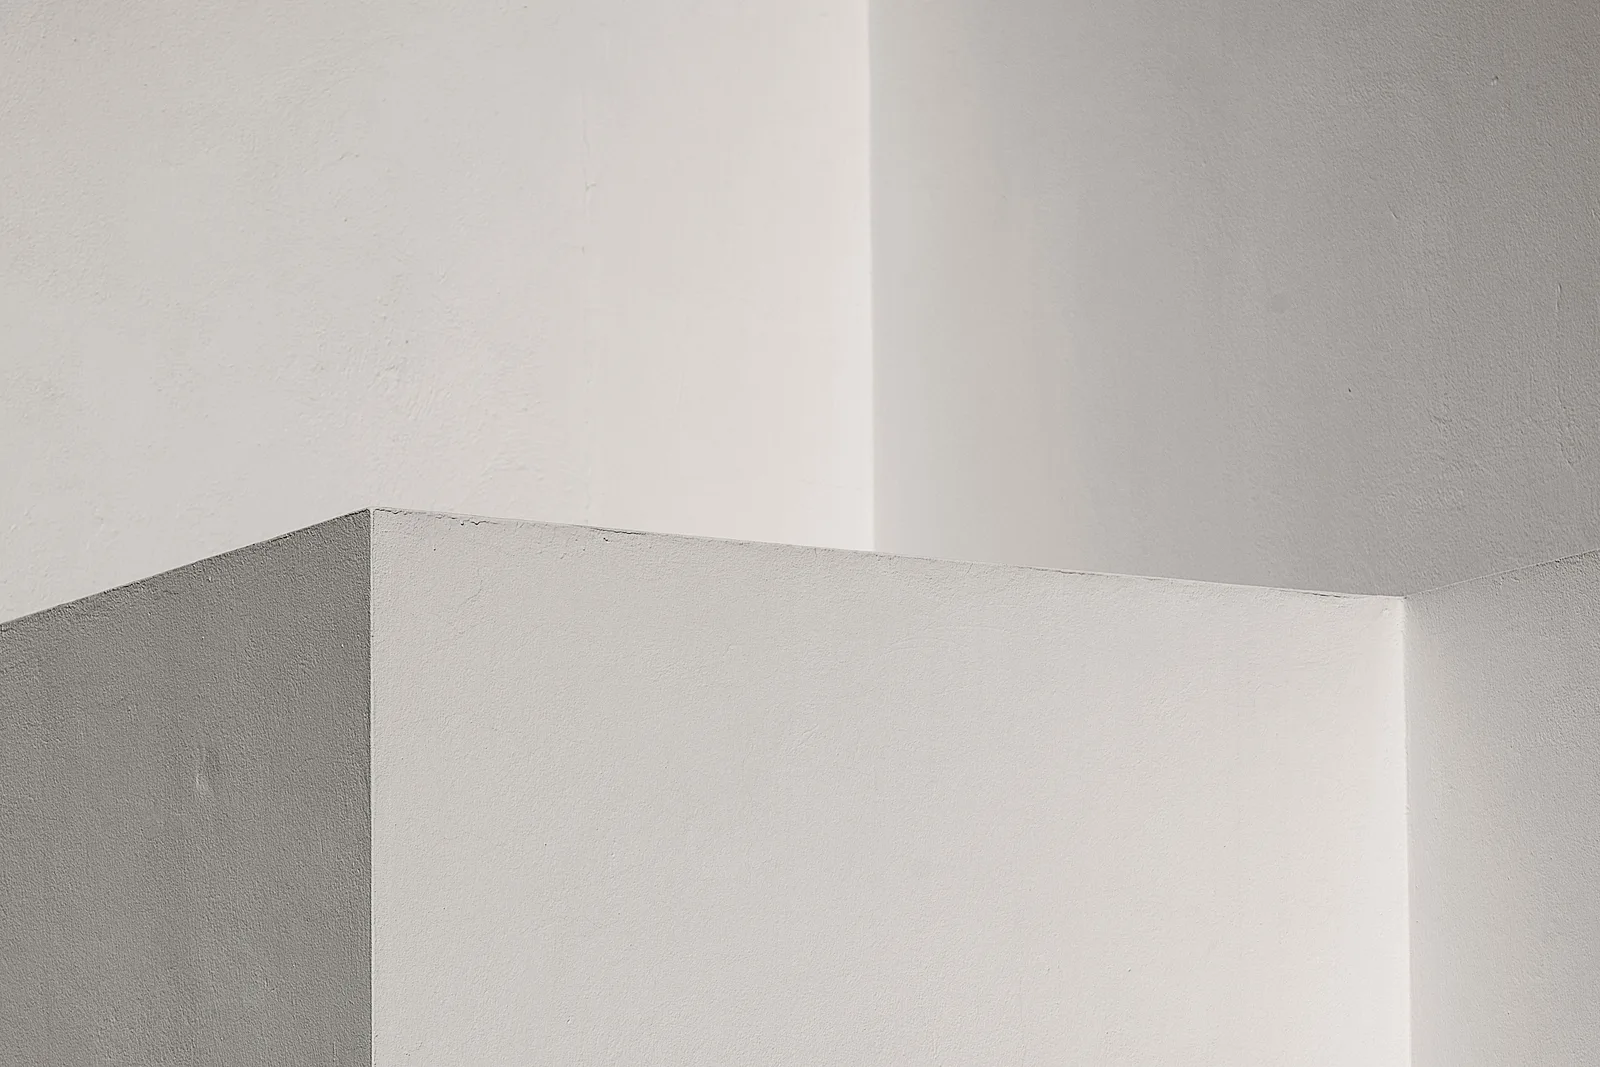
This is the professional default for architectural stills, because it removes the need to re render when the client says the corners look too heavy. The workflow sits inside the broader process described in our render post production guide.
Real time screen space versions
Enscape, Twinmotion and game engines calculate occlusion from the depth buffer rather than the scene geometry. It is fast and convincing in motion, and it produces artefacts at screen edges where the necessary information is off camera. For walkthrough video nobody notices. For a printed still it can be a problem.
How the three compare
| Method | Control after render | Speed | Best use |
|---|---|---|---|
| Material based | None, baked into the image | Moderate | Material specific dirt and wear |
| Separate pass | Full, adjustable in post | Adds a little render time | Client facing stills |
| Screen space | Limited | Very fast | Real time walkthroughs |
💡 Pro Tip
Render the occlusion pass at a strength you consider slightly too weak, then multiply it in post at around 40 percent opacity. Almost every render that looks heavy handed was graded with the pass at full strength. Contact shading should register subconsciously, not announce itself.
Settings That Work for Architectural Scenes
Radius is the first decision and it depends on what you want to read. Interior detail work wants something in the range of 50 to 200 mm, enough to catch skirtings, reveals and furniture contact. Exterior massing wants a larger figure, often half a metre or more, to shade recessed balconies and deep window reveals.
Sample count controls noise. Occlusion is a sampled calculation like any other, so low samples produce a grainy result that becomes visible once you multiply it over the render. Rather than pushing samples until it is clean, most workflows render moderately and clean up afterwards, an approach explained in our guide to reducing render noise.
Occlusion colour is the setting people forget. Pure black occlusion looks dead in daylight scenes because real shadowed corners still receive bounced colour from nearby surfaces. Tinting the occlusion toward the dominant material colour, a warm grey in a timber interior, immediately reads as more natural.
📌 Did You Know?
The technique came out of film production in the early 2000s as a way to fake the look of global illumination on scenes that were far too heavy to solve properly. Two decades later, hardware can trace the real thing, and studios still use occlusion passes because art directors want a contrast control that physics does not provide.
Where It Goes Wrong
The most frequent failure is using it to rescue a badly lit scene. Occlusion adds darkness in corners, and a flat render with no directional light does get slightly more readable when you add it. It also gets muddier. The correct fix is a real light source, which our lighting setup guide works through properly.
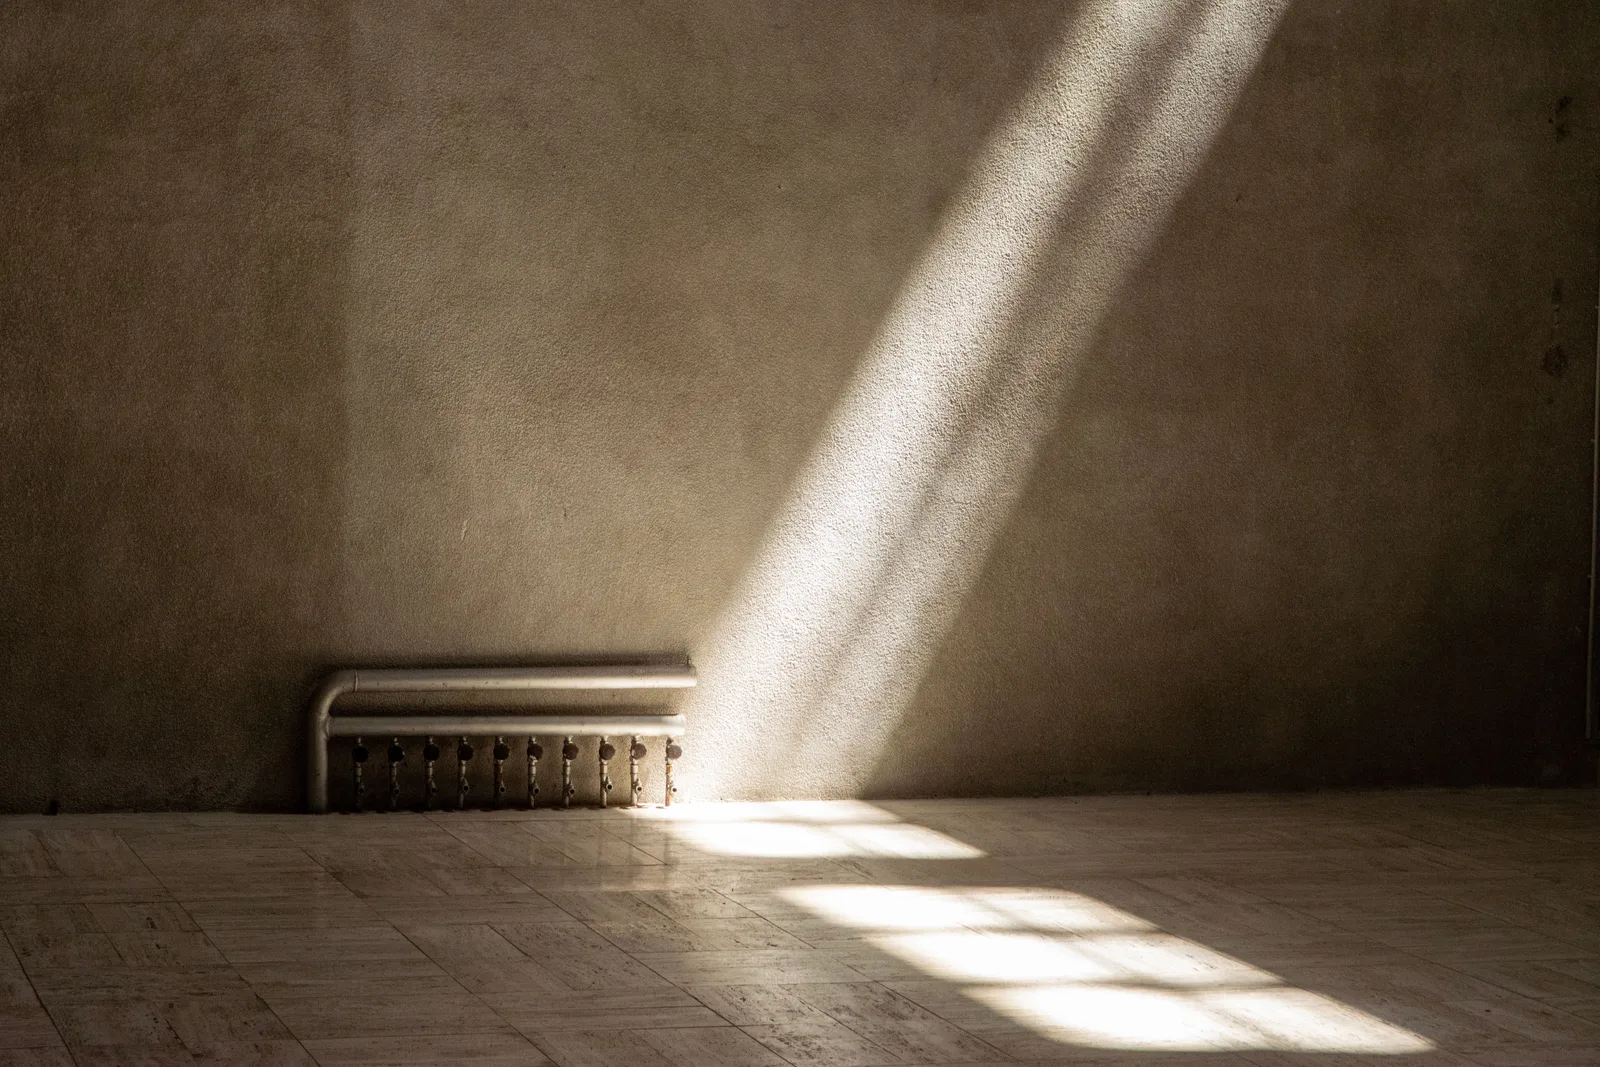
The second failure is double darkening. If your engine is already tracing several bounces of global illumination and you add a strong occlusion pass on top, corners receive the shading twice. The image looks heavy and slightly dirty without any single element being obviously wrong.
The third is scale confusion. A model imported from a CAD file in millimetres into a scene set up in metres will have an occlusion radius a thousand times off. The symptom is either no visible effect at all or an image that turns almost entirely grey, and the cause is never the occlusion settings themselves.
The fourth is applying it to reflective and transparent surfaces. Glass, water and polished metal should not accumulate contact shading, and letting the pass touch them produces grey haze exactly where the render should be sharpest. Masking these materials out of the pass takes a minute and saves an hour of confusion.
Does AI Rendering Need It?
Image based tools produce contact shading because they learned it from photographs, not because they calculated anything. Ask an AI tool for an interior and the corners come back correctly darker, since every photograph it trained on had that property.
The consequence is that there is no occlusion control to adjust. You cannot dial it back, mask it off a glass surface, or output it as a separate pass. What you get is what the model produced. For concept work that is usually fine, and for a final image where an art director wants specific control it is a genuine limitation, which is part of the broader tradeoff covered in our overview of AI architectural rendering.
Quick Recap:
- Ambient occlusion darkens areas where geometry blocks ambient light, adding contact and depth.
- It approximates global illumination geometrically and knows nothing about your actual lights.
- Rendering it as a separate pass gives control after the render, which is why studios prefer it.
- Radius must match your scene units, and unit mismatches cause almost every broken result.
- It cannot repair bad lighting, and used at full strength it makes an image look dirty.