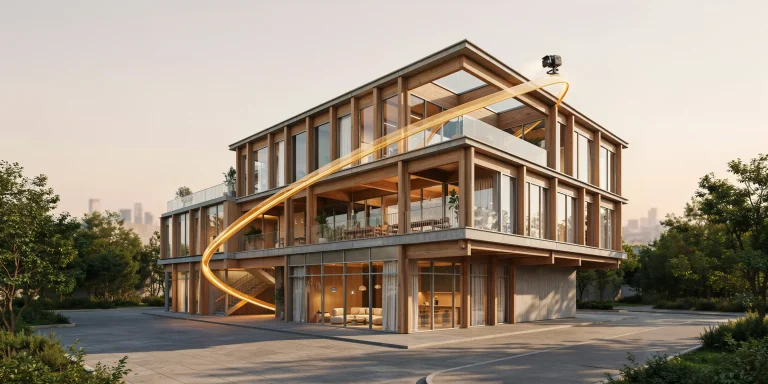
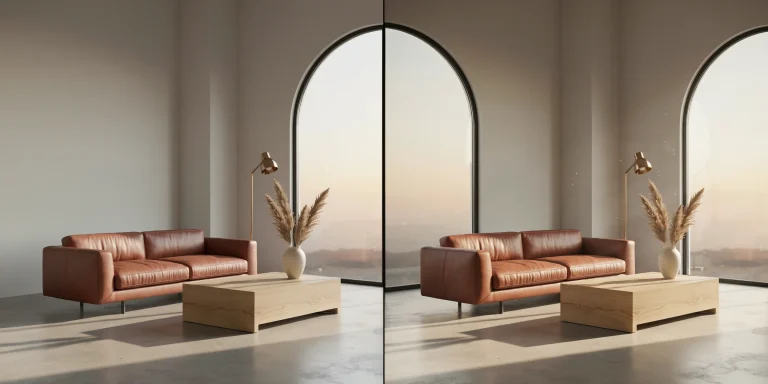
Render post production in Photoshop is the compositing and color-grading stage where a raw CGI output becomes a finished architectural image. It involves stacking render passes, correcting exposure and white balance, color grading the scene, adding atmosphere with the Z-Depth pass, and sharpening for output. Done well, it turns a flat render into a believable, art-directed visual in under an hour.
Every experienced archviz artist knows the engine only does half the work. The other half happens after the render finishes, when you open the image in Adobe Photoshop and shape light, mood, and depth by hand. This guide walks through a repeatable render post production in Photoshop workflow that covers both interior and exterior post processing, plus the color grading moves that give a series of images one consistent look.
Why does render post production in Photoshop still matter in 2026?

Render engines like V-Ray, Corona, and D5 produce physically accurate light, but they output a neutral, slightly flat image by design. Post production is where you add contrast curves, warm the highlights, push atmospheric haze into the distance, and direct the viewer’s eye. Adobe Firefly is now embedded in Photoshop, so AI-assisted sky replacement and entourage cleanup happen inside the same file, yet the core craft of pass compositing and color grading remains a manual, decision-driven process.
The goal is restraint. Strong post production enhances the architecture without rewriting it. If a client cannot recognize the materials and proportions from the model, the grade has gone too far. Industry communities such as CGarchitect consistently rate post production as one of the clearest dividing lines between amateur and studio-grade visualization, because it reflects an artist’s eye rather than raw engine power.
📌 Did You Know?
Most production render engines output in 32-bit linear color and can save multiple render elements in a single OpenEXR file. Photoshop reads multi-channel EXR through the Camera Raw and 32-bit pipeline, which means your highlights stay recoverable long after a standard 8-bit JPEG would have clipped to pure white.
What render passes do you need before opening Photoshop?
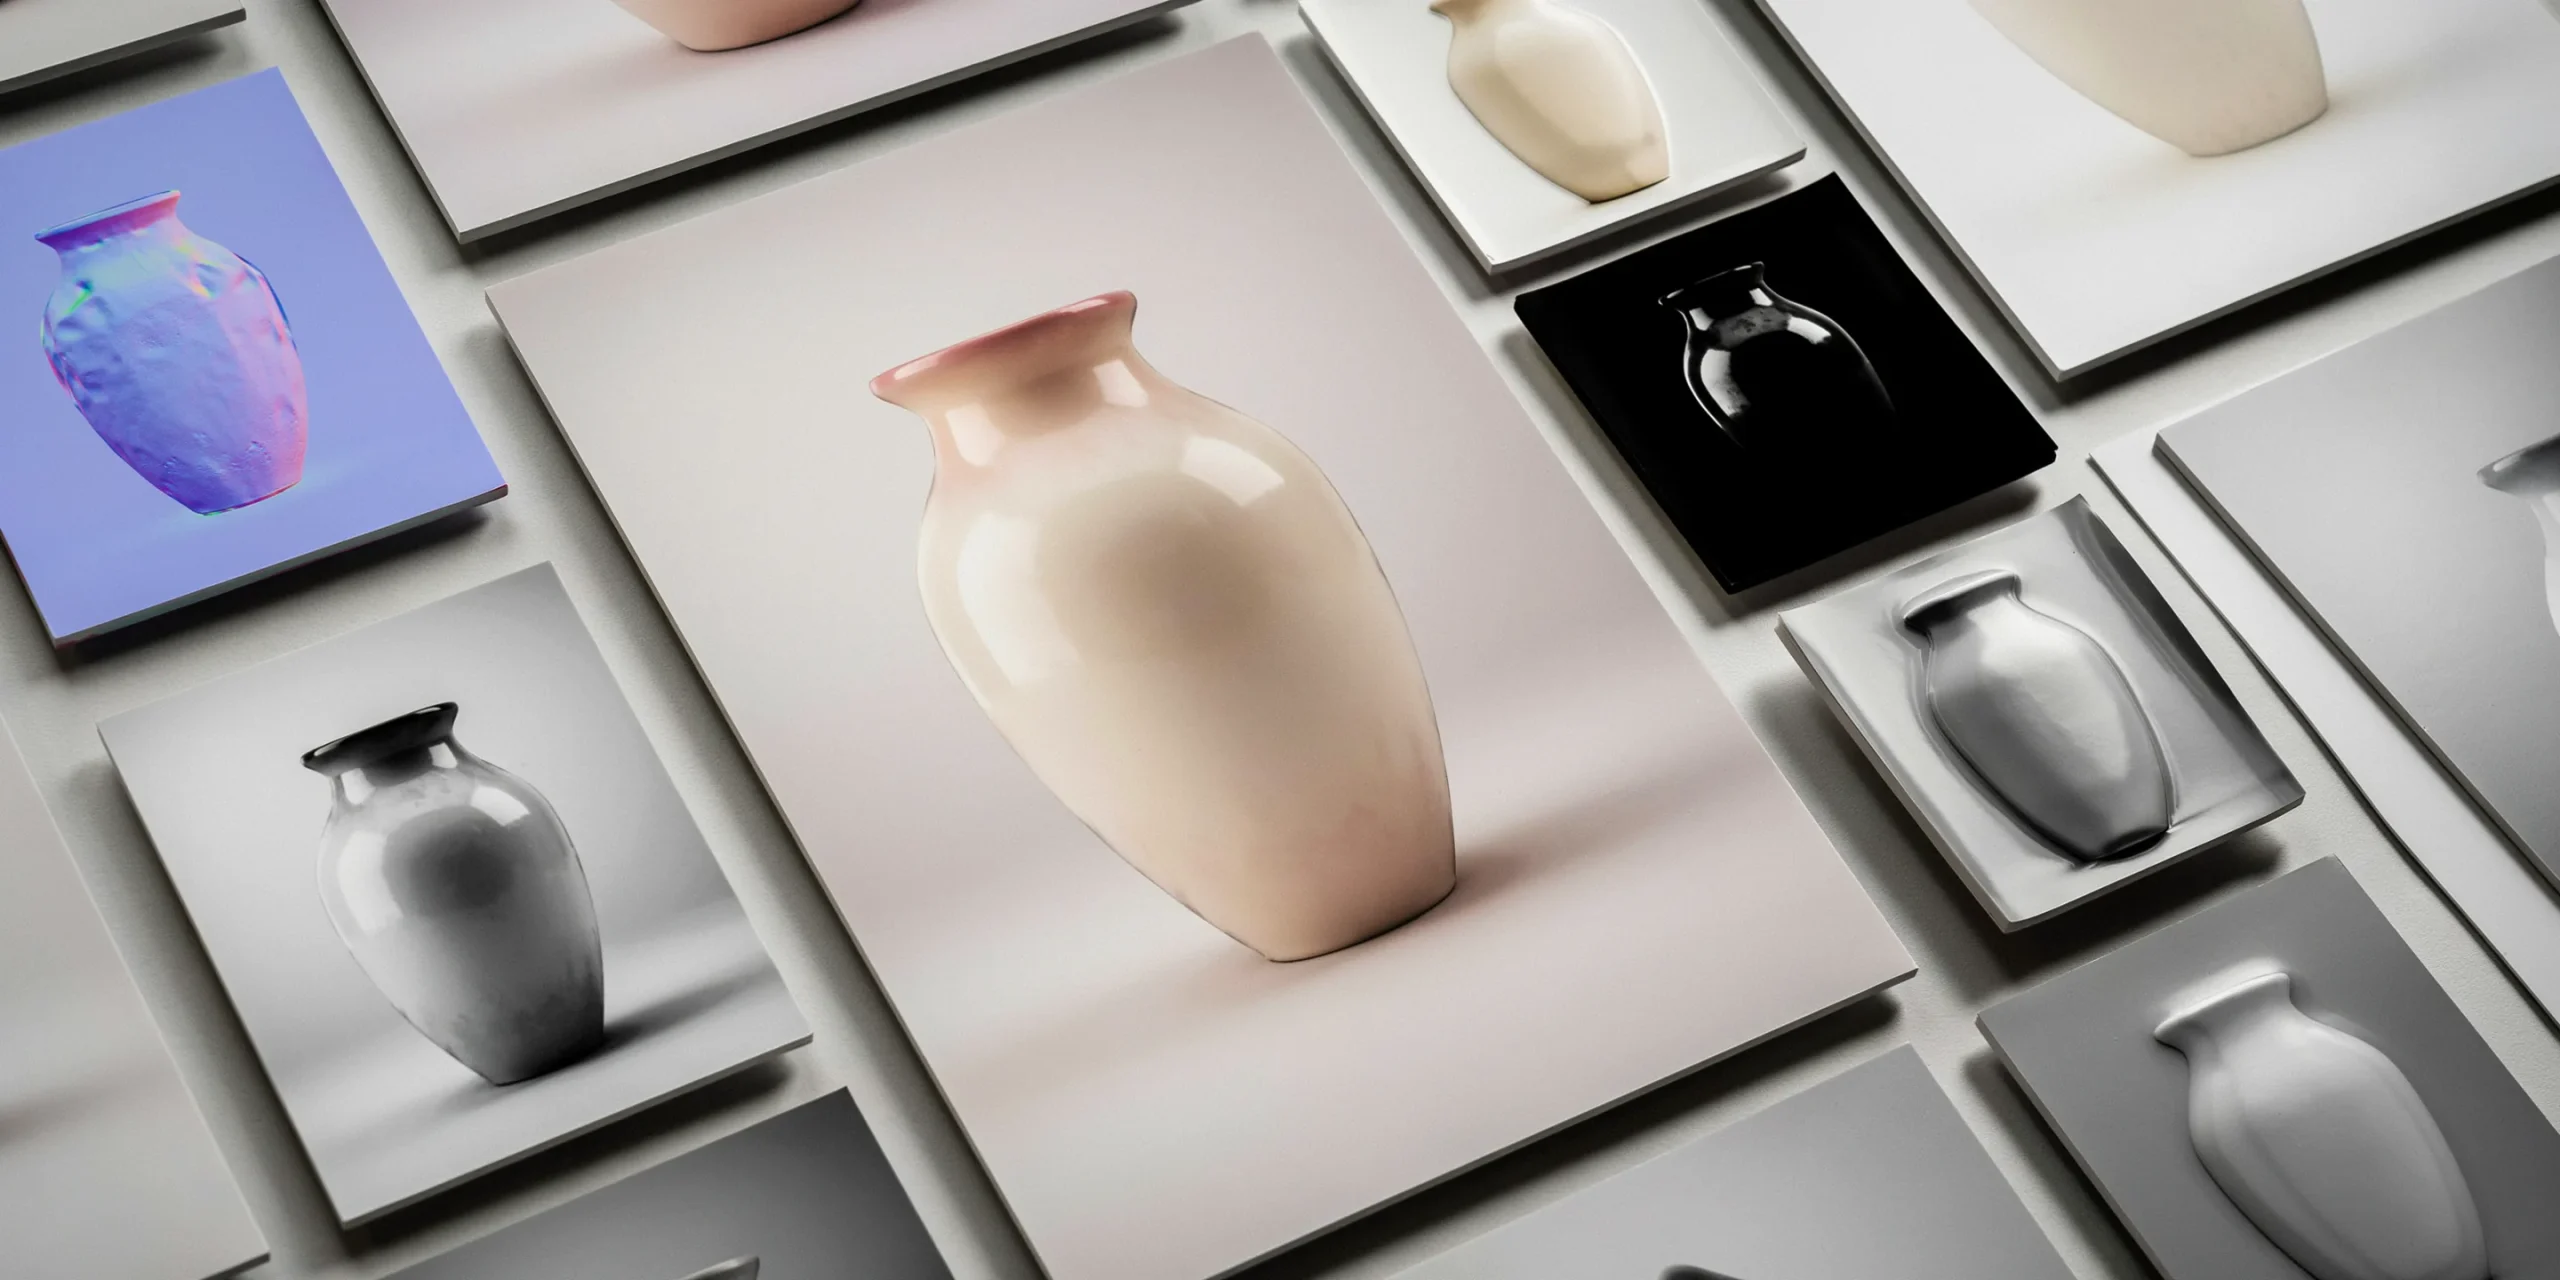
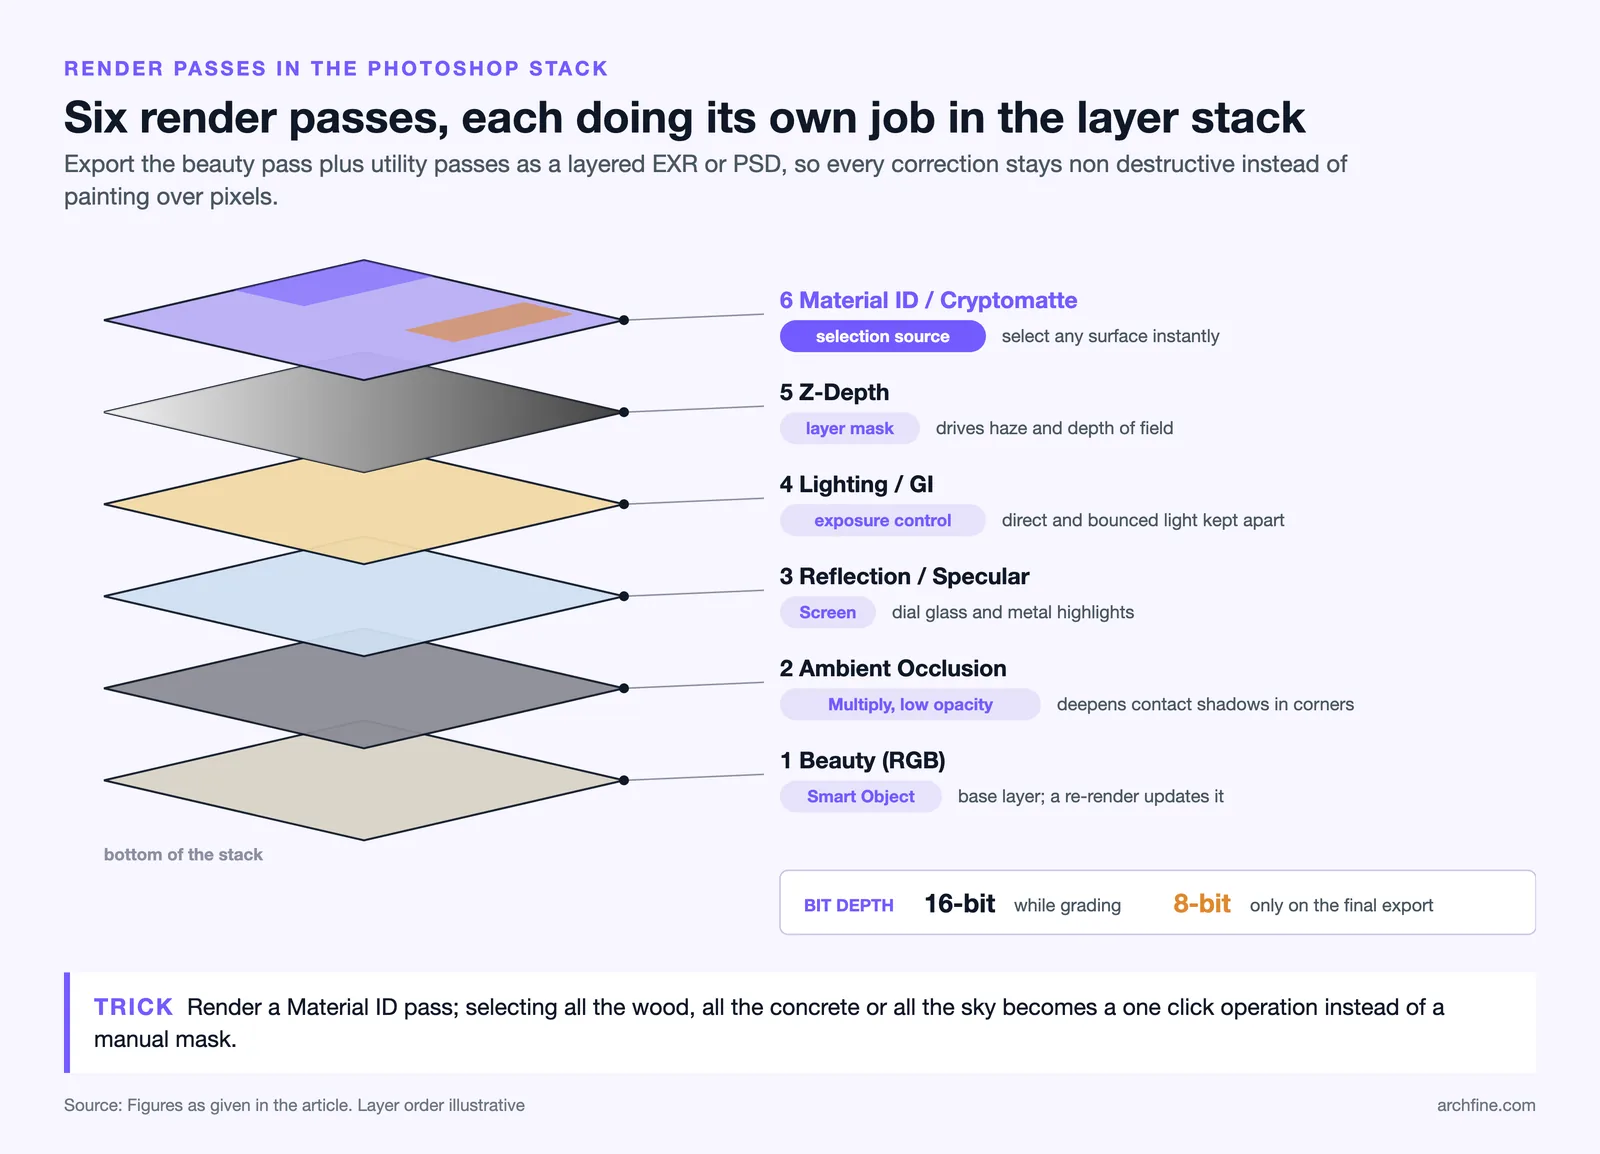
A clean post production stage starts in the render engine, not in Photoshop. Export the beauty pass plus a handful of utility passes so you can adjust the image non-destructively rather than painting over pixels. The most useful render elements for architectural work are:
- Beauty (RGB): the final combined render, your base layer.
- Z-Depth: a grayscale distance map for haze and depth-of-field.
- Reflection and Specular: isolate glass and metal so you can dial highlights up or down.
- Ambient Occlusion (AO): deepens contact shadows in corners and material seams.
- Material ID / Cryptomatte: color-coded masks that let you select any surface instantly.
- Lighting / GI: separates direct and bounced light for fine exposure control.
Save these as a layered EXR or a PSD, then bring the beauty pass in as a Smart Object so any future re-render updates automatically. The Material ID pass is the single biggest time-saver, because selecting all the wood, all the concrete, or all the sky becomes a one-click operation instead of a tedious manual mask.
📐 Technical Note
Keep the document in 16-bit per channel during grading, not 8-bit. Sixteen-bit holds far more tonal information, so heavy Curves and Gradient Map adjustments will not produce banding in skies or smooth wall gradients. Convert to 8-bit only on the final flattened export.
How do you set up the Photoshop post production workflow step by step?

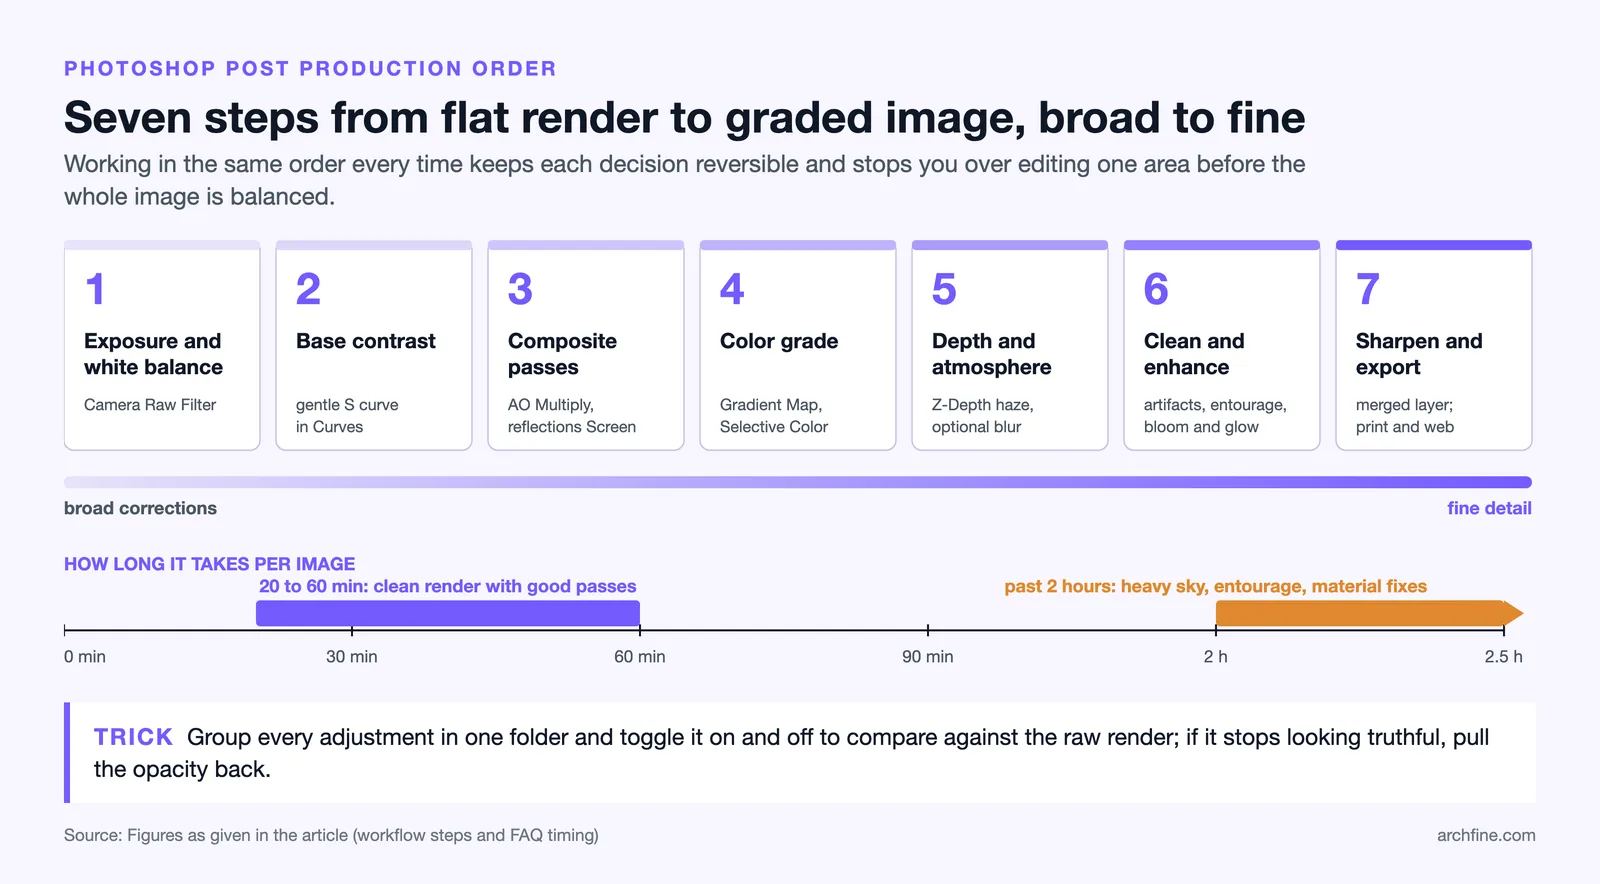
A reliable workflow follows the same order every time, moving from broad corrections to fine detail. Working top-down like this keeps every decision reversible and stops you from over-editing a single area before the whole image is balanced.
- Set exposure and white balance first. Open the beauty pass through Camera Raw (Filter > Camera Raw Filter) and fix overall brightness and color temperature before anything else.
- Add base contrast with Curves. A gentle S-curve deepens shadows and lifts highlights to escape the flat raw render.
- Composite utility passes. Drop AO on Multiply at low opacity, screen in reflections, and use the Z-Depth as a mask.
- Color grade the scene. Apply your look with Gradient Maps, Selective Color, and Color Balance.
- Build depth and atmosphere. Use Z-Depth to add distance haze and an optional depth-of-field blur.
- Clean and enhance. Remove stray artifacts, balance entourage, and add subtle bloom or glow to light sources.
- Sharpen and export. Apply output sharpening on a merged layer, then save print-ready and web versions.
💡 Pro Tip
Group every adjustment into a single folder and toggle its visibility on and off as you work. Flicking between the raw render and your graded version in real time is the fastest way to catch a grade that has drifted too far. If the toggle makes the architecture look better but no longer truthful, pull the opacity back.
How is interior render post processing different from exterior?
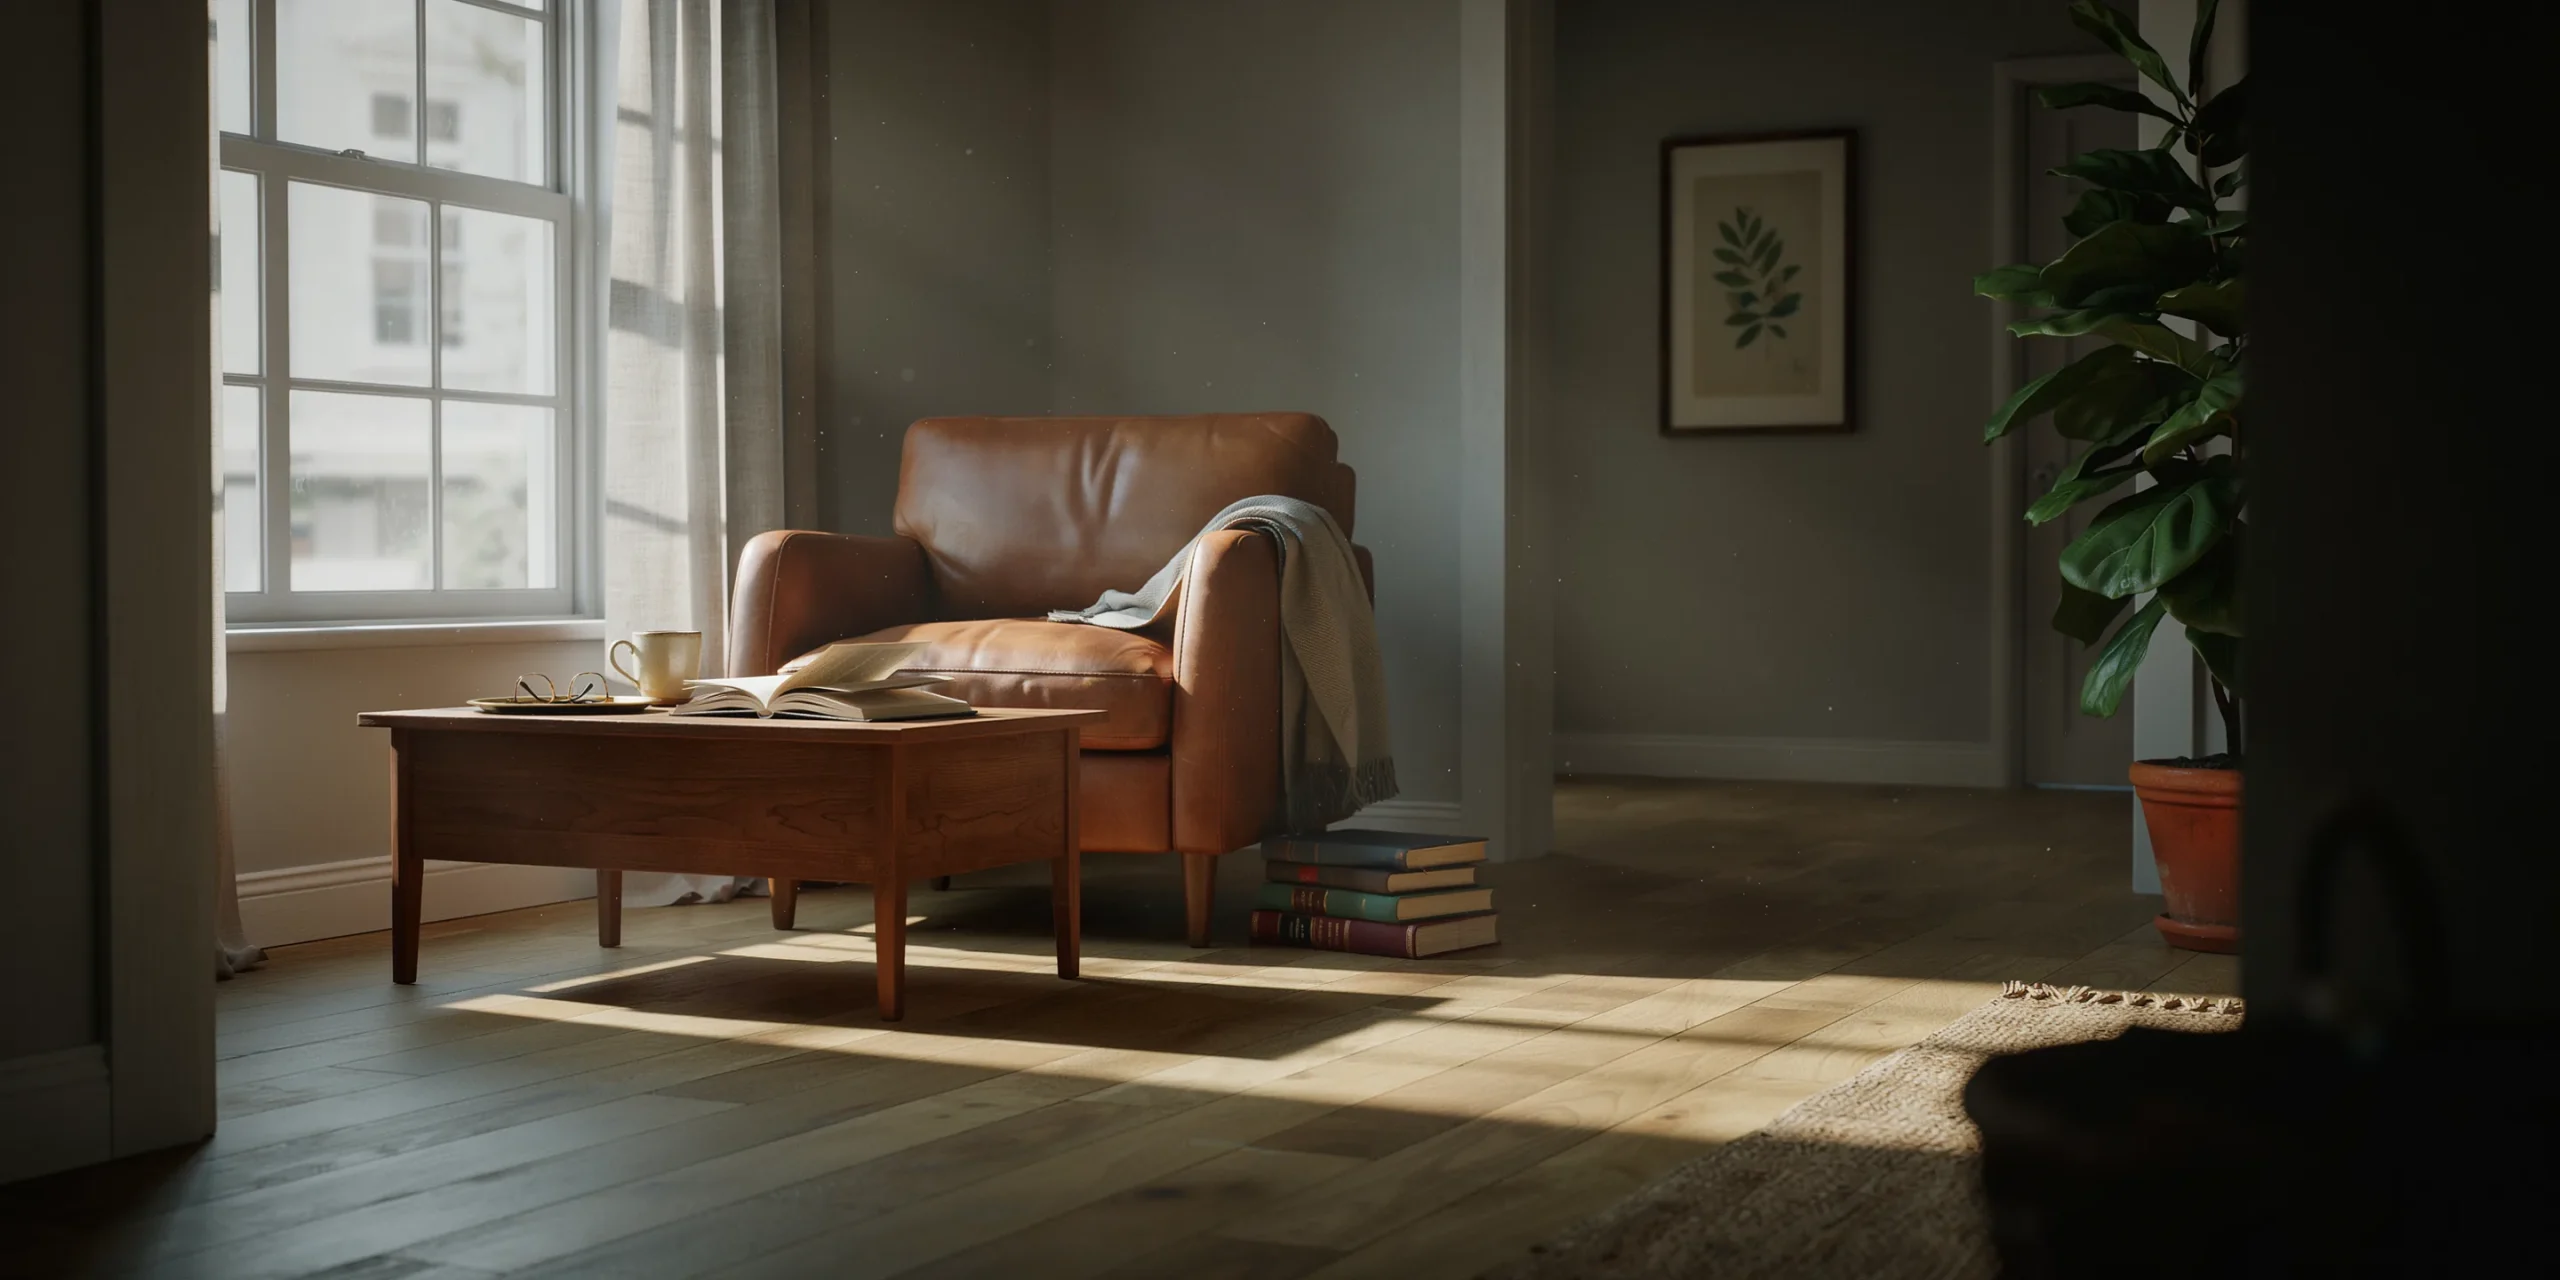
The core workflow stays the same, but the priorities shift. Interior post processing lives and dies by light balance, while exterior post processing is mostly about sky, atmosphere, and context. Treating them identically is where many beginner images fall apart.
Interior post processing priorities

Interiors usually contain a wide dynamic range, from bright window views to deep room corners. The key task is recovering window highlights without crushing the interior shadows. Use a luminosity-masked Curves layer to pull back blown-out glazing, then gently lift the darkest corners so material detail survives. Warm artificial lights against cooler daylight create the inviting, layered look clients expect in interior visualization.
Exterior post processing priorities
Exteriors are defined by their sky and their sense of place. Replace or grade the sky so its light direction matches the render, add aerial haze through the Z-Depth pass to separate foreground from background, and integrate entourage such as trees, people, and cars so scale reads correctly. A crisp golden-hour or clear-daylight grade sells an exterior far faster than any amount of micro-detail on the facade.
⚠️ Common Mistake to Avoid
A frequent error is replacing a sky without matching its light direction and color temperature to the render. A warm afternoon facade under a cold midday sky instantly looks fake. Always sample the sky light, match the shadow direction, and add a faint color cast from the new sky onto the building so the composite holds together.
What are the best color grading techniques for architectural renders?
Color grading is the most powerful tool in post production because it sets the entire mood. The objective is a deliberate, consistent palette across a project rather than a random filter. A few techniques carry most of the weight:
- Gradient Map (low opacity): map shadows to a cool tone and highlights to a warm one for cinematic separation, usually at 10 to 25 percent opacity on Soft Light.
- Curves per channel: the foundation of all grading, used for contrast and channel-by-channel color casts.
- Camera Raw Color Grading panel: tint shadows, midtones, and highlights independently with the color wheels for precise, balanced results.
- Selective Color: fine-tune specific materials, for example warming wood tones or desaturating an overly green lawn.
- LUTs (Color Lookup): apply a saved look across a whole series so ten images share one identity.
- Split toning with Curves: adjust the red, green, and blue channels individually for hand-built color casts.
The discipline that separates professionals is consistency. When a project has six images, the grade should feel like one photographer shot all of them on the same afternoon. Save your grading group or LUT and reuse it across the set, then only tweak per-image exposure.
How do you use the Z-Depth pass for atmosphere and depth?
The Z-Depth pass is a grayscale map where white is near and black is far, or the reverse depending on your engine. Load it as a layer mask or a Lighten Color source and it becomes the foundation for two effects that add instant realism. For distance haze, fill a layer with a pale atmospheric color, set it to Screen, and mask it with the Z-Depth so the haze only appears in the background. If your pass is white near, invert the mask first so far areas read white. For depth-of-field, apply a Lens Blur filter using the Z-Depth as its depth source to throw the far plane gently out of focus.
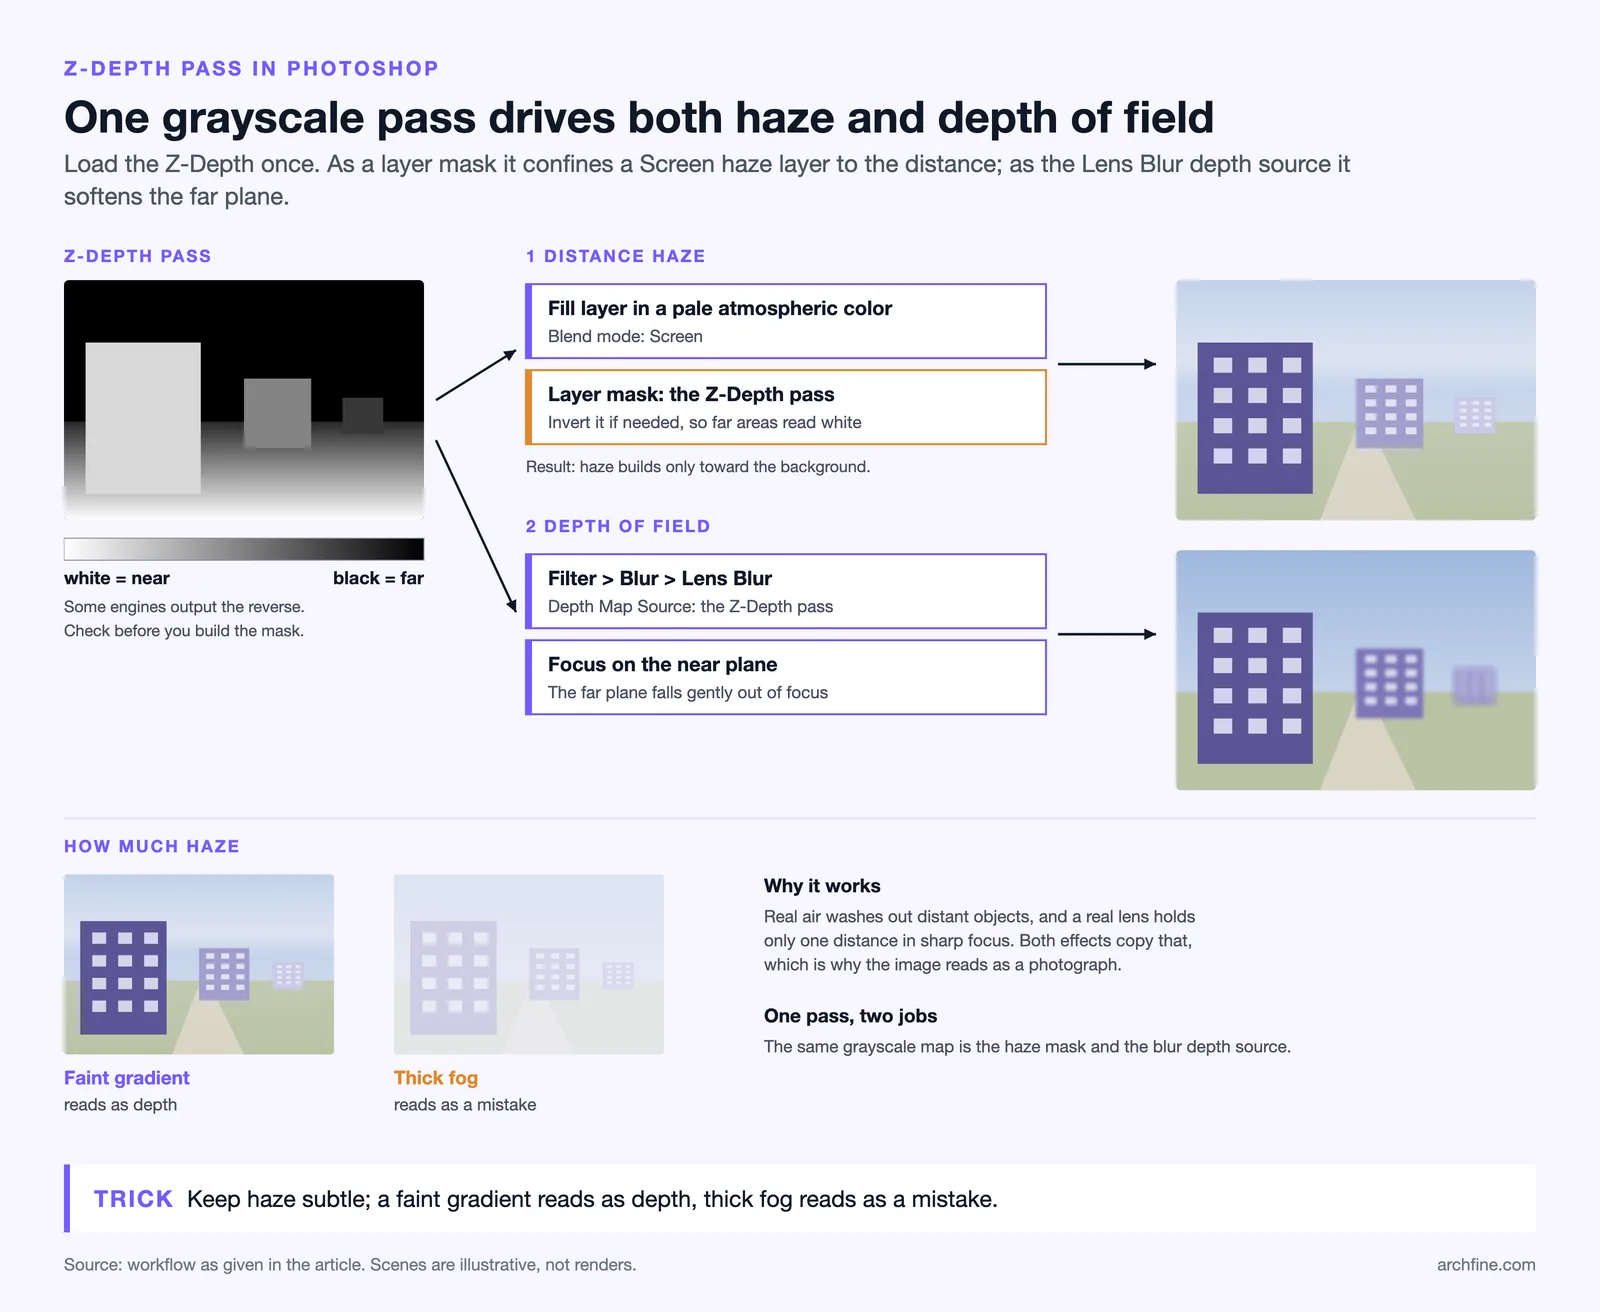
Both effects mimic how a real camera and real air behave, which is exactly why they make a CGI image read as a photograph. Keep haze subtle: a thick fog reads as a mistake, while a faint atmospheric gradient reads as depth.
Render post production in Photoshop versus AI rendering tools
AI tools now handle tasks that once took an hour of manual masking, from sky replacement to entourage generation. The practical question is not Photoshop versus AI, but where each fits. The table below compares the two approaches for common post production tasks.
| Task | Photoshop manual | AI-assisted |
|---|---|---|
| Pass compositing | Precise, fully controllable | Limited, not pass-aware |
| Color grading a series | Consistent via LUTs | Variable between frames |
| Sky replacement | Manual but exact | Fast, one click |
| Entourage and cleanup | Time-consuming | Very fast (Generative Fill) |
| Print-ready output | Full control | Often resolution-limited |
For a deeper look at where AI fits the wider pipeline, see our guides on how to use AI to render architecture and the choice between photorealistic and stylized renders. Post production remains the stage where human judgment about light and mood matters most.
Frequently asked questions
How long should render post production in Photoshop take?
For a clean render with good passes, a polished result takes 20 to 60 minutes. Heavy fixes such as full sky composites, extensive entourage, or material corrections can push a single hero image past two hours. A well-prepared render with utility passes always grades faster.
Do you need render passes, or can you grade the beauty pass alone?
You can grade the beauty pass alone, and for quick previews it is fine. But passes like Z-Depth, AO, and Material ID give non-destructive, surgical control that is impossible from a flattened image. For client-facing work, render the extra passes.
Is Lightroom or Camera Raw better for architectural color grading?
They share the same engine. Camera Raw inside Photoshop is usually better for archviz because you stay in one document with your render passes and layer masks. The Color Grading panel and Curves give you everything needed for a controlled architectural look.
What file format should you deliver after post production?
Deliver a high-quality TIFF or PNG for print and a sized JPEG for web. Keep a layered PSD master so you can revise the grade without redoing the work. Match resolution and color profile to the client’s intended use.
Your Next Step: Open your most recent render in Photoshop, run the beauty pass through Camera Raw to fix exposure and white balance first, then build your color grade in a single toggleable group so you can compare it against the raw output at every step. If you want to judge the result objectively, measure it against our breakdown of what makes a great architectural render.