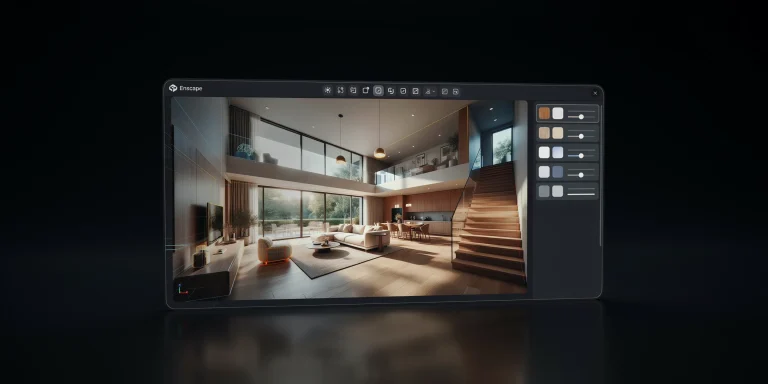
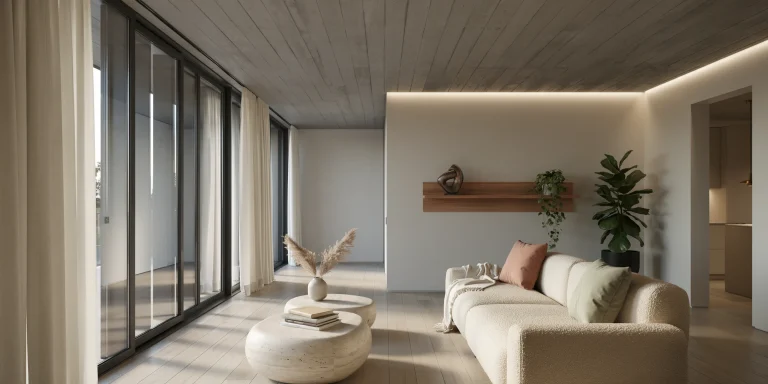
V-Ray for architecture is a production rendering engine from Chaos that turns 3D models in 3ds Max, SketchUp, Rhino and Revit into photorealistic still images and animations. It handles light, materials and global illumination with physically accurate math, giving architects control over interior and exterior scenes that quick render tools cannot match.
Most architects reach for V-Ray when a project needs final-quality visuals: competition boards, marketing brochures, planning submissions or anything a client will study up close. The trade-off is a learning curve. Render settings, material setup and lighting all interact, and small mistakes show up as noise, blown highlights or flat surfaces. This guide breaks down the settings that actually matter, how materials behave, and a working order of operations you can reuse across host applications.
What is V-Ray and why do architects use it?

V-Ray is a ray-traced rendering engine that simulates how light bounces through a scene. Architects use it because it produces predictable, physically based results: a sun at the correct angle casts correct shadows, glass refracts, and concrete reads as concrete. According to Chaos, the developer of V-Ray, the engine supports both CPU and GPU rendering, distributed rendering across multiple machines, and a frame buffer with built-in light mixing and layered compositing.
The same core engine runs inside several design tools, so the concepts transfer. You learn lighting and materials once, then apply them whether you model in 3ds Max for detailed exteriors or in SketchUp for fast interior studies. Chaos released V-Ray 7 in 2025, and Update 3 in 2026 added a real-time Vantage viewport link and a node-based material editor preview for the SketchUp and Rhino versions, narrowing the gap between draft and final output.
📌 Did You Know?
V-Ray technology has won both an Academy Sci-Tech Award and an Emmy for its contribution to visual effects, per Chaos. The same renderer used in feature films is what powers most high-end architectural visualization studios today.
How do V-Ray render settings work for architecture?
V-Ray render settings control the balance between image quality and render time. The two levers that matter most are sampling, which removes noise, and global illumination, which controls how light bounces. According to the official Chaos help center, the Quality preset slider adjusts both raytrace and GI values together, so most scenes do not need manual tuning beyond it.
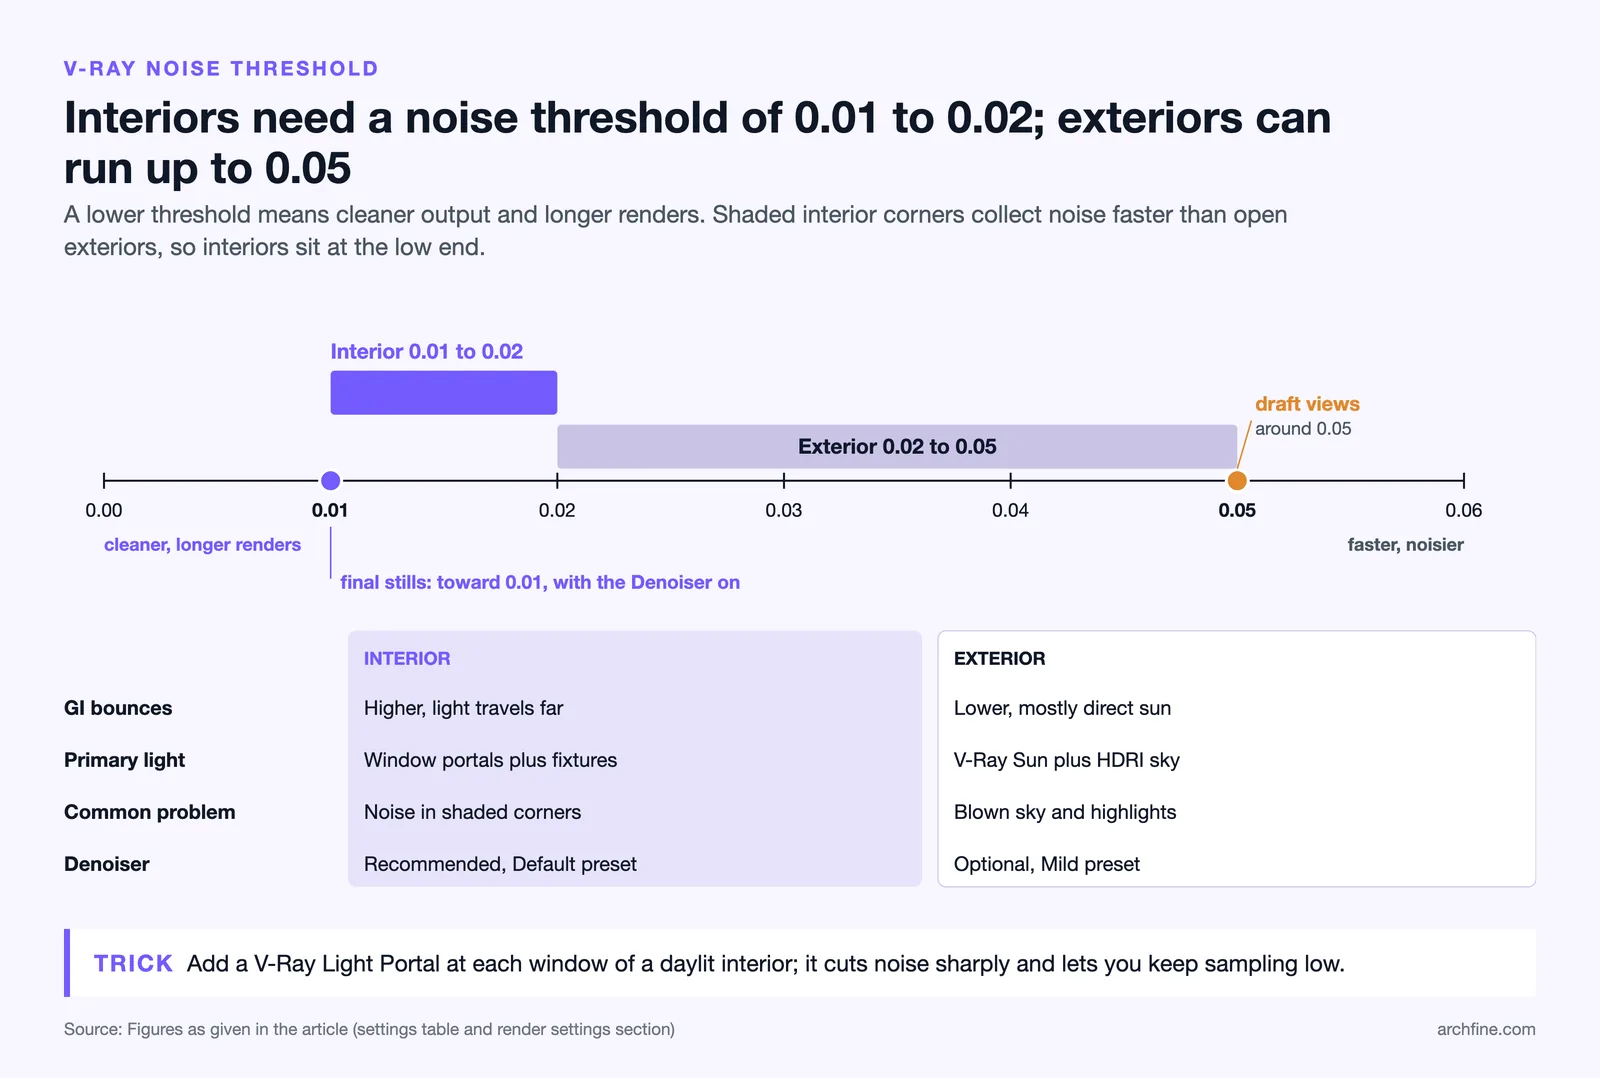
Start with the noise threshold. A lower value means cleaner output and longer renders. For draft views, a threshold around 0.05 is fine; for final stills, drop it toward 0.01. Pair this with the V-Ray Denoiser so you can keep sampling moderate and clean up the remaining grain after the render finishes. Interior scenes need more attention here because shaded corners collect noise faster than open exteriors.
Interior vs exterior settings
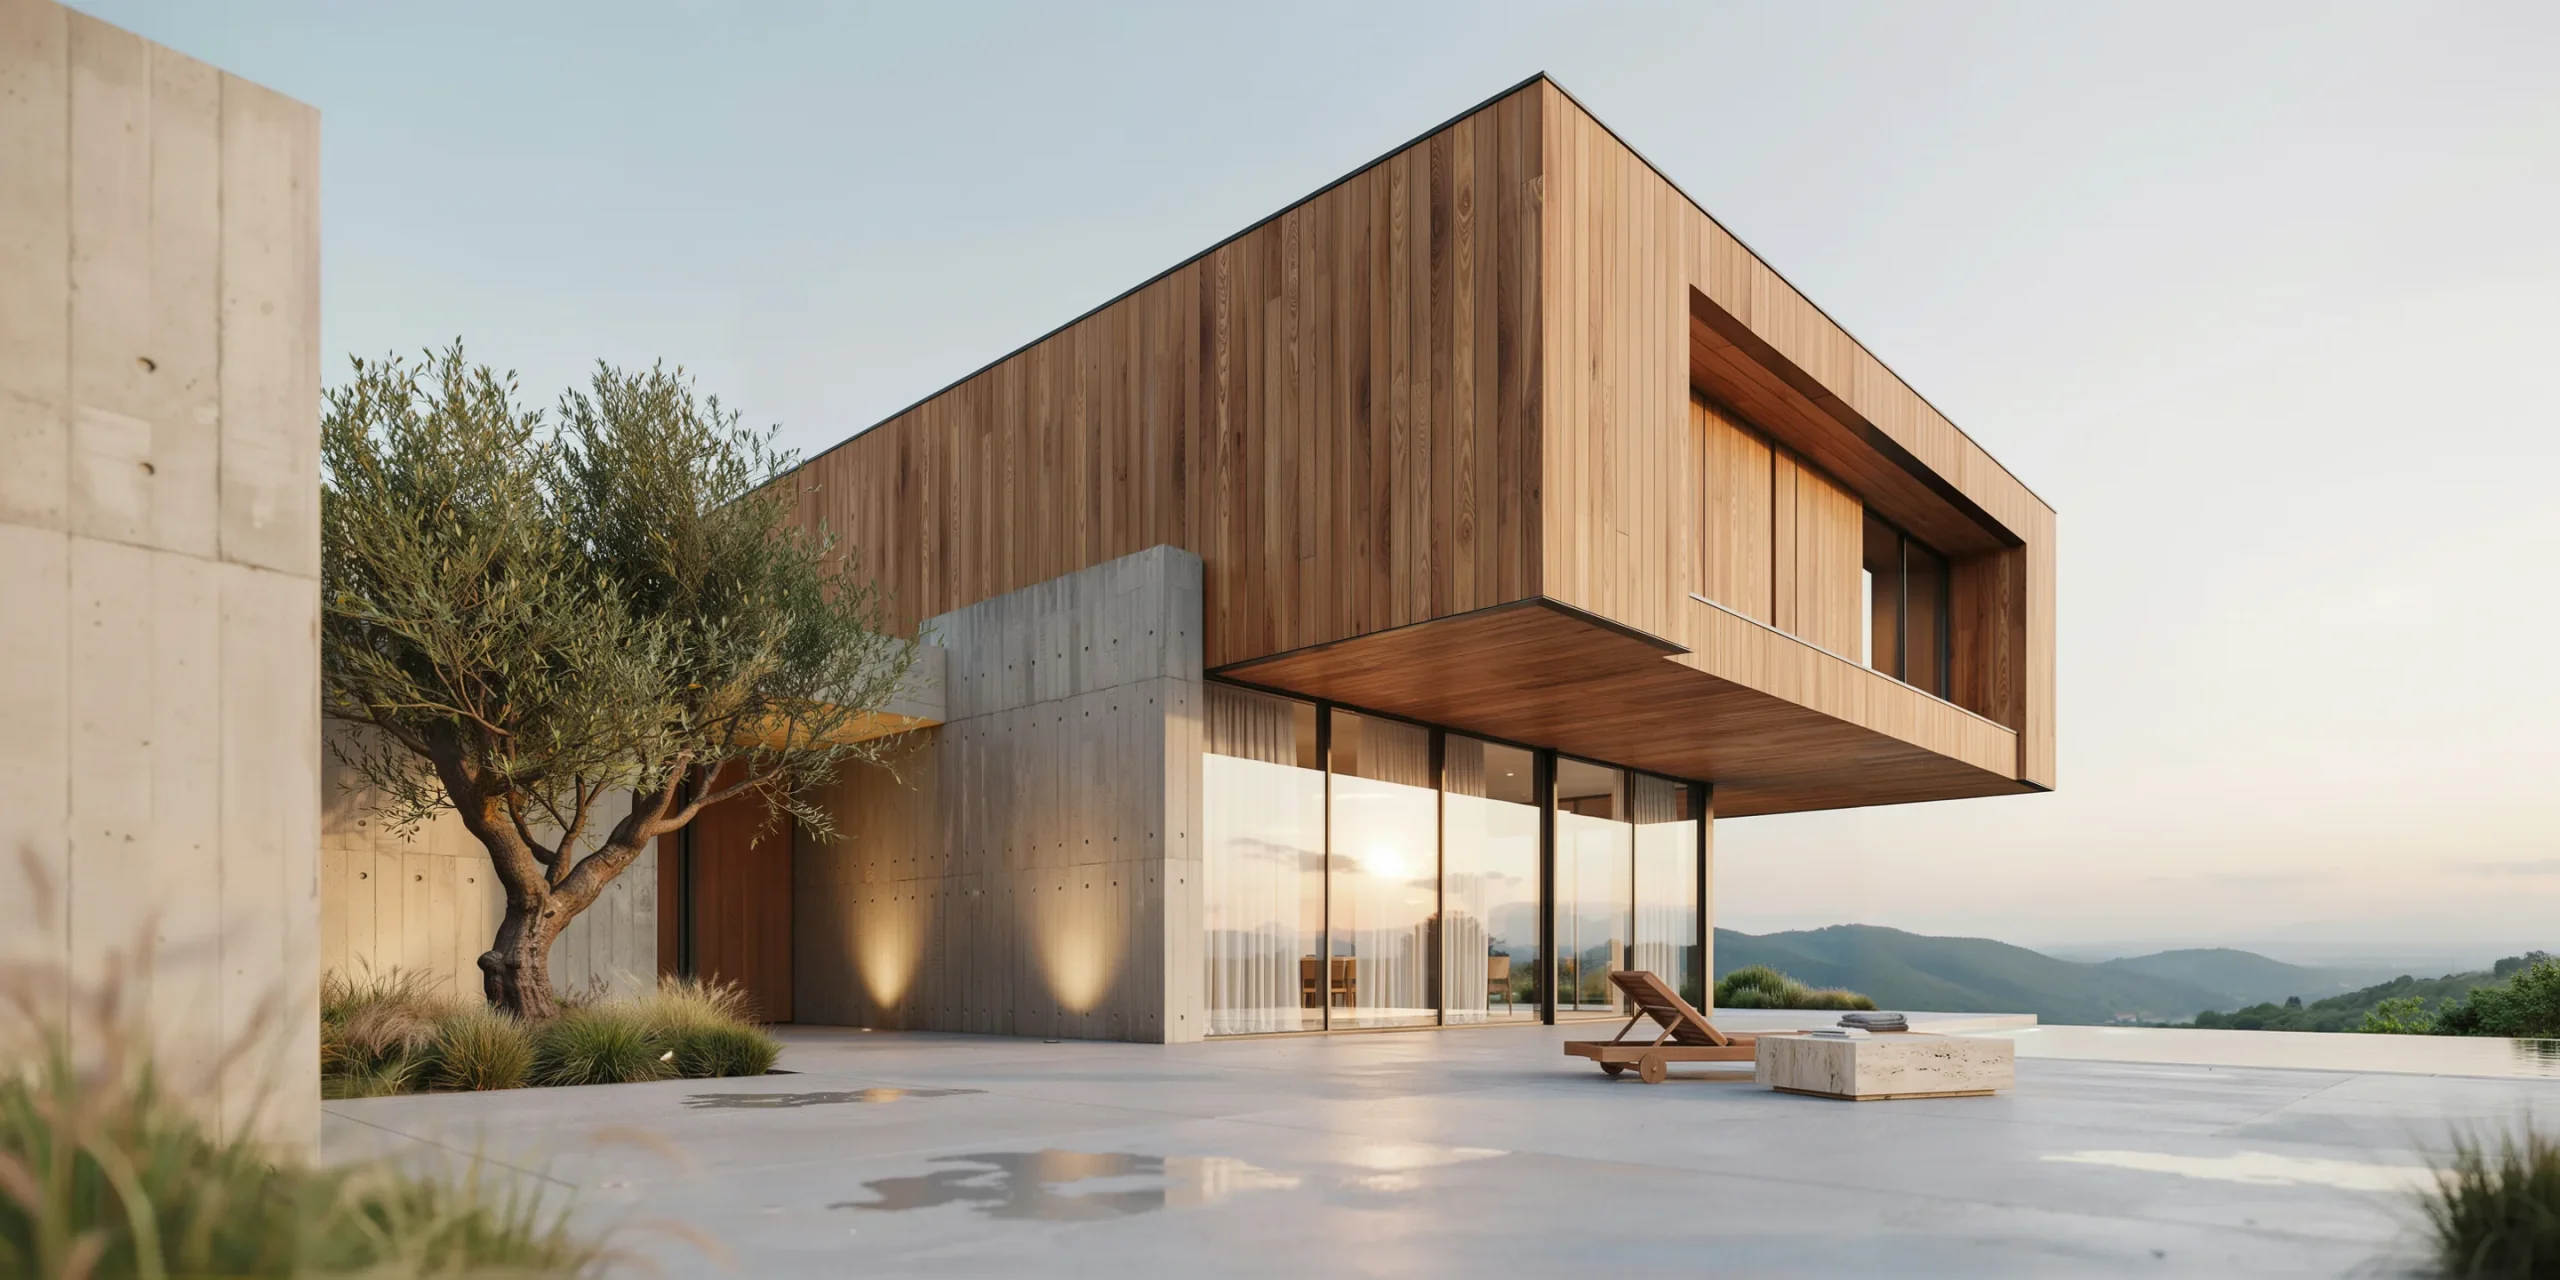
Interior and exterior scenes behave differently and deserve different setups. Interiors rely on light entering through openings and bouncing many times, so global illumination depth and noise control take priority. Exteriors are dominated by the sun and sky, so you can use fewer bounces and lean on HDRI lighting for soft fill.
V-Ray Settings: Interior vs Exterior
| Setting | Interior | Exterior |
|---|---|---|
| Noise threshold | 0.01 to 0.02 (lower) | 0.02 to 0.05 |
| GI bounces | Higher, light travels far | Lower, mostly direct sun |
| Primary light | Window portals plus fixtures | V-Ray Sun plus HDRI sky |
| Common problem | Noise in shaded corners | Blown sky and highlights |
| Denoiser | Recommended, Default preset | Optional, Mild preset |
💡 Pro Tip
Add a V-Ray Light Portal at each window when rendering interiors lit by daylight. The portal tells the engine where light enters, which cuts interior noise sharply and lets you keep sampling low. Skipping portals is the single most common reason interior renders take twice as long as they should.
Setting up V-Ray materials for realistic surfaces

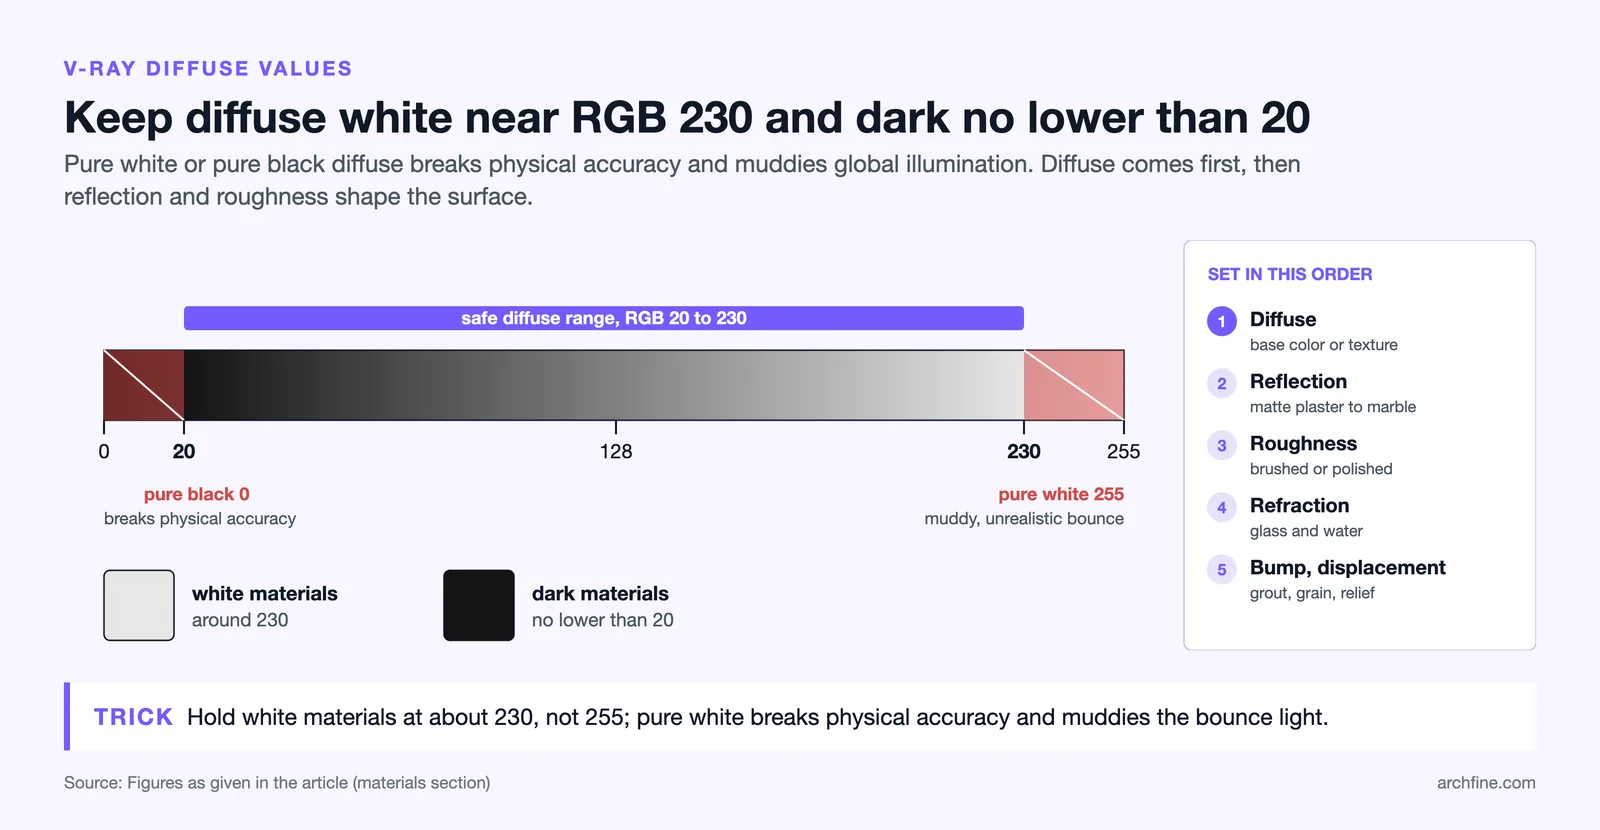
Materials carry most of the realism in an architectural render. The V-Ray material is built around a few parameters that map to real-world surface behavior, and getting these right matters more than any render setting. The starting point is always the diffuse color, which sets the base appearance before reflection and roughness shape how light interacts with it.
- Diffuse: the base color or texture of the surface, your first adjustment for any material.
- Reflection: controls how mirror-like the surface is, from matte plaster to polished marble.
- Roughness or glossiness: spreads or sharpens reflections, the difference between brushed and polished metal.
- Refraction: needed for glass, water and other transparent materials.
- Bump and displacement: add surface texture like grout lines, wood grain or stone relief.
Use real-world reference for reflection values. Most everyday surfaces are not perfectly matte or perfectly mirrored; concrete, painted drywall and fabric all have a faint reflection that grounds them in the scene. The V-Ray material libraries that ship with each version give you physically calibrated starting points you can adjust rather than building from zero.
⚠️ Common Mistake to Avoid
Setting diffuse colors to pure white (255) or pure black (0) breaks physical accuracy and causes muddy bounce light. Real surfaces reflect between roughly 2 and 90 percent of light, so keep white materials around an RGB value of 230 and dark materials no lower than 20 to keep global illumination behaving correctly.
How do you light an architectural scene in V-Ray?

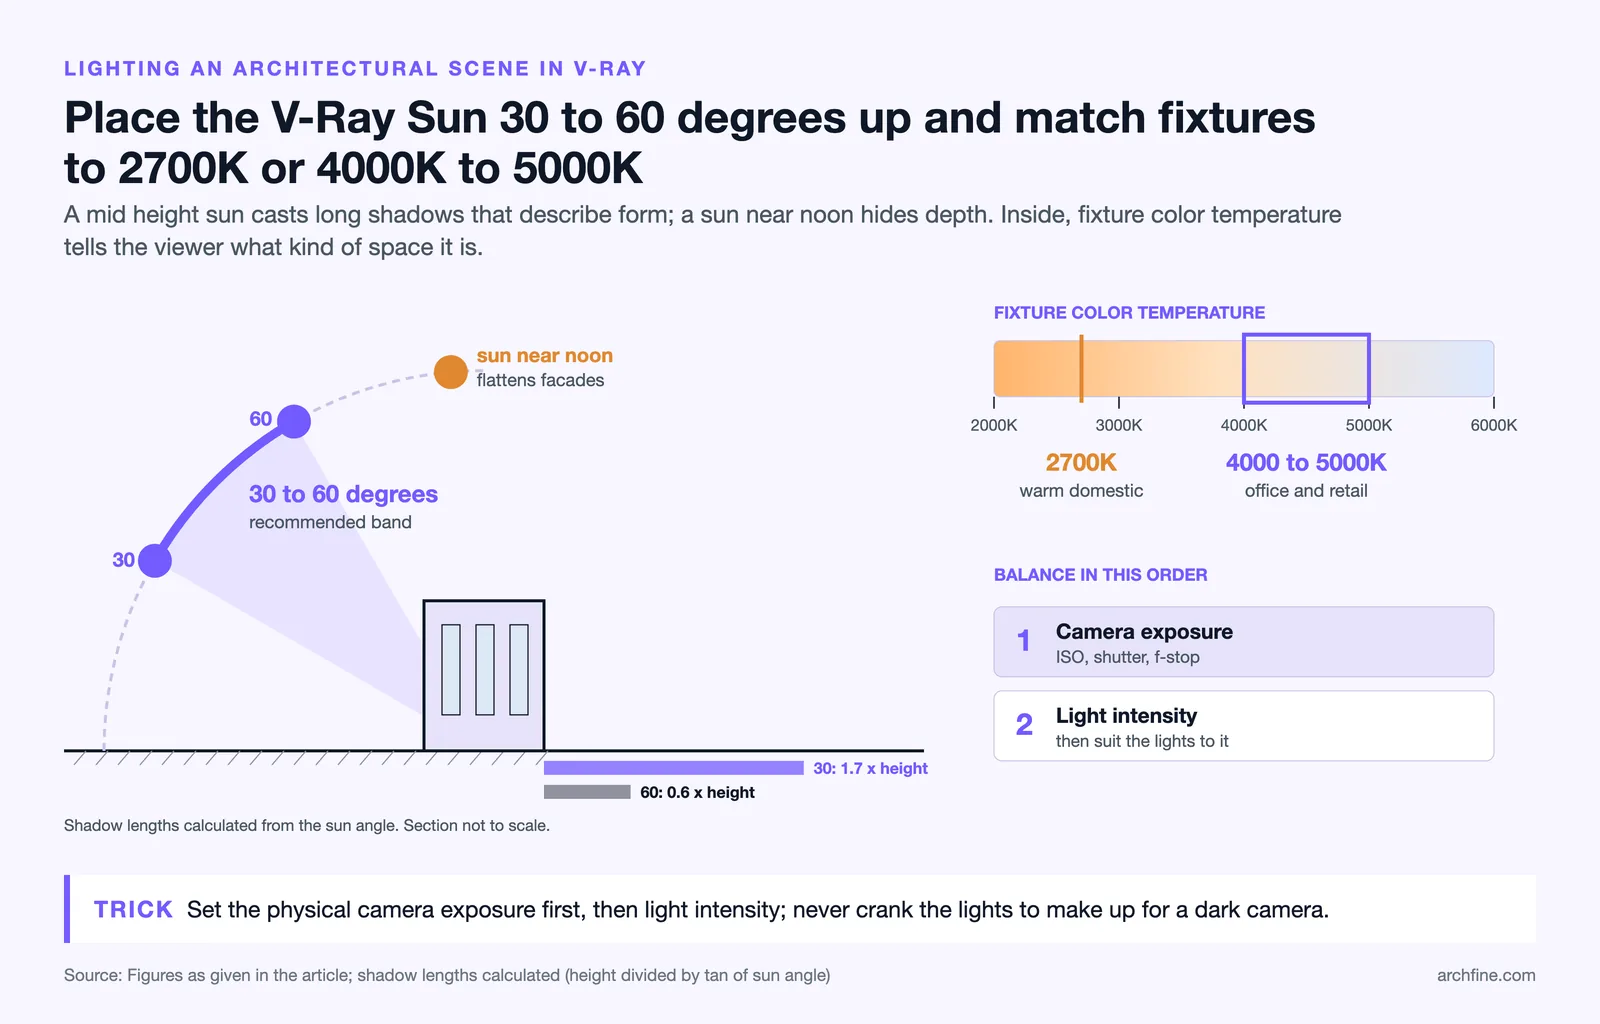
Lighting is what separates a flat model from a believable space, and V-Ray gives you several tools that map to real lighting conditions. For daylight exteriors, the V-Ray Sun and Sky system simulates the position of the sun and the color of the sky at a given time, while an HDRI map wrapped around the scene adds realistic environment reflections and soft ambient fill. Combining the two gives you both crisp sun shadows and natural bounce.
Interiors call for a different mix. Daylight enters through windows, so you place light portals on the openings to guide that light efficiently, then add V-Ray Lights for fixtures, lamps and recessed downlights. Match each artificial source to a realistic color temperature: roughly 2700K for warm domestic lighting and 4000K to 5000K for cooler office and retail spaces. Mixing warm and cool sources thoughtfully is often what makes an interior read as lived-in rather than staged.
Exposure ties it all together. V-Ray uses a physical camera model with ISO, shutter speed and f-stop, so you balance brightness the way a photographer would. Set the camera exposure first, then adjust light intensity to suit, rather than cranking lights to compensate for a dark camera setting.
V-Ray for 3ds Max vs V-Ray for SketchUp
The engine is shared, but each host application targets a different workflow. V-Ray for 3ds Max is the deepest version, favored by visualization studios for detailed exteriors, animation and full scene control. V-Ray for SketchUp is faster to learn and pairs naturally with SketchUp modeling, which makes it popular for interior studies and quick client-facing stills.
SketchUp users lean on the Quality preset and the Denoiser to get clean results without deep technical setup. The Chaos documentation for the SketchUp Denoiser lists Default, Mild and Strong presets, with Default applying mid-level cleanup that suits most architectural scenes. 3ds Max gives you finer manual control over sampling, render elements and post effects when a project demands it.
📐 Technical Note
V-Ray supports open standards including Alembic, OSL shaders, OpenColorIO and ACEScg color management. Working in ACEScg rather than standard sRGB gives a wider color range and more natural highlight rolloff, which is why studios delivering print-quality boards often render in a linear ACES pipeline.
A practical V-Ray architectural rendering workflow
A repeatable order of operations keeps render time and frustration down. Follow the same sequence whether you work in 3ds Max or SketchUp, and only push quality high once the composition and lighting are locked.
- Set your camera and composition first, before any materials or lighting work.
- Block the lighting with a V-Ray Sun and HDRI sky for exteriors, or window portals for interiors.
- Render fast, low-quality test frames to judge exposure and shadow direction.
- Apply and tune materials, checking each against a neutral lighting setup.
- Refine lighting and add artificial fixtures with correct color temperature.
- Raise quality settings, lower the noise threshold and enable the Denoiser for the final pass.
- Finish exposure, contrast and color in the V-Ray Frame Buffer using light mix and layered adjustments.
For early concept work where speed matters more than final fidelity, many teams now pair V-Ray with an AI rendering step. Instead of waiting on a full production render to test a mood, you can export a quick viewport image and process it through an AI rendering workflow for SketchUp in under a minute, then reserve V-Ray for the deliverables that demand precision. The same approach works for complex Rhino geometry, as covered in this guide to Rhino AI rendering without long render times.
💡 Pro Tip
Position the V-Ray Sun between 30 and 60 degrees above the horizon for exteriors. This range produces longer, more readable shadows that describe building form and texture, while a sun placed near noon flattens facades and hides the depth that makes a render convincing.
Choosing between a fully photorealistic V-Ray output and a lighter stylized look depends on the project stage and audience, a decision worth planning early rather than mid-render. If you are weighing that call, this breakdown of photorealistic vs stylized renders covers which approach wins client approval faster at each phase.
Technical render settings should be tested on your specific scene and hardware, since optimal values vary by geometry, resolution and machine.
Frequently Asked Questions
Is V-Ray good for architecture?
Yes. V-Ray is one of the most widely used engines in architectural visualization because it produces physically accurate light and materials. It is the standard choice for final client deliverables, competition boards and printed marketing where dimensional accuracy and photorealism matter.
How long does a V-Ray architectural render take?
Render time depends on scene complexity, resolution, lighting and hardware. A draft interior view can finish in minutes, while a high-resolution final still with detailed materials and global illumination may take an hour or more. Using the Denoiser and a sensible noise threshold keeps times manageable without sacrificing quality.
Which is better for beginners, V-Ray for SketchUp or 3ds Max?
V-Ray for SketchUp is easier to learn. Its Quality presets and Denoiser produce clean results with minimal setup, which suits architects who already model in SketchUp. V-Ray for 3ds Max offers deeper control for complex exteriors and animation but has a steeper learning curve.
How do I reduce noise in a V-Ray render?
Lower the noise threshold for cleaner sampling, add light portals at window openings for interiors, and enable the V-Ray Denoiser to clean remaining grain after the render. For exteriors, make sure the sky and sun exposure are not blown out, which can create the appearance of noise around bright edges.
Putting It All Together
Bottom Line: V-Ray rewards a disciplined order of operations more than any single magic setting. Lock the camera, get lighting right with the sun and portals, build physically calibrated materials, then raise quality and denoise only for the final pass. Master that sequence once and it carries across SketchUp, 3ds Max and Rhino without relearning the engine.