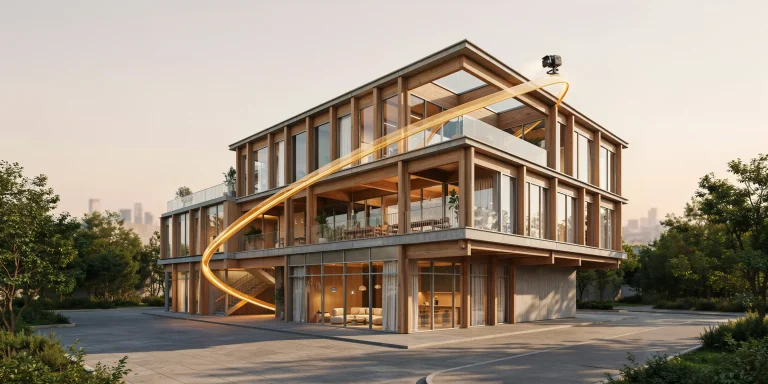
Aerial rendering is a 3D visualization technique that shows a building or site from an elevated viewpoint, such as a bird’s-eye or drone perspective. It is the go-to camera approach for masterplans, site context, and large developments where the relationship between structures, landscape, and surroundings matters more than a single facade.
When a project is too large or too spread out to read from street level, an aerial render becomes the clearest way to communicate intent. A mixed-use district, a campus, or a residential masterplan rarely makes sense from eye height. Lift the camera, and suddenly the circulation, the green spaces, and the massing all click into place. This guide covers when to use aerial rendering, the camera angles that define it, how to handle site context and masterplans, and the technical choices that separate a flat top-down diagram from a convincing high-altitude visual.
What is aerial architectural rendering?
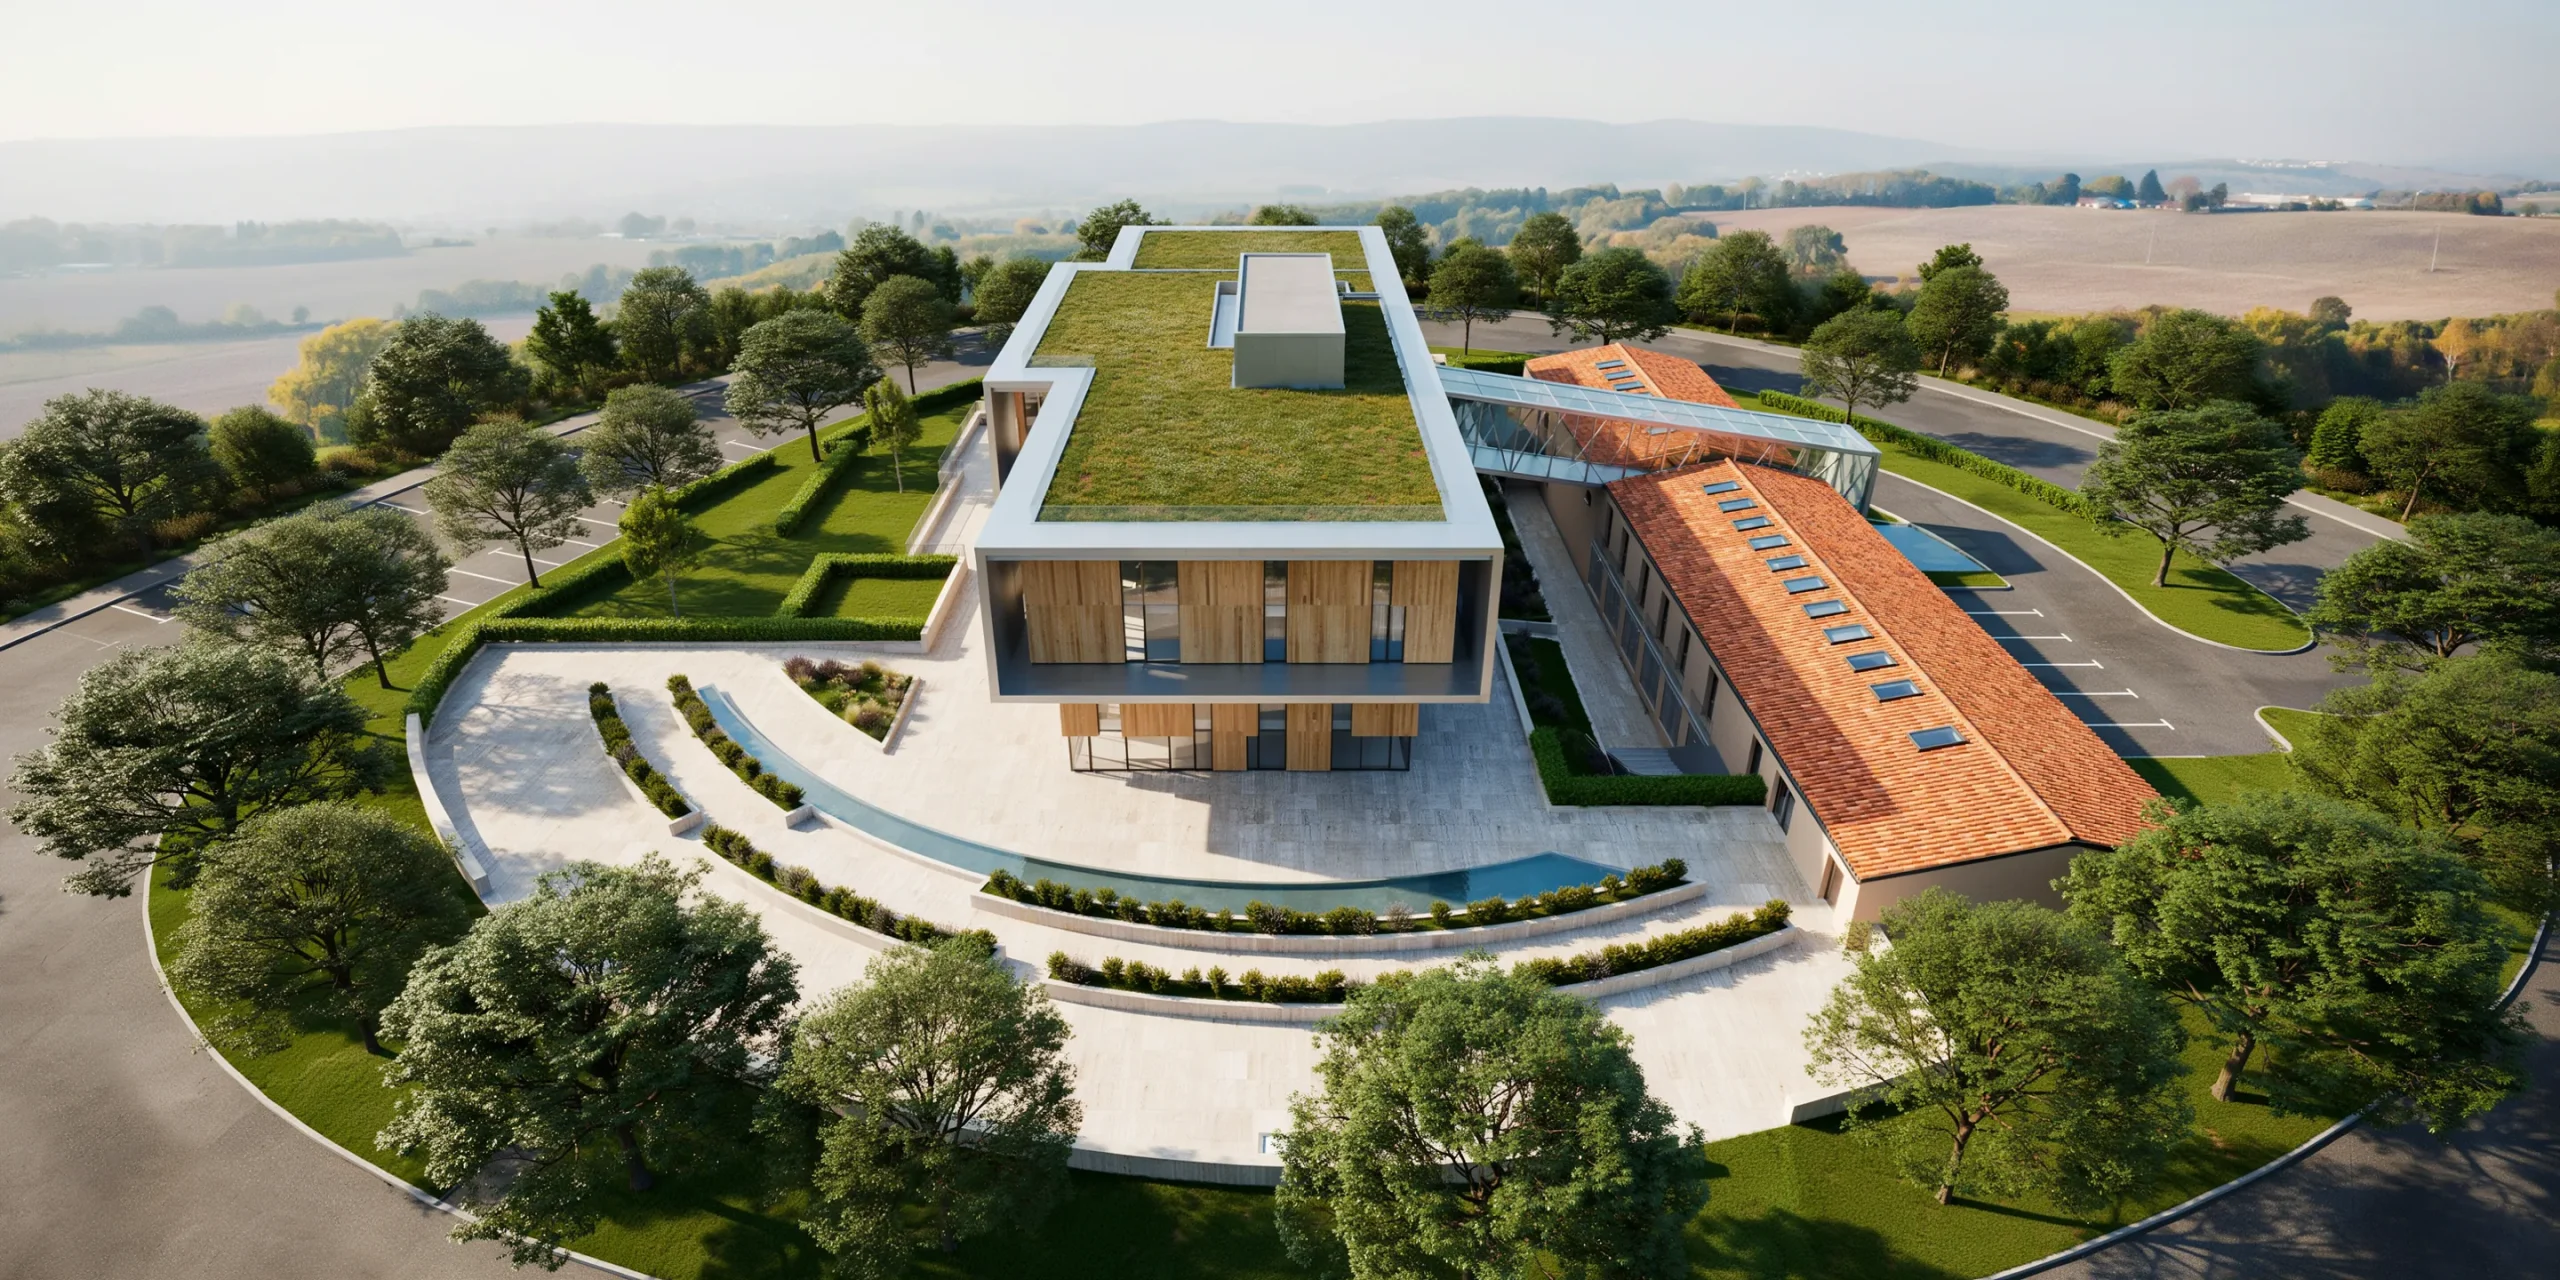
Aerial architectural rendering is a computer-generated image that depicts a building or development from above, simulating the view from an aircraft, drone, or high vantage point. It captures spatial relationships across an entire site rather than focusing on one elevation, which makes it the standard choice for urban planning, real estate marketing, and design approval submissions.
According to Chaos, the makers of V-Ray and Corona, a bird’s-eye view simulates looking down from a high point in the sky and is commonly used for landscapes and outdoor environments. The same source highlights a hybrid technique where computer-generated buildings are composited into real drone photography, placing the design in its exact physical location. That blend of real terrain and modeled architecture is one reason aerial work has become central to modern archviz.
There are three broad categories you will run into. Photorealistic aerial renders aim for lifelike light, materials, and atmosphere. Conceptual aerial renders stay looser and more diagrammatic, useful early in design. Interactive aerial views let a client orbit or fly over a model in real time. Most architectural deliverables fall into the first two, and the principles below apply to both.
📌 Did You Know?
Drones capture two distinct image types that map directly onto rendering camera choices: nadir shots, which point straight down for plan-like accuracy, and oblique shots, which tilt the camera to reveal building facades. Aerial mapping workflows rely on both, and archviz borrows the same logic when setting up a virtual camera over a site.
When should you use an aerial view instead of eye-level?
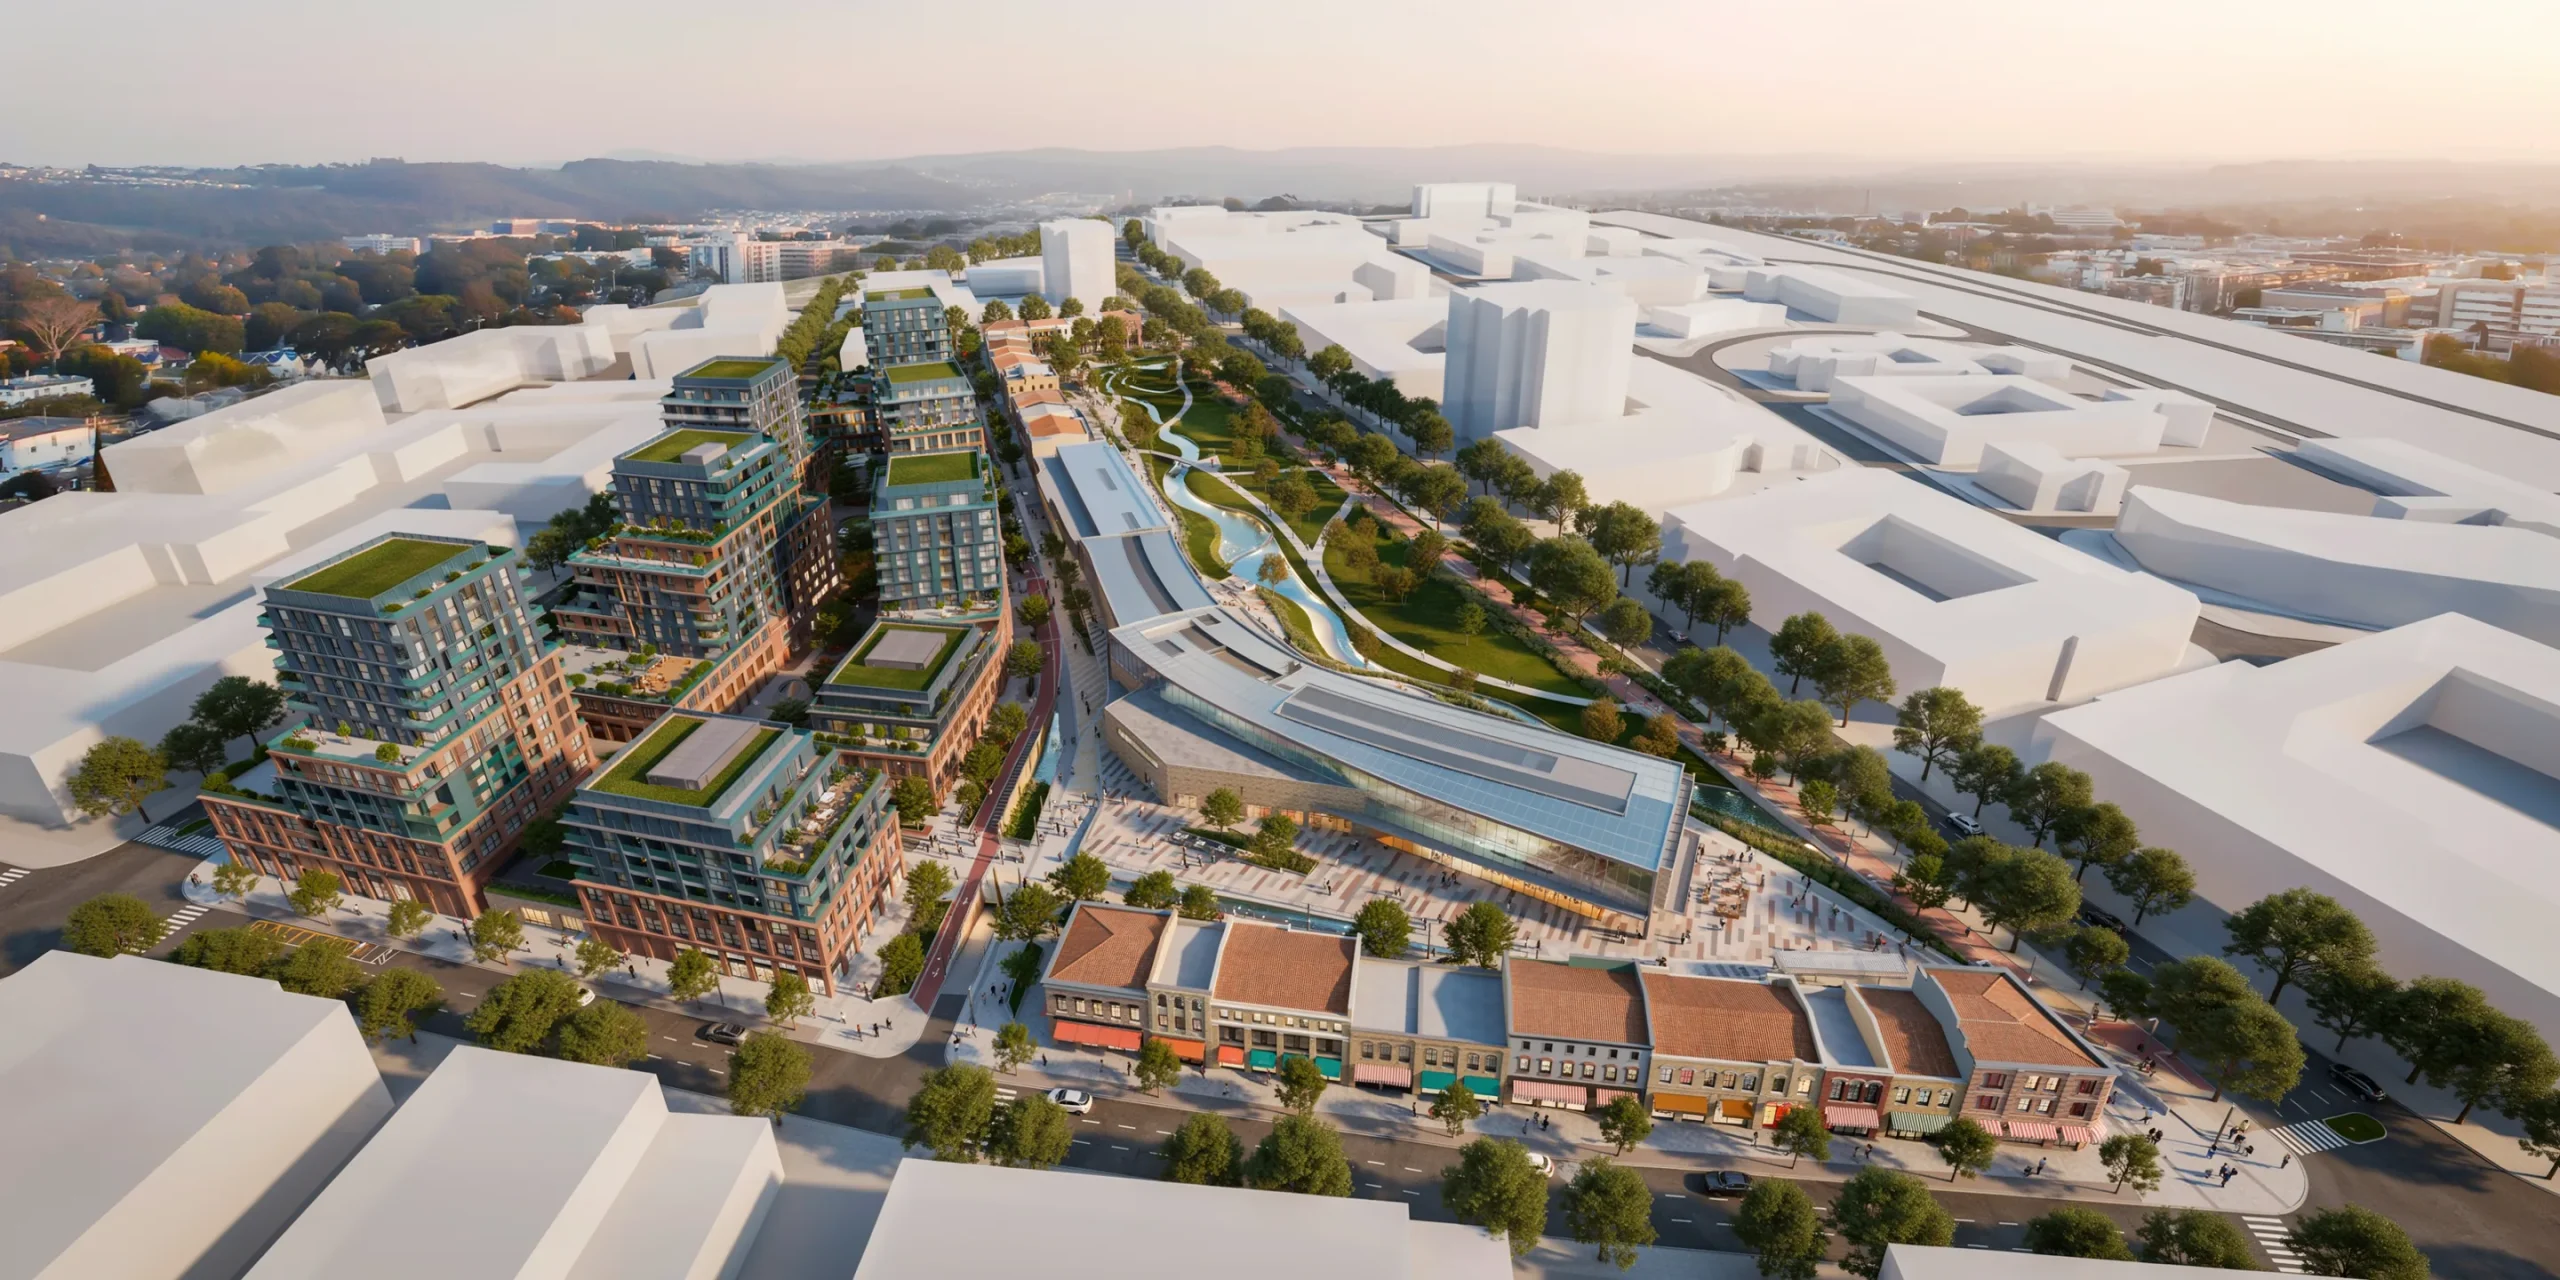
Choose an aerial view when you need to describe the width and spread of a project rather than the experience of standing in front of it. Street-level hero shots sell atmosphere and human scale, but they hide the bigger story. If the design decision you are presenting is about layout, circulation, density, or how a building sits in its context, the camera belongs in the air.
A few situations almost always call for an aerial perspective. Masterplans and urban developments need to show how blocks relate to each other and to existing streets. Campus, resort, and mixed-use projects benefit from a view that ties scattered buildings into one legible whole. Planning and approval submissions often require a site-context image proving the new structure fits its surroundings. And early in design, an aerial view helps the team spot terrain irregularities or awkward setbacks before they become expensive problems.
💡 Pro Tip
Before committing to a full aerial render, set up a fast clay or grey-box version of the view first. A common mistake is to refine materials and lighting on a camera angle that turns out to hide the key buildings behind a foreground tree or roofline. Lock the composition while everything is still grey, then build up detail.
Aerial camera angles: nadir, oblique, and bird’s-eye
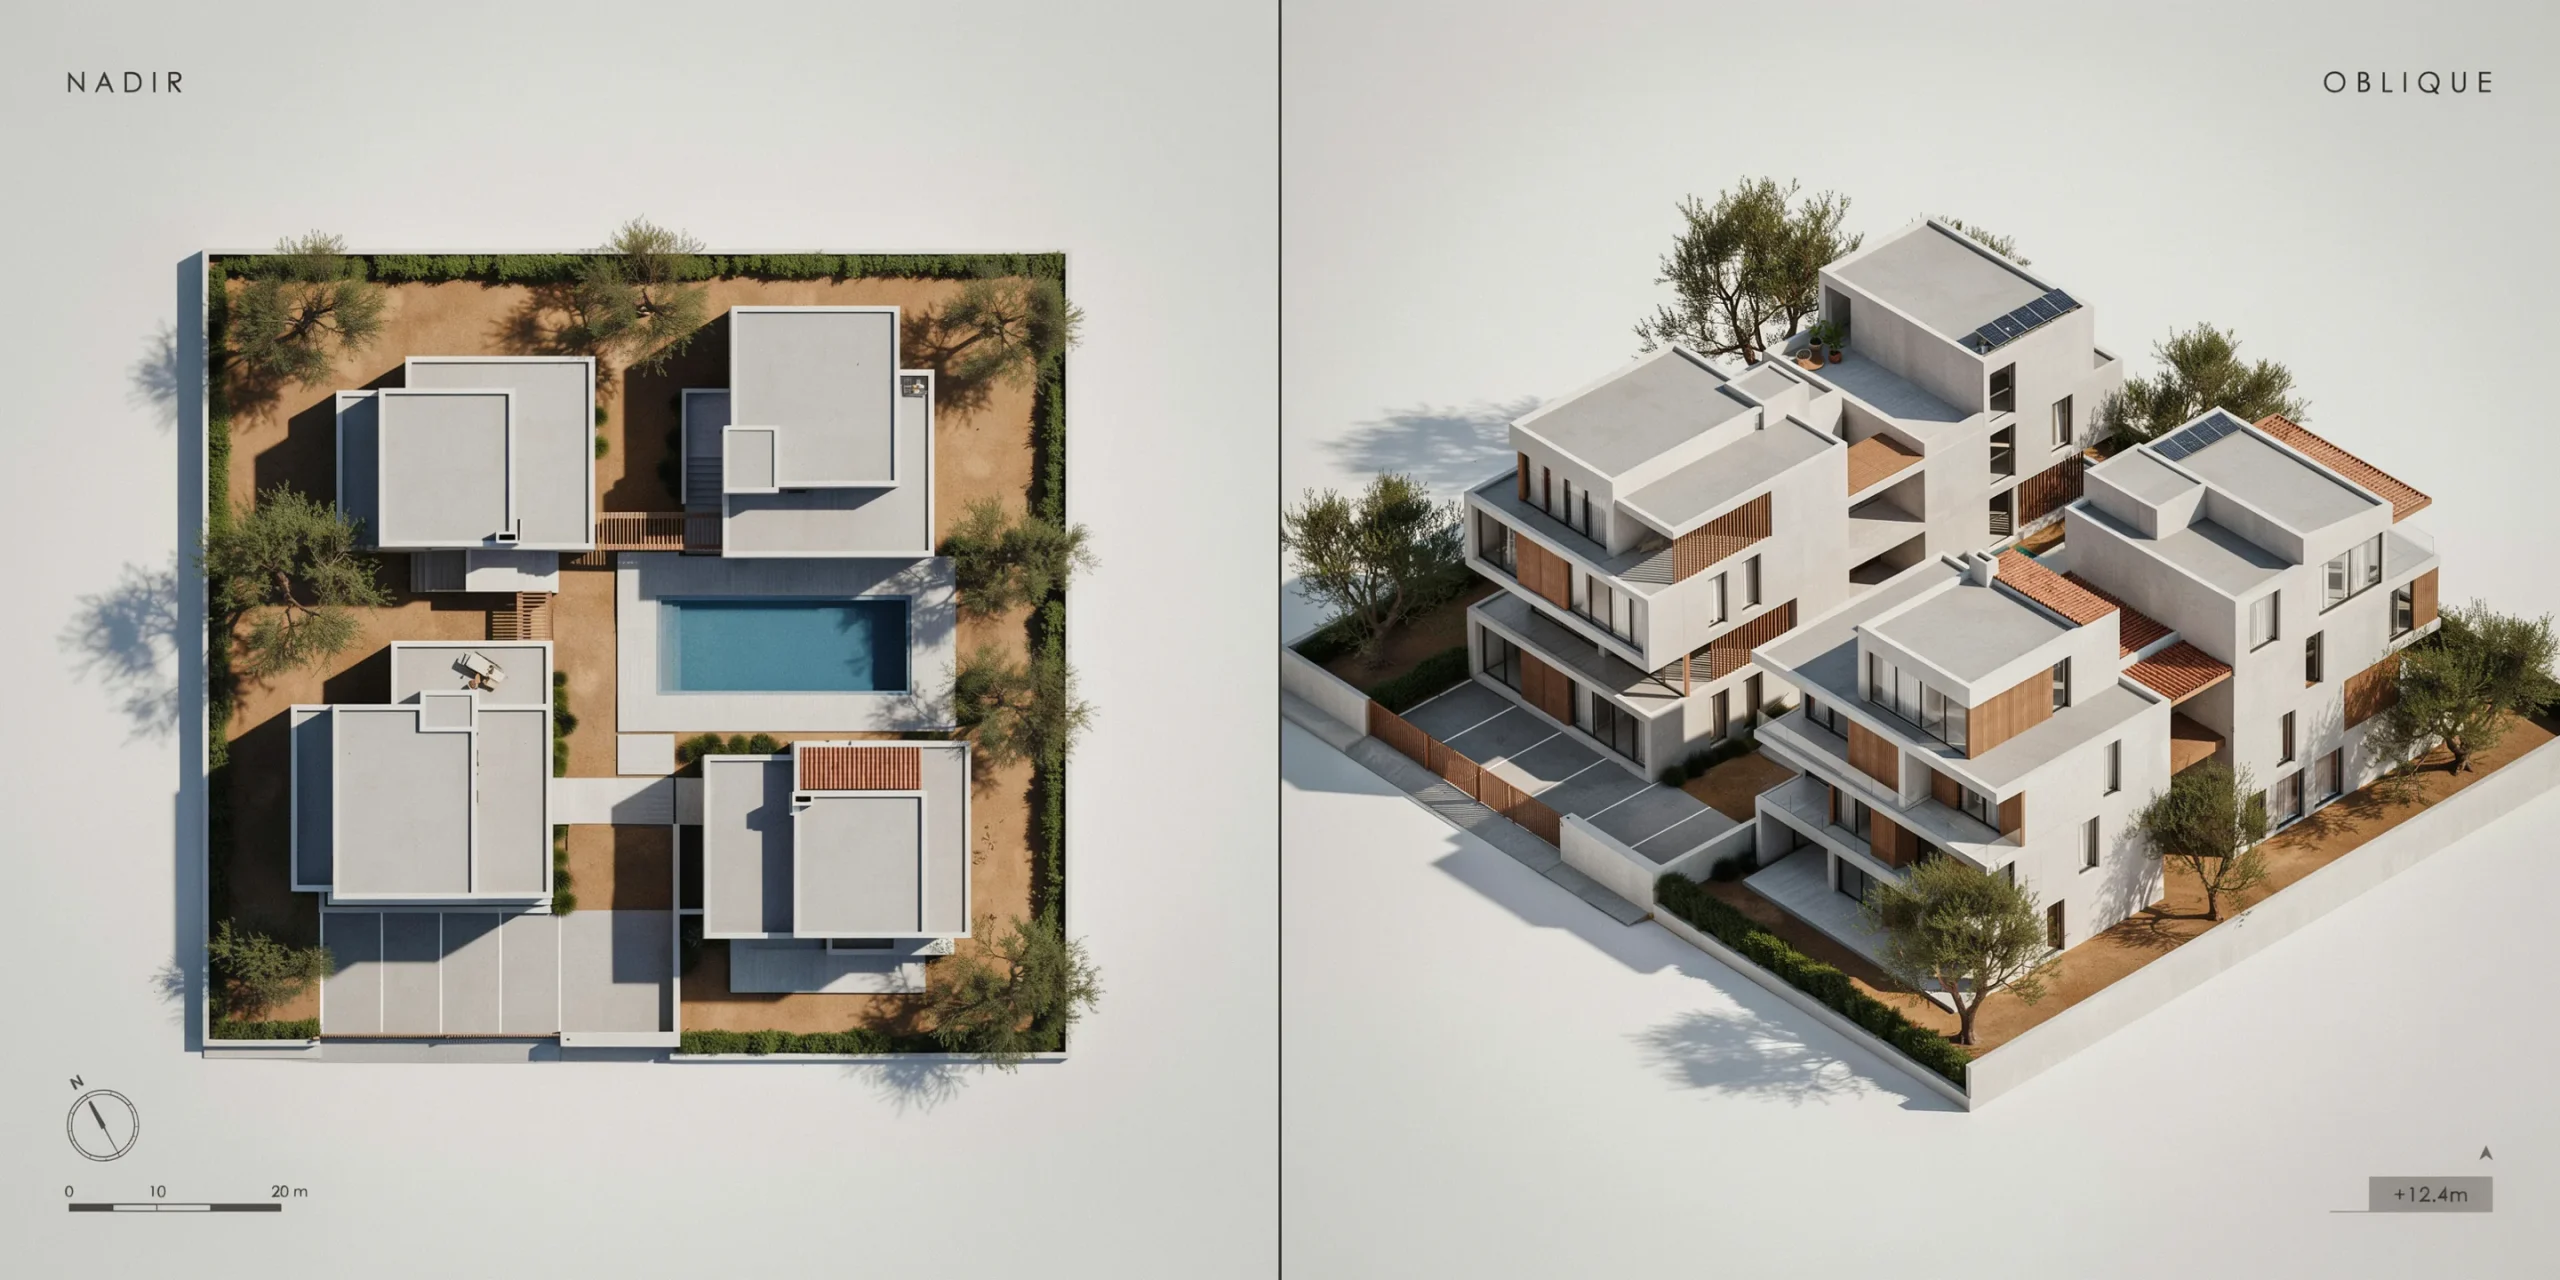
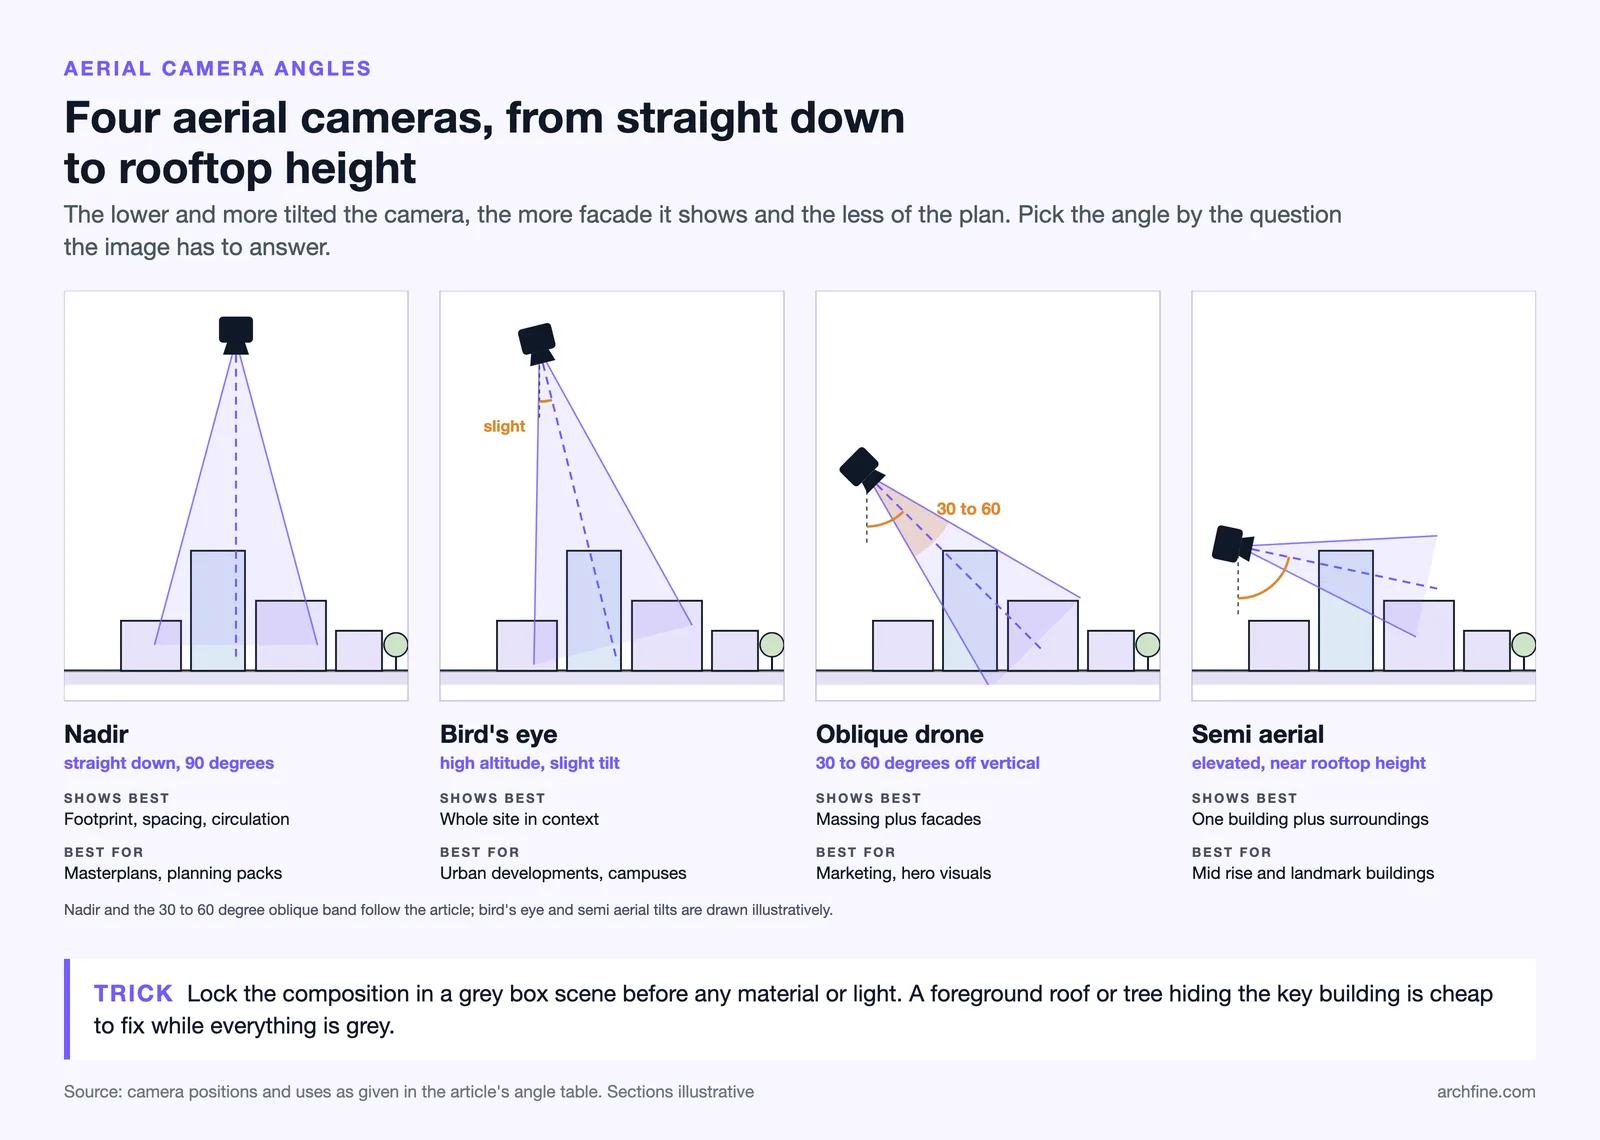
The angle of your aerial camera changes the message entirely. A top-down nadir view reads almost like a plan and is honest about footprint and spacing, but it flattens the buildings and loses their vertical character. An oblique angle, tilted somewhere between 30 and 60 degrees off vertical, keeps the site context while still showing facades, roofs, and the three-dimensional massing that makes a render feel like a place rather than a map.
As Cad Crowd notes in its breakdown of visualization camera angles, the bird’s-eye view works as a context shot for structures with unique surroundings and landscapes, while an elevated or semi-aerial angle showcases both the property and nearby landmarks. The semi-aerial position, sitting lower than a true bird’s-eye but well above human height, is often the sweet spot for selling a single large building in its setting.
How do you choose between top-down and oblique?
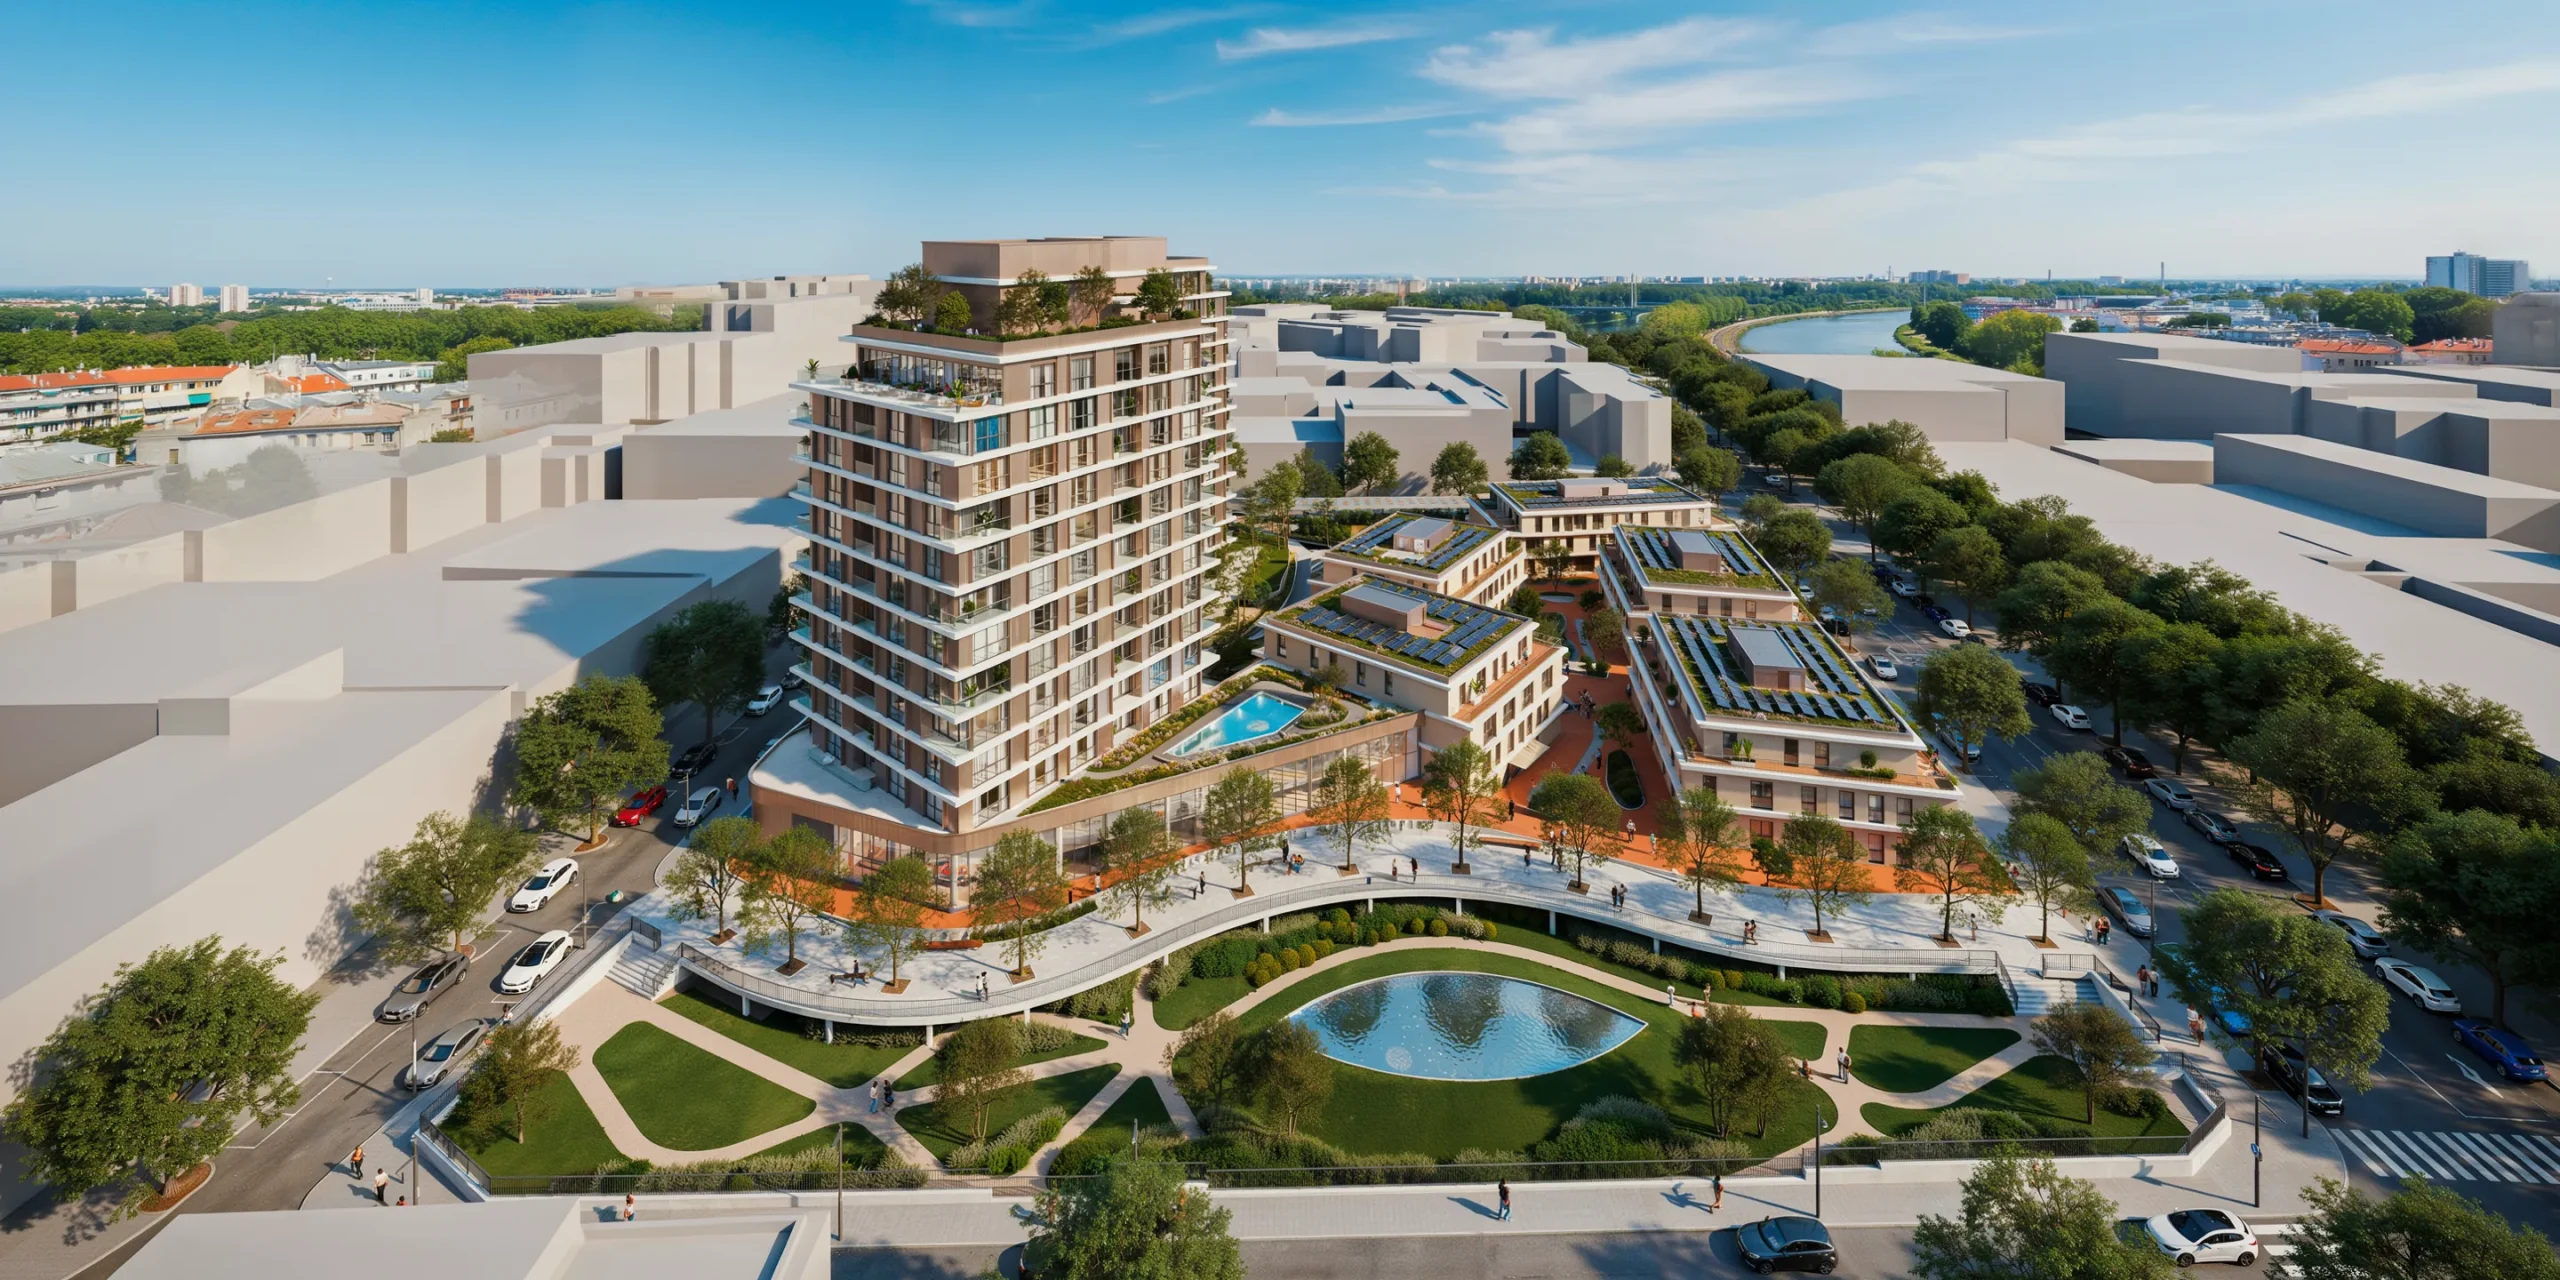
Match the angle to the question the image answers. If the client or planner is asking how the site is organized, a near-nadir view is the most direct answer. If they are asking what the development will feel like and how it relates to the skyline, an oblique drone-style angle wins. Many projects need both, a clean top-down for the planning pack and a dramatic oblique for marketing.
Comparison of aerial camera angles
The table below summarizes how the main aerial angles differ and where each one performs best.
| Angle | Camera Position | Shows Best | Best For |
|---|---|---|---|
| Nadir (top-down) | Straight down, 90 degrees | Footprint, spacing, circulation | Masterplans, planning packs |
| Bird’s-eye | High altitude, slight tilt | Whole site in context | Urban developments, campuses |
| Oblique drone | 30 to 60 degree tilt | Massing plus facades | Marketing, hero visuals |
| Semi-aerial | Elevated, near rooftop height | Single building plus surroundings | Mid-rise and landmark buildings |
Rendering masterplans and site context from above
Masterplan and site-context renders live or die on believable surroundings. The new design is only half the image; the existing roads, neighboring buildings, terrain, and vegetation carry the other half. When that context is thin or generic, the eye reads the whole picture as fake, no matter how polished the hero building is.
Real site data helps enormously. Survey points, GIS terrain, and satellite or drone imagery give you accurate ground shape and the true position of surrounding structures. For an oblique masterplan view, populating the scene with proxy buildings for the wider neighborhood keeps the focus building from floating in isolation. Trees, water, and small landscape elements double as scale references, which is exactly why they matter so much in aerial work.
📐 Technical Note
For aerial scenes, use image-based lighting or a physical sun-and-sky system rather than isolated artificial lights. Apply aerial perspective, the real-world effect where distant objects appear lighter, bluer, and less detailed, to build atmospheric depth across a large site. A subtle distance haze does more for believability than extra polygon detail on far buildings.
Composition principles you would apply at eye level still hold from the air. The rule of thirds, leading lines along roads or pathways, and overall balance guide the viewer toward the focus building. The difference is that from above, roads, rivers, and tree lines become the strongest leading lines available, so plan the camera so those natural lines point where you want attention to land. If you are still building your fundamentals, our overview of what makes a great architectural render breaks down lighting, composition, and scale in more depth.
How do you set up an aerial render step by step?
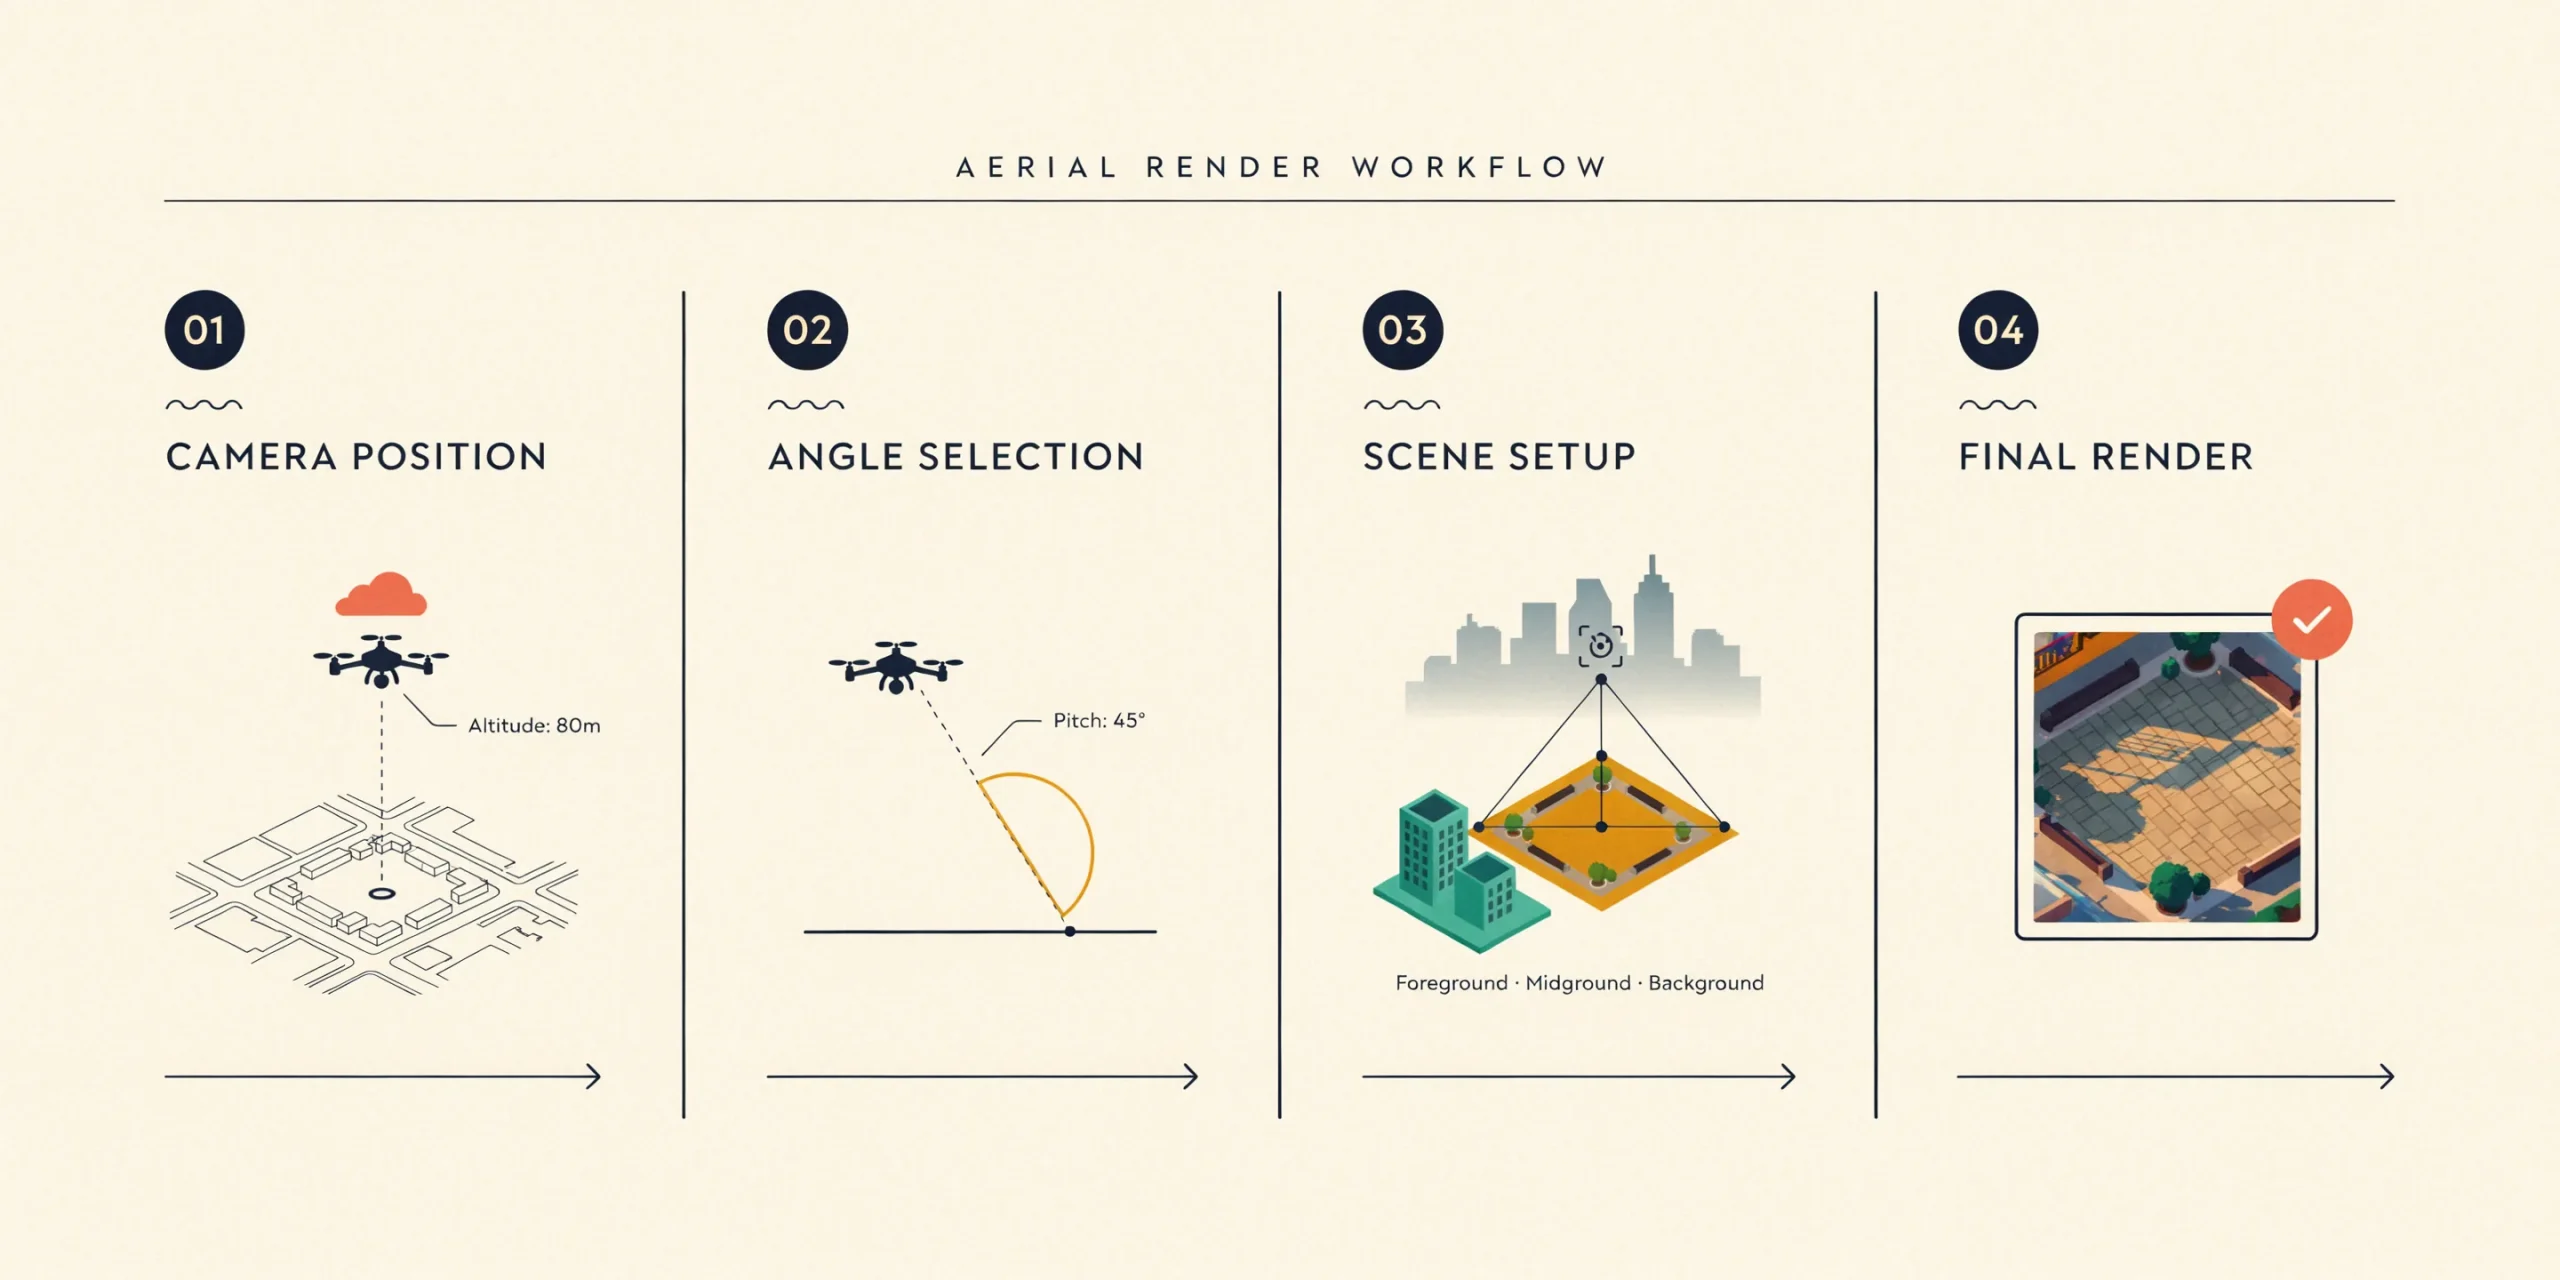
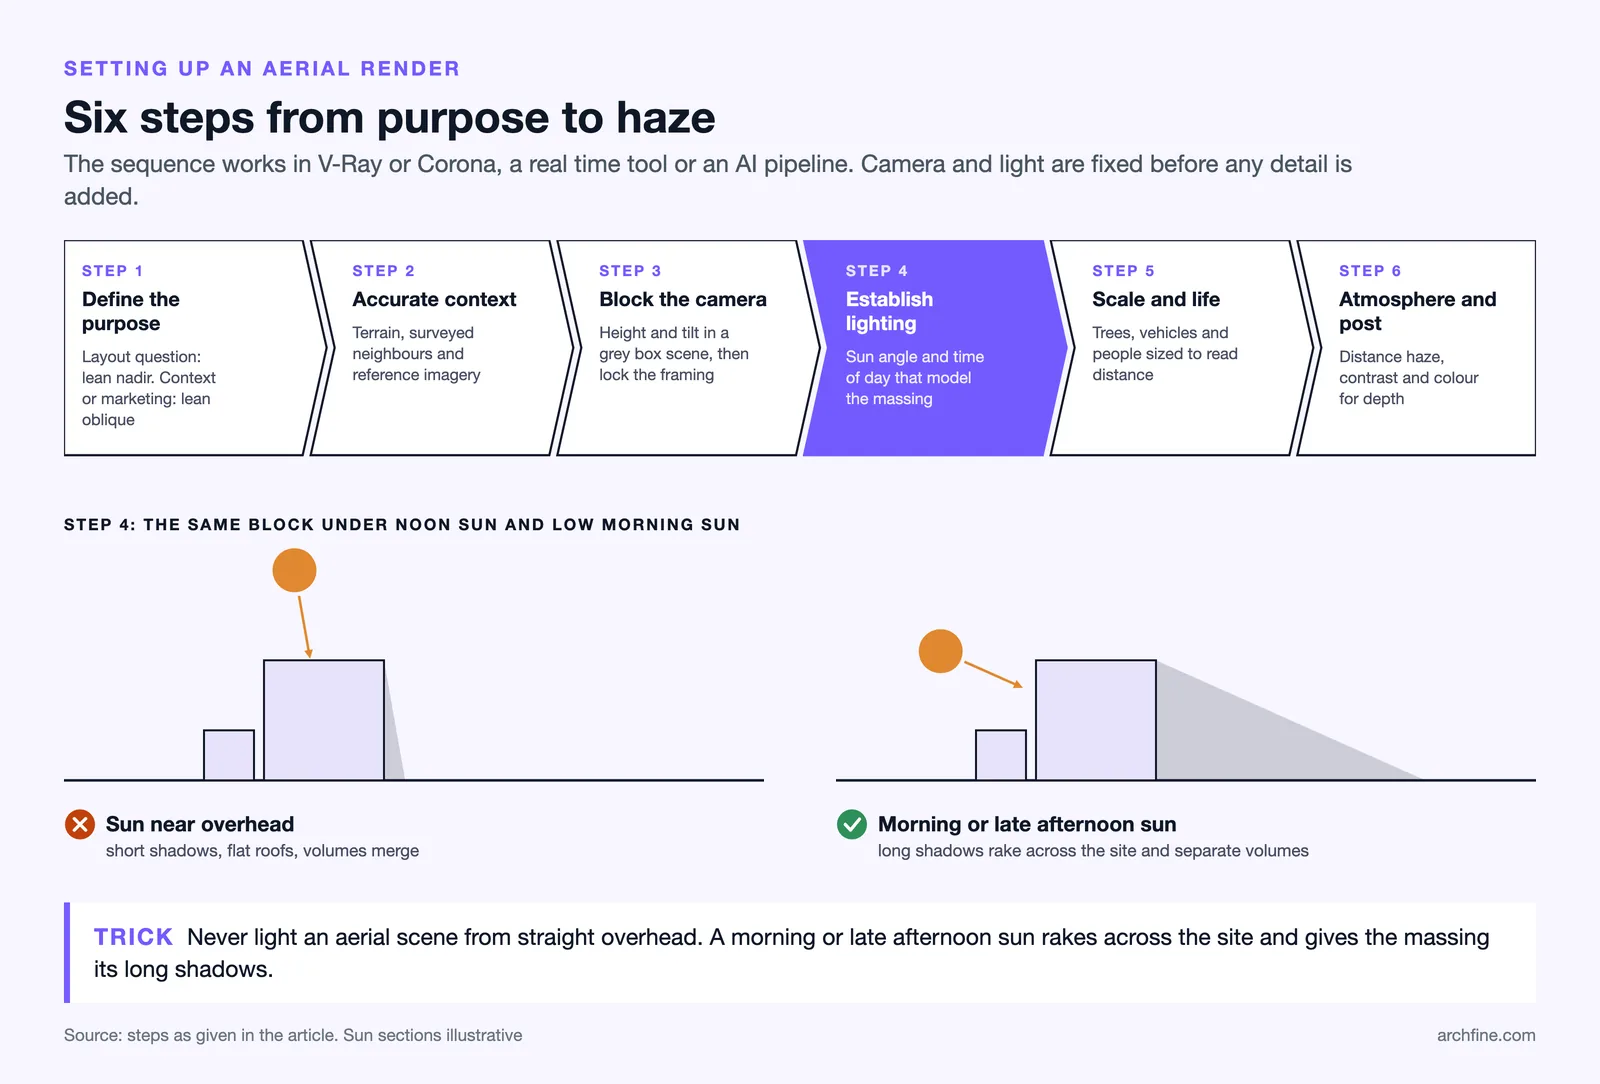
A repeatable workflow keeps aerial renders from becoming guesswork. The sequence below works whether you are in a traditional engine like V-Ray or Corona, a real-time tool, or an AI rendering pipeline.
- Define the purpose first. Decide whether the image answers a layout question (lean nadir) or a context and marketing question (lean oblique).
- Bring in accurate context. Import terrain, surveyed neighbor buildings, and reference imagery so the site reads as real.
- Block the camera. Set height and tilt with a grey-box scene, confirm no key building is hidden, and lock the framing.
- Establish lighting. Choose a sun angle and time of day that models the massing with clear shadows and avoids a flat, overhead glare.
- Layer in scale and life. Add trees, vehicles, and people sized correctly so viewers can read distances at a glance.
- Apply atmosphere and post. Introduce distance haze, balance contrast, and finish color in post-processing for depth.
⚠️ Common Mistake to Avoid
Avoid lighting an aerial scene with the sun directly overhead. Noon light flattens roofs and erases the shadows that give massing its shape, leaving the buildings looking like a cardboard model. A lower morning or late-afternoon sun rakes across the site, separates volumes, and adds the long shadows that make an aerial view read as three-dimensional.
AI tools have changed the speed of this loop. Instead of waiting hours for a single high-resolution aerial pass, designers can iterate on framing and mood in seconds, then refine. Our practical walkthrough on how to use AI to render architecture covers prompt structure for aerial and masterplan views, including how to specify a bird’s-eye angle and surrounding context in the prompt itself. For teams weighing visual styles, our look at photorealistic versus stylized renders helps decide how literal an aerial image needs to be for a given audience.
Aerial rendering for real estate and approvals
For developers and real estate teams, aerial renders sell the idea of a whole community before a single foundation is poured. A buyer scrolling listings understands a neighborhood far faster from one well-composed bird’s-eye image than from a stack of unit plans. The aerial view answers the unspoken questions: where is the green space, how far is the parking, what surrounds this block.
On the approvals side, planning authorities increasingly expect a context image showing the proposal in its real surroundings. As publications like ArchDaily regularly document, contextual and aerial visualizations have become a standard part of how architects communicate scheme intent to both review boards and the public. An accurate aerial render that respects existing rooflines, setbacks, and street patterns can shorten review cycles by addressing concerns before they are raised.
Frequently asked questions
What is the difference between a bird’s-eye view and an aerial render?
A bird’s-eye view is one specific aerial angle, a high vantage point looking down at a slight tilt. Aerial render is the broader term that covers every elevated camera position, including straight-down nadir, tilted oblique, and lower semi-aerial views. Every bird’s-eye view is an aerial render, but not every aerial render is a bird’s-eye view.
What camera height works best for aerial architectural rendering?
There is no fixed number because it depends on site size and intent. For a single building you often want a semi-aerial position near or just above rooftop height to keep facades visible. For a full masterplan, the camera climbs much higher so the entire site fits the frame. Set height by what you need to show, then adjust tilt to balance footprint clarity against facade visibility.
Can AI generate aerial and masterplan renders?
Yes. AI rendering tools can turn a flat site plan or a grey-box 3D export into a photorealistic aerial visualization, and you can direct the camera by specifying a bird’s-eye or drone angle in the prompt. They work fastest for still images and quick iteration on framing and mood, which suits the early stages of masterplan exploration well.
Putting It All Together
Bottom Line: Aerial rendering is the right tool whenever a project’s value lives in its layout and context rather than a single facade. Pick the angle that answers your audience’s real question, ground the scene in accurate site data, and light it so massing reads clearly. Get those three right and an aerial render becomes the most persuasive image in your set.