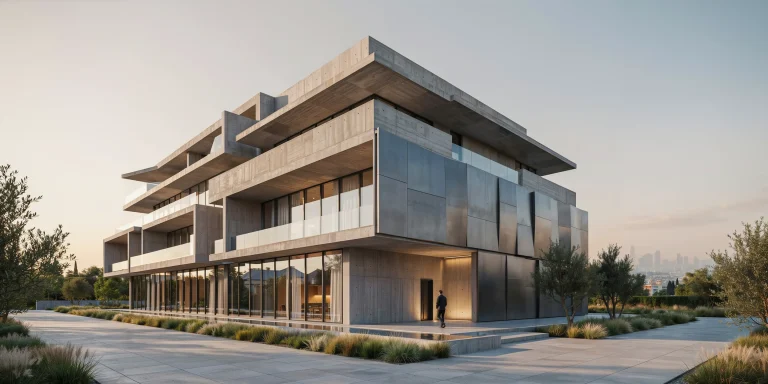
A night render is an architectural visualization set after sundown where artificial lights, interior light spill, and a deep twilight sky carry the image instead of the sun. Strong night renders balance warm fixture glow against a cool blue-hour sky, control exposure so dark areas stay readable, and use facade and landscape lighting to direct the eye toward the building’s best features.
Selling a project at dusk or after dark is one of the hardest visual problems in archviz. A daytime exterior forgives a lot because the sun fills every surface evenly. A night render gives you almost none of that safety net, so every lamp, every window, and every reflection has to be placed on purpose. This guide walks through the lighting logic, color temperature, mood, and exposure decisions that separate a flat black image from a render that makes a client lean in. The same principles apply whether you build the scene in a traditional engine like V-Ray or Corona, or generate the image through an AI rendering workflow.
What Makes a Night Render Different From a Daytime Scene?

In a daytime render the sun and sky dome do roughly 90 percent of the lighting work. At night that hierarchy inverts. The sky becomes a low-intensity gradient, and the scene is driven by dozens of small, localized sources: recessed downlights, wall sconces, bollards, pool lights, and the warm wash escaping from interior rooms. Each of these has its own intensity, color, and falloff, which means a night render is fundamentally an exercise in lighting composition rather than passive sun placement.
The second difference is contrast. During the day, ambient bounce keeps shadows soft and detail visible everywhere. At night, the gap between a brightly lit entrance and a shadowed side wall can span many stops of exposure. Managing that range so the highlights do not blow out and the shadows do not crush into pure black is the core technical challenge. ArchDaily‘s overview of how light and shadow define architectural atmosphere is a useful reference for thinking about contrast as a design tool rather than a problem to eliminate.
Before you light anything, get the underlying scene right. The same fundamentals covered in our breakdown of what makes a great architectural render still apply at night: accurate materials, believable scale, and considered composition. Poor materials are simply harder to hide once you turn the lights off.
Dusk vs Full Night: Which Twilight Render Sells Better?

Most architectural night images are not actually full night. They are dusk or twilight renders captured during the blue hour, the window roughly 20 to 40 minutes after sunset when the sky still holds a deep gradient of blue, indigo, and a faint warm band near the horizon. This residual sky light gives you a soft fill that keeps the building’s silhouette readable while the artificial lights read as glowing accents.
| Factor | Dusk / Twilight Render | Full Night Render |
|---|---|---|
| Sky | Deep blue gradient, faint warm horizon | Near-black, stars or moon optional |
| Fill light | Soft ambient from sky dome | Almost none, fully artificial |
| Building silhouette | Readable against sky | Defined only by lit surfaces |
| Mood | Inviting, premium, lifestyle | Dramatic, moody, high-contrast |
| Difficulty | Moderate | High |
| Best for | Residential, hospitality, retail | Landmarks, signage, hero shots |
For most client-facing work, a dusk render wins. The blue-hour sky flatters the building, the warm interior spill reads as life and occupancy, and the contrast stays manageable. Reserve true full-night scenes for landmarks, illuminated signage, or cases where a dramatic, near-silhouette mood is the actual selling point.
💡 Pro Tip
When setting up a dusk render, place your sun just below the horizon rather than fully removing it. A sun elevation of around minus 4 to minus 8 degrees still feeds a believable warm band into the sky and a faint rim onto the building, which reads far more natural than a flat black backdrop.
How Do You Light a Night Render?
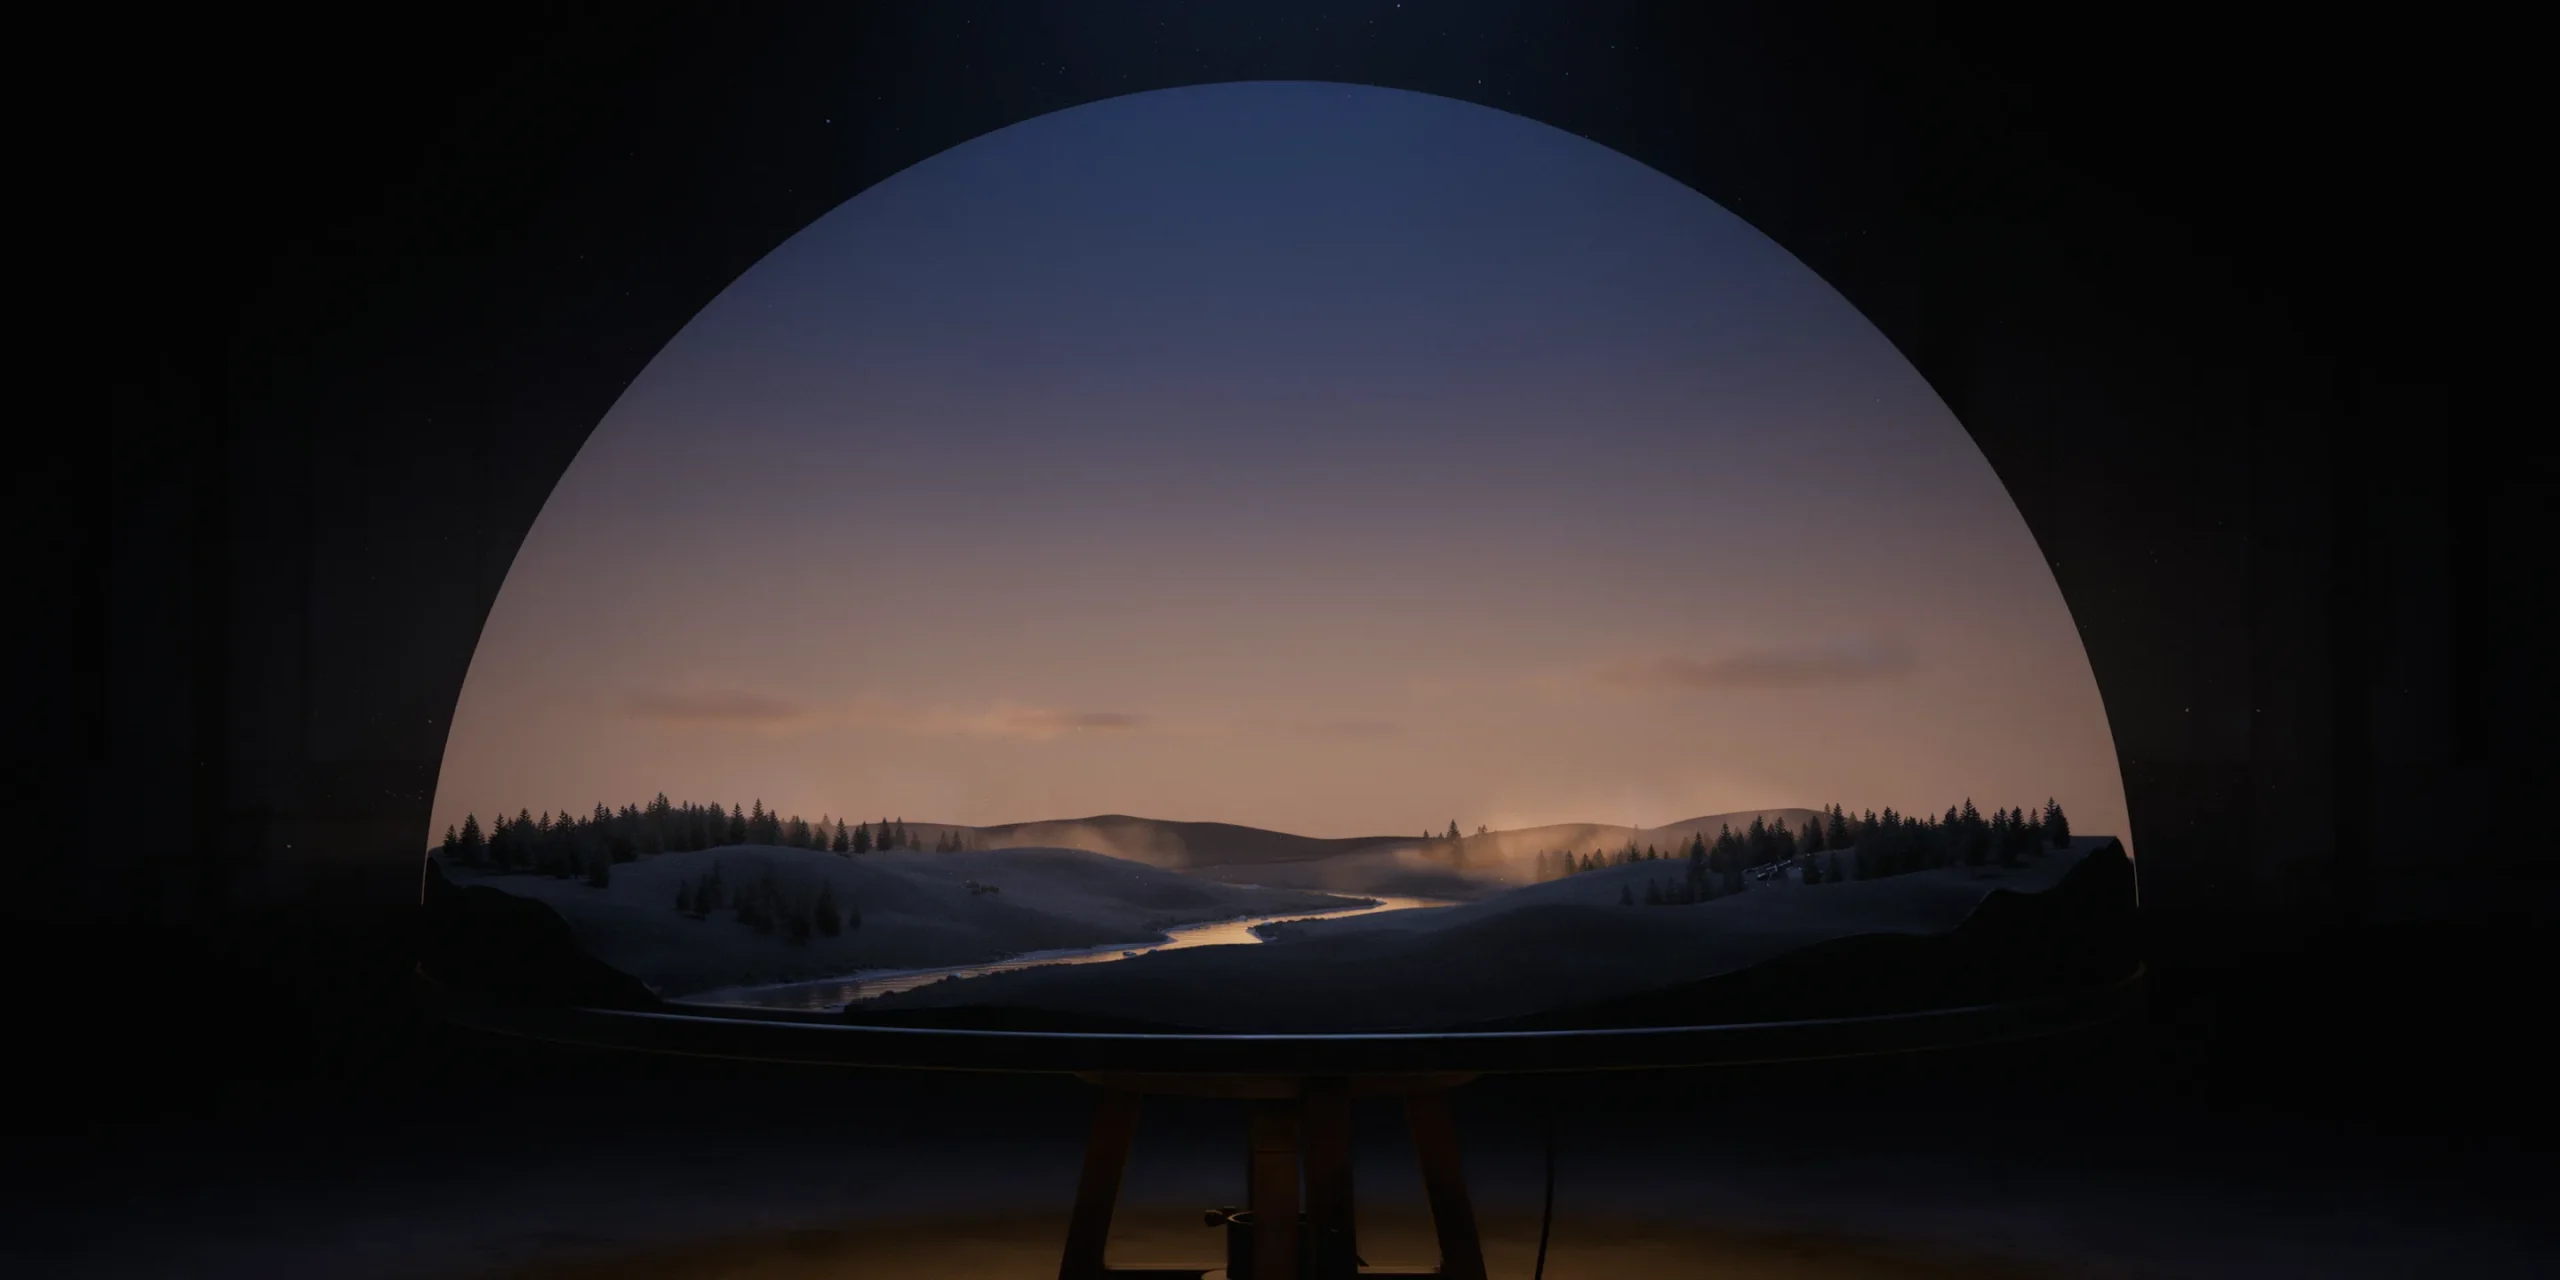
Lighting a night exterior is a layering process. Build it up in passes rather than trying to balance everything at once, and check the exposure after each layer is added.
- Establish the sky. Use a physical sky pushed to dusk or a twilight HDRI. This sets your ambient base and the overall color temperature of the shadows.
- Add interior light spill. Light the rooms visible through glazing. Warm interior glow escaping through windows is the single strongest cue that a building is occupied and alive.
- Place facade and accent lighting. Wall washers, uplights grazing texture, and soffit downlights define the architecture’s form and material.
- Add landscape and path lighting. Bollards, step lights, and tree uplights ground the building in its site and lead the eye toward the entrance.
- Layer in context. Distant city glow, street lamps, and vehicle light trails sell scale and realism without competing with the hero building.
The interior spill pass deserves special attention because it does the most emotional work for the least effort. A handful of warm lit rooms behind glass instantly communicates that people live or work there. Vary the brightness slightly between rooms so the building does not look uniformly switched on, and leave a few windows dark for believability.
⚠️ Common Mistake to Avoid
Over-lighting every fixture at full intensity is the most common failure in night renders. When every lamp screams for attention, nothing reads as a focal point and the image flattens into uniform glow. Light selectively: pick the entrance and one or two architectural features as heroes, then keep everything else dim enough to support rather than compete.
Why Does Color Temperature Control the Mood?

Color temperature, measured in Kelvin, is the lever that sets the emotional tone of a night render. A warm tungsten source around 2700K reads as cozy, residential, and inviting, while a cooler 4000K to 5000K source feels clinical, corporate, or secure. The drama in most successful night images comes from the contrast between warm artificial light and the cool blue of the twilight sky.
- 2700K to 3000K warm white: interior living spaces, hospitality, restaurant terraces, residential entrances. Promotes intimacy and comfort.
- 3000K to 3500K soft white: facade accent lighting, retail, and exterior architectural washes that should still feel welcoming.
- 4000K neutral white: security pathways, parking, and commercial perimeters where clarity matters more than warmth.
- Cool blue sky (roughly 8000K to 12000K equivalent): the ambient twilight backdrop that makes the warm sources pop.
This warm-versus-cool tension is not arbitrary. The American Medical Association has recommended outdoor lighting at a correlated color temperature no higher than 3000K to limit glare and blue-light spill, which is also why real residential streetscapes tend toward warm tones. Matching that real-world convention keeps your render believable. For deeper context on how lighting strategy shapes a building’s nighttime identity, ArchDaily’s case study on Zurich’s understated night lighting strategy is worth studying.
📌 Did You Know?
In real twilight photography, the human eye perceives interior tungsten light as warmer at dusk than it does at midday, an effect called chromatic adaptation. Archviz artists exaggerate this slightly, pushing interior spill toward amber and the sky toward deep blue, because the heightened warm-cool contrast reads as more cinematic and inviting than a strictly neutral white balance.
What Lighting Tools Do Render Engines Use at Night?
In a traditional pipeline, the workhorse of realistic night lighting is the photometric IES light. An IES file is a manufacturer-supplied data profile that describes exactly how a real fixture distributes light, including its cone angle, falloff, and intensity. Loading an IES profile onto a downlight produces the correct pool of light and the characteristic scallop on a wall, rather than a generic uniform glow.
Both major engines support this natively. Chaos Corona and V-Ray handle IES lighting, global illumination, and volumetrics, and Chaos provides official guidance on the V-Ray IES light in its documentation. For practical, archviz-focused workflows, the team at Arch Viz Artist covers where to source IES files and how to apply them in 3ds Max.
📐 Technical Note
Volumetric or atmospheric fog (an environment volume in V-Ray, or volumetric effects in Corona) is what makes light beams from bollards and spotlights visible at night. Keep the fog density extremely low, often a fraction of what looks right in the viewport, because GI bounce amplifies it in the final render and a heavy haze quickly washes out the contrast that gives a night scene its depth.
AI rendering platforms reach the same result through a different route. Instead of placing individual lights, you describe the scene in a prompt: time of day, light direction, color temperature, and mood. As covered in our guide on how to use AI to render architecture, specifying the lighting first is what separates a flat output from an atmospheric one. A prompt such as “twilight exterior, warm interior light spilling through floor-to-ceiling glazing, cool blue dusk sky, wet pavement reflections” gives the model enough direction to build a convincing night scene, and the same logic carries over to SketchUp AI rendering workflows where you turn a quick model export into a finished image.
How Do Reflections and Wet Surfaces Improve a Night Render?
Reflections are the secret weapon of the night render because they multiply your light sources for free. A wet sidewalk, a calm pool, or a polished stone plaza catches every warm window and street lamp and stretches it into a glowing streak. These reflected highlights add depth, lead the eye, and break up the large dark areas that would otherwise read as dead space.
The most efficient trick is to dampen the ground plane. Lowering the roughness on pavement and adding a thin water layer turns an unremarkable foreground into a mirror of the building’s lit facade. Glazing matters just as much: at night, glass with the right reflectivity captures the surrounding lights and the deep sky, while interior light passes outward, creating the layered transparency that makes a building feel inhabited. Choosing how literal or interpretive to make these effects is part of the broader decision between photorealistic and stylized renders, and night scenes often benefit from a slightly stylized push in contrast and saturation.
How Should You Handle Exposure and Post-Processing?

Render in a high dynamic range format and lock your exposure intentionally. A common workflow is to expose for the artificial lights first so the brightest fixtures sit just below clipping, then lift the shadows in post until the architecture stays readable without looking artificially flat. A slight bloom or glare on the brightest sources sells the feeling of glowing light, but heavy bloom reads as amateur, so keep it subtle.
- Expose for highlights, recover shadows: protect the lit areas, then lift the darks in post.
- Add gentle bloom: a small glow around windows and lamps reads as real light, not a blown-out frame.
- Grade toward warm-cool contrast: push interiors warmer and the sky cooler to reinforce mood.
- Denoise carefully: night scenes are noise-prone in shadow areas, so render enough samples or use a denoiser tuned to preserve fine fixture detail.
Frequently Asked Questions
What time of day gives the best night render?
The blue hour, roughly 20 to 40 minutes after sunset, gives the best results for most architectural night renders. The sky still holds a deep blue gradient that keeps the building’s silhouette readable while artificial lights read as warm, glowing accents against the cool backdrop.
Why does my night render look flat and dark?
A flat night render usually means the contrast between warm and cool sources is too low, or every fixture is set to the same intensity. Establish a cool dusk sky as your ambient base, push interior spill warmer, and vary fixture brightness so a clear focal point emerges instead of uniform glow.
Do I need IES lights for a night render?
IES profiles are not strictly required, but they dramatically improve realism in a traditional engine because they reproduce how real fixtures distribute light. For AI rendering workflows, you achieve a similar effect by describing fixture type, direction, and warmth in the prompt rather than placing physical lights.
How do I add interior light spill realistically?
Light the rooms visible through glazing with warm 2700K to 3000K sources, vary the brightness slightly between rooms, and leave a few windows dark. Uniform, equally bright windows look artificial, while subtle variation reads as a genuinely occupied building.
Your Next Step: Take an existing daytime scene and rebuild only the lighting for dusk. Push the sun just below the horizon, light the interior rooms warm, add a single facade wash, and dampen the ground plane for reflections. Comparing the two versions side by side is the fastest way to internalize how much of a night render lives in lighting decisions rather than the model itself.