
Rhino AI rendering takes exported viewport images or screenshots from Rhino 3D and processes them through AI visualization tools to produce photorealistic outputs. For architects and designers working with complex parametric or freeform geometry, this approach offers a faster alternative to setting up full material and lighting rigs inside render plugins like KeyShot or V-Ray for Rhino.
Rhino 3D is the modeling environment of choice for architects who work with freeform geometry, NURBS surfaces, and Grasshopper-driven parametric systems. The software excels at building complex form. What it does not do natively is produce fast, photorealistic output without a significant setup investment in materials, lighting environments, and render plugin configuration.
That gap is exactly where Rhino AI rendering tools have found their place. Instead of treating rendering as a Rhino-internal process, this workflow treats it as a post-export step: capture a viewport image, upload it to an AI rendering platform, and get a photorealistic result back in under a minute. For concept validation, client presentations, and competition submissions, that speed advantage changes how the design process moves forward.
What Is Rhino AI Rendering?
Rhino AI rendering refers to the practice of using AI-powered image processing tools to generate photorealistic visuals from viewport captures or screenshot exports taken directly from Rhinoceros 3D. Rather than rendering inside Rhino using plugins such as V-Ray or Cycles, the designer works with a flat image of the model and lets an AI engine interpret the geometry, infer materials, and apply realistic lighting.
The AI does not read the 3D file itself. It reads the image of the model. This distinction matters because it means the approach works regardless of how complex or unconventional the underlying geometry is. Parametric surfaces, polysurfaces, mesh-heavy Grasshopper outputs, and hybrid NURBS-mesh models all appear as clean geometry in a well-captured viewport screenshot. The AI processes what it sees, not what the file contains.
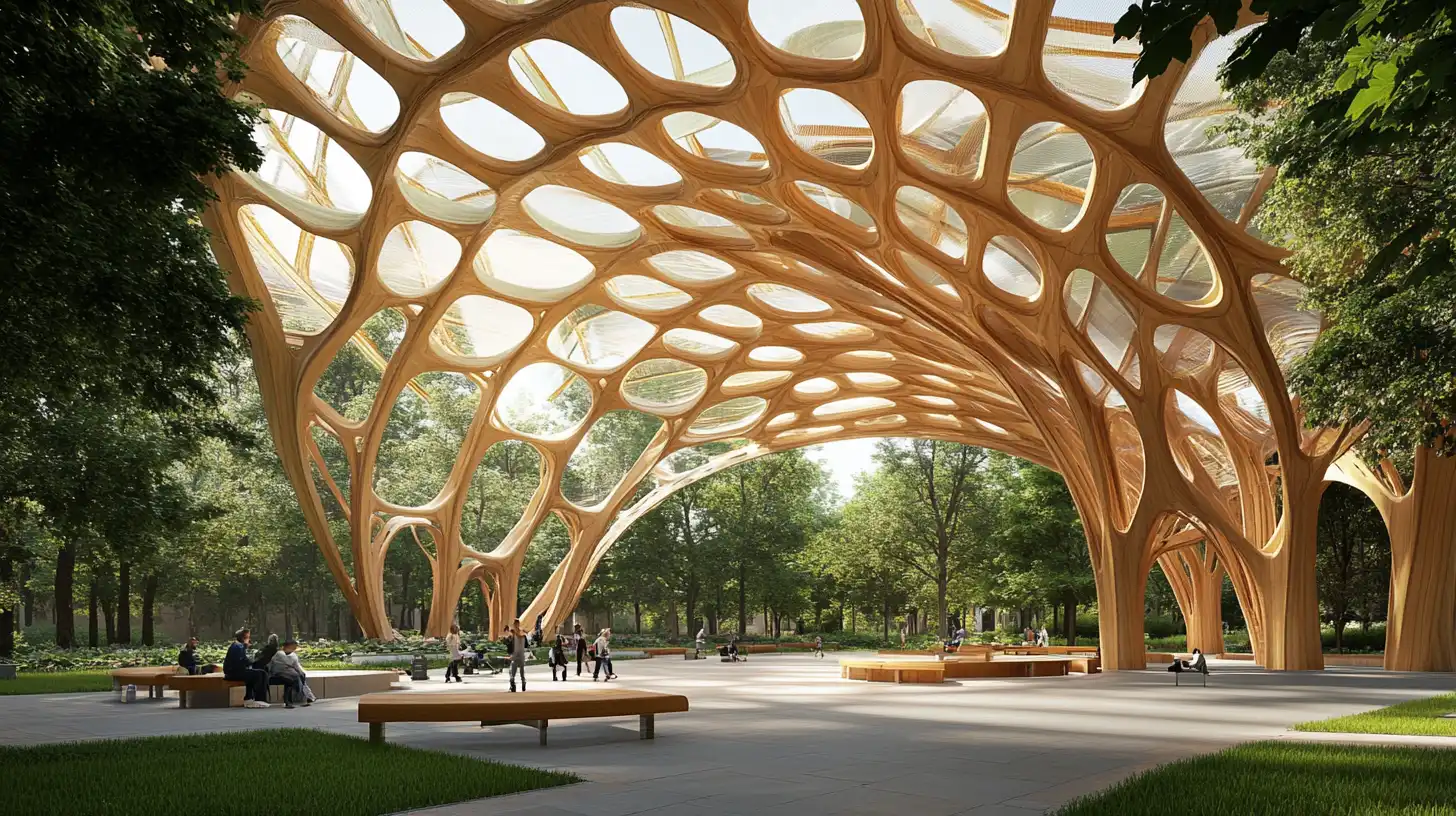
For Rhino users specifically, this is a meaningful unlock. Complex freeform geometry that would require hours of UV unwrapping and material assignment in a traditional renderer can be handed to an AI tool through a single exported image.
Why Rhino Users Need Faster Rendering Solutions
Traditional rendering in Rhino involves either the built-in Raytraced display mode or a third-party plugin installed on top of the modeling environment. Both routes require setup time that scales with model complexity. Materials need to be applied per object. Lighting environments need to be configured. Camera and render resolution settings need adjustment. A designer working on a complex parametric facade or a freeform roof structure can easily spend more time on render setup than on the design iteration itself.
The time cost is particularly acute for Grasshopper-based workflows. A Grasshopper definition can generate hundreds of surface components, each of which may need individual material assignment in a conventional render pipeline. Even with layer-based material management, the process introduces friction that slows concept exploration.
There are also project phases where photorealistic accuracy is less important than visual communication speed. Early client presentations, internal design reviews, and competition submission packages often require convincing visuals quickly rather than technically accurate final renders. Rhino AI rendering tools serve exactly this need. The output is not a substitute for a production-grade V-Ray render in the final stages of a project, but for everything earlier in the process, the speed-to-quality ratio is favorable.
How to Render a Rhino Model with AI
The workflow for AI rendering from Rhino involves three steps: prepare the viewport, export the image, and upload to an AI rendering platform. Each step has specific considerations that affect output quality.
Exporting a Viewport Image from Rhino
Rhino’s ViewCaptureToFile command is the standard method for capturing a high-resolution image of any named viewport. For AI rendering purposes, the perspective viewport at a resolution of 2000 pixels or wider gives the AI tool enough detail to work with. The Rendered or Ghosted display mode tends to produce better results than Wireframe, because the AI receives more surface information to interpret.
Set the background to a solid neutral color before capturing. A white or light gray background reads cleanly as sky or neutral environment by most AI rendering engines. A black background can cause the AI to interpret the model edges as the dominant element rather than the surface geometry.
⚠️ Common Mistake to Avoid
Exporting a Rhino viewport that still shows the construction plane grid or world axes is a frequent error when preparing images for AI rendering. These visual guides are interpreted by AI tools as physical ground planes or structural elements. Always disable the grid and set a clean background color before capturing the export image.
Using AI to Apply Materials and Lighting
Once the viewport image is exported, it is uploaded to an AI rendering platform along with a text prompt describing the desired materials and environment. Prompts such as “polished concrete facade, overcast sky, urban context” or “glass curtain wall, warm afternoon light, landscape setting” give the AI enough direction to produce contextually appropriate results.
The AI tool reads the geometry visible in the image and maps material and lighting interpretations onto the surfaces it identifies. Curved surfaces, sharp edges, and flat planes are all handled differently by the algorithm, which is why a clean viewport export with good contrast between model elements and background produces more predictable results than a complex or cluttered capture.
Rendering Grasshopper-Generated Geometry
Grasshopper definitions produce geometry that is live-computed as long as the definition is active. Before exporting for AI rendering, the geometry should be baked into the Rhino document as standard objects. Unbaked Grasshopper outputs sometimes export incompletely depending on the viewport display mode being used.
💡 Pro Tip
For complex Grasshopper-generated surfaces, bake the geometry into Rhino before exporting for AI rendering. Unbaked Grasshopper components often export as wireframes or missing faces depending on the export settings. A fully baked and meshed model gives the AI a clean, closed surface to work with, which significantly reduces artifacts in the final render output.
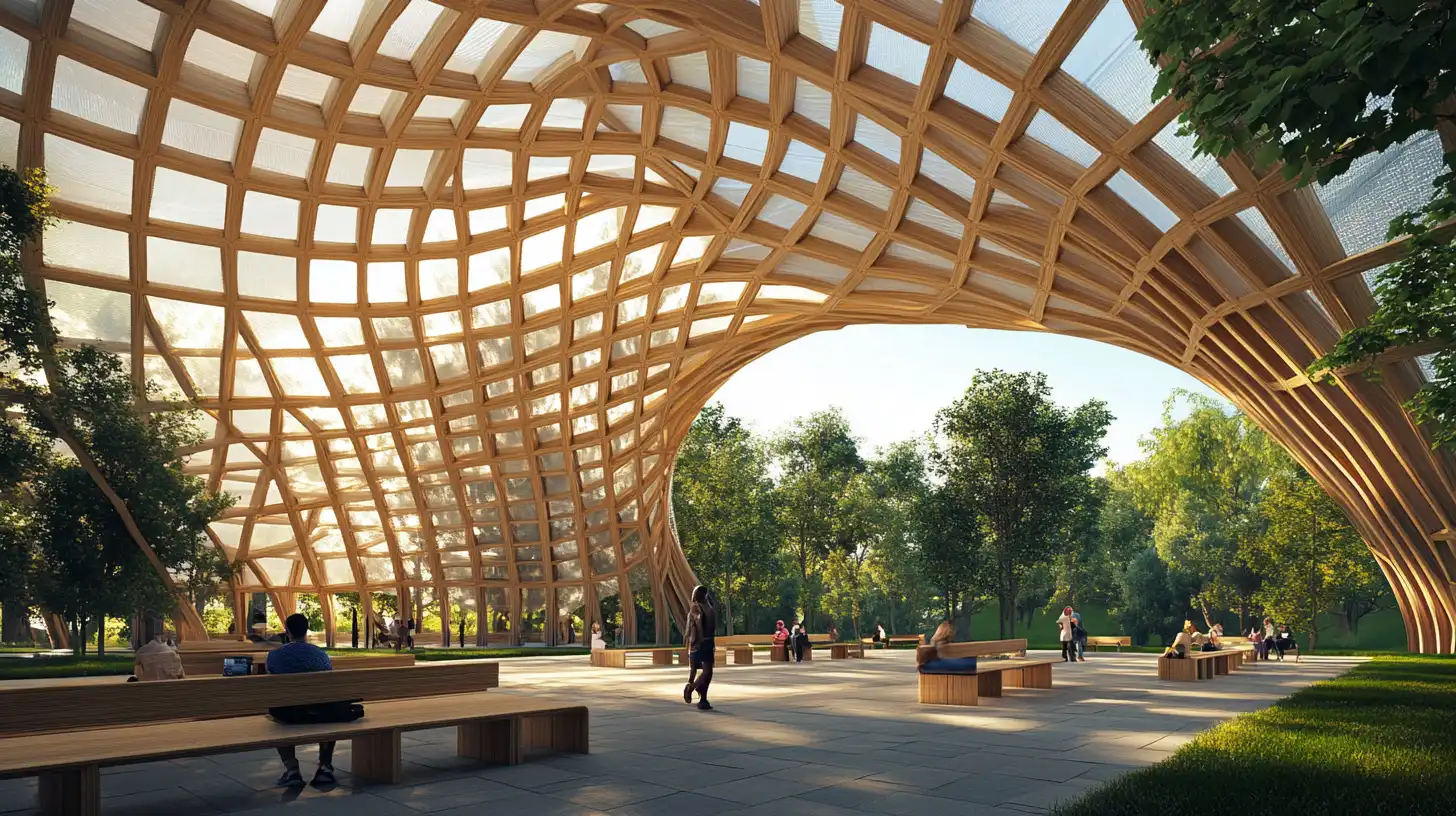
Parametric facades, panelized surfaces, and algorithmically generated roof structures all benefit from a pre-export bake and mesh check. Use Rhino’s ShowEdges command to identify any naked or non-manifold edges before capturing the viewport. Clean closed meshes produce the most consistent AI rendering results from complex Grasshopper geometry.
Best Rendering Options for Rhino 3D
Rhino users have access to several rendering approaches, ranging from the built-in Raytraced display mode to dedicated external plugins and AI-based tools. Each option occupies a different position in terms of setup time, output quality, cost, and integration depth. The right choice depends on the project phase, the complexity of the geometry, and the level of photorealism required.
| Tool | Integration | Speed | Handles NURBS | Cost | Best For |
|---|---|---|---|---|---|
| Rhino native (Raytraced) | Built-in | Medium | Yes | Included | Basic quality checks |
| V-Ray for Rhino | Plugin | Slow | Yes | High (subscription) | Final production renders |
| KeyShot (via export) | External | Fast | Yes | High (perpetual/subscription) | Product & architectural renders |
| Enscape (via export) | External | Fast | Partial | Medium (subscription) | Design review & walkthroughs |
| ArchFine (AI) | Export + upload | Very fast | Image-based | Low (SaaS) | Concept & marketing visuals |
Note: Pricing for V-Ray, KeyShot, and Enscape is subject to change. Check each vendor’s website for current subscription rates.
📌 Did You Know?
Rhino 3D (Rhinoceros) was developed by Robert McNeel & Associates and first released in 1998. It became the standard tool for complex freeform geometry in architecture partly because it handled NURBS surfaces that other software at the time could not manage. Today it is widely used in architecture schools and parametric design offices worldwide.
How ArchFine Handles Rhino and Parametric Model Outputs
ArchFine is an AI-powered architectural rendering platform designed around an image-in, photorealistic-image-out workflow. The platform accepts any viewport screenshot or exported image — including captures taken from Rhino 3D — and processes them through an AI model trained on architectural visualization data.
For Rhino users, the workflow requires no plugin installation, no file format conversion, and no setup inside Rhino beyond a clean viewport capture. The export from Rhino and the upload to ArchFine take under two minutes combined. The AI rendering is typically returned in approximately 30 seconds. For a designer iterating through multiple facade treatments or massing options in Grasshopper, this means a photorealistic result can be generated for each design iteration in the time it would normally take to configure a single material in V-Ray.
The platform is particularly well suited for parametric architecture rendering because the AI does not need to understand the underlying computational logic of a Grasshopper definition. It reads the visual output of the geometry — the baked mesh captured as a viewport image — and applies materials, lighting, and environment based on the prompt provided. Complex panelized surfaces, double-curvature shells, and algorithmically generated facade patterns are all handled through the same image-based process as any other model type.
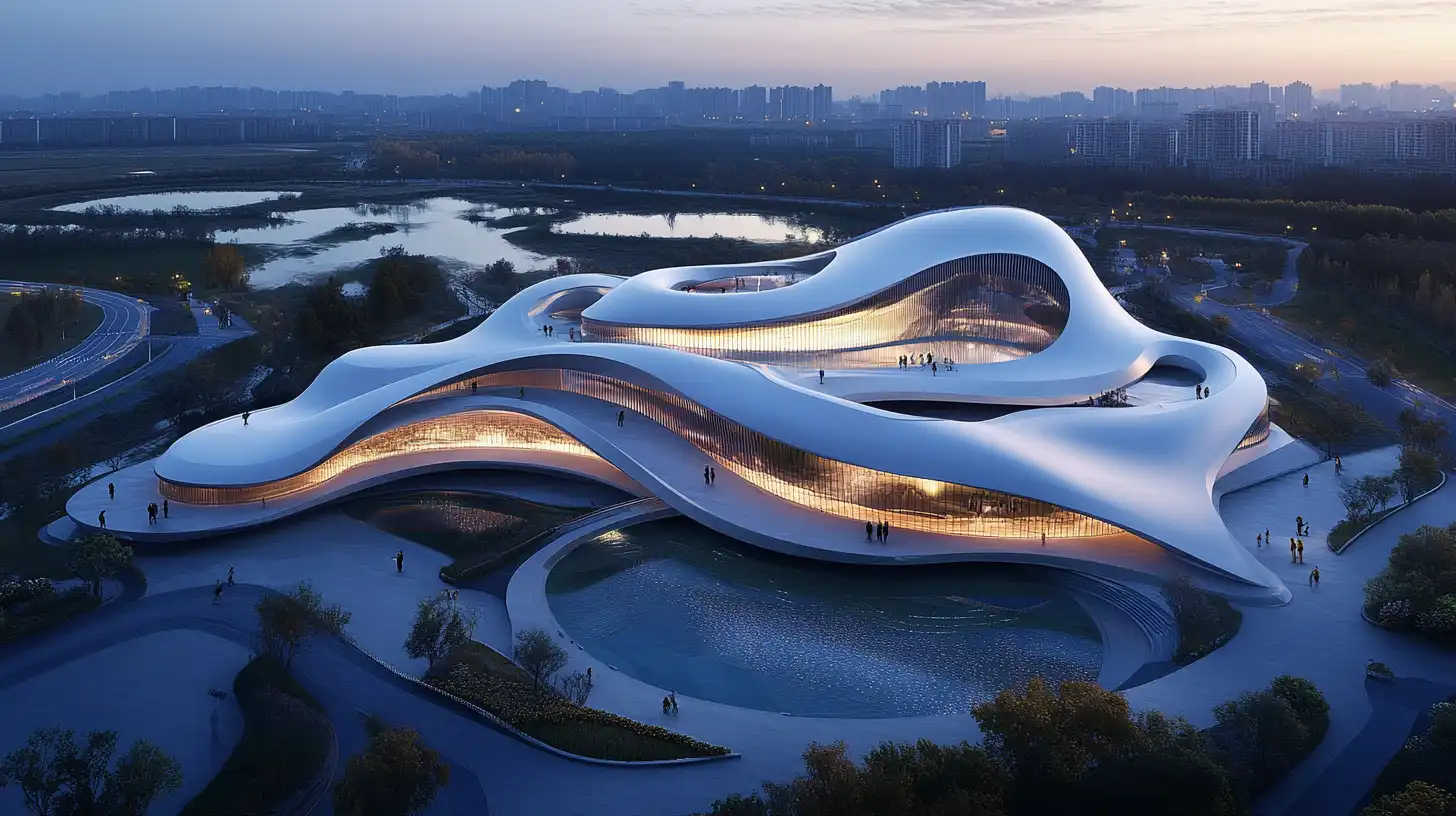
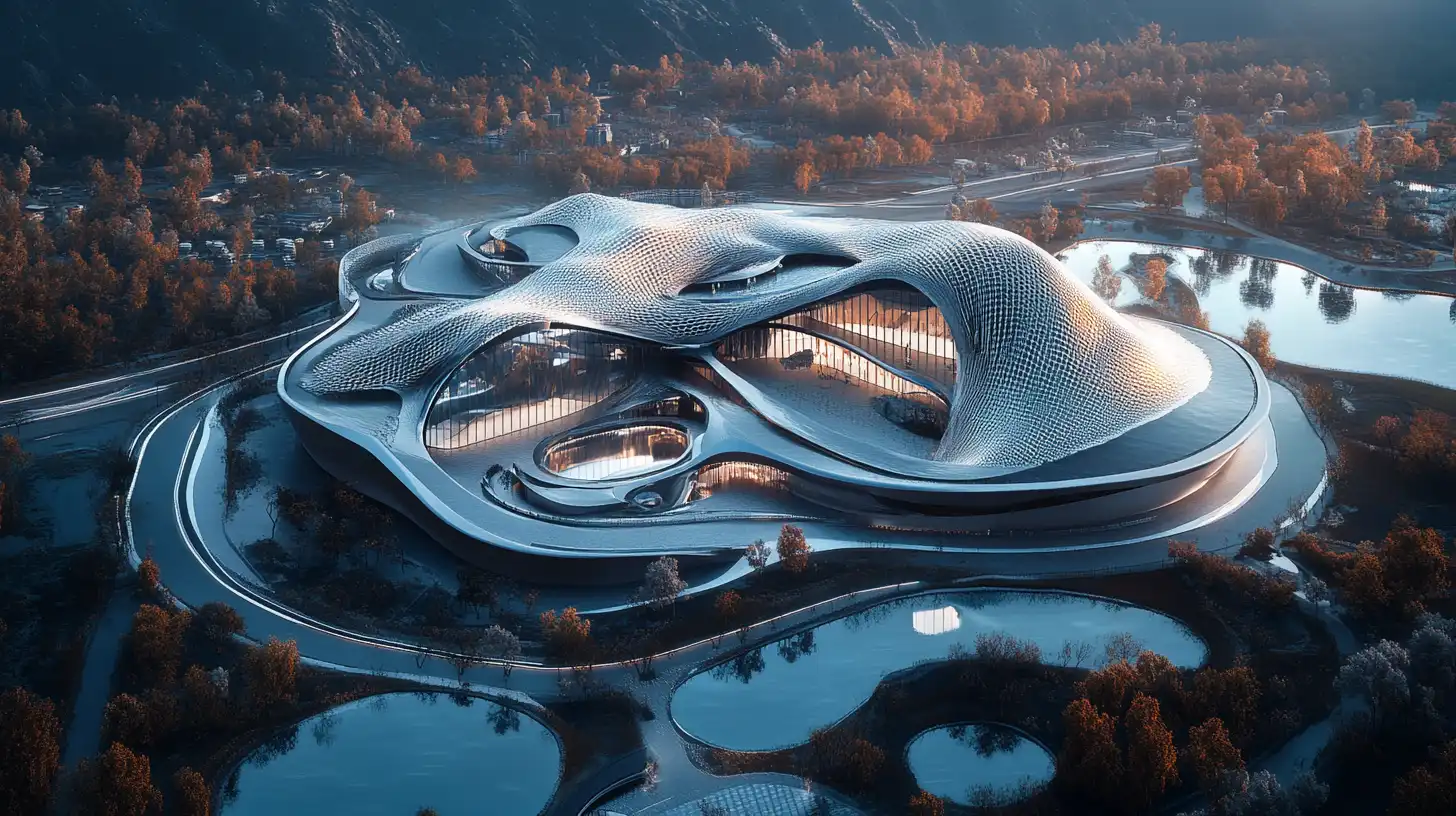
ArchFine also supports prompt-based control over materials and environment. A Rhino model of a perforated metal facade can be rendered as weathered steel, anodized aluminum, or perforated concrete based on the prompt, without any material reassignment inside Rhino. This makes the tool useful not just for speed but for design exploration — testing material directions across a parametric form without committing to any single material configuration in the 3D model.
Rhino AI Rendering vs. KeyShot and V-Ray for Rhino
The comparison between AI rendering tools and established plugins like KeyShot and V-Ray for Rhino is not a question of which produces better output at peak quality. At their respective ceilings, professional render plugins produce results that AI tools currently cannot match in terms of physically accurate light simulation and material precision. The more useful comparison is between the full workflow cost of each approach at different project stages.
V-Ray for Rhino is a deeply integrated plugin that operates inside the Rhino environment. Its strength is physical accuracy: it simulates global illumination, caustics, subsurface scattering, and other complex lighting behaviors that give final-stage renders their realism. The trade-off is time. Setting up a V-Ray scene in Rhino for a complex parametric model — assigning materials, configuring HDRI lighting, adjusting camera exposure — is a multi-hour task even for experienced users. For design phases that require frequent iteration, this setup cost is repeated for each significant model change.
KeyShot works through a file export rather than a direct plugin. Rhino models are exported as OBJ, FBX, or via the KeyShot Bridge and opened in the KeyShot application. The rendering speed in KeyShot is fast compared to V-Ray, but the workflow still requires material assignment inside KeyShot and the management of a separate application and file. For projects where the final KeyShot scene will be reused across multiple design options, the setup investment pays off. For one-off concept renders, it does not.
Rhino AI rendering through a platform like ArchFine sits at the opposite end of the setup cost spectrum. There is no installation, no scene file, and no material library to manage. The rendering scope is limited to what is visible in the exported image, which means camera angles and composition are fixed at capture time and cannot be changed without a new export. The output is not physically accurate in the way V-Ray renders are. But for concept presentations, early-stage client visuals, and competition boards, the combination of zero setup time and fast turnaround makes AI rendering the practical choice at those stages.
A common pattern among Rhino users who have integrated AI rendering into their workflow is to use it heavily during concept development and design iteration, then switch to V-Ray or KeyShot for final deliverables once a design direction is confirmed. This division of workflow by project stage is a more accurate frame than treating the tools as direct competitors.

Key Takeaways
🔑 Key Takeaways
- Rhino AI rendering works through exported viewport images, not native 3D file processing — making it compatible with all geometry types including NURBS and complex Grasshopper outputs.
- Bake Grasshopper geometry before exporting and disable the construction plane grid for clean captures. These two steps eliminate most common export artifacts.
- AI rendering tools are fastest and most cost-effective during concept and design review stages. V-Ray and KeyShot remain better suited for final production renders.
- ArchFine accepts Rhino viewport exports directly, returns photorealistic renders in approximately 30 seconds, and requires no plugin installation or scene configuration inside Rhino.
- For parametric architecture workflows, AI rendering enables material and environment exploration without modifying the underlying Grasshopper definition or Rhino model.
For more on Rhino’s architecture and engineering capabilities, see the official Rhino for Architecture page. The Food4Rhino plugin library provides an overview of the broader Rhino rendering ecosystem. For Rhinoceros 3D background and history, see the Wikipedia entry on Rhinoceros 3D. To try AI rendering directly from a Rhino viewport export, visit app.archfine.com.

")
