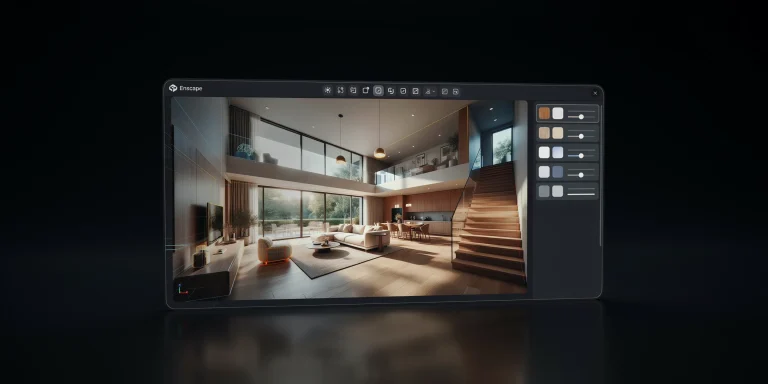
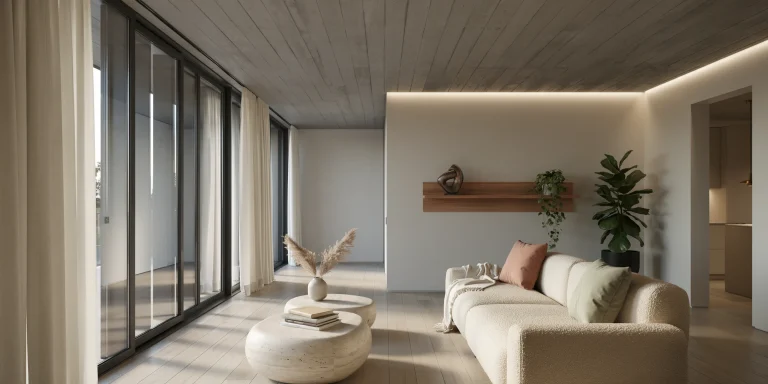
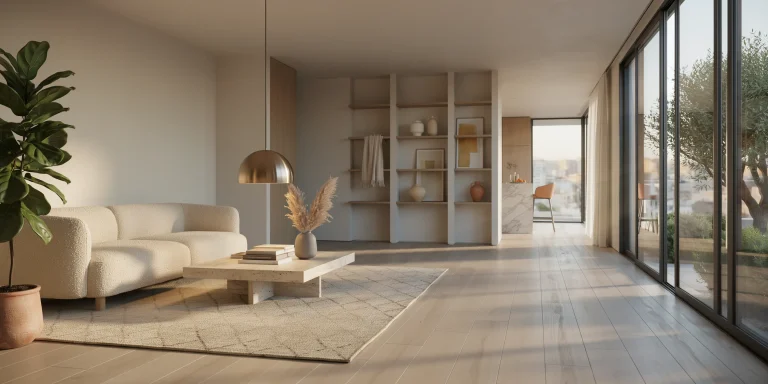
Twinmotion for Revit is a real-time rendering workflow that connects your Revit model to Twinmotion through the Datasmith Direct Link plugin, letting you produce photorealistic stills, animations, and panoramas. Once the link is set up, every change you make in Revit syncs into Twinmotion with one click, so design edits and visuals stay in sync without re-exporting files.
For architects who already model in Revit, Twinmotion removes the slow, batch-render bottleneck of older visualization tools. You light, texture, and populate the scene interactively at real-time frame rates, then push final frames through Lumen or the Path Tracer when you need them. This guide walks through the full Revit to Twinmotion pipeline, from installing Datasmith to exporting client-ready media, with practical tips drawn from production archviz work.
What Is the Twinmotion for Revit Workflow?

The Twinmotion for Revit workflow uses Epic’s Datasmith technology to transfer geometry, materials, metadata, and lights from Revit into Twinmotion. Instead of a static file export, Datasmith Direct Link keeps a live connection between the two applications, so the Revit to Twinmotion handoff becomes an iterative loop rather than a one-time conversion.
According to the official Twinmotion documentation, any change you make to a project in your design application is synchronized and reflected in your Twinmotion project. That single capability is what makes the Twinmotion Revit pairing so efficient for design review, because clients can see updated visuals minutes after a plan changes.
As of Twinmotion 2023.1 and Revit 2024, the Datasmith Exporter plugin is managed by Autodesk and ships built into Revit, so there is nothing extra to download for current versions. On older releases you install the plugin separately, which we cover in the next section.
📐 Technical Note
A single Twinmotion project can hold Direct Links to several design applications at once, but only one link per application. Per the Epic documentation, if you need to sync two separate Revit files you must open each one in its own instance of Revit, then create a Direct Link from each instance into the same Twinmotion scene.
Setting Up the Datasmith Direct Link in Revit
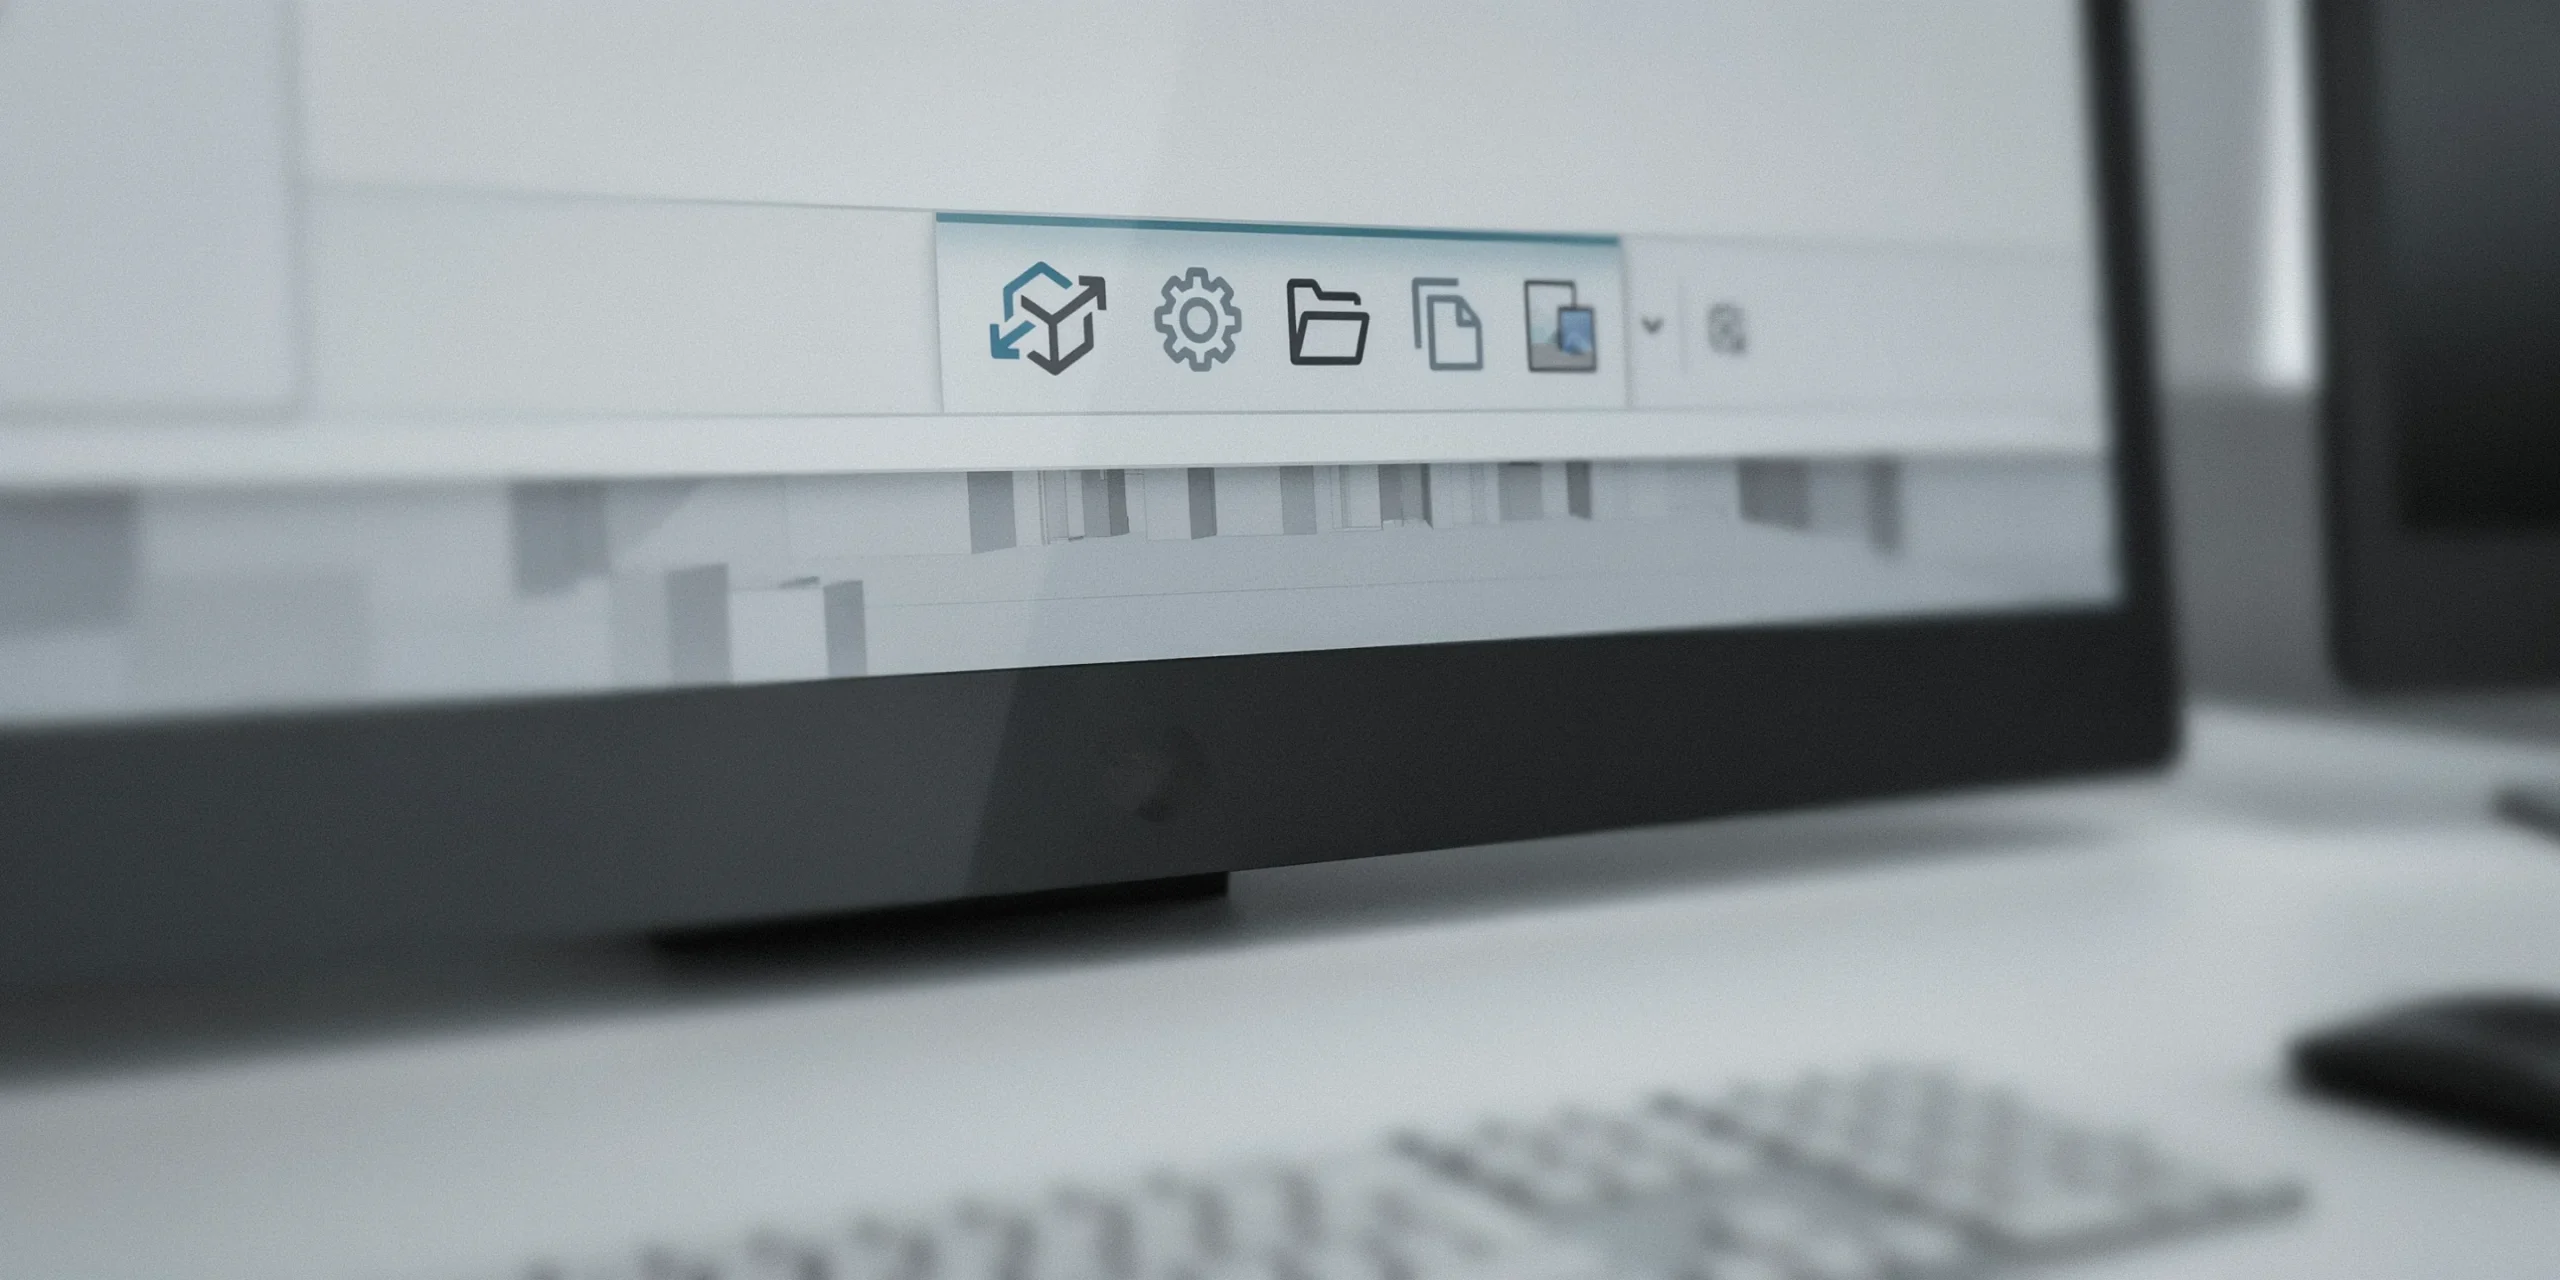
Before you render anything, you need a working Datasmith connection between Revit and Twinmotion. The setup is short, but getting it right the first time saves a lot of re-syncing later. Follow these numbered steps.
- Confirm the plugin. Open Revit and look for the Datasmith ribbon tab. On Revit 2024 and newer it is built in. On older versions, download the Datasmith Exporter for Revit from the Twinmotion plugins page and install it while both Revit and Twinmotion are closed.
- Open your Revit scene. Set the 3D view you want to start from. Twinmotion imports the active 3D view, so hide construction elements or worksets you do not want in the render before syncing.
- Open Twinmotion. Launch Twinmotion, then open the Import dock by clicking Import in the footer and click the Import icon.
- Select the Direct Link tab. In the Import window, choose the Direct Link tab so Twinmotion listens for a connection rather than expecting a file.
- Synchronize from Revit. Back in Revit, on the Datasmith Exporter toolbar click Synchronize with Direct Link. The synchronization process starts and your Revit scene opens inside Twinmotion.
From this point on, any geometry or material edit in Revit can be pushed to Twinmotion by clicking Synchronize again. There is no need to reimport or rebuild the scene.
💡 Pro Tip
Build a clean, render-only 3D view in Revit before your first sync. Turn off annotation categories, grids, and section boxes, and isolate the design model. A tidy source view keeps the Datasmith hierarchy readable in Twinmotion, which makes selecting and re-texturing surfaces far quicker than digging through hundreds of stray elements.
How Do Revit Materials Translate into Twinmotion?
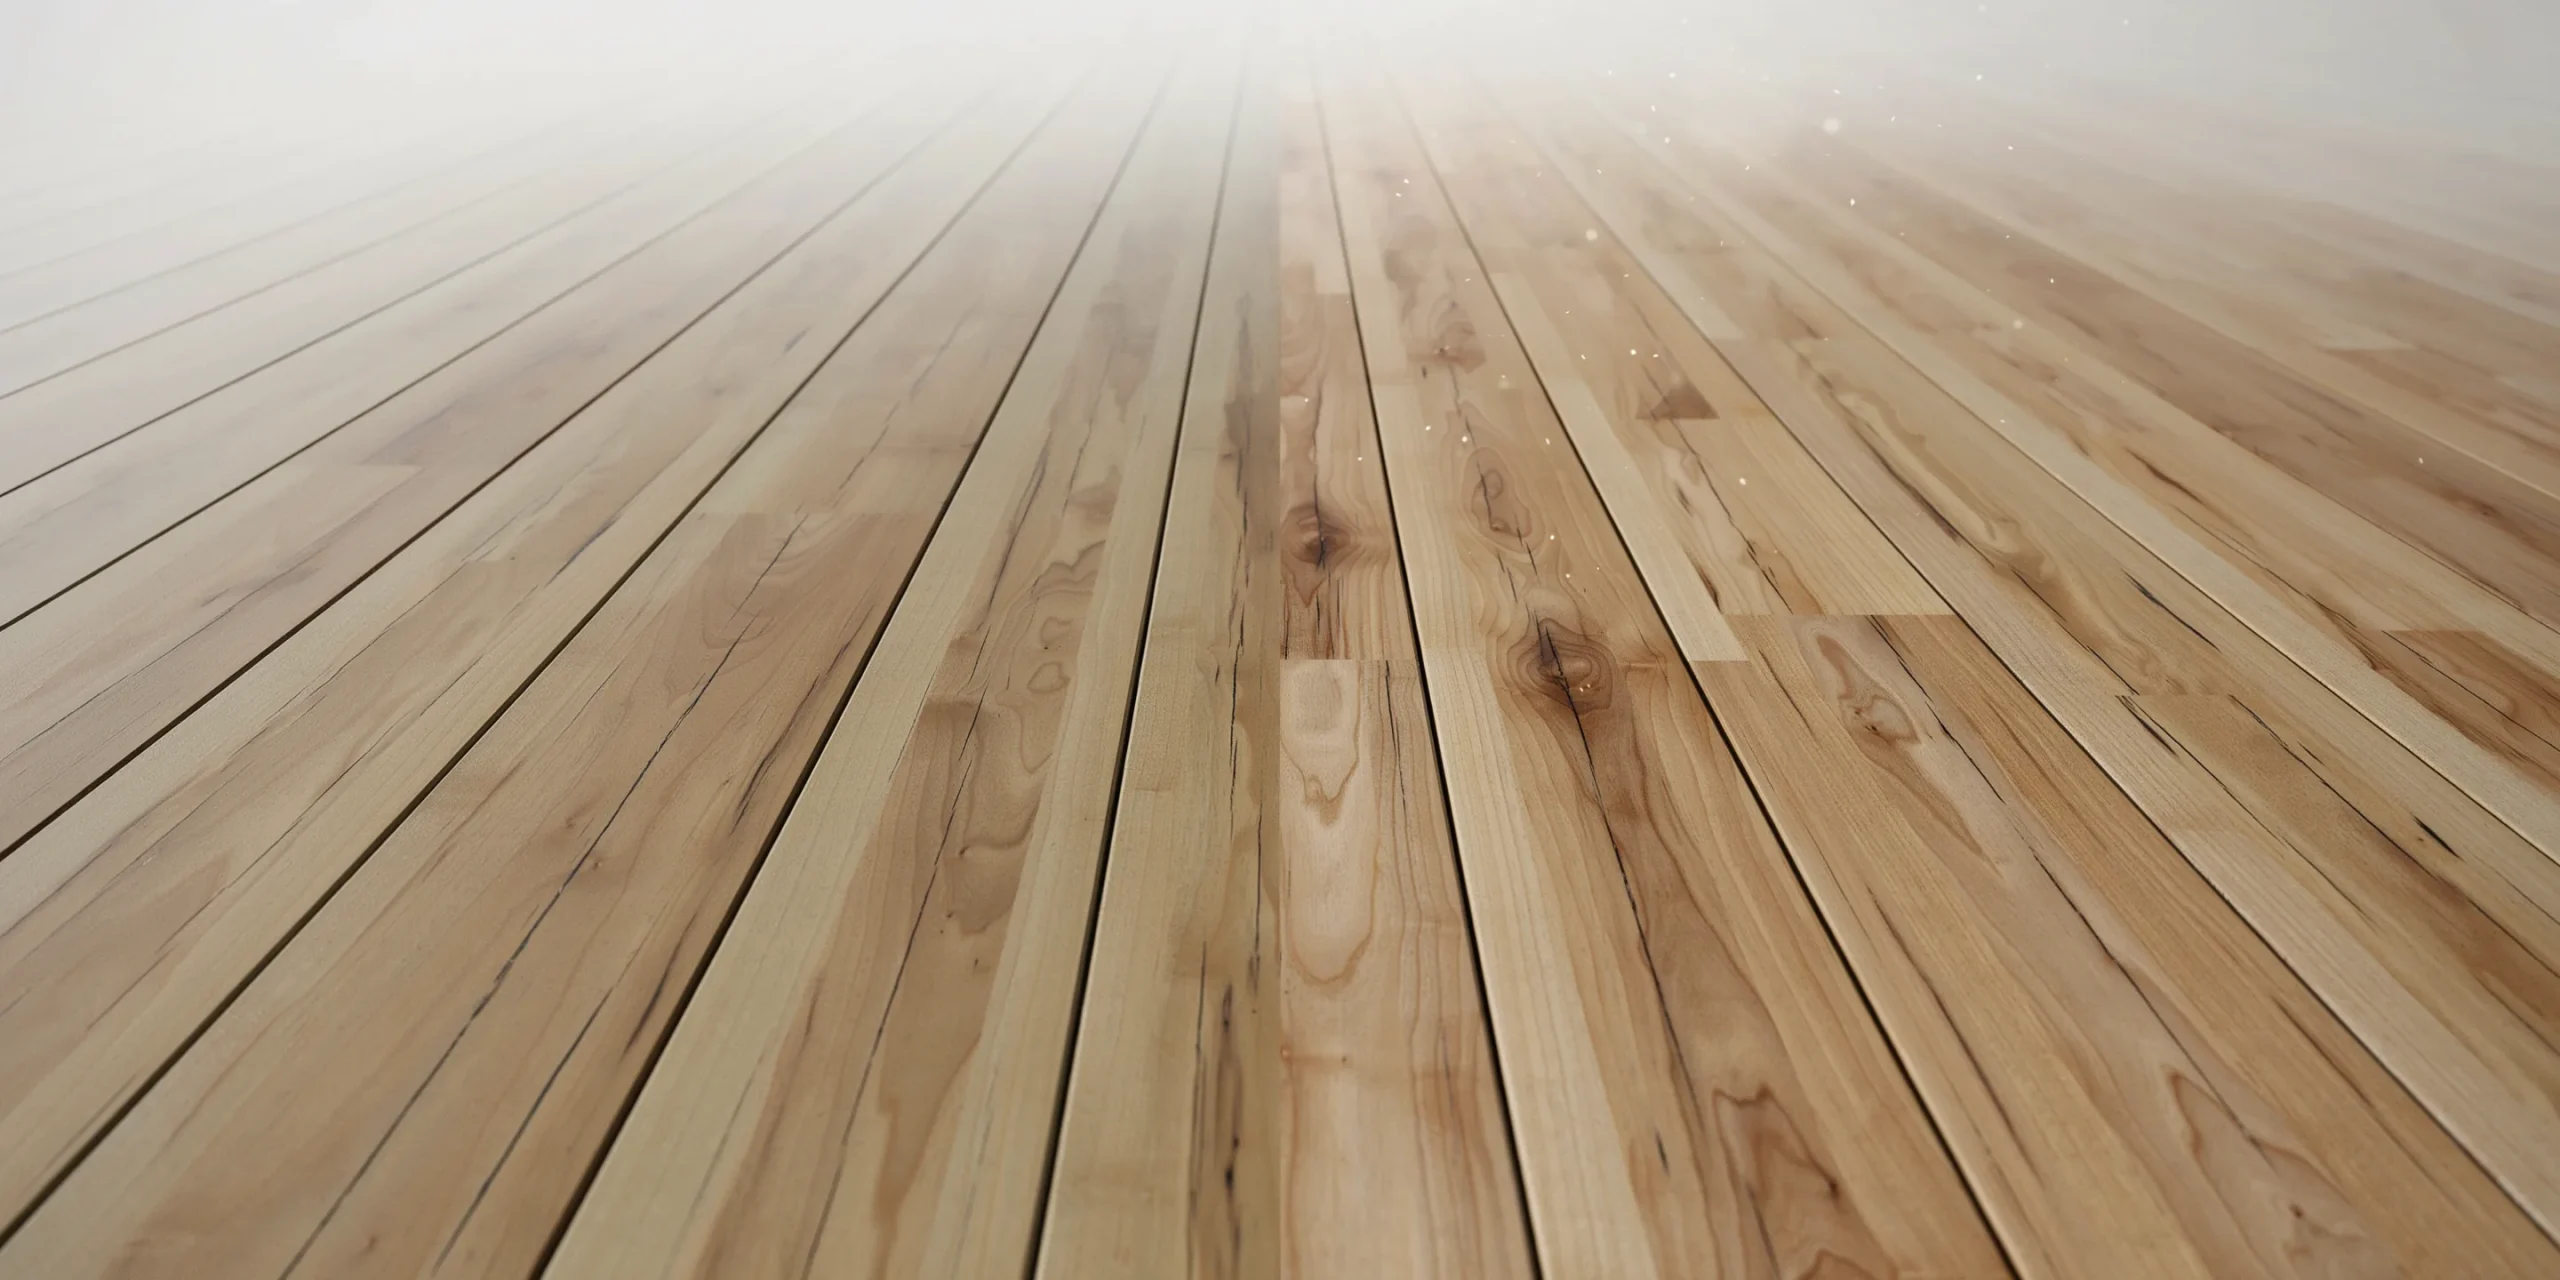
Revit materials carry across the Datasmith Direct Link as a starting point, but you almost always refine them in Twinmotion for a photorealistic result. Twinmotion reads each Revit material as a surface you can replace with a physically based material from its own library, which gives you accurate reflectance, roughness, and displacement that Revit alone cannot show.
Twinmotion ships with a large PBR material library, so the fastest texturing method is to drag a library material directly onto a surface in the viewport. The Twinmotion Datasmith exporter for Revit preserves the object grouping from your model, which means you can swap all instances of a Revit material at once rather than touching each face by hand.
- Glass and glazing: replace Revit generic glass with a Twinmotion glass material to get correct transparency, tint, and reflections.
- Concrete, brick, and stone: use library PBR materials and tune the texture scale so the pattern reads at real-world dimensions.
- Vegetation and ground: add Twinmotion scatter and landscape paint rather than relying on flat Revit topography materials.
⚠️ Common Mistake to Avoid
A frequent error is re-texturing every surface in Twinmotion and then re-syncing Revit, which can reset overrides on geometry that changed. Keep heavy material work for elements you are not actively editing in Revit, and lock down your final lighting and materials once the model geometry is stable. This avoids redoing the same surface twice.
Lighting, Environment, and Context
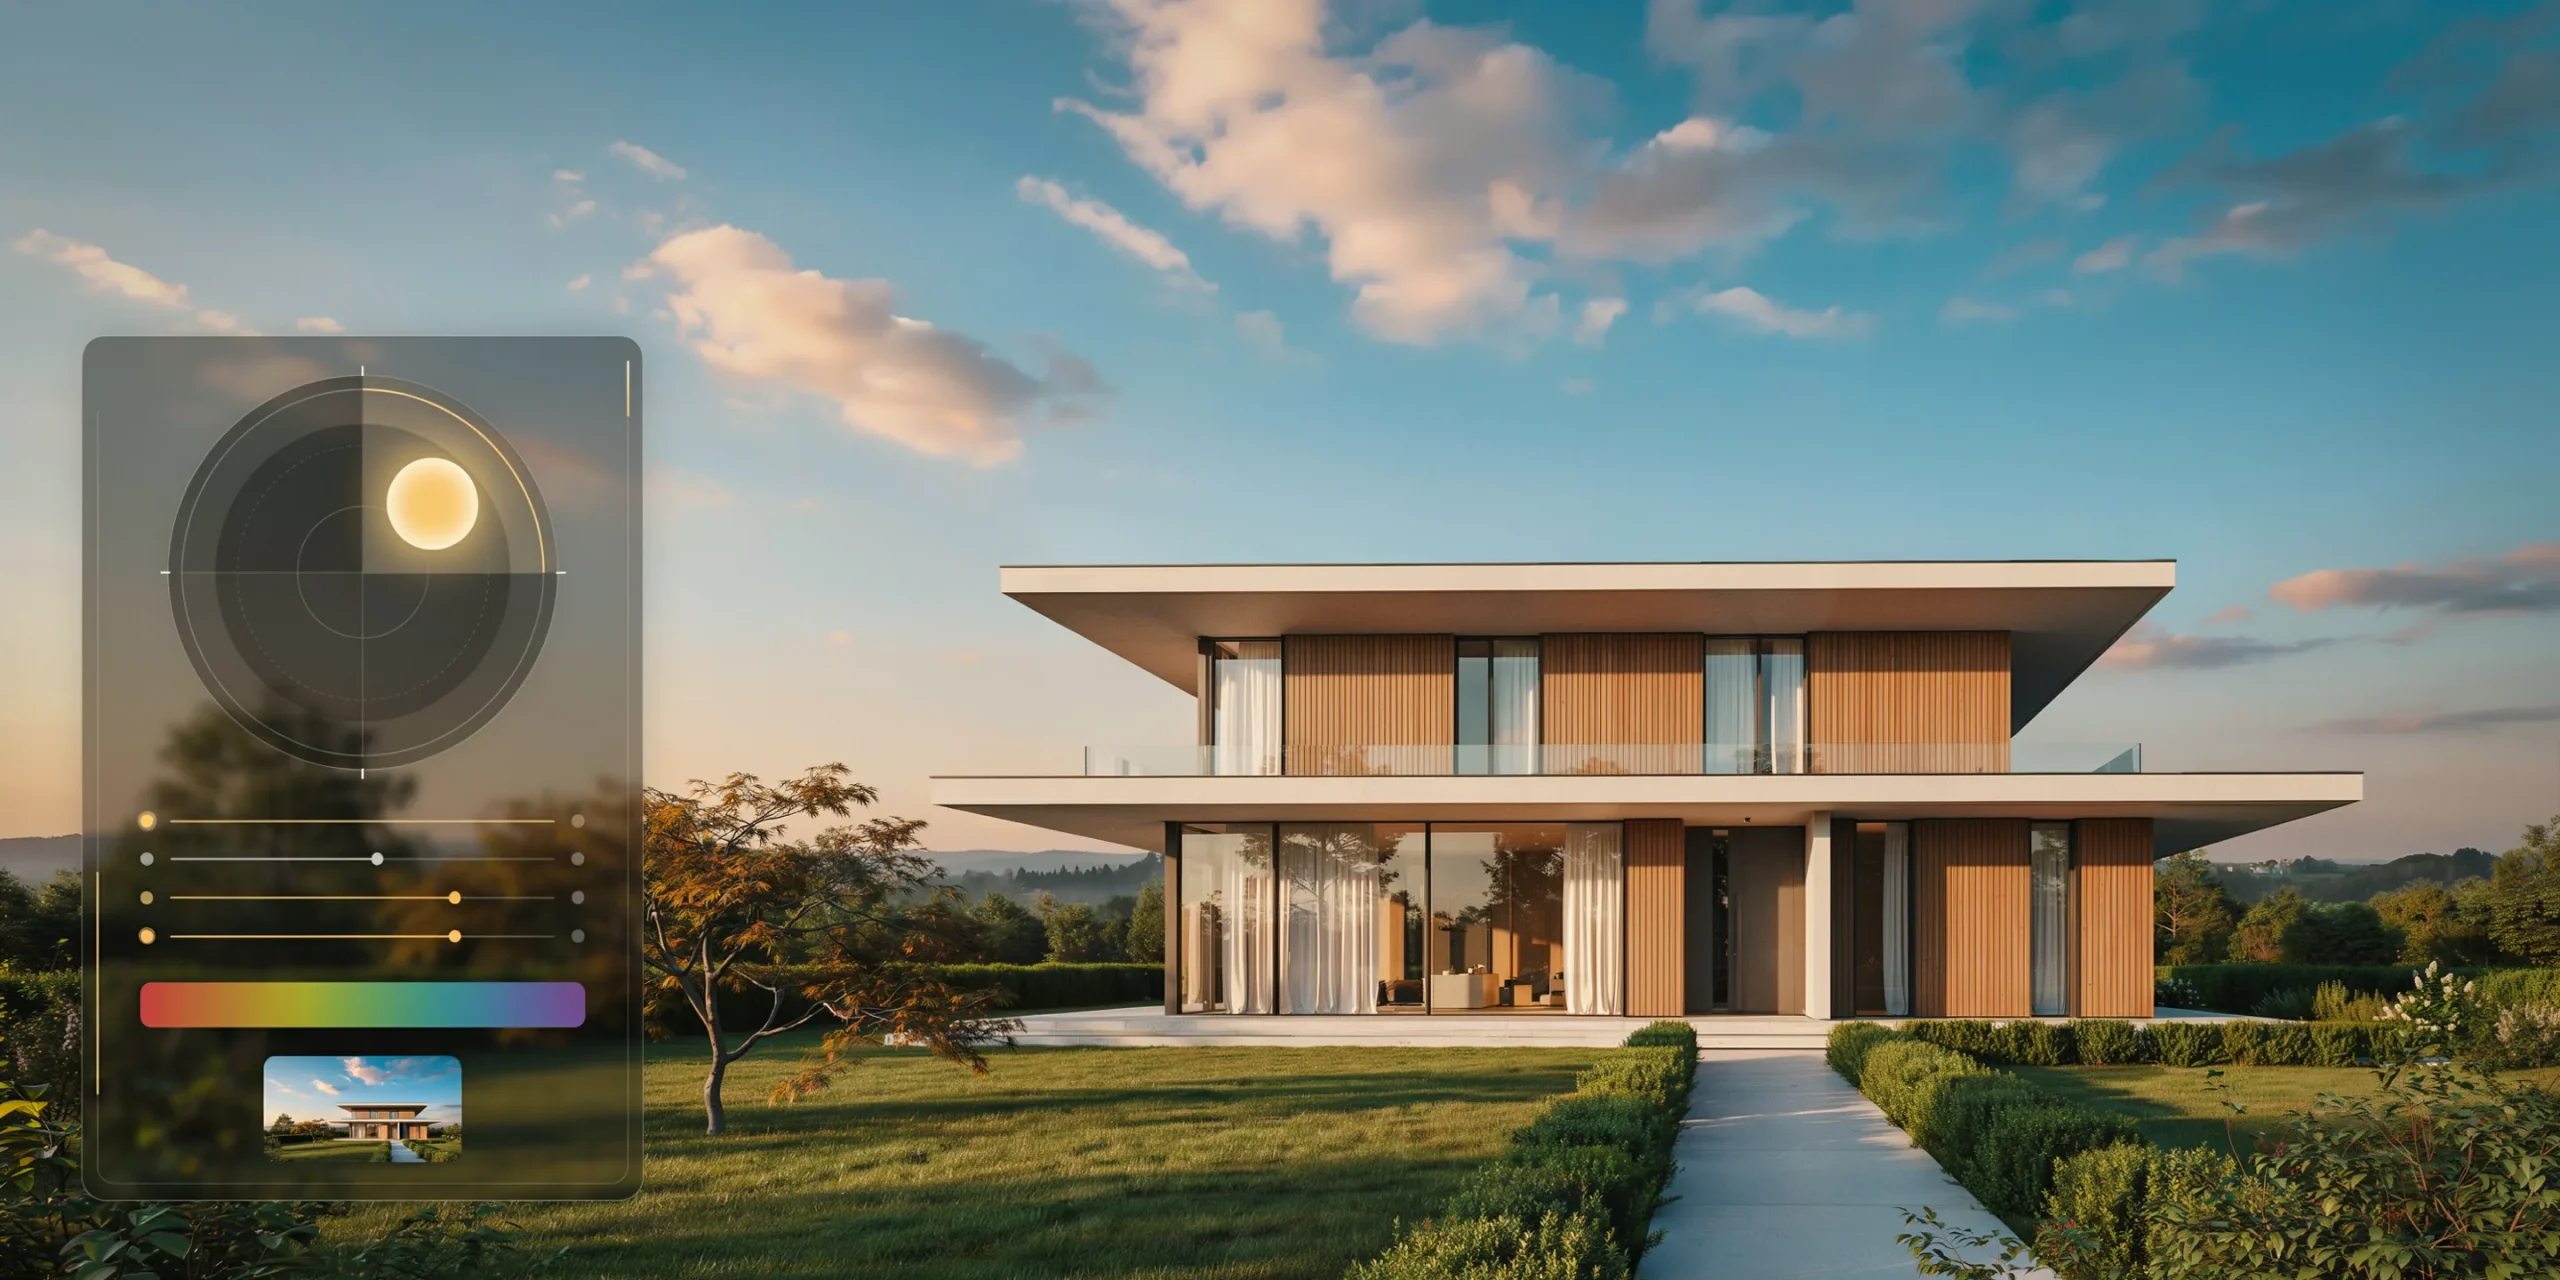
Lighting is where a Revit model becomes a convincing render. Twinmotion gives you a real-time sun and sky system, weather, and seasons that you adjust with sliders while watching the scene update instantly. This interactive control is the core advantage of the real time rendering approach over batch renderers.
- Sun and sky: set geographic location, date, and time of day to drive accurate sun angles and shadow direction for your project site.
- Weather: add clouds, fog, or light rain to set mood and add atmospheric depth to exterior shots.
- Context: drop in Twinmotion vegetation, vehicles, and animated people to give the scene scale and life that a bare Revit export lacks.
- Interior light: place IES-based lights from the library for realistic falloff in interior visuals.
📌 Did You Know?
Twinmotion ships a library of PBR materials, vegetation, objects, lights, HDRI environments, characters and vehicles, including Smart Assets such as doors that open and trees that sway, as set out in Epic’s Twinmotion library documentation. That depth means most Revit scenes can be fully dressed for a render without ever leaving Twinmotion to source external models.
Creating Cameras and Animation

Once lighting and materials are set, you compose shots. Twinmotion lets you save camera viewpoints as media you can return to, and string cameras together into walkthrough animations. The composition principles that apply to any render apply here too, which we cover in our guide on what makes a great architectural render.
- Frame still images. Navigate to a viewpoint, then create an Image in the Media panel to lock that camera for later export.
- Build a video path. Create a Video, then add keyframes along a path to define the camera move through and around the building.
- Add panoramas. Create a Panorama for 360-degree views that clients can explore in a viewer or VR headset.
- Set duration and easing. Adjust clip length and keyframe spacing so the camera move feels smooth rather than mechanical.
💡 Pro Tip
Keep camera moves slow and let the architecture do the work. On client walkthroughs, a gentle dolly past a facade reads as more professional than a fast orbit. Save each hero shot as its own Image first, approve the framing with the client, then animate only the approved viewpoints to avoid re-rendering rejected angles.
Exporting Renders from Twinmotion
To export, open the Export panel from the footer and add the Image, Video, or Panorama you want to output. Each export window offers Real time (Standard), Lumen, and Path Tracer quality modes, so you choose the balance of speed and realism that the deliverable needs.
- Real time (Standard): fastest output, ideal for quick previews and rapid client check-ins.
- Lumen: dynamic global illumination with strong quality at interactive speed for most production stills and videos.
- Path Tracer: progressive, physically accurate rendering with accurate lighting and global illumination for final hero images.
Per the Twinmotion Path Tracer requirements, the Path Tracer runs on Windows only and needs an NVIDIA RTX card, or an AMD RX 6000 series or higher, with at least 8GB of dedicated VRAM. Plan your final renders around that hardware so you are not waiting on an underpowered GPU at deadline.
📐 Technical Note
For print deliverables, export still images at 4K or higher and check your aspect ratio against the final layout before committing to a long Path Tracer render. A Path Traced 4K still can take significant time per frame, so set resolution and framing once rather than re-running the queue after a small crop change.
Where Does AI Rendering Fit Alongside Twinmotion?
AI rendering and Twinmotion solve different parts of the same problem. Twinmotion gives you a controllable, geometry-accurate 3D scene you can animate and revisit, while AI tools turn a model export or viewport image into a styled render in seconds for fast concept exploration. Many archviz teams now use both, depending on the stage of the project.
If you also work in other modeling tools, the same logic carries over. Our walkthroughs on SketchUp AI rendering and Rhino AI rendering show how to generate quick photorealistic visuals from a model export, which pairs well with Twinmotion for early-stage ideation before you commit to a full real-time scene. You can browse more of these in our architectural visualization tutorials category.
Frequently Asked Questions
Is Twinmotion free for Revit users?
Twinmotion offers a free version for individuals and small teams under Epic’s licensing terms, with paid tiers for larger studios. The Datasmith Direct Link to Revit works the same way regardless of tier, so you can test the full Revit to Twinmotion workflow before deciding on a commercial license. Always check the current terms on the official Twinmotion site.
Do I need to reinstall Datasmith for every Revit version?
No. From Revit 2024 onward the Datasmith Exporter is built in and maintained by Autodesk, so there is no separate plugin to install. For Revit 2023 and earlier you install the matching Datasmith Exporter for Revit once per version, with both applications closed during installation.
Why are my Revit materials missing in Twinmotion?
Generic or template Revit materials often import as plain surfaces because they lack physically based texture data. The fix is to replace them with Twinmotion PBR materials from the library. Because Datasmith preserves grouping, you can re-texture all instances of a material at once rather than surface by surface.
Can I update the Revit model after I start rendering?
Yes. That is the main reason to use Direct Link. When the design changes in Revit, click Synchronize with Direct Link again and Twinmotion updates the geometry while keeping your lighting, cameras, and most material overrides. Lock final materials and lighting once geometry is stable to avoid rework.
Your Next Step
Your Next Step: Open your current Revit project, build one clean render-only 3D view, and run a single Datasmith Direct Link sync into Twinmotion. Texturing one hero surface and setting the sun angle on a real model teaches the workflow faster than any amount of reading, and it gives you a shareable image to test the round-trip before you commit a full project to the pipeline.