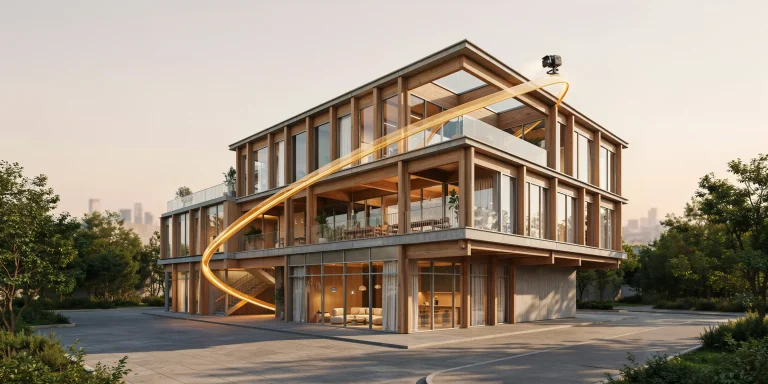
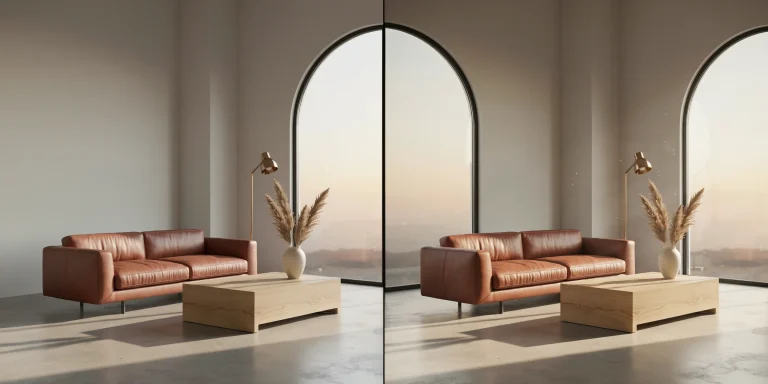
Architectural rendering lighting is the process of placing and balancing light sources in a 3D scene so a building reads with the right mood, depth, and material accuracy. A strong setup combines a sun system, HDRI environment, and artificial fixtures, then matches exposure to the time of day you want to convey, from bright midday to a glowing dusk.
Lighting is the factor that separates a flat 3D model from an image a client believes. Geometry and materials matter, but a render with weak architectural rendering lighting will always look amateur, while a simple model lit well can look photographic. This guide walks through exterior and interior setups, day and night scenes, HDRI workflows, and how to light a site plan, so you can match the work coming out of top studios.
What is architectural rendering lighting?
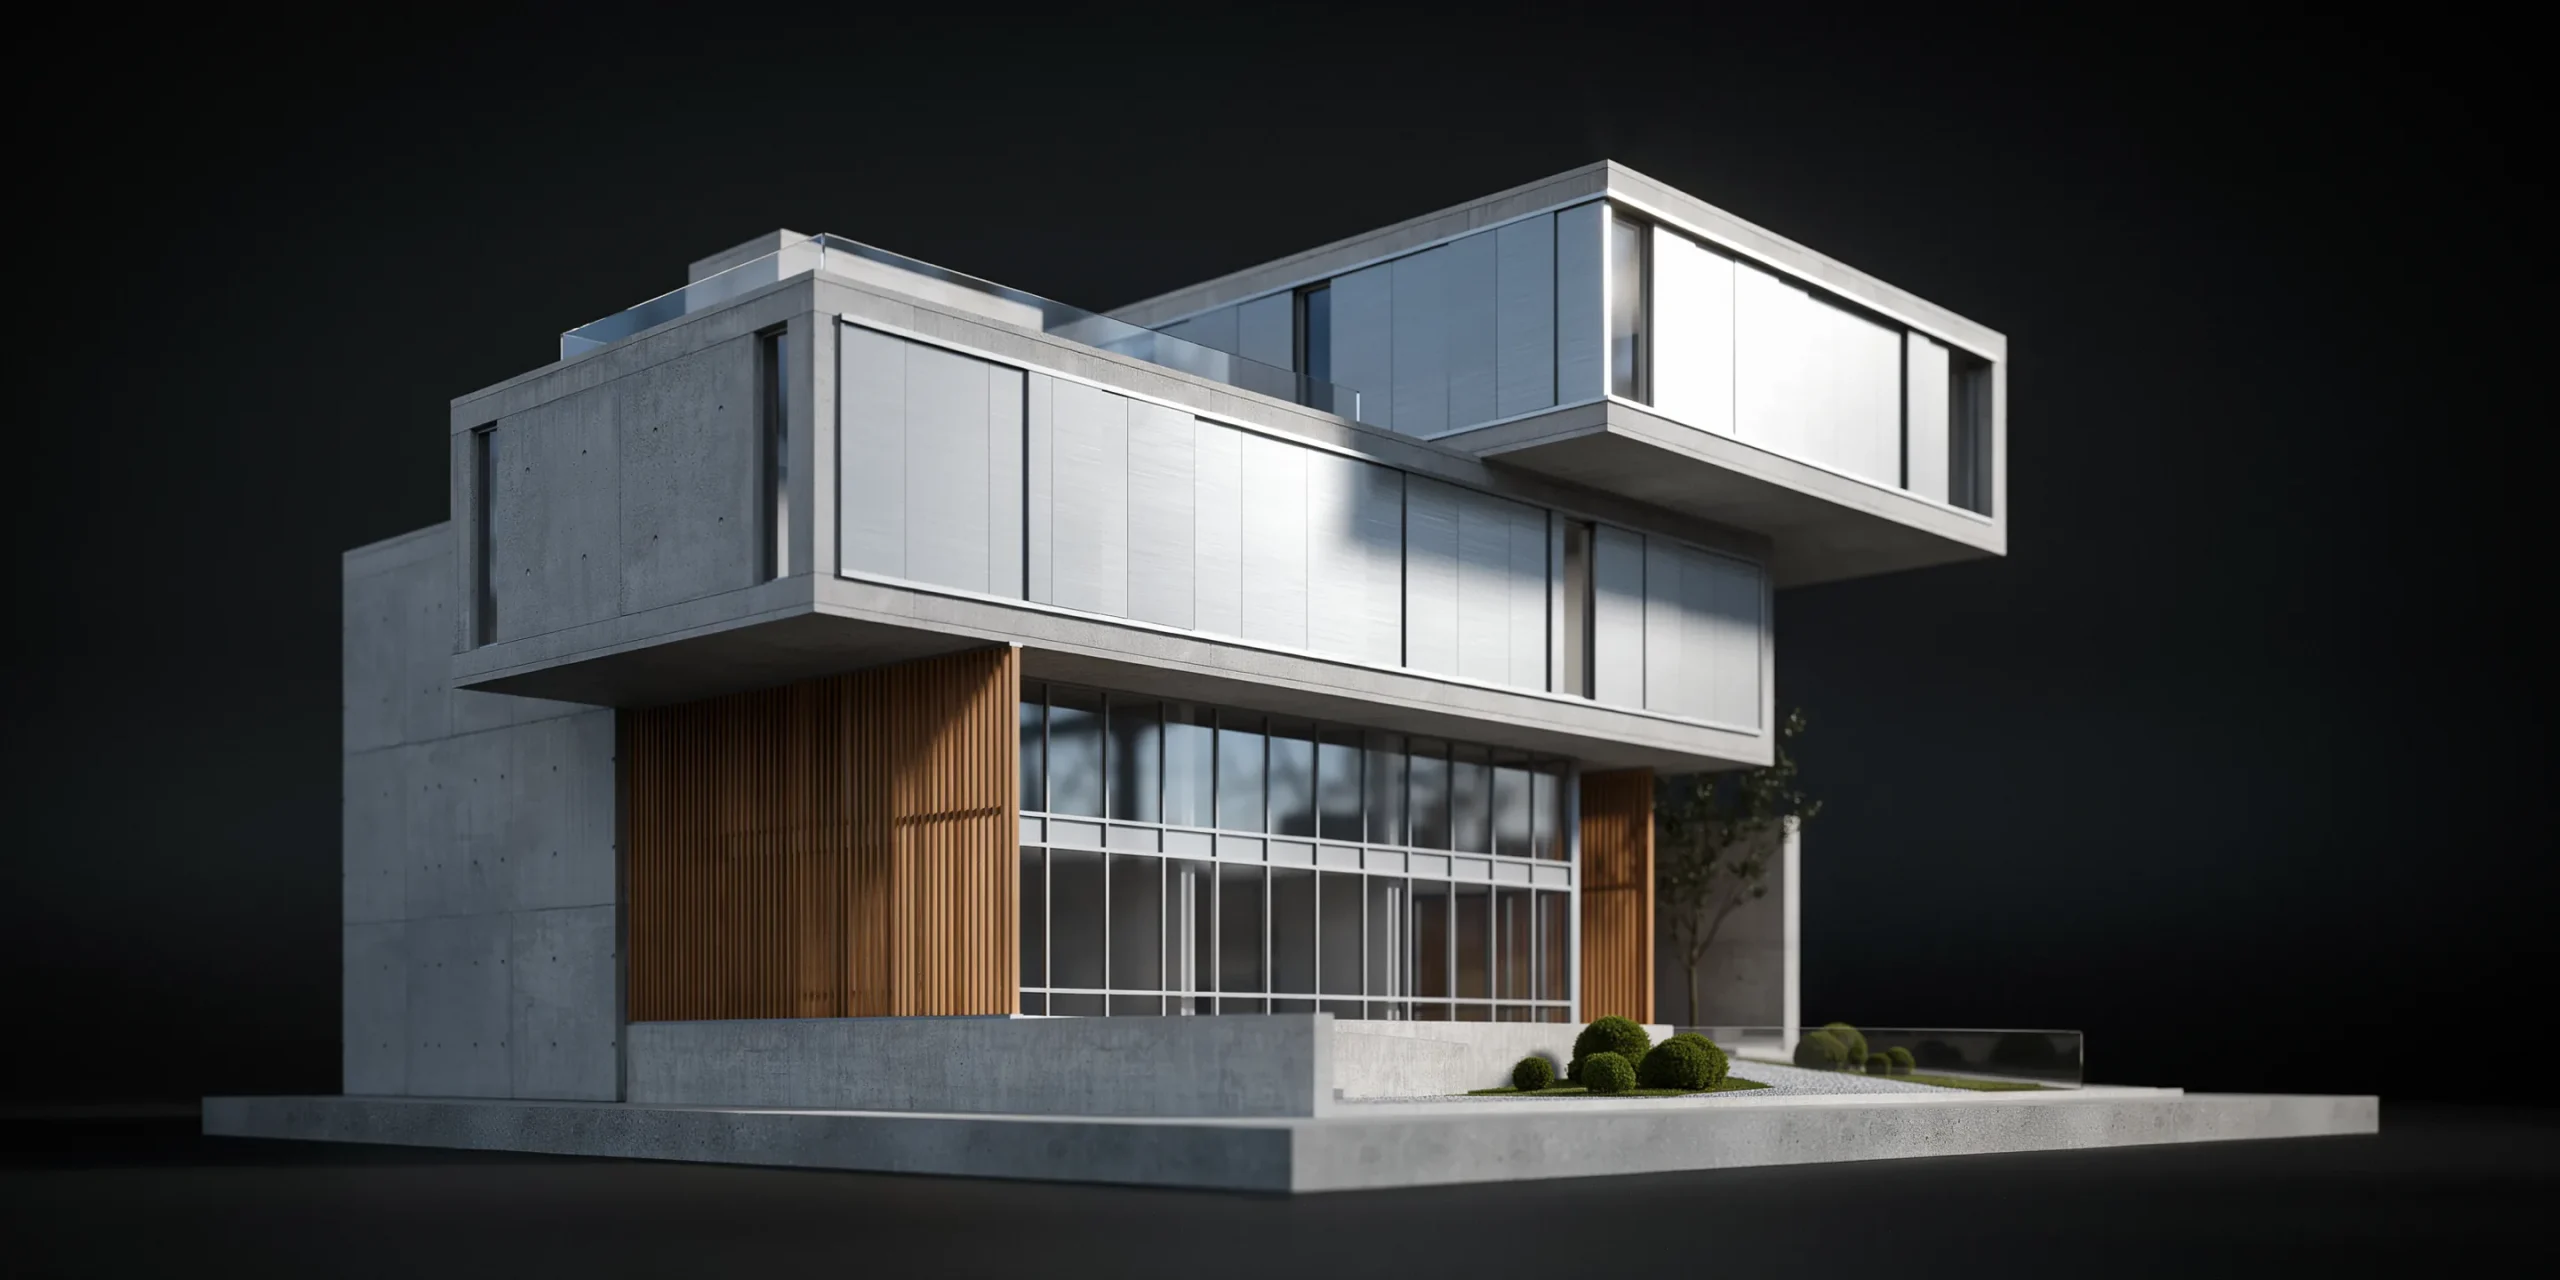
Architectural rendering lighting refers to the combination of direct, indirect, and environment light used to illuminate a building model inside a render engine. It decides where shadows fall, how warm or cool surfaces appear, and how much detail survives in highlights and dark corners. Most setups draw on three building blocks that you mix depending on the scene.
- Sun and sky systems drive directional sunlight and a physically based sky. They give you control over shadow angle, sharpness, and color temperature across the day.
- HDRI environments wrap the scene in a 360-degree photographed sky, supplying soft ambient light, realistic reflections, and global illumination in one step.
- Artificial lights, including spot, area, and IES-profiled fixtures, fill interiors and add accent pools for night and dusk shots.
Engines such as V-Ray by Chaos and real-time tools like Lumion expose all three systems, and the principles transfer between them. Before you touch a single light, decide on the story: a morning concept image, a clinical product shot, or a warm twilight hero. That decision sets your exposure, color, and shadow choices for everything that follows.
💡 Pro Tip
Block out your lighting on a gray clay model before applying any materials. When surfaces are neutral, you can read shadow shape and contrast honestly. Studios that light the clay first rarely fight muddy reflections later, because the light is already correct when textures go on.
How do you set up exterior lighting in a render?
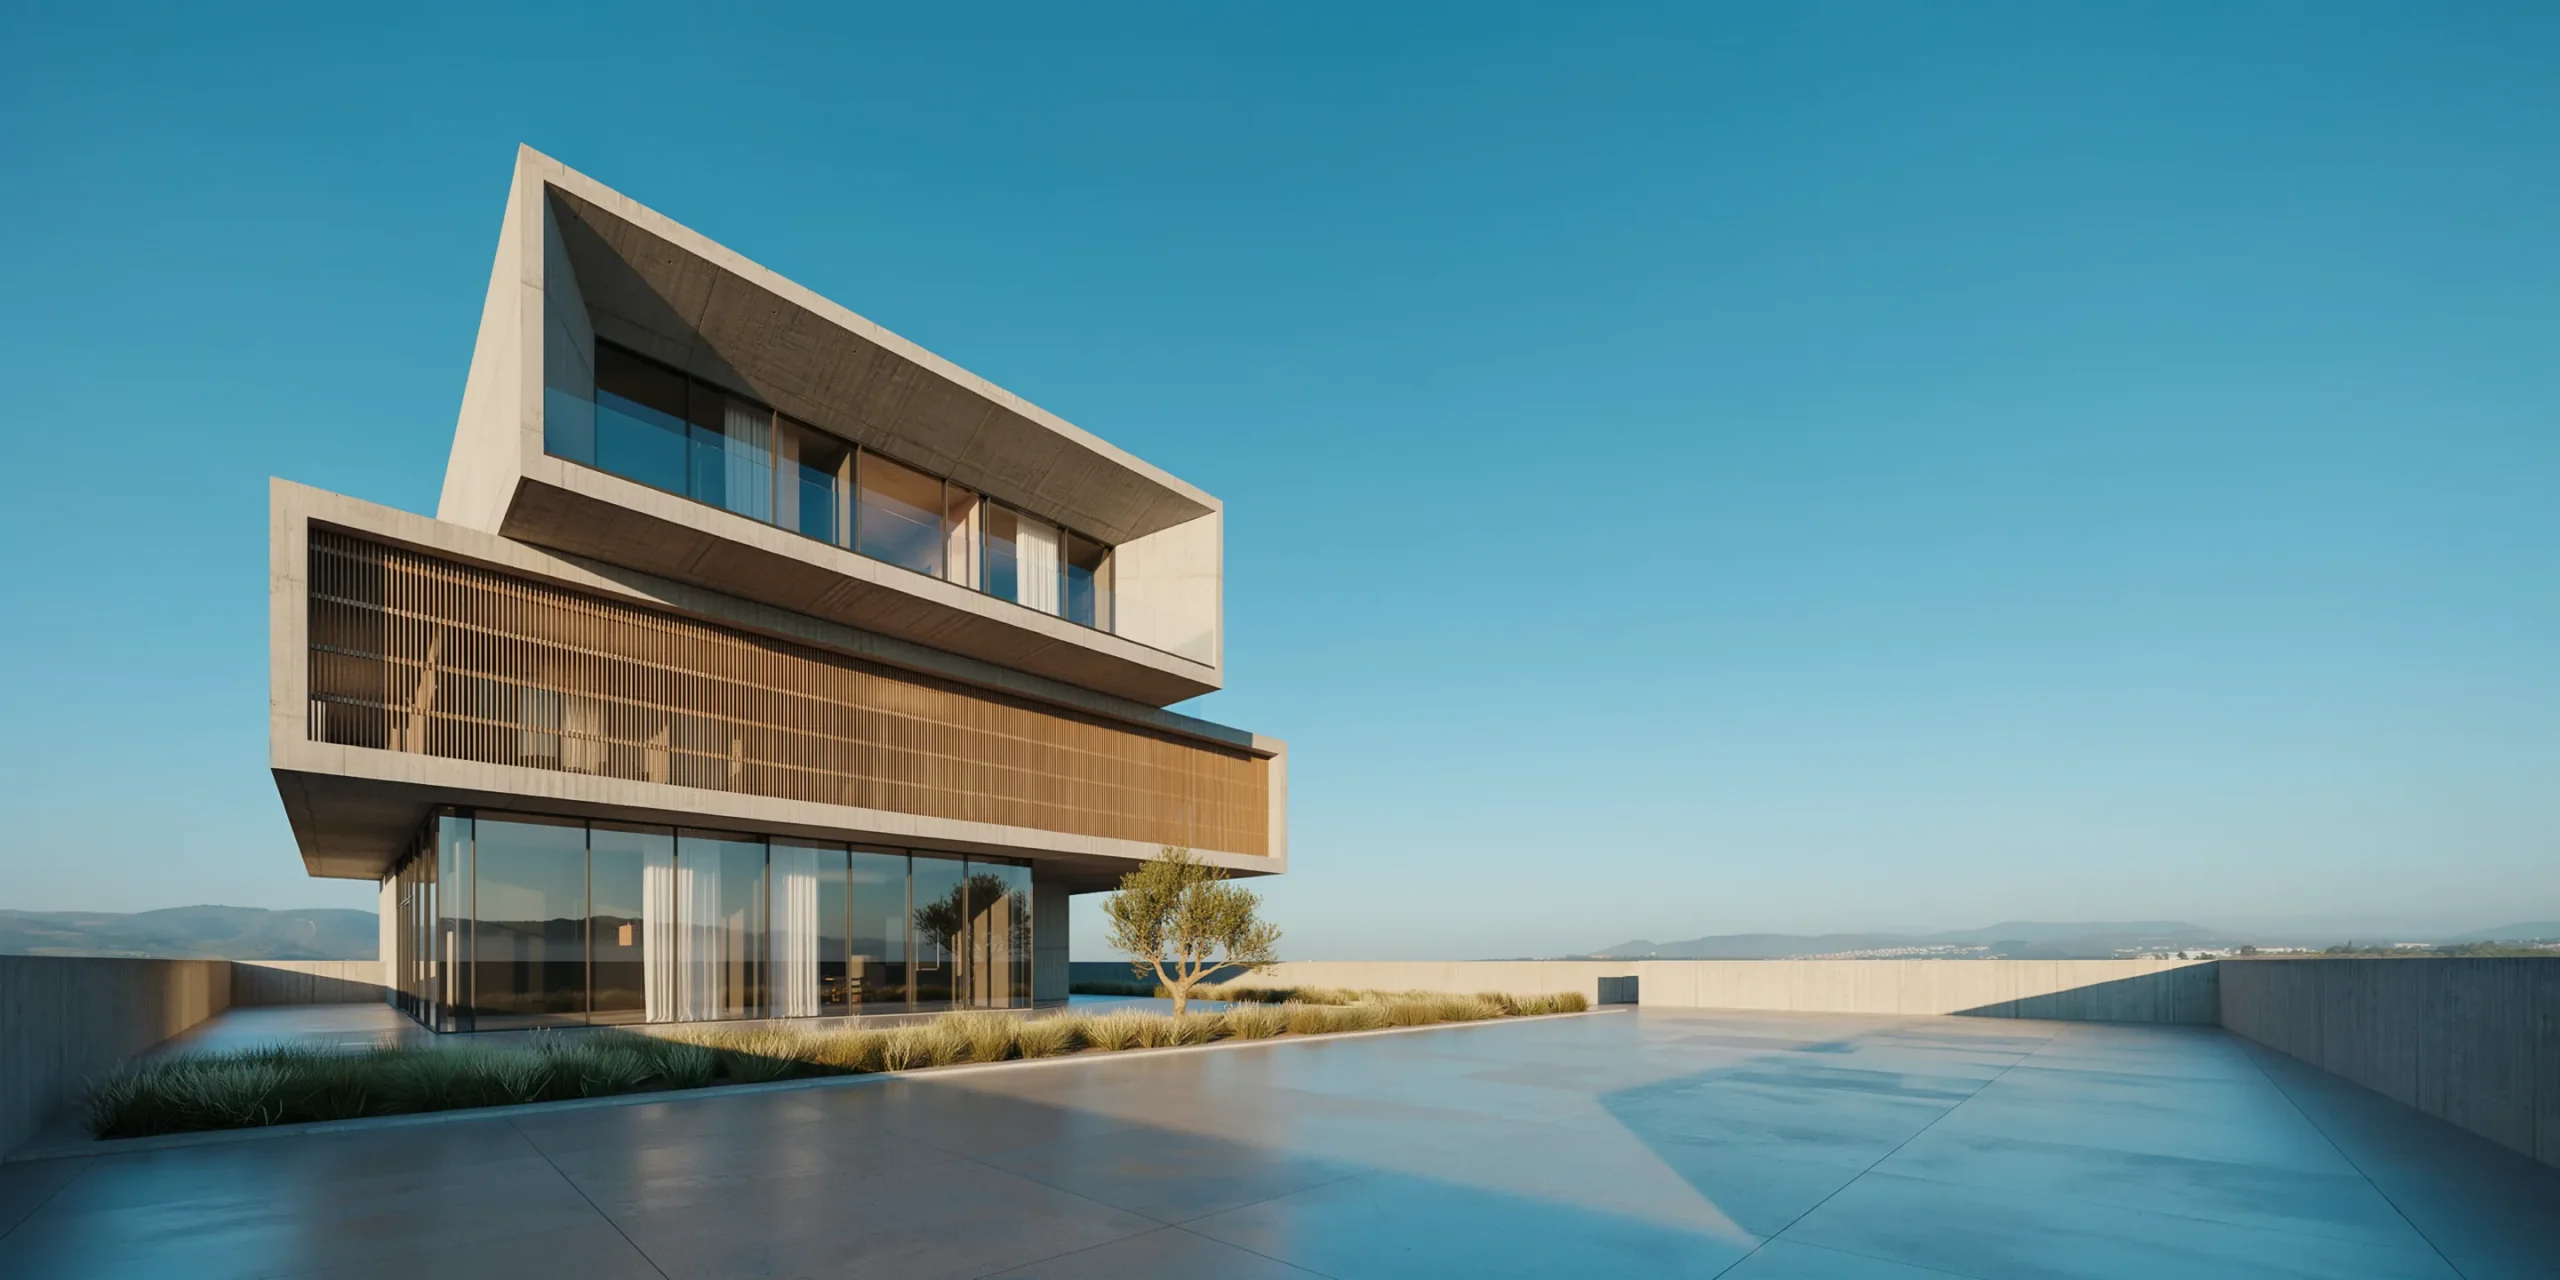
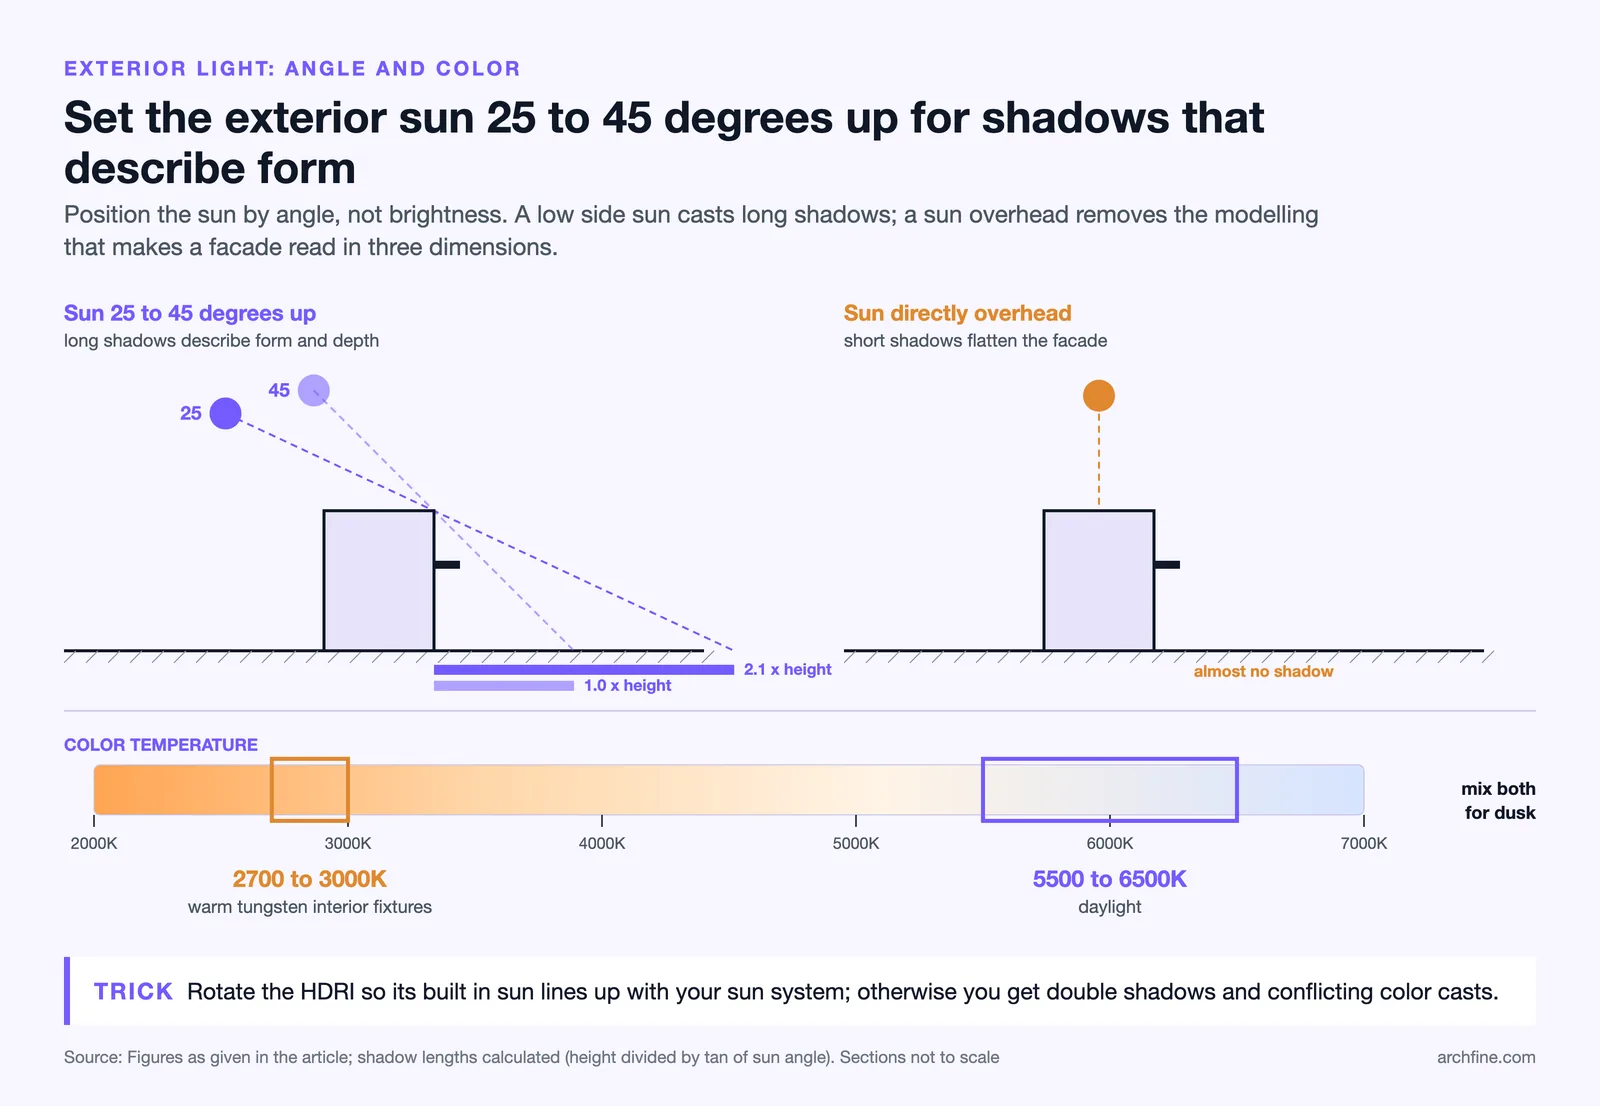
For exterior architectural rendering lighting, start with a physical sun and sky, then position the sun by its angle rather than its brightness. Aim for a low side angle, roughly 25 to 45 degrees above the horizon, so the building casts long shadows that describe its form and depth. A sun directly overhead flattens facades and removes the modeling that makes a render feel three-dimensional.
Once the sun direction is set, layer an HDRI sky for the ambient light and reflections. Many artists pair a physical sun with a 4K or higher HDRI map so the sky controls fill light and reflections while the sun system drives crisp shadows. Rotate the HDRI so its built-in sun, if it has one, lines up with your sun system, otherwise you get double shadows and conflicting color casts.
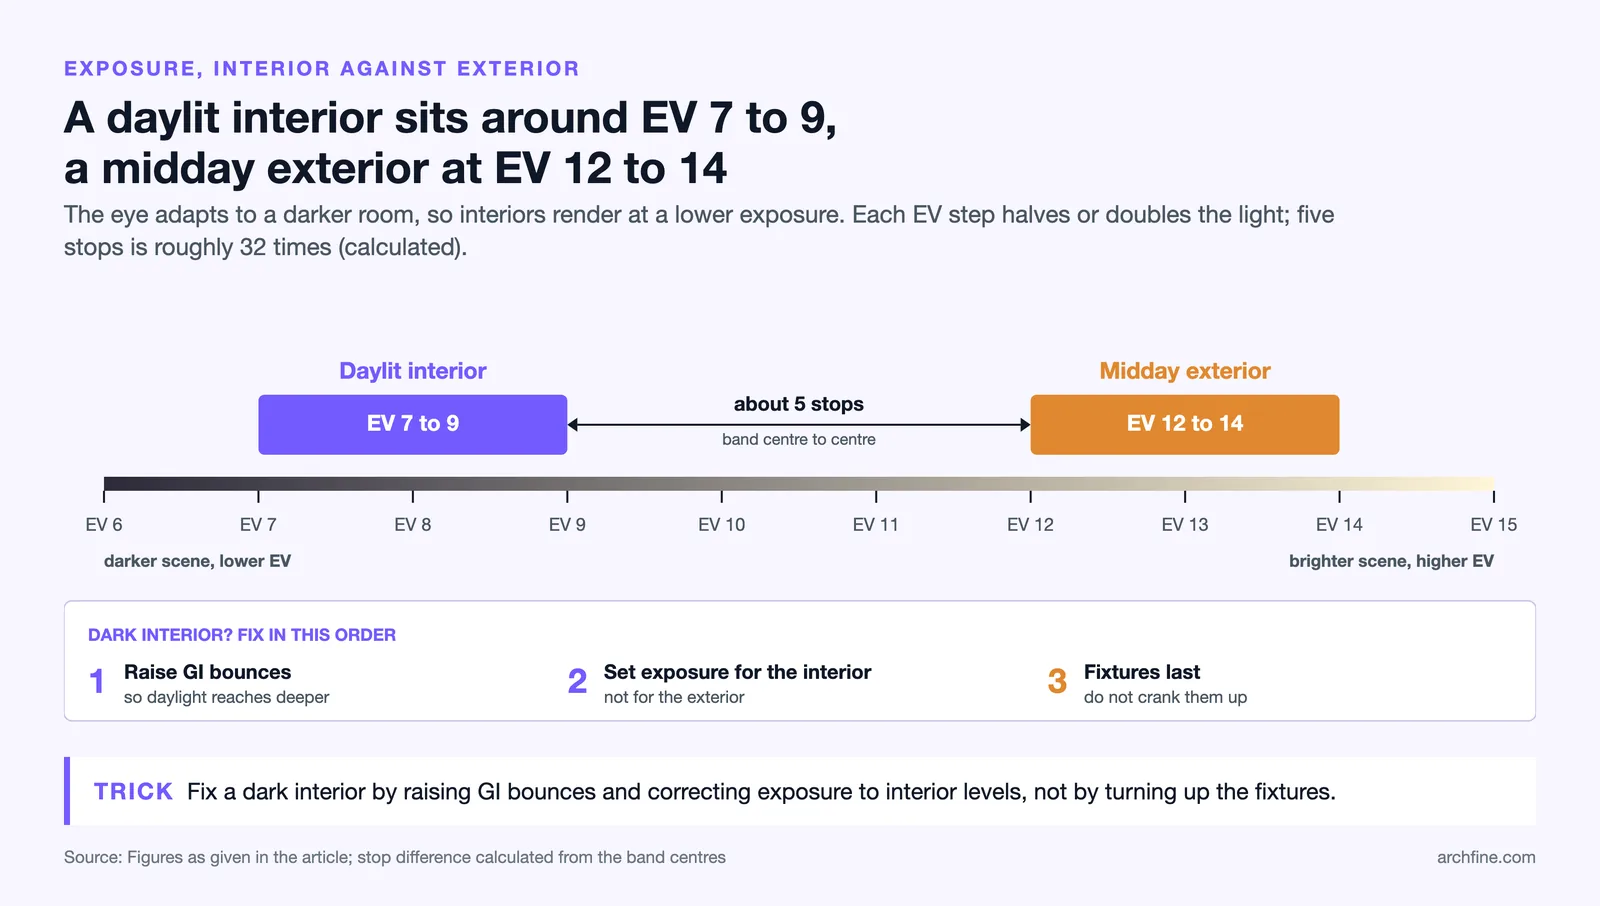
Exposure for exteriors usually sits brighter than interiors. With a physical camera, a midday exterior often lands around EV 12 to 14, while overcast or golden-hour scenes need lower values. Adjust exposure first, then fine-tune sun intensity, never the reverse, so your highlights on glass and metal stay controlled instead of blowing out.
📐 Technical Note
Color temperature anchors realism. Daylight sits near 5500K to 6500K, while warm tungsten interior fixtures fall around 2700K to 3000K. Mixing a cool daylight exterior with warm interior glow visible through windows is what makes a dusk render read as believable rather than uniformly flat.
How do you light interior scenes realistically?
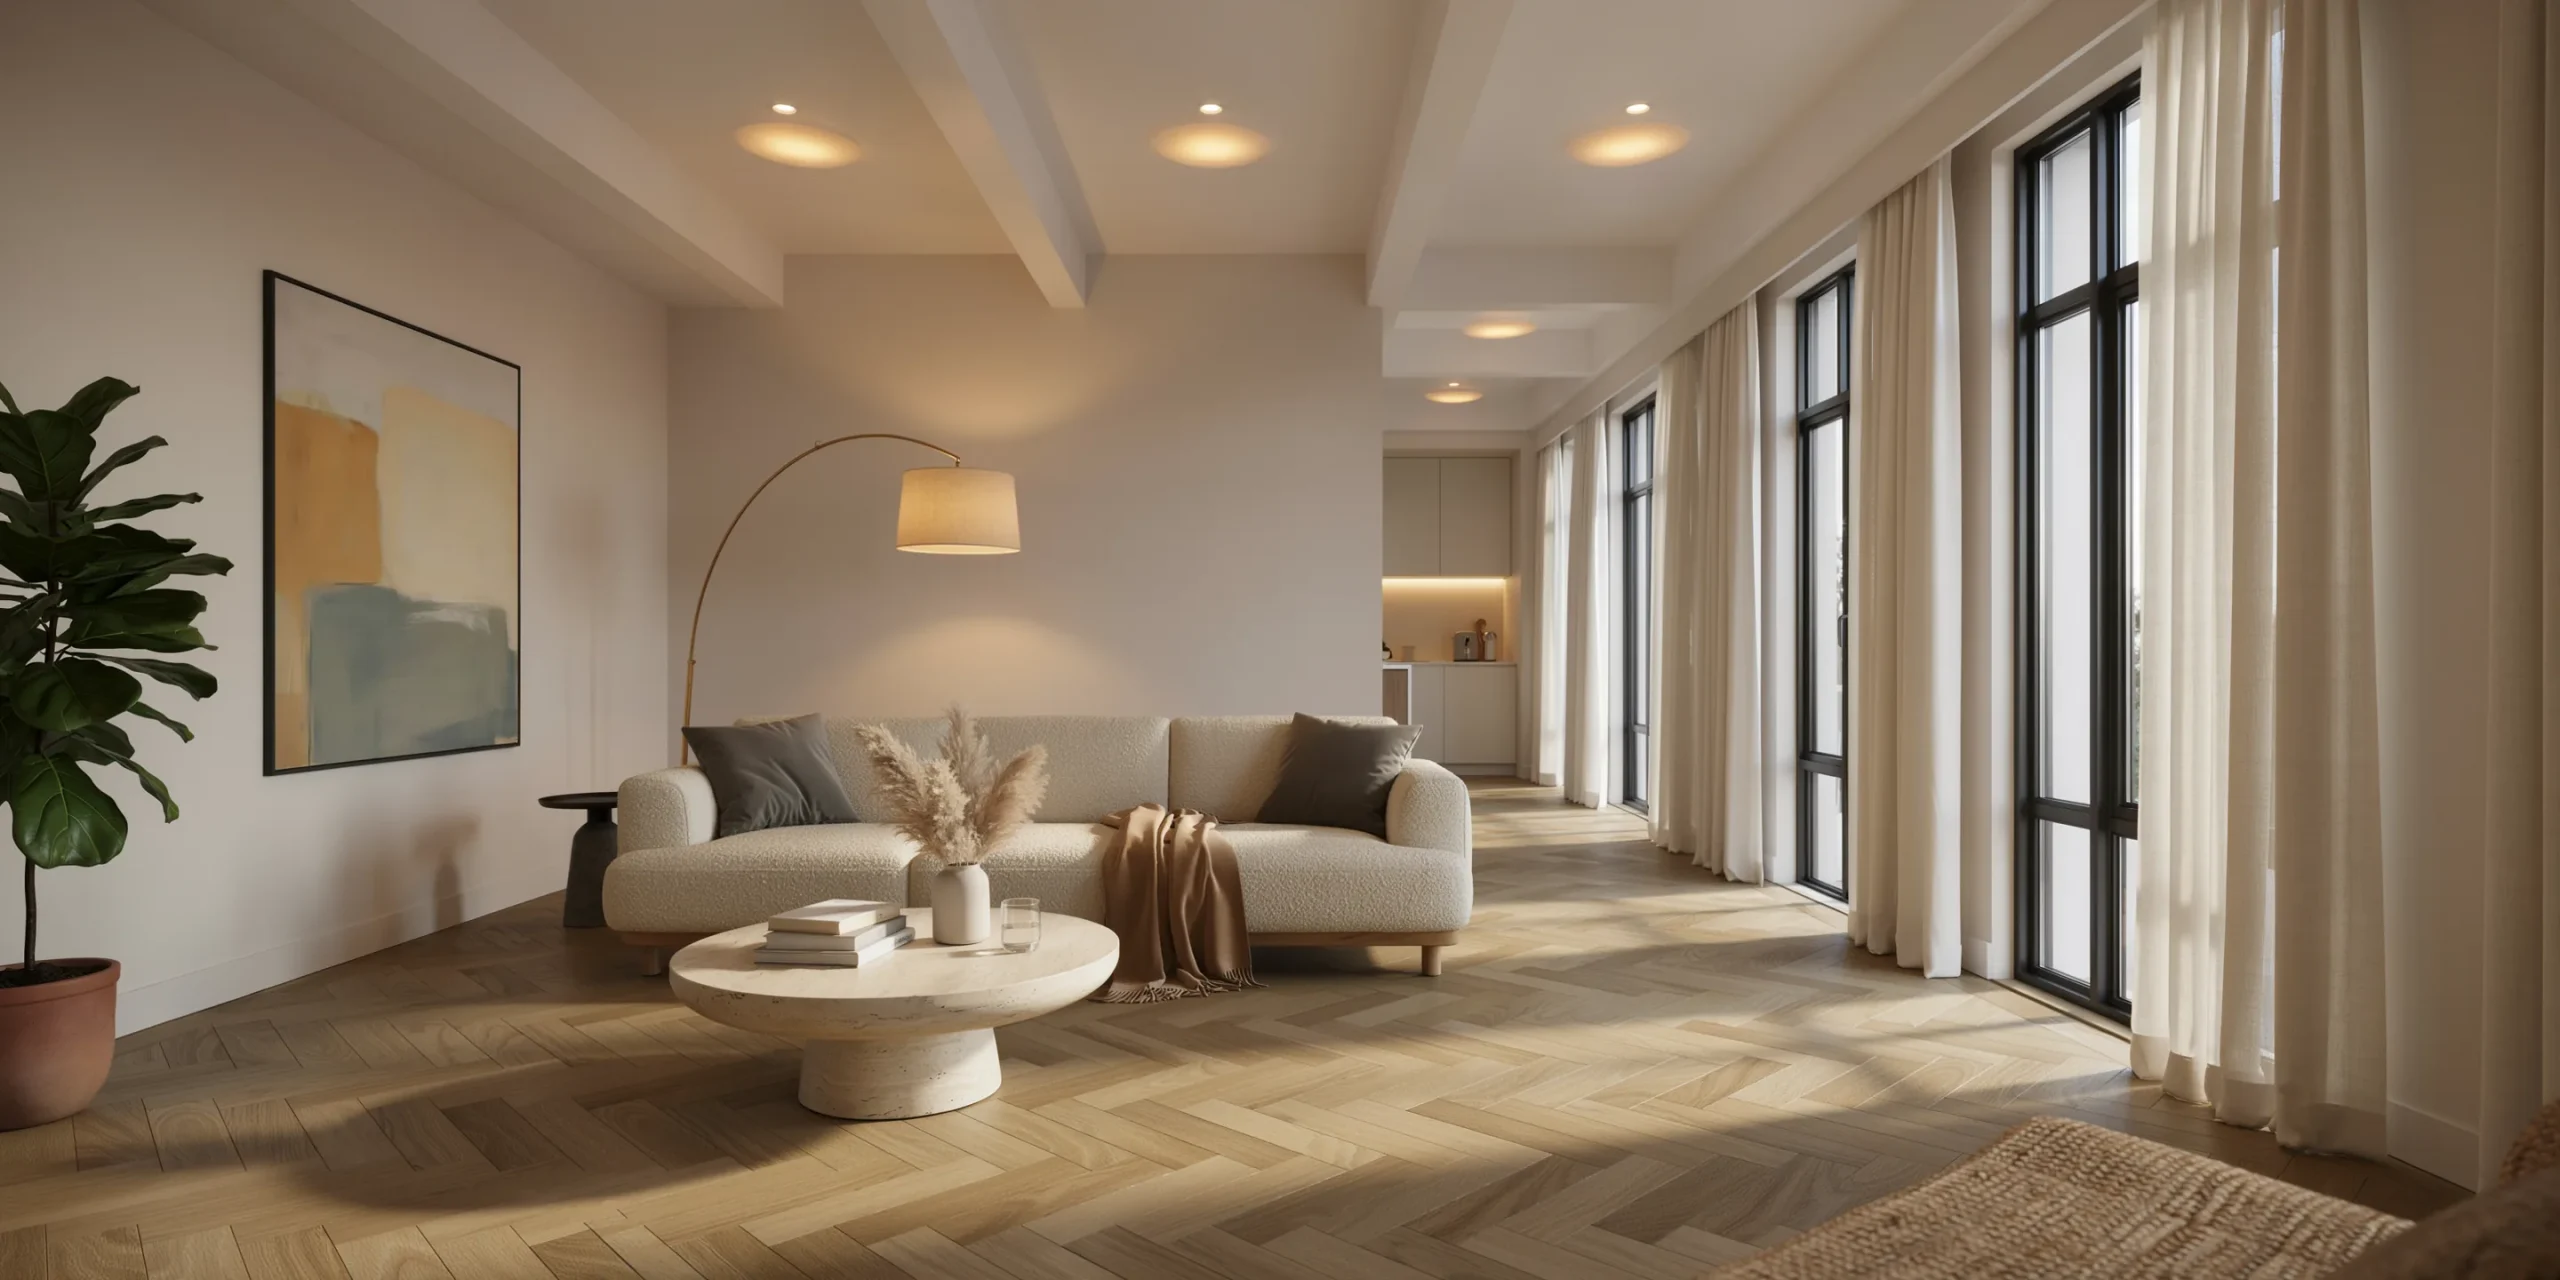
Interior architectural rendering lighting depends on letting daylight enter through openings, then supplementing it with artificial fixtures only where the daylight cannot reach. Place a sun or HDRI outside the windows so light spills across floors and walls, then add area lights or portals at each opening to help the render engine gather that exterior light efficiently. Skipping portals is a frequent cause of grainy, noisy interiors.
Interiors run at a lower exposure than exteriors because the eye adapts to a darker space. A daylit room often sits around EV 7 to 9, several stops below a bright exterior. For artificial fixtures, use IES profiles where you can, since they reproduce the real beam shape of a downlight or wall washer instead of a generic glow. Lumion documents seven practical interior lighting moves in its interior lighting guide that translate well to other engines.
⚠️ Common Mistake to Avoid
Cranking interior fixture brightness to fix a dark room is the wrong fix. Dark interiors usually mean your global illumination bounces are too low or your camera exposure is set for an exterior. Raise GI bounces and correct exposure first, then the existing daylight will fill the room naturally without over-lit lamps.
For depth, vary the brightness across the room. A flat wash where every corner reads the same value looks artificial. Let pools of light near windows fall off into softer shadow deeper in the plan, the same way real rooms behave. If you want a structured starting point for balancing all of these factors, our breakdown of what makes a great architectural render places lighting as the first of seven core elements.
Day versus night: how do lighting setups differ?
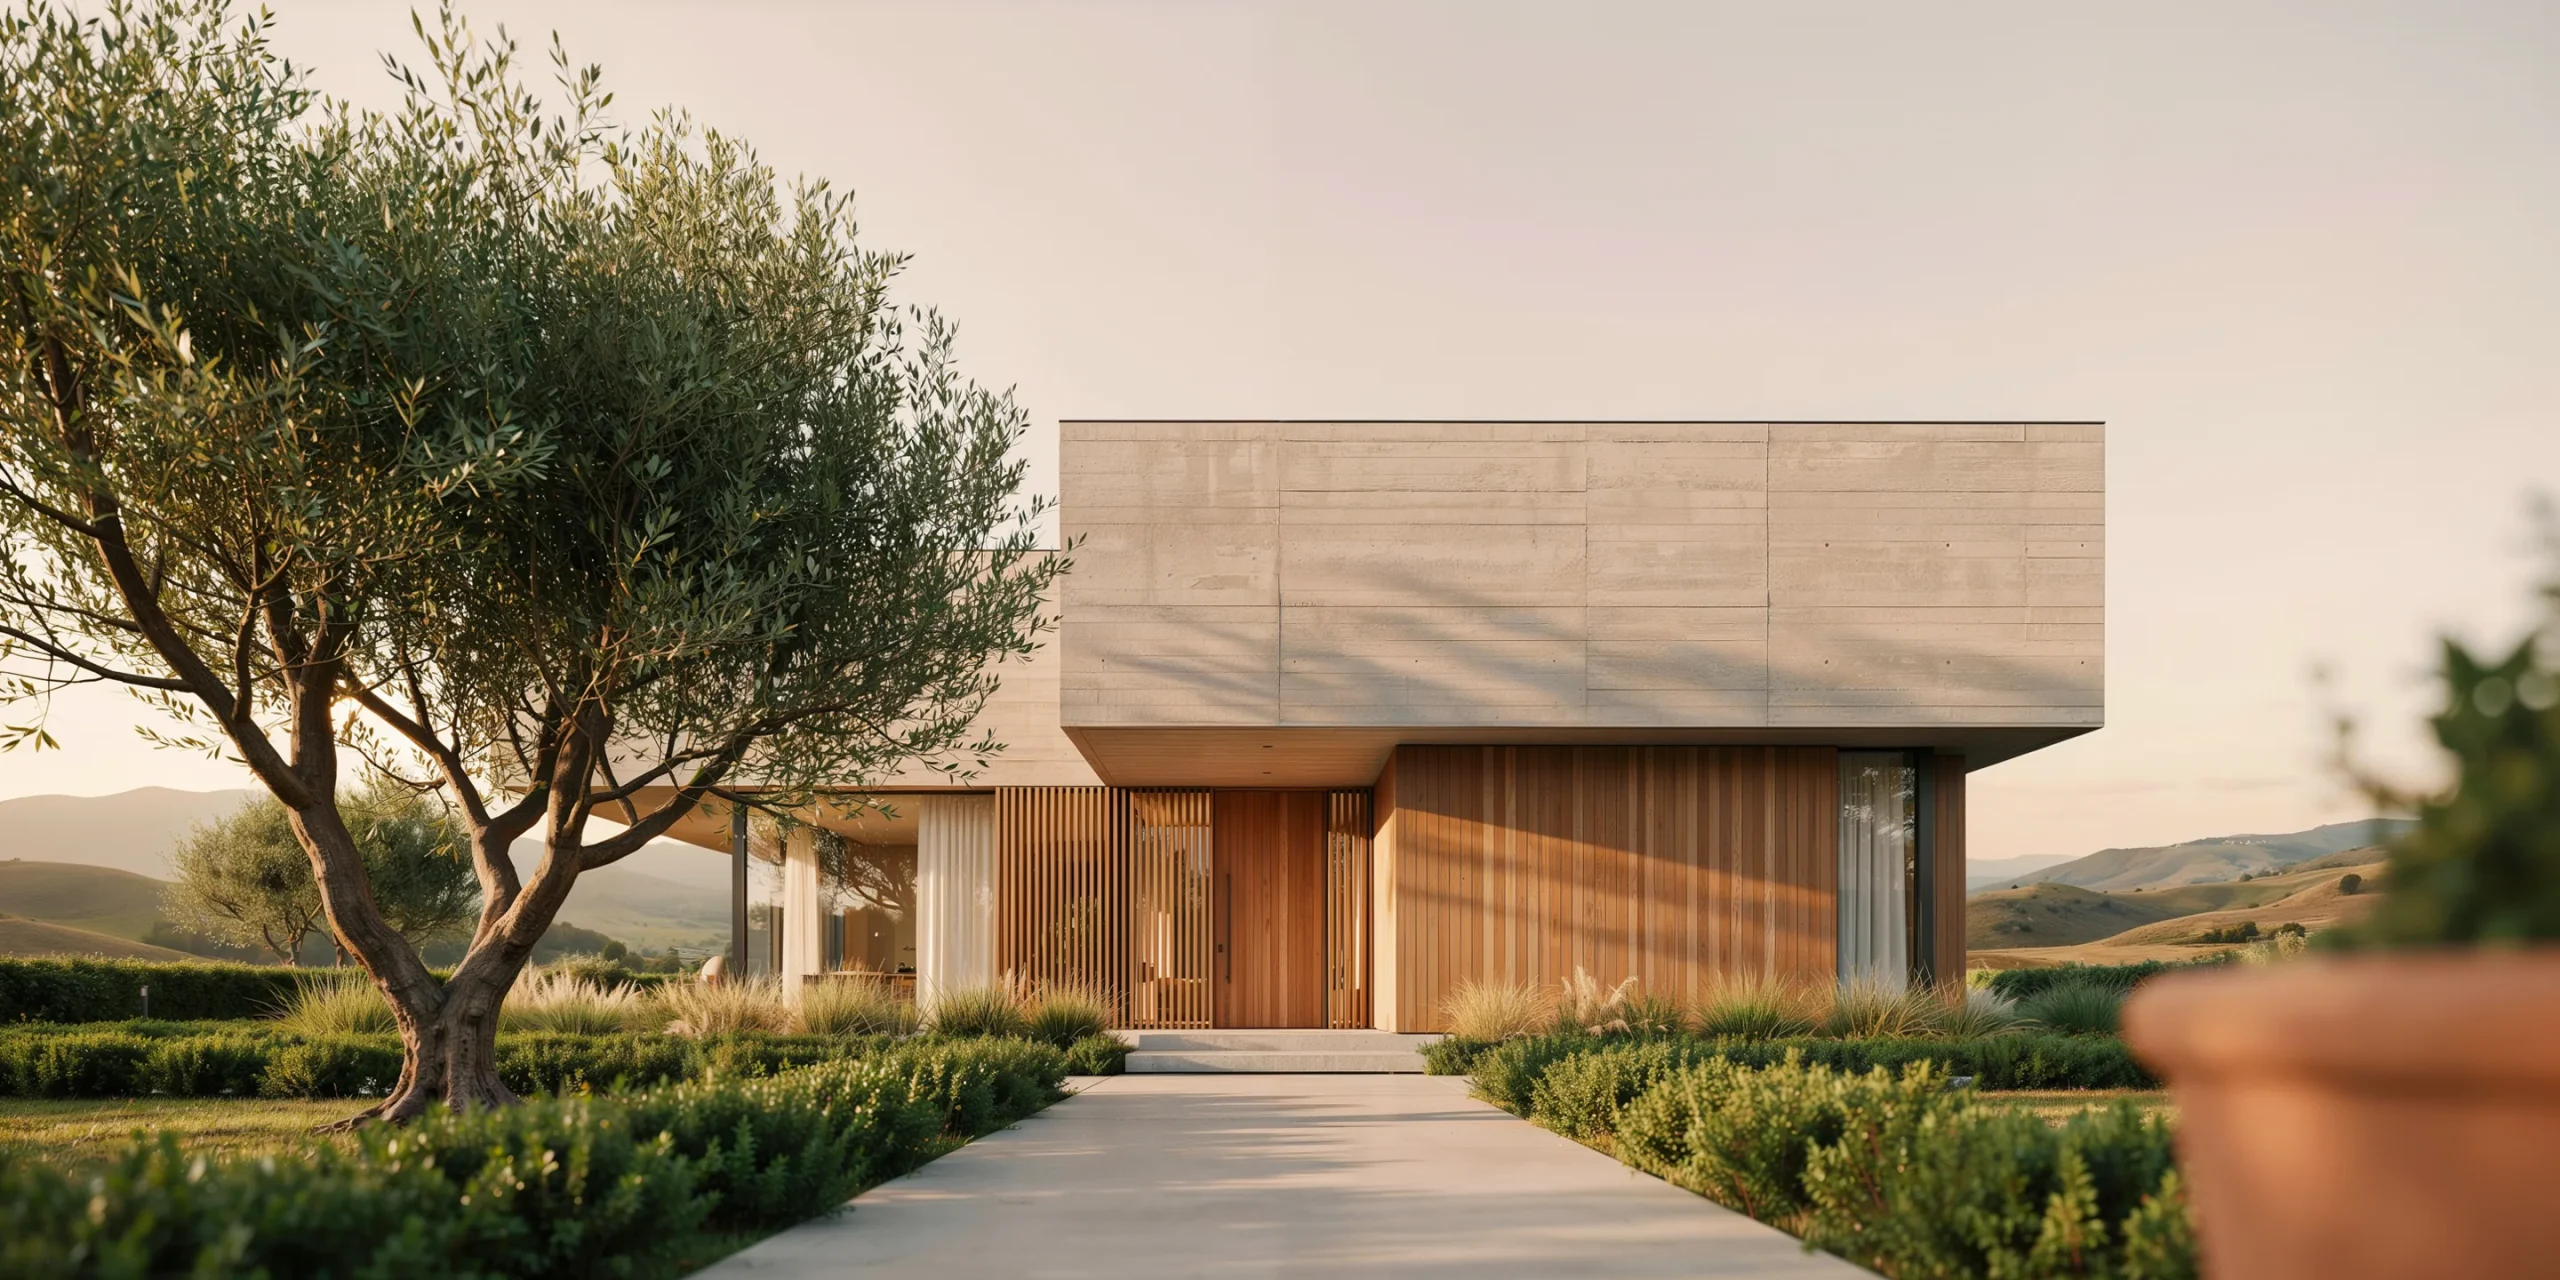
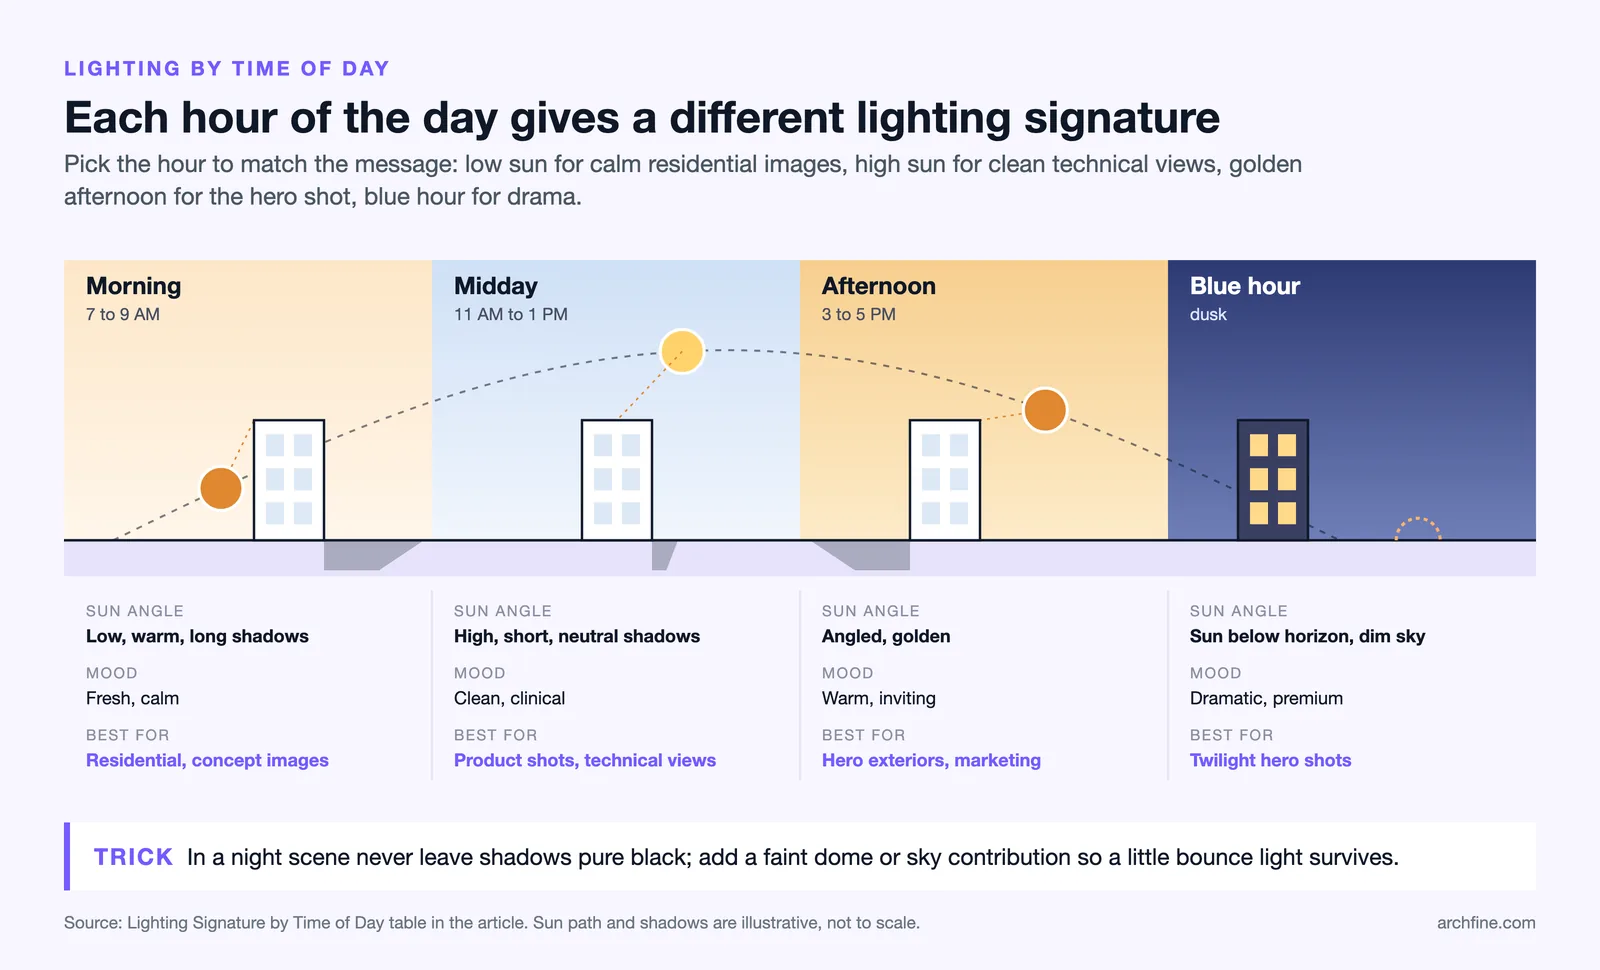
Day and night renders use opposite strategies. Daytime scenes are driven almost entirely by the sun and sky, with artificial lights either off or barely visible. Night and twilight scenes flip the balance: the sun is low or gone, the sky contributes a dim ambient base, and your interior and accent fixtures become the main subject. The trickiest and most rewarding moment is the blue hour, where exterior and interior light meet at similar intensity.
Time of day also changes shadow character. Morning and late afternoon sun produces long, warm, angled shadows that flatter a facade. Midday gives short, neutral, high-contrast shadows useful for clean product-style shots. The table below maps common times to their lighting signature so you can match the hour to the message of the image.
Lighting Signature by Time of Day
| Time of Day | Sun Angle | Mood | Best For |
|---|---|---|---|
| Morning 7 to 9 AM | Low, warm, long shadows | Fresh, calm | Residential, concept images |
| Midday 11 to 1 | High, short, neutral shadows | Clean, clinical | Product shots, technical views |
| Afternoon 3 to 5 PM | Angled, golden | Warm, inviting | Hero exteriors, marketing |
| Blue hour dusk | Sun below horizon, dim sky | Dramatic, premium | Twilight hero shots |
For a night scene, resist the urge to leave shadows pure black. A render with only downlights and zero ambient produces dead, crushed shadows. Add a faint dome or sky contribution so a little bounce light survives in the dark areas, the way a real city sky never goes fully black. Chaos covers this balance in its V-Ray lighting documentation, where dim environment light keeps night interiors from collapsing into noise.
How does HDRI lighting work in architectural renders?
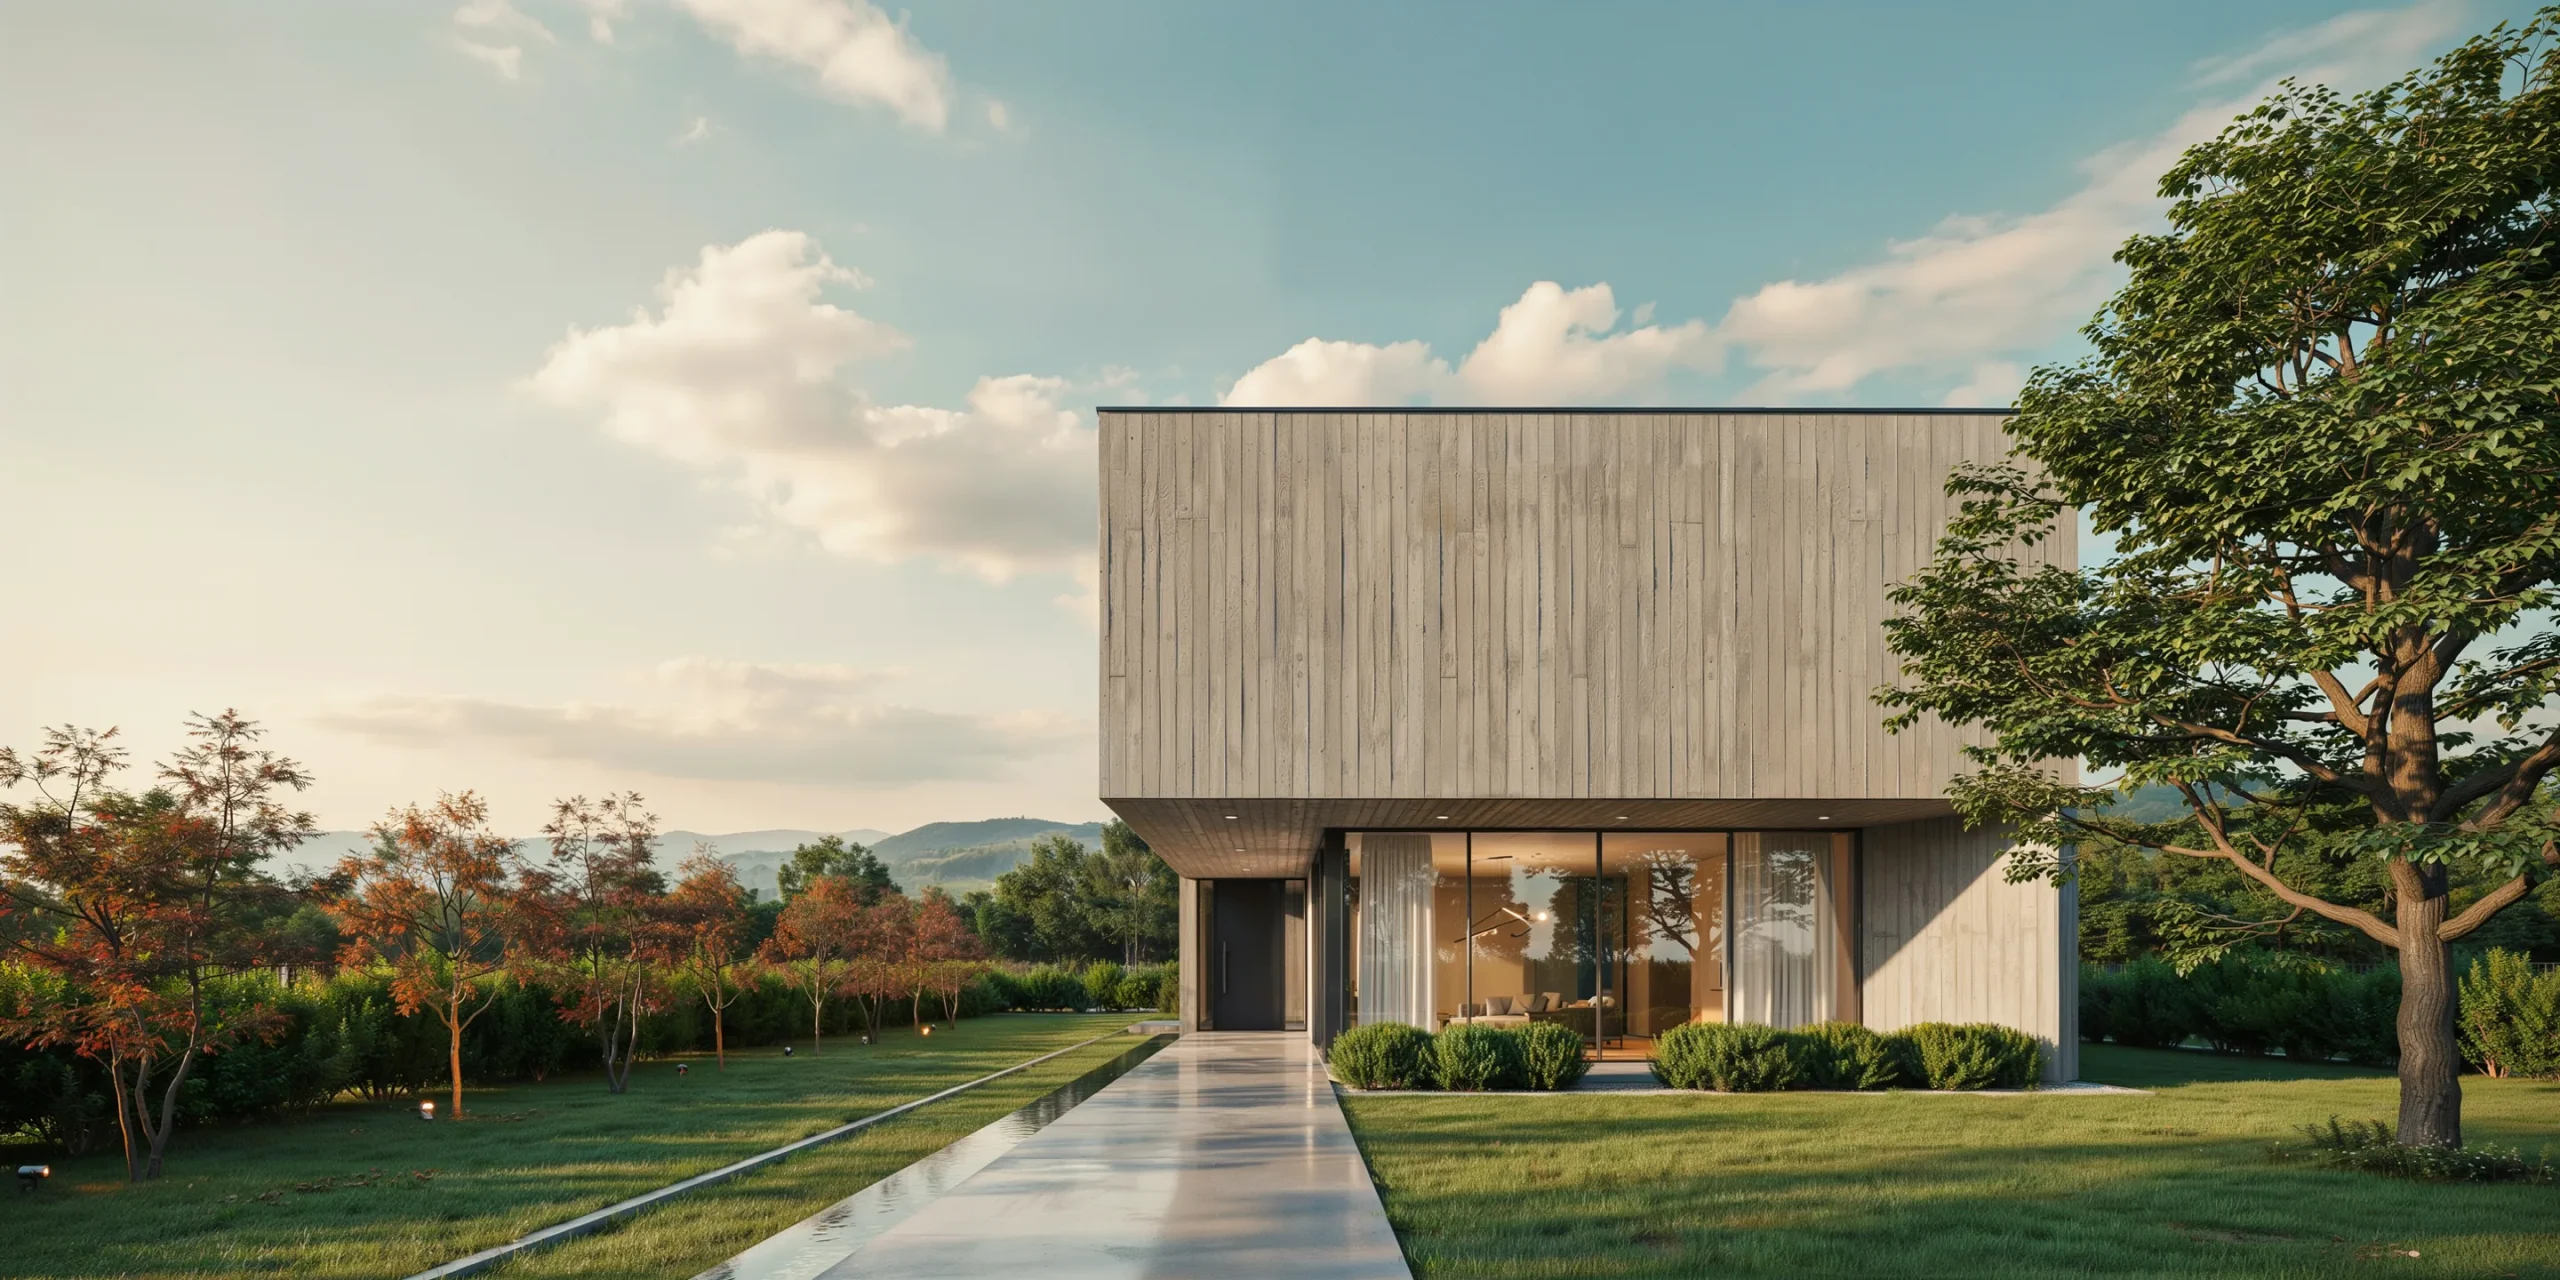
HDRI lighting wraps your scene in a high dynamic range photograph of a real sky, mapped onto a dome around the model. Because the image stores far more brightness range than a normal photo, the bright sun region in the file casts directional light while the rest of the sky provides soft fill. This gives you realistic reflections, accurate ambient color, and global illumination from a single map, which is why HDRI is a favorite for fast, natural exterior light.
Resolution and rotation are the two settings that matter most. Use at least a 4K map for architecture, and 8K or higher when reflective glass or metal will show the sky in detail. Rotate the dome to move the sun and shadow direction, which lets you reposition lighting without rebuilding the scene. Lumion lets you load custom HDR skies through its Real Skies effect, and its guidance to keep the horizon centered in the image, covered in the official Real Skies guide, applies across engines.
📌 Did You Know?
A single 8K HDRI file can hold a brightness range thousands of times wider than a standard JPEG. That extra range is what lets the photographed sun inside the image cast real, directional shadows, something a low dynamic range sky photo can never do no matter how high its pixel resolution.
When you need controlled, art-directed sunlight with crisp shadow edges, pair the HDRI with a separate sun system and turn down or hide the HDRI sun. When you want speed and a natural look with minimal tweaking, let the HDRI do everything. Both approaches are valid, and many architectural rendering lighting setups switch between them depending on whether the shot is a quick study or a final hero.
How do you light a site plan or aerial rendering?
Site plan and aerial renderings cover a large area, so lighting consistency across the whole frame matters more than a single dramatic shadow. Use a sun angle high enough that buildings do not cast shadows long enough to hide neighboring structures or landscaping, yet low enough to keep some relief and depth. A mid-morning or mid-afternoon angle usually balances readability with form.
For masterplans, an HDRI provides even ambient light across the site so distant blocks read as clearly as foreground ones. Keep reflections calm, since a busy sky reflecting off many glass roofs can clutter an aerial image. If the plan includes night context, a few warm pools at entrances and streets communicate activity without lighting every window, which would flatten the composition.
AI tools change the calculus for early site studies. Instead of building a full physical lighting rig, you can export a clean aerial view and let an AI platform infer plausible light and atmosphere in seconds. Our guide on how to use AI to render architecture walks through preparing those exports, and the comparison in photorealistic versus stylized renders helps you decide when a quick lit study beats a fully ray-traced one.
A simple step-by-step lighting workflow
A repeatable order keeps lighting predictable from project to project. Follow these steps before you start chasing fine details.
- Decide the time of day and mood first, since it controls every later choice.
- Set camera exposure to a sensible base value for that scene type, exterior or interior.
- Place the sun by angle for shadow direction, not by brightness.
- Add an HDRI for ambient fill and reflections, then align its sun with your sun system.
- Add interior or accent fixtures last, using IES profiles where available.
- Test render small regions, check shadow shape and noise, then refine.
This sequence works whether you render in V-Ray, Lumion, or a real-time engine like D5 Render, which documents how interior and exterior lighting strategies diverge. The names of the controls change, but the logic of exposure first, sun second, environment third, and fixtures last stays constant.
Frequently Asked Questions
What is the best HDRI resolution for architectural rendering?
Use 4K as a minimum for general exterior lighting and step up to 8K or higher when glass, polished metal, or water will show the sky in sharp reflection. Lower resolutions can look acceptable as pure light sources, but their reflections appear blurry or pixelated on shiny architectural surfaces.
Why do my interior renders look too dark?
Dark interiors usually come from low global illumination bounces or a camera exposure set for an exterior. Raise GI bounces so daylight reaches deeper into the room, then correct exposure to interior levels, often around EV 7 to 9. Avoid simply boosting fixture brightness, which creates blown-out lamps and still-dark corners.
Should I use a sun system or HDRI for exteriors?
Use both together for most exteriors. The sun system gives crisp, directional shadows you can art-direct, while the HDRI supplies soft ambient fill and realistic sky reflections. If you only need a fast natural look, an HDRI alone can carry the scene, but you lose precise shadow control.
How do I avoid black shadows in night renders?
Add a faint environment or dome contribution so a small amount of ambient light survives in shadow areas. Real night skies and city glow never reach pure black, so a dim sky map keeps dark regions readable and prevents the crushed, noisy look that comes from relying on fixtures alone.
Putting It All Together
Your Next Step: Take one finished model and relight it three times, as a bright midday exterior, a daylit interior, and a blue-hour dusk, changing only exposure, sun angle, and environment between versions. Comparing the three side by side teaches the relationship between those settings faster than any single tutorial, and it builds a personal reference you will reuse on every future project.