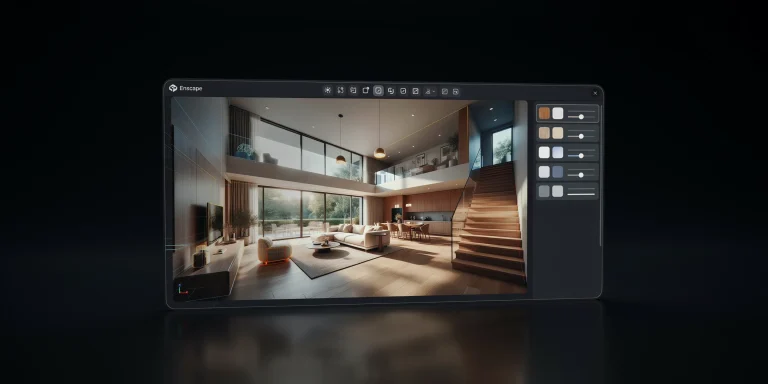
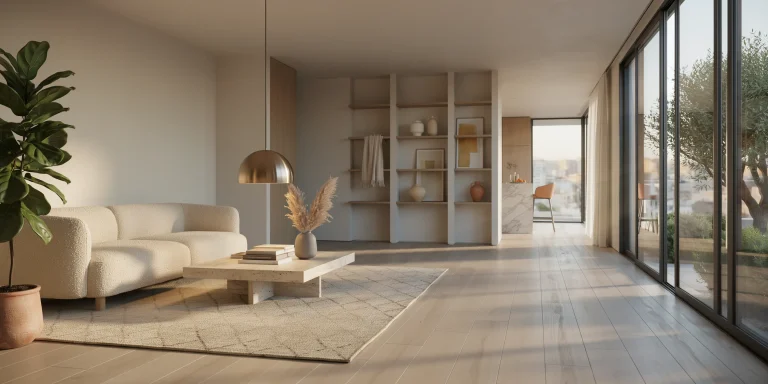
Enscape for Revit is a real-time rendering plugin that links directly to your Revit model, letting you walk through a fully lit, materialized scene the moment you press Start. Because it renders live from the active 3D view, every change you make in Revit appears instantly in the Enscape window, removing the wait that traditional render engines impose.
This guide walks you through the full Enscape for Revit workflow, from installation and system requirements through live rendering, materials, lighting, visual settings, and exporting images and video. The steps below reflect the current Enscape (Chaos) ribbon and are written for architects who want fast, presentation-ready visuals without leaving Revit. If you already render with other tools, you will find Enscape sits comfortably alongside an AI rendering workflow for early-stage exploration.
What is Enscape for Revit and how does it work?
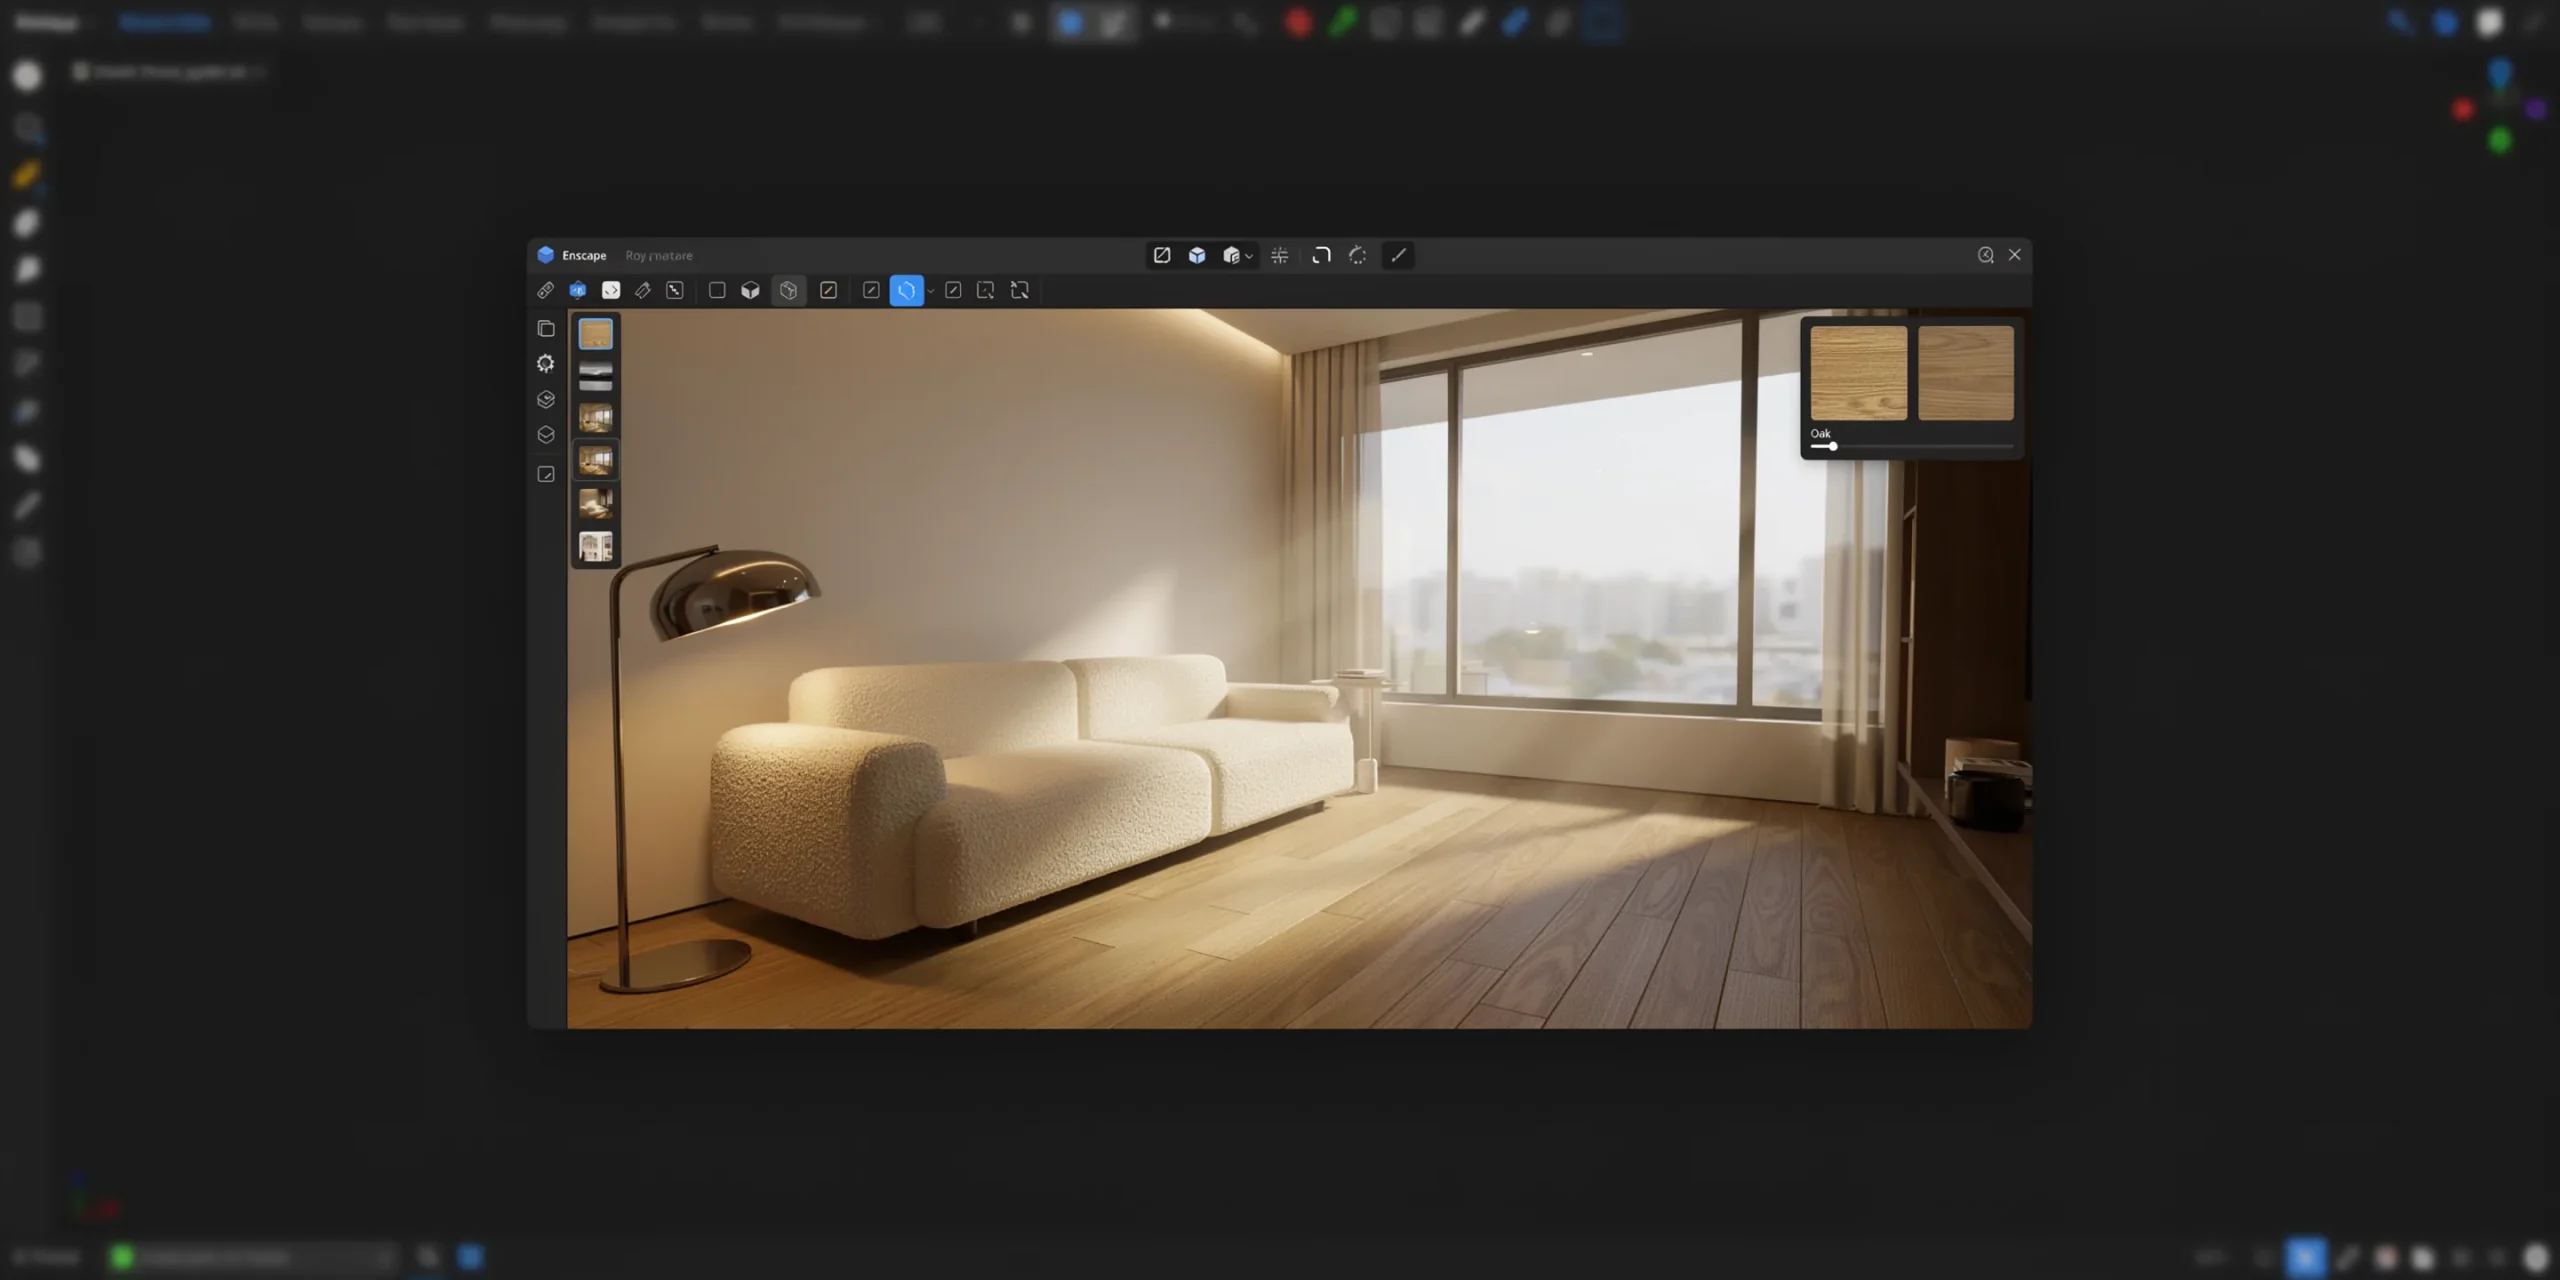
Enscape for Revit is a GPU-based, real-time rendering and virtual reality plugin from Chaos that runs inside Revit as a live link. It uses ray tracing on your graphics card to render the active 3D view continuously, so the Enscape viewport updates in sync with your model, camera, materials, and sun position without any export or bake step.
Unlike a standalone render engine, Enscape does not import your geometry into a separate file. It reads the Revit model directly, which means your BIM data, Revit materials, and views stay the single source of truth. That tight coupling is why the real time rendering in Revit feels immediate, and it is the core reason many firms adopt the Enscape Revit plugin for design reviews and client walkthroughs.
📐 Technical Note
Enscape renders entirely on the GPU using ray tracing, so it relies on dedicated VRAM rather than your CPU. Per the Chaos documentation, you need an NVIDIA, AMD, or Intel Arc GPU with at least 4 GB of dedicated VRAM to launch Enscape, with 8 GB or more recommended for production scenes and 12 GB advised for VR.
Enscape for Revit system requirements and setup
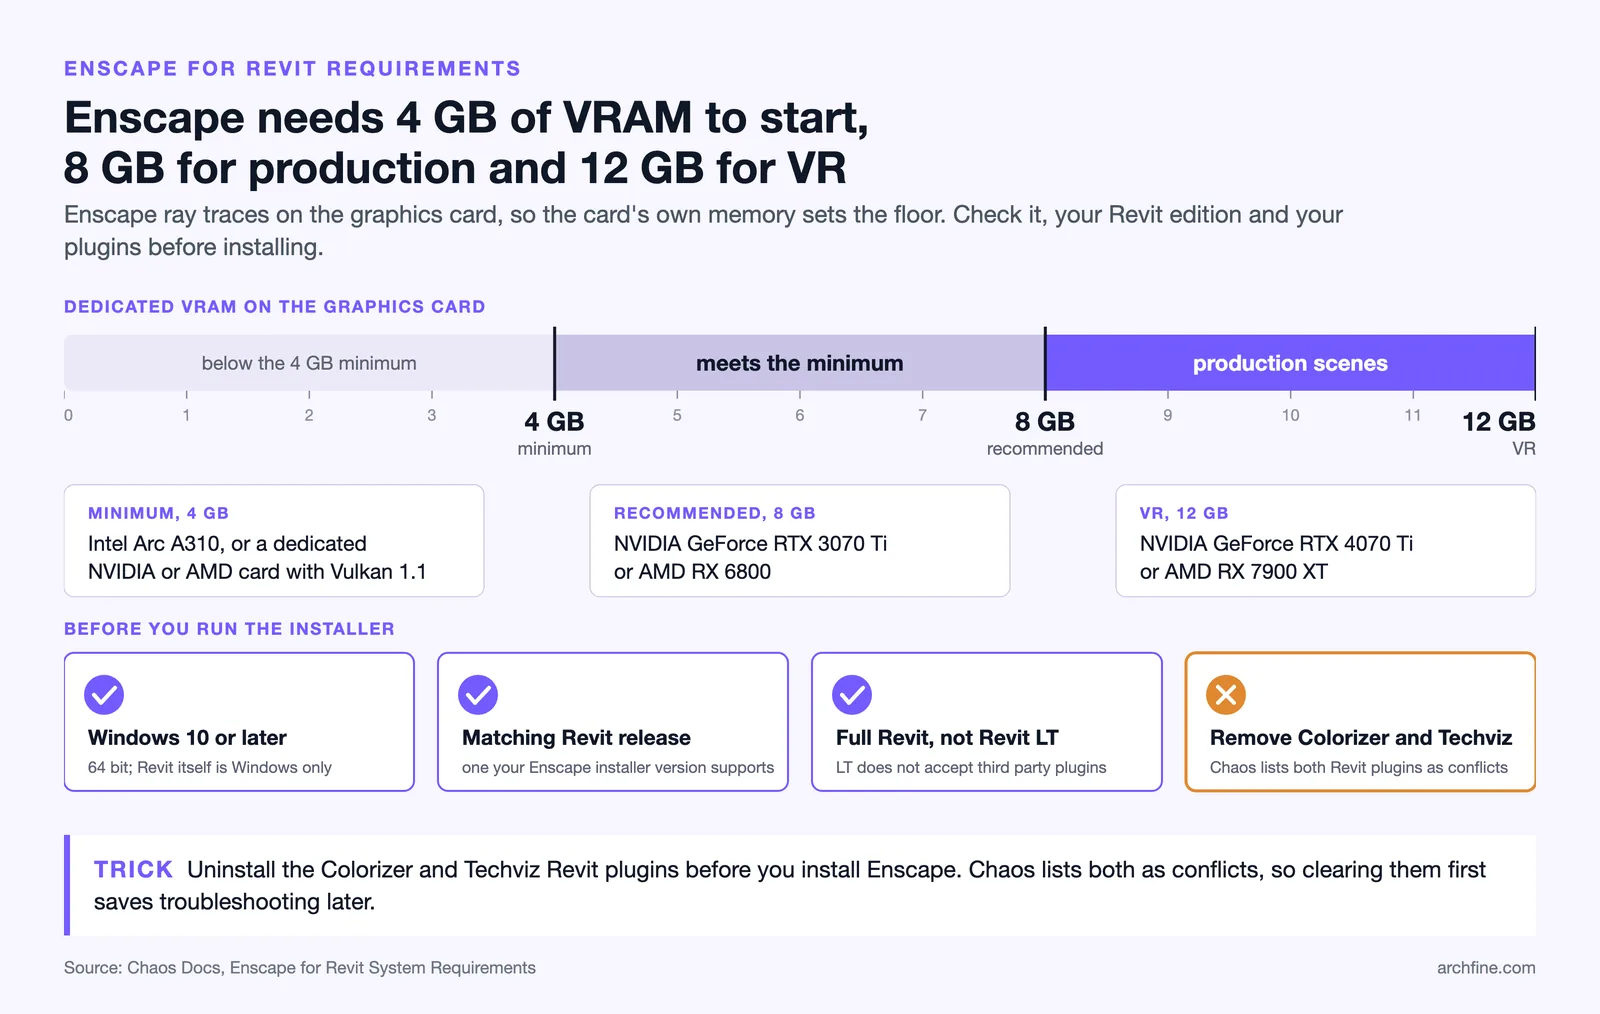
Before installing the Enscape Revit plugin, confirm your workstation meets the hardware floor. Getting this right up front prevents the most common stalls during the Enscape setup, such as a grayed-out Start button or crashes on launch.
- Operating system: Windows 10 or later (64-bit).
- Graphics card: NVIDIA, AMD, or Intel Arc A310 with a minimum of 4 GB dedicated VRAM; 8 GB or more is recommended.
- Revit version: A supported Revit release that matches your Enscape installer version.
- Known conflicts: Uninstall the Colorizer and Techviz Revit plugins, which Chaos lists as incompatible with Enscape.
How to install Enscape for Revit

To install the plugin, close Revit completely, then run the Enscape installer you received by email after starting a trial, applying for an educational license, or purchasing a license. Follow the installer prompts, then reopen Revit. A new Enscape top-level ribbon tab confirms a successful Enscape setup.
- Close all open instances of Revit.
- Run the Enscape installer and follow the on-screen steps.
- Reopen Revit and click the Enscape tab to reveal the ribbon.
- Open or create a project that contains at least one valid 3D view.
⚠️ Common Mistake to Avoid
Pressing Start from a Revit floor plan or sheet leaves the button grayed out, which trips up many first-time users. Enscape only launches from an active 3D view. Switch to or create a 3D view first, then the Start button in the Enscape ribbon becomes available.
How do you start live rendering in Enscape for Revit?
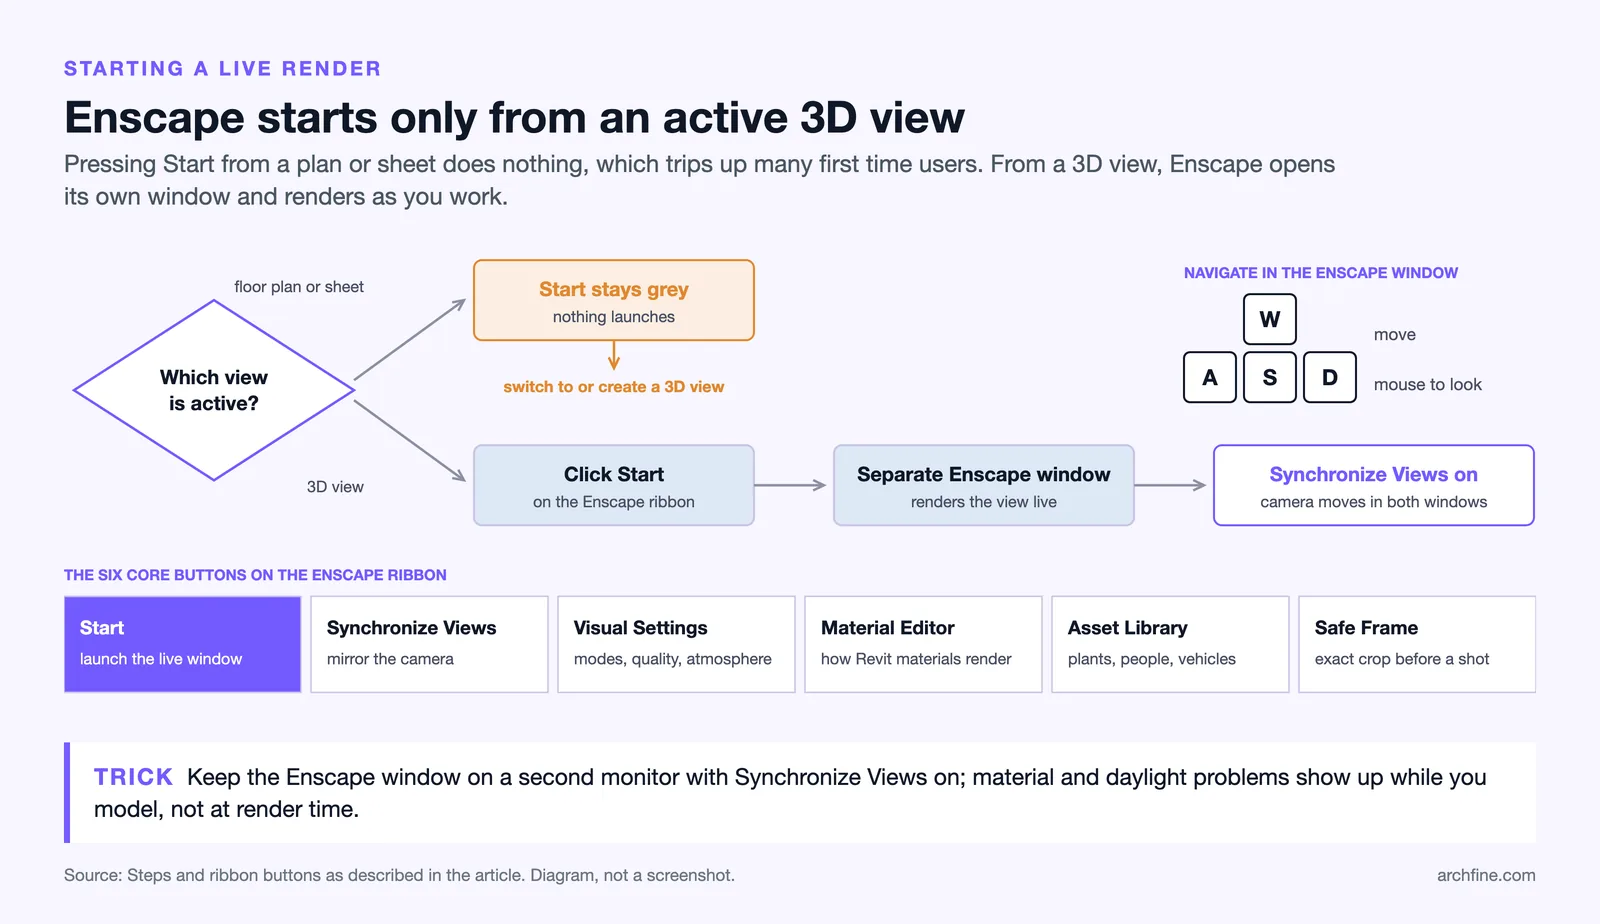
To start real time rendering in Revit, open a 3D view, then click the Start button on the Enscape ribbon. A separate Enscape window opens and begins rendering the view live. With Synchronize Views enabled, moving the camera in either window mirrors the other, so you can navigate naturally and the render keeps pace.
The Enscape window uses game-style navigation: the W, A, S, and D keys move you through the model, and the mouse looks around. This makes design reviews feel like a walkthrough rather than a slideshow, which is one reason the Enscape workflow has become a staple for client presentations.
Core buttons on the Enscape ribbon
- Start: Launches the live Enscape rendering window from the active 3D view.
- Synchronize Views: Mirrors camera movement between Revit and Enscape.
- Visual Settings: Opens render modes, quality, and atmosphere controls.
- Material Editor: Adjusts how Revit materials appear in the render.
- Asset Library: Drops in vegetation, people, and vehicles.
- Safe Frame: Shows the exact crop before a screenshot.
💡 Pro Tip
Keep the Enscape window on a second monitor with Synchronize Views turned on while you model in Revit on your primary screen. You get a continuous live preview of materials and daylight as you work, so design problems surface immediately instead of at render time.
Working with materials in the Enscape Material Editor
Materials are where a flat Revit model turns into a believable render. Open the Material Editor from the Enscape ribbon to see every material in your Revit project listed in one panel. Select a material to expose its Enscape settings, where you can refine roughness, bump, reflection, and texture maps without altering the underlying Revit definition.
Enscape applies sensible defaults by reading Revit material data, but the realism gains come from the details. Add a self-illumination value to make light fixtures and signage glow, dial in transparency and refraction for glass, and use displacement or bump maps to give brick, stone, and timber tactile depth. These same fundamentals of believable surfaces apply whether you render in Enscape or another engine, as outlined in a great architectural render checklist.
Tips for cleaner materials in your Revit visualization
- Set correct real-world texture sizes so brick coursing and floorboards read at the right scale.
- Use the Generic material type as a flexible base for most opaque surfaces.
- Apply dedicated Glass, Water, and Grass types where they exist; they carry physically tuned behavior.
- Replace generic Revit colors with mapped textures for any surface that appears in the foreground.
Lighting, sun, and atmosphere
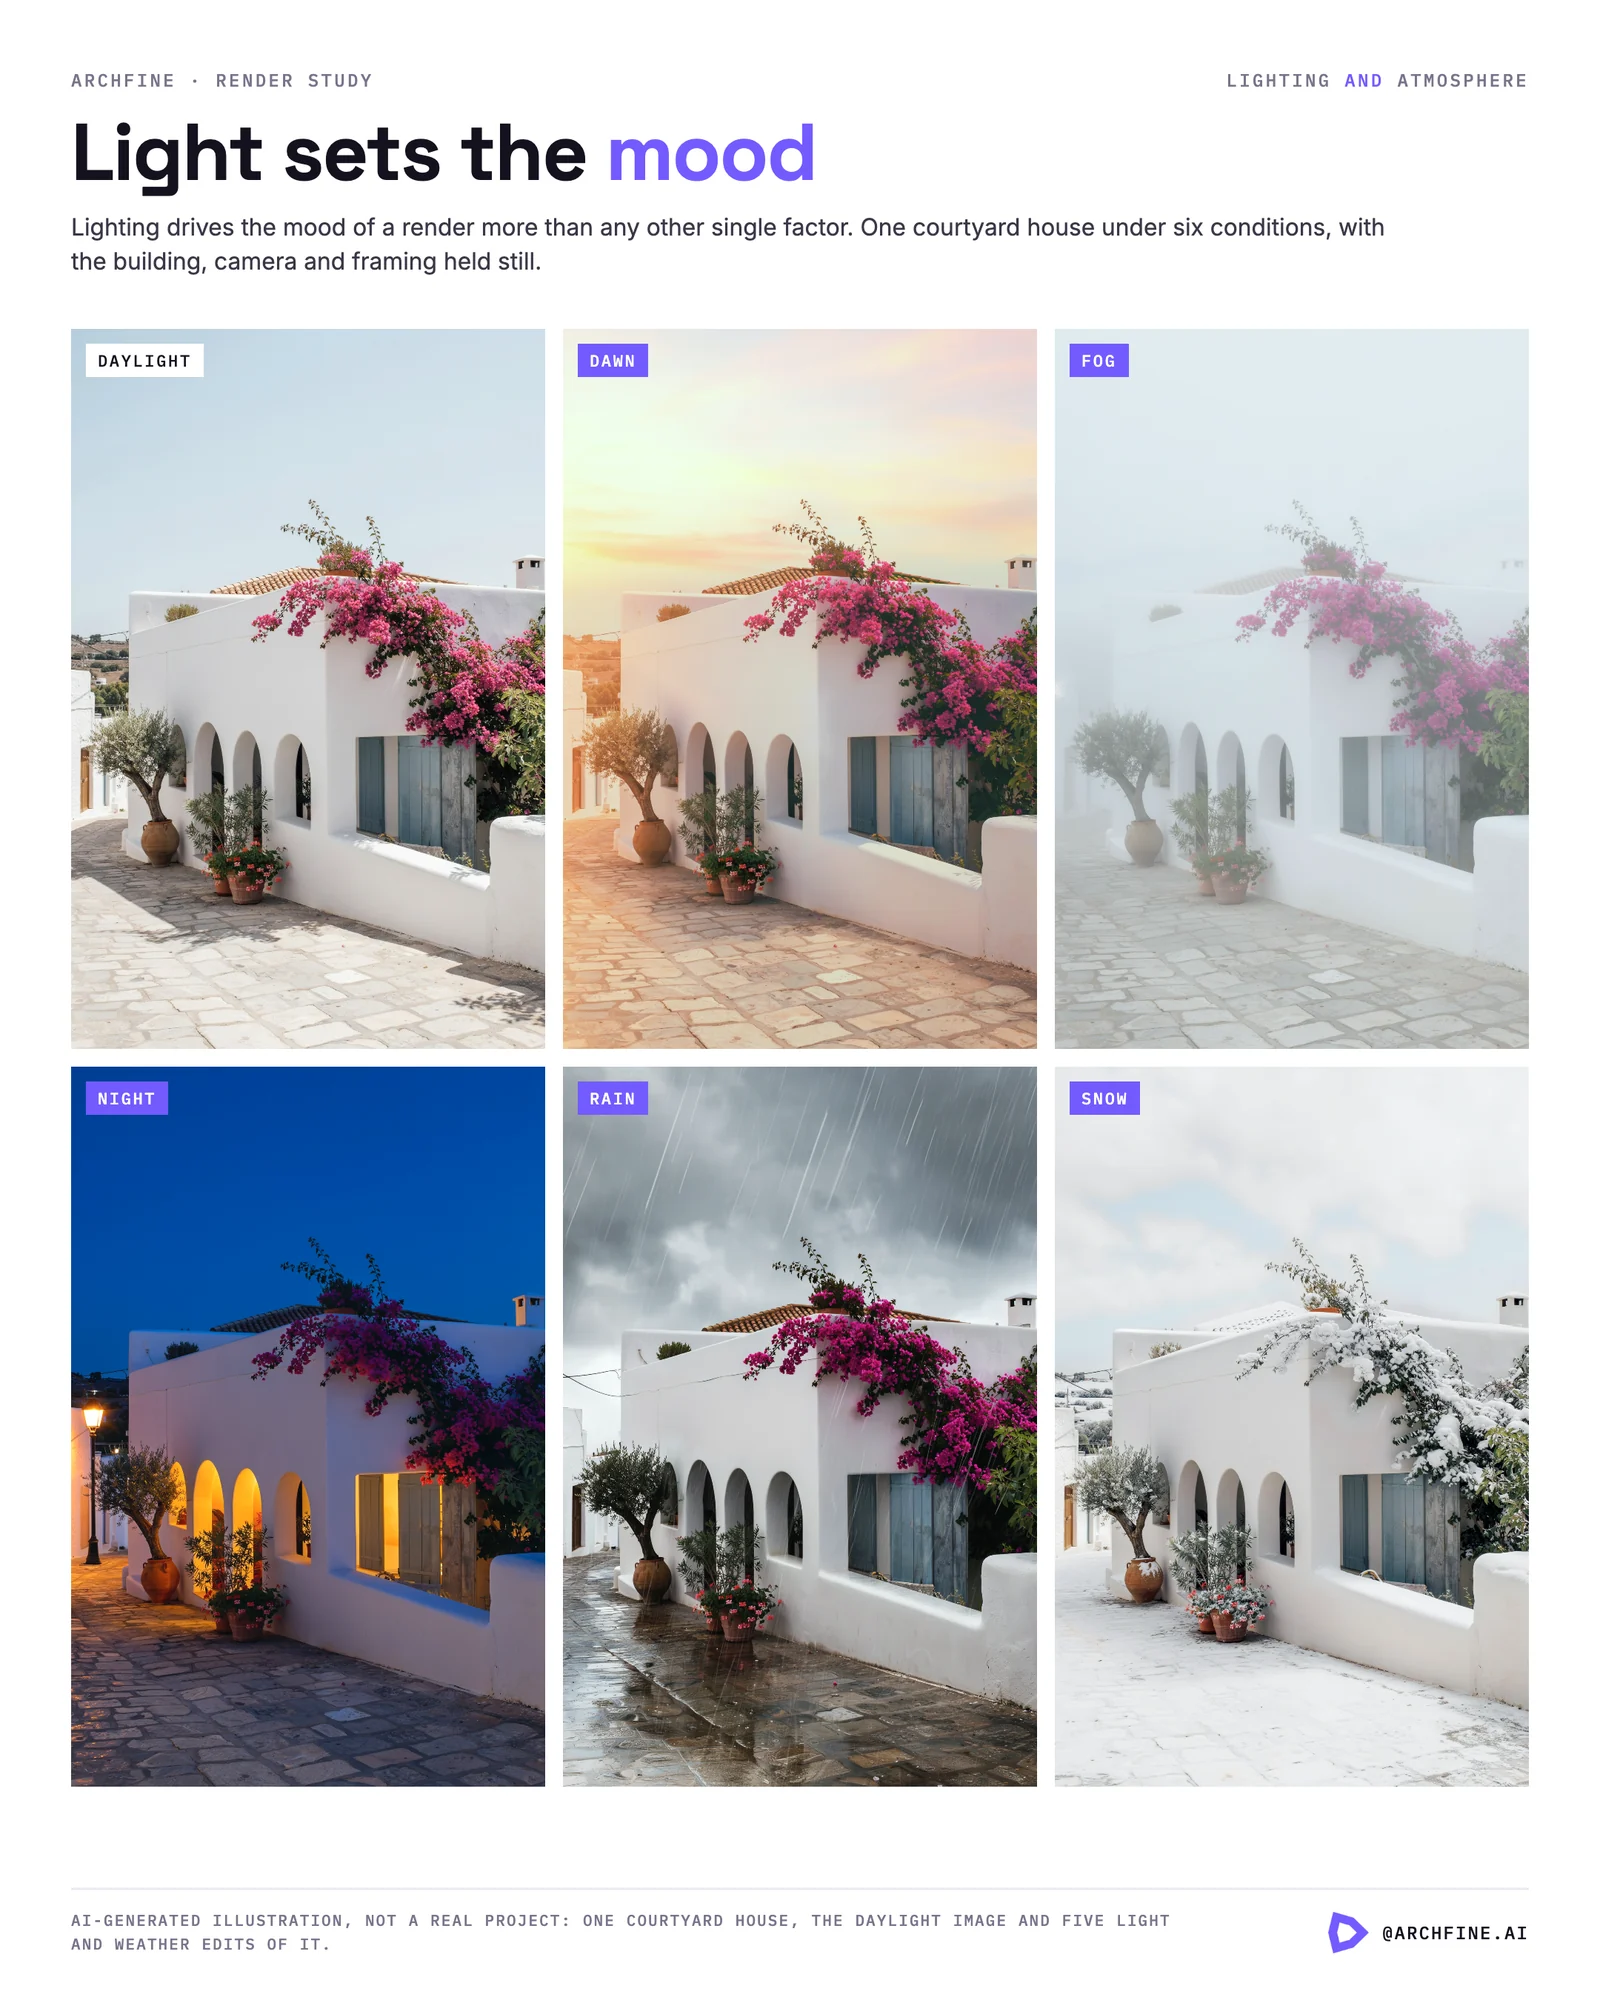
Lighting drives the mood of an Enscape render more than any other single factor. To adjust the sun quickly, hold Shift + right mouse button and move the mouse, or use the U and I keys to rotate the sun position and time of day in real time. The render updates instantly, so you can chase a flattering daylight angle within seconds.
For interior and analysis work, Enscape includes a Light View mode that displays a heat map of Lux intensity, helping you read how daylight penetrates a space. Artificial lights placed in Revit, such as light fixtures with photometric data, also illuminate the scene live, letting you balance natural and electric lighting together.
📌 Did You Know?
Enscape can render an interactive 360-degree panorama at 4096 x 8192 pixels, according to the Chaos documentation. Because the output is spherical, clients can pan around an entire room from a single shareable link, no plugin or software install required on their end.
Visual settings and render styles
The Visual Settings panel, opened from the Enscape ribbon, controls render quality, atmosphere, and stylistic mode. Beyond photorealistic output, Enscape ships with non-photoreal presets that are useful at different project stages:
- Sketch Mode: Pen and pencil line effects for concept-stage imagery.
- White Mode: A clean paper-model look that emphasizes form over finish.
- Polystyrol Mode: A physical massing-model appearance.
- Light View Mode: Lux heat-mapping for daylight analysis.
For final stills and animations, push the rendering quality to Ultra in Visual Settings. Lower presets keep the live viewport fluid while you design; raise the quality only when you are ready to capture an export.
⚖️ Pros & Cons at a Glance
✔️ Pros: Instant live feedback, direct Revit link with no export, easy navigation, built-in VR and panorama output.
✖️ Cons: Requires a capable dedicated GPU, Windows-only for Revit, ultra-quality stills demand strong hardware.
How do you export images and video from Enscape?
To export a still image, enable Safe Frame to preview the exact crop, frame your view, then click the Screenshot button and choose a save location. For a 360 image, open Visual Settings > Output > Panorama, pick a resolution, and click Render Panorama. For walkthroughs, use Enscape’s built-in video editor to set keyframes along a path and export an MP4.
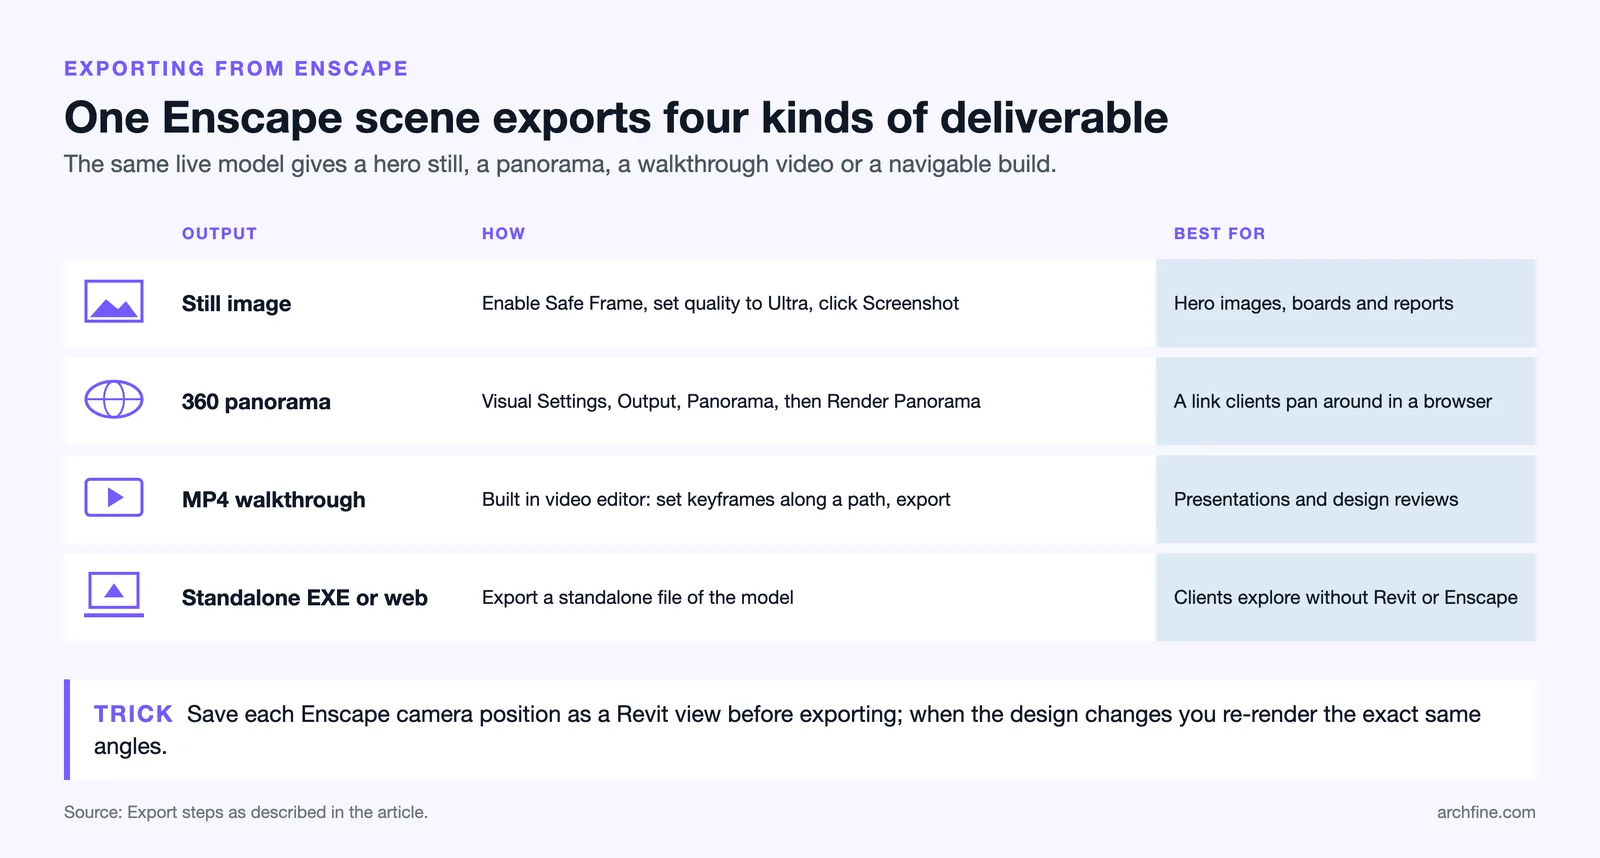
Enscape also exports standalone EXE and web files, letting a client explore the model interactively without owning Revit or Enscape. This range of outputs, from a single hero still to a fully navigable build, is what makes the Enscape workflow flexible across the design timeline.
Quick export workflow
- Set rendering quality to Ultra in Visual Settings for final output.
- Enable Safe Frame and compose the shot.
- Click Screenshot for stills, or use the video editor for walkthroughs.
- For interactive sharing, export a web standalone or render a panorama.
💡 Pro Tip
Save your Enscape camera positions as Revit views before exporting. Because the views live in Revit, you can re-render the exact same angles later when the design updates, keeping a consistent set of presentation shots across every revision.
Frequently asked questions
Is Enscape for Revit hard to learn?
No. Enscape for Revit is designed for architects rather than dedicated visualization artists, so the core workflow is press Start, navigate with W, A, S, D keys, and refine materials and sun in real time. Most users produce a usable render within their first session because the plugin reads the existing Revit model directly.
Does Enscape work on a Mac with Revit?
Enscape for Revit runs on Windows 10 or later, matching Revit’s own platform support. There is no native Revit on macOS, so the Enscape Revit plugin is a Windows workflow. Mac users typically run Revit and Enscape through a Windows environment such as Boot Camp on Intel Macs; Apple silicon Macs have no Boot Camp, so they usually need a separate Windows PC or a remote Windows workstation.
What GPU do I need for Enscape?
You need a dedicated NVIDIA, AMD, or Intel Arc GPU with at least 4 GB of VRAM to launch Enscape, with 8 GB or more recommended for production scenes and 12 GB advised for VR, according to Chaos. Chaos now also supports newer integrated graphics (Intel 13th gen UHD 730 or AMD Radeon 660M and 740M and up), though without VR or hardware ray tracing.
Can clients view an Enscape render without the software?
Yes. Enscape exports standalone EXE files, web standalone files, and 360-degree panoramas that open in a browser. Clients can walk through the model or pan around a panorama from a link, with no Revit or Enscape license required on their machine.
Bringing the Enscape Revit workflow together
Set up correctly, Enscape for Revit turns your live model into a presentation tool you can drive in real time, from a quick sun study to a final web walkthrough. Start with the right GPU, launch from a 3D view, refine materials and lighting interactively, then export the format that fits your audience. Pair it with image-based techniques like AI rendering for complex geometry or SketchUp AI rendering, and explore more guides in our architectural visualization tutorials to build a faster, more flexible visualization pipeline. The SketchUp side of the same plugin behaves differently enough to be worth reading separately, which our Enscape for SketchUp guide sets out.