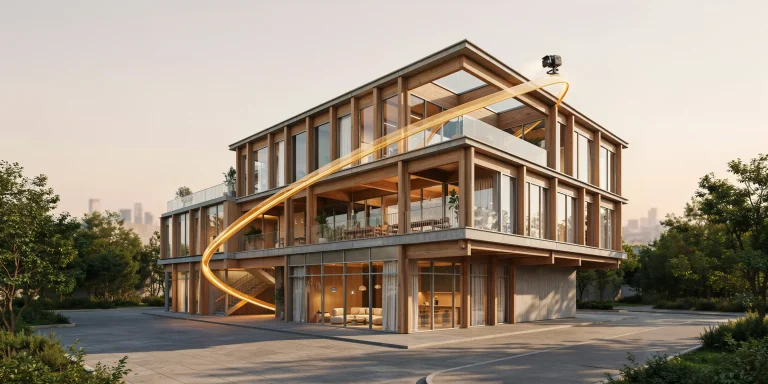
Render denoising is the process of removing the grainy speckle left behind by path tracing, using either an AI model or a statistical filter to reconstruct a clean image from a low-sample render. It lets you stop a render early, then rebuild smooth surfaces, soft shadows, and reflections, cutting render time by 50 to 70 percent.
Noise is the price every path tracer pays for physically accurate light. Each pixel sends rays bouncing through the scene, and with too few samples those estimates scatter, producing the familiar fireflies and grain. The fix is not always more samples. Smart use of render denoising, paired with the right sampling strategy, gets you to a clean frame far sooner. This guide walks through how denoisers work, which one fits your renderer, and how to tune them without smearing the detail you worked hard to build.
What is render denoising and why does noise appear?
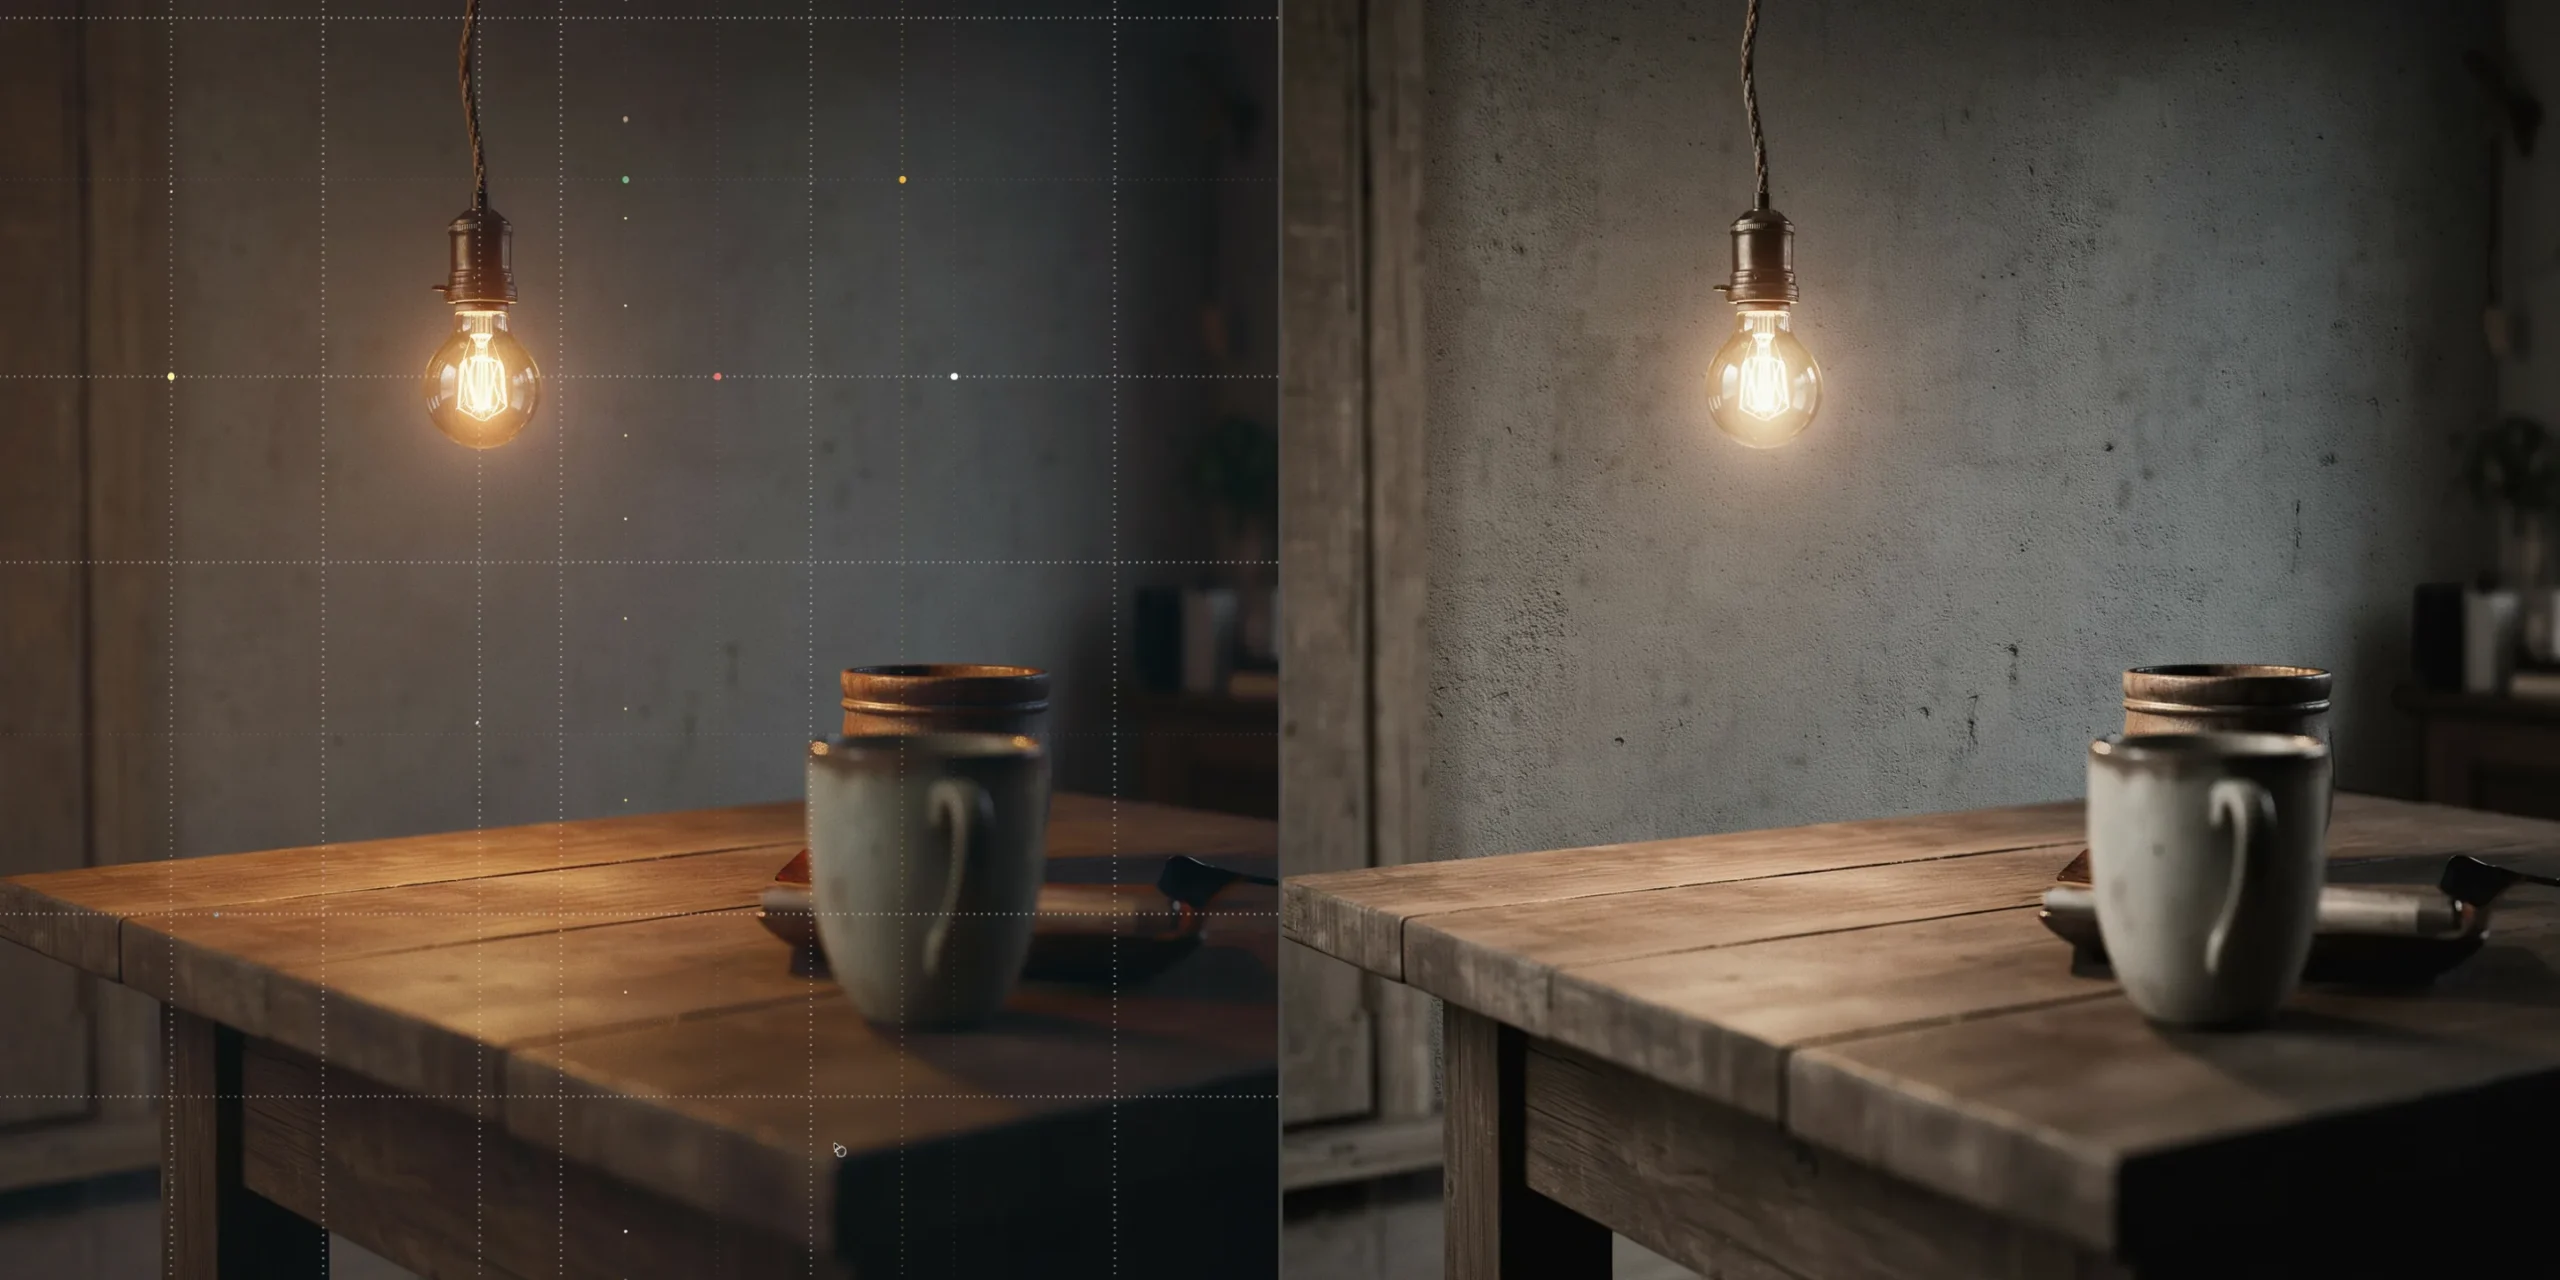

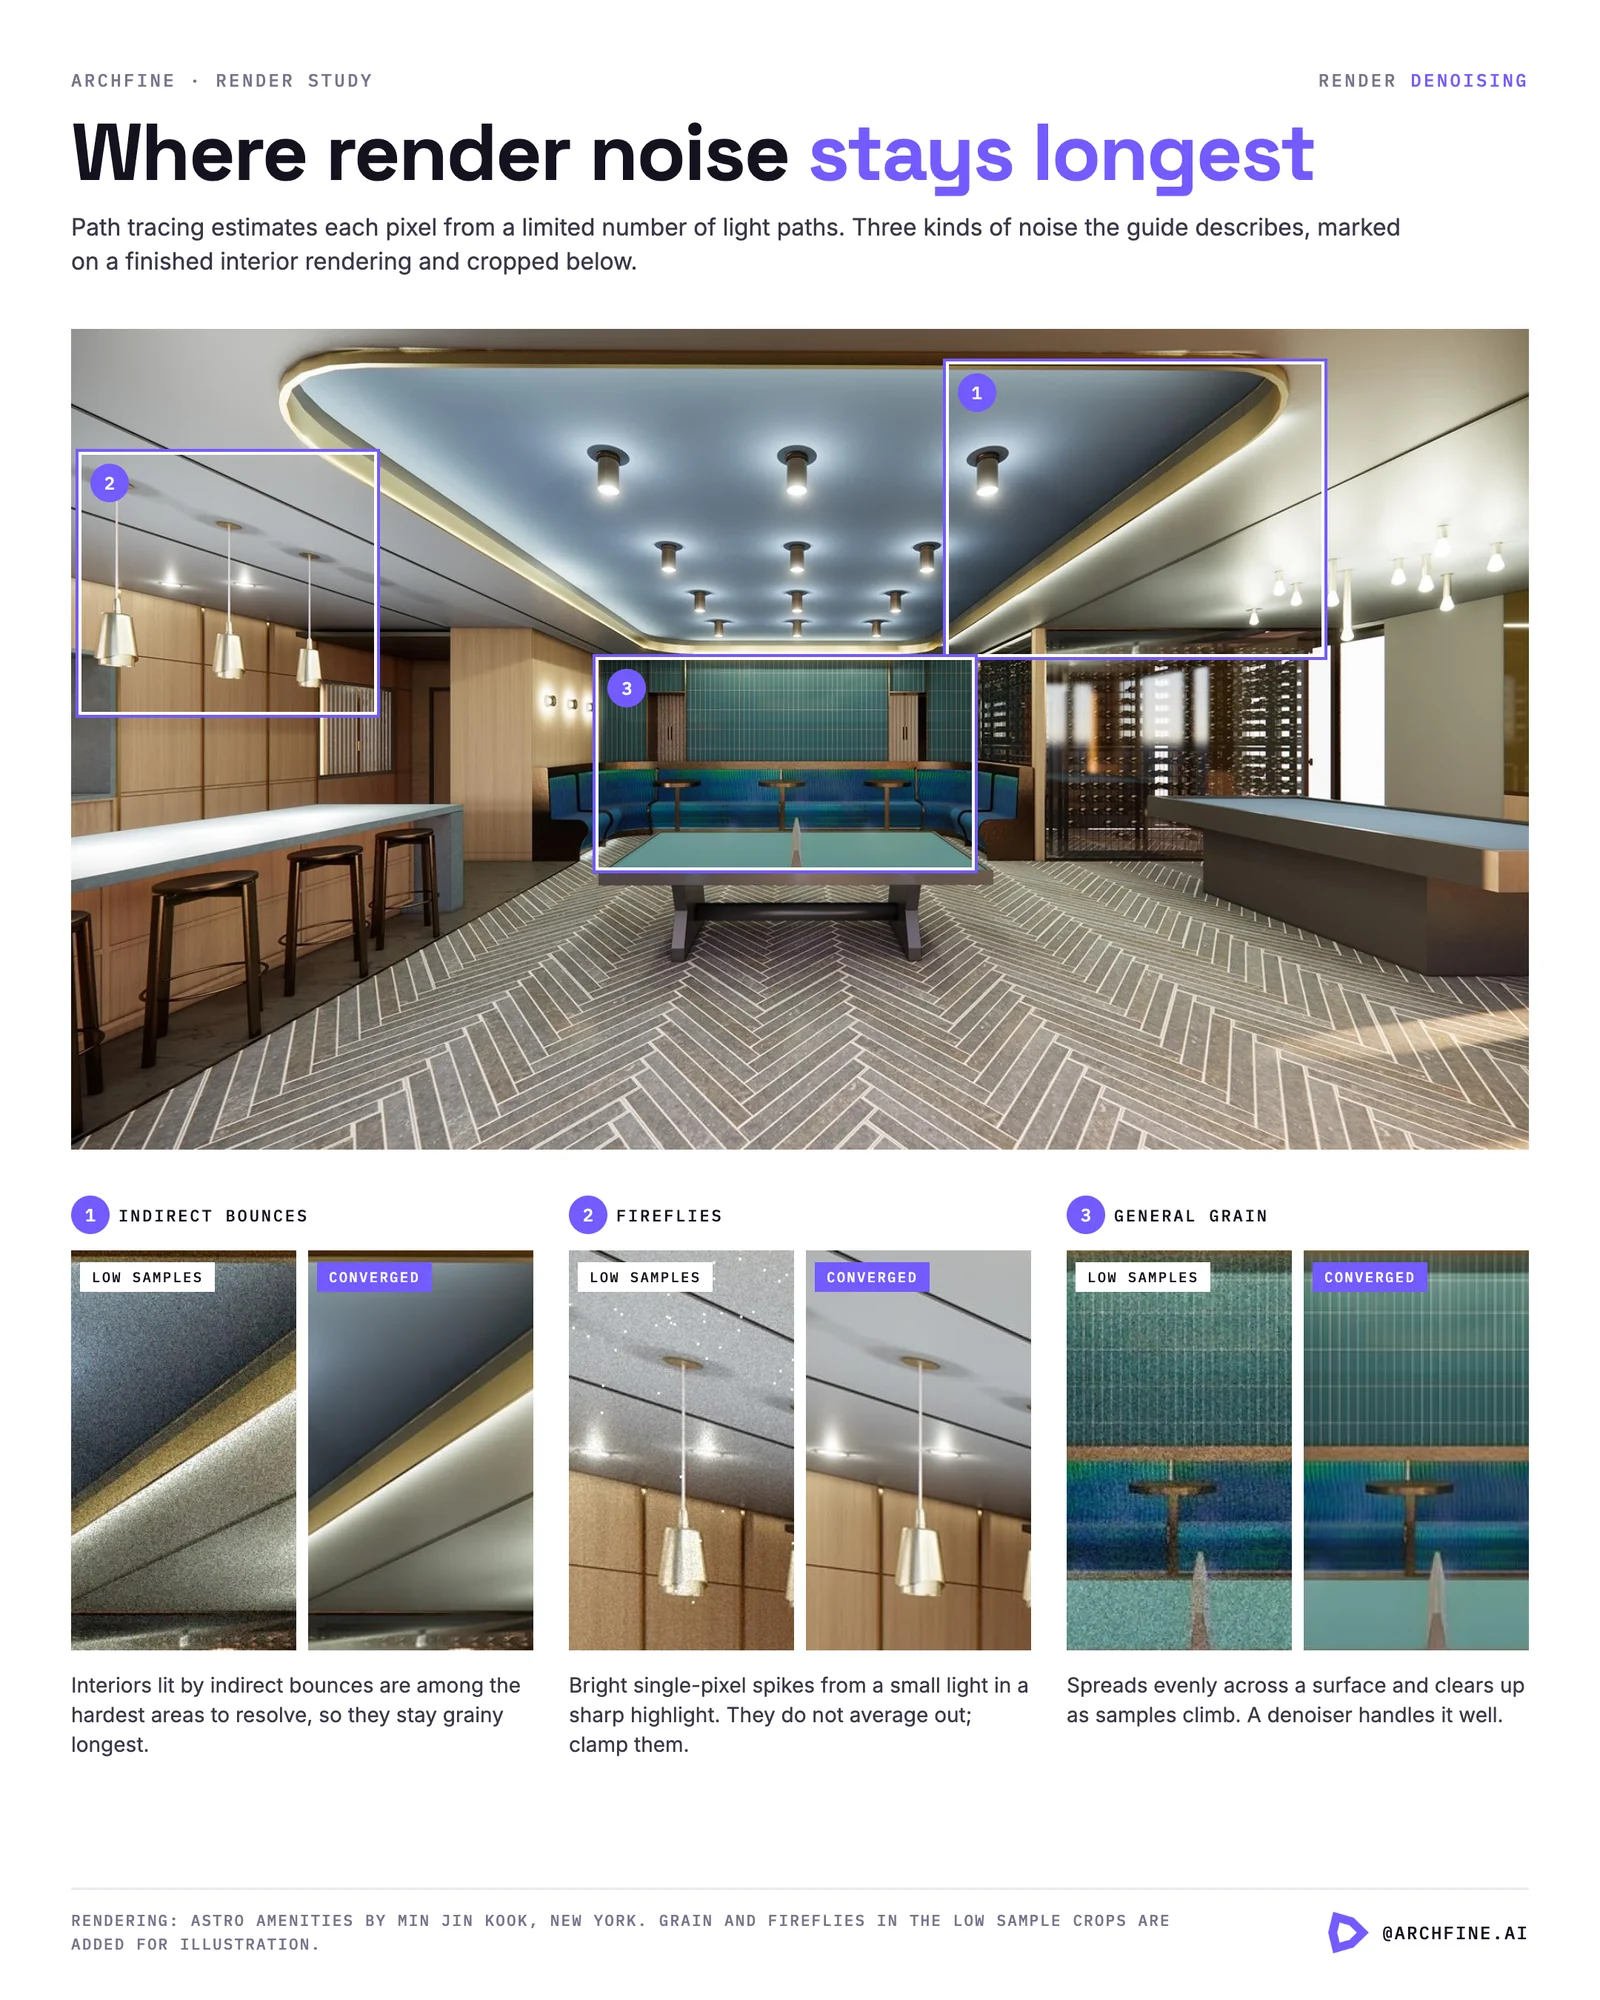
Render denoising analyzes a noisy image and predicts what the converged, fully sampled version would look like. Noise appears because path tracing estimates each pixel from a limited number of light paths. Bright lights seen through rough surfaces, caustics, and indirect bounces are the hardest to resolve, which is why those areas stay grainy longest.
Noise falls with the square root of the sample count, so halving it takes roughly four times the samples, so chasing a perfectly clean image through brute force gets expensive fast. A frame that needs 512 samples to converge cleanly might take eight minutes, while the same scene at 128 samples plus a denoiser finishes in under three with near-identical results. That math is why denoising became standard in architectural visualization, where deadlines rarely allow overnight renders for every revision.
It helps to separate the two kinds of noise you will see. General grain spreads evenly across a surface and clears up as samples climb, so a denoiser handles it well. Fireflies are different. These are bright single-pixel spikes caused by rare, high-energy light paths such as a small light reflected in a sharp highlight. They do not average out cleanly, and a denoiser asked to remove them often smears the surrounding pixels. Knowing which problem you are looking at tells you whether to add samples, clamp the brightness, or simply lean on the denoiser.
📌 Did You Know?
Intel Open Image Denoise is fully open source and runs on almost any CPU, while NVIDIA OptiX runs its denoising on the Tensor Cores built into RTX GPUs. That hardware split is why many studios keep both available and pick per shot rather than committing to a single denoiser for an entire project.
How do AI denoisers work?

Modern AI denoisers are deep neural networks trained on millions of noisy-and-clean image pairs. Given a grainy render, the model recognizes patterns that look like noise versus genuine detail, then rebuilds the smooth result. The best ones do not work from color alone. They also read auxiliary buffers, called AOVs, that the renderer outputs alongside the beauty pass.
The two AOVs that matter most are the albedo pass, which holds each surface’s base color free of lighting, and the normal pass, which encodes the direction each surface faces. With these as extra context, the denoiser knows where a real material edge sits versus where a soft shadow gradient should stay smooth. According to the Chaos V-Ray documentation, the native engine can apply the same operator across all render channels, which keeps elements consistent for compositing.
📐 Technical Note
Denoise the beauty and diffuse passes, but never denoise data passes such as Z-depth, Cryptomatte, or object masks. Those carry exact per-pixel values used in compositing, and smoothing them corrupts the selections and depth-of-field you rely on downstream. Most renderers exclude these channels automatically, but confirm it in your render element settings.
OptiX vs OIDN vs the V-Ray denoiser: which should you use?
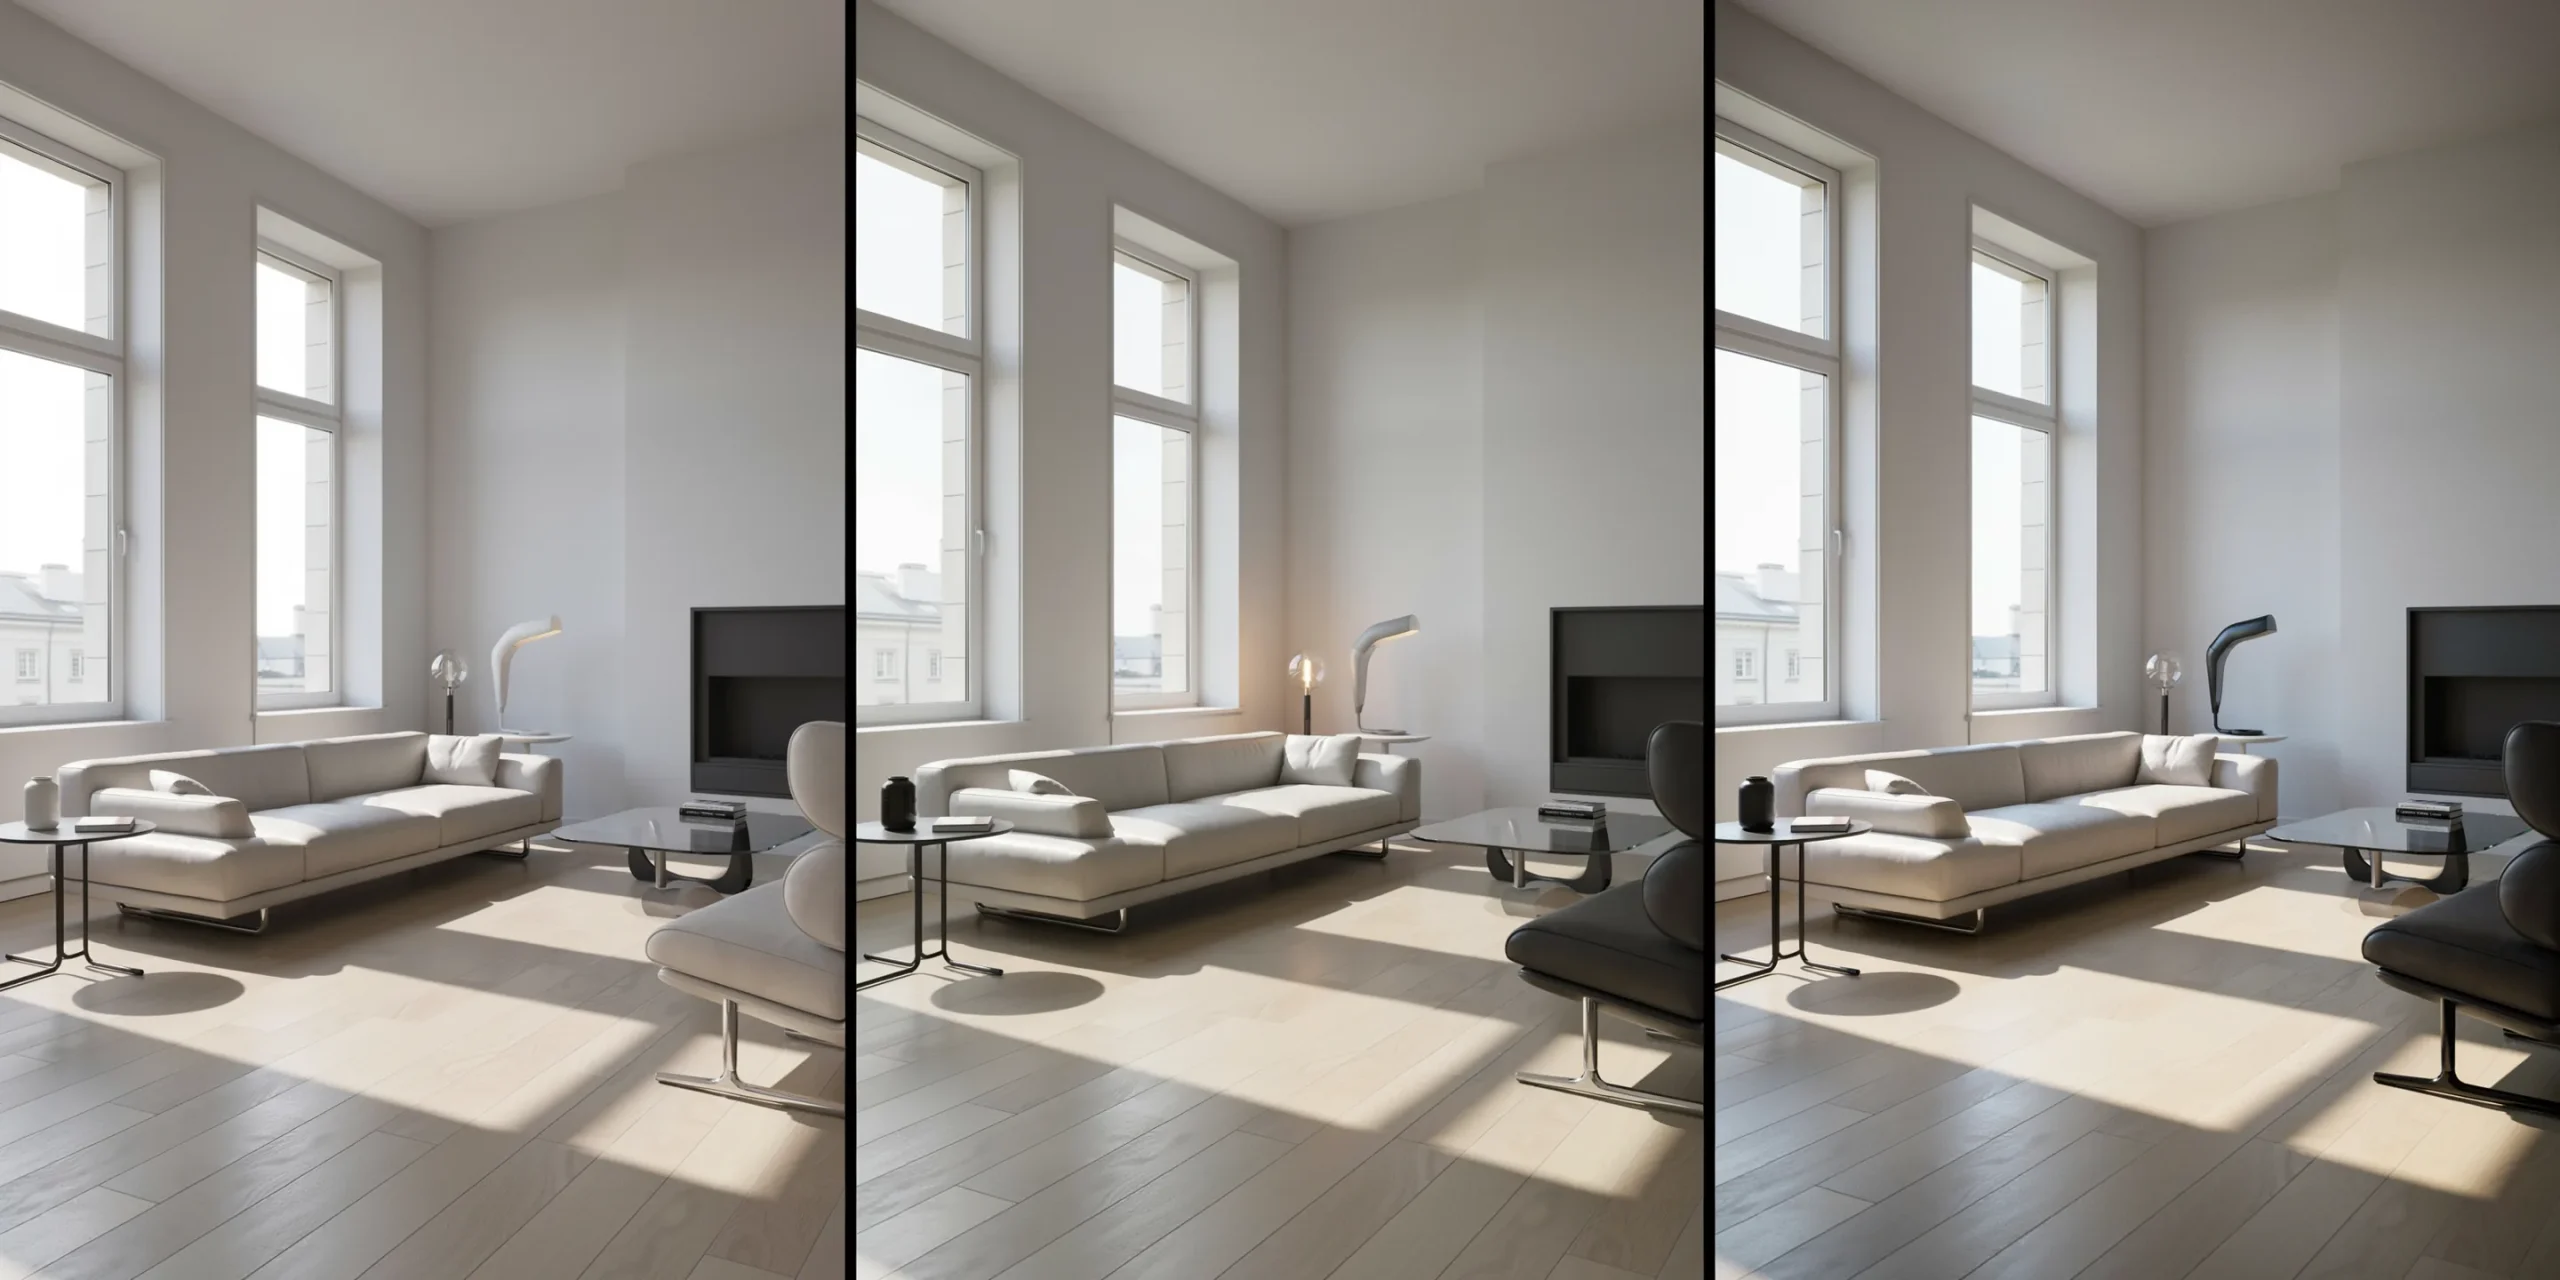
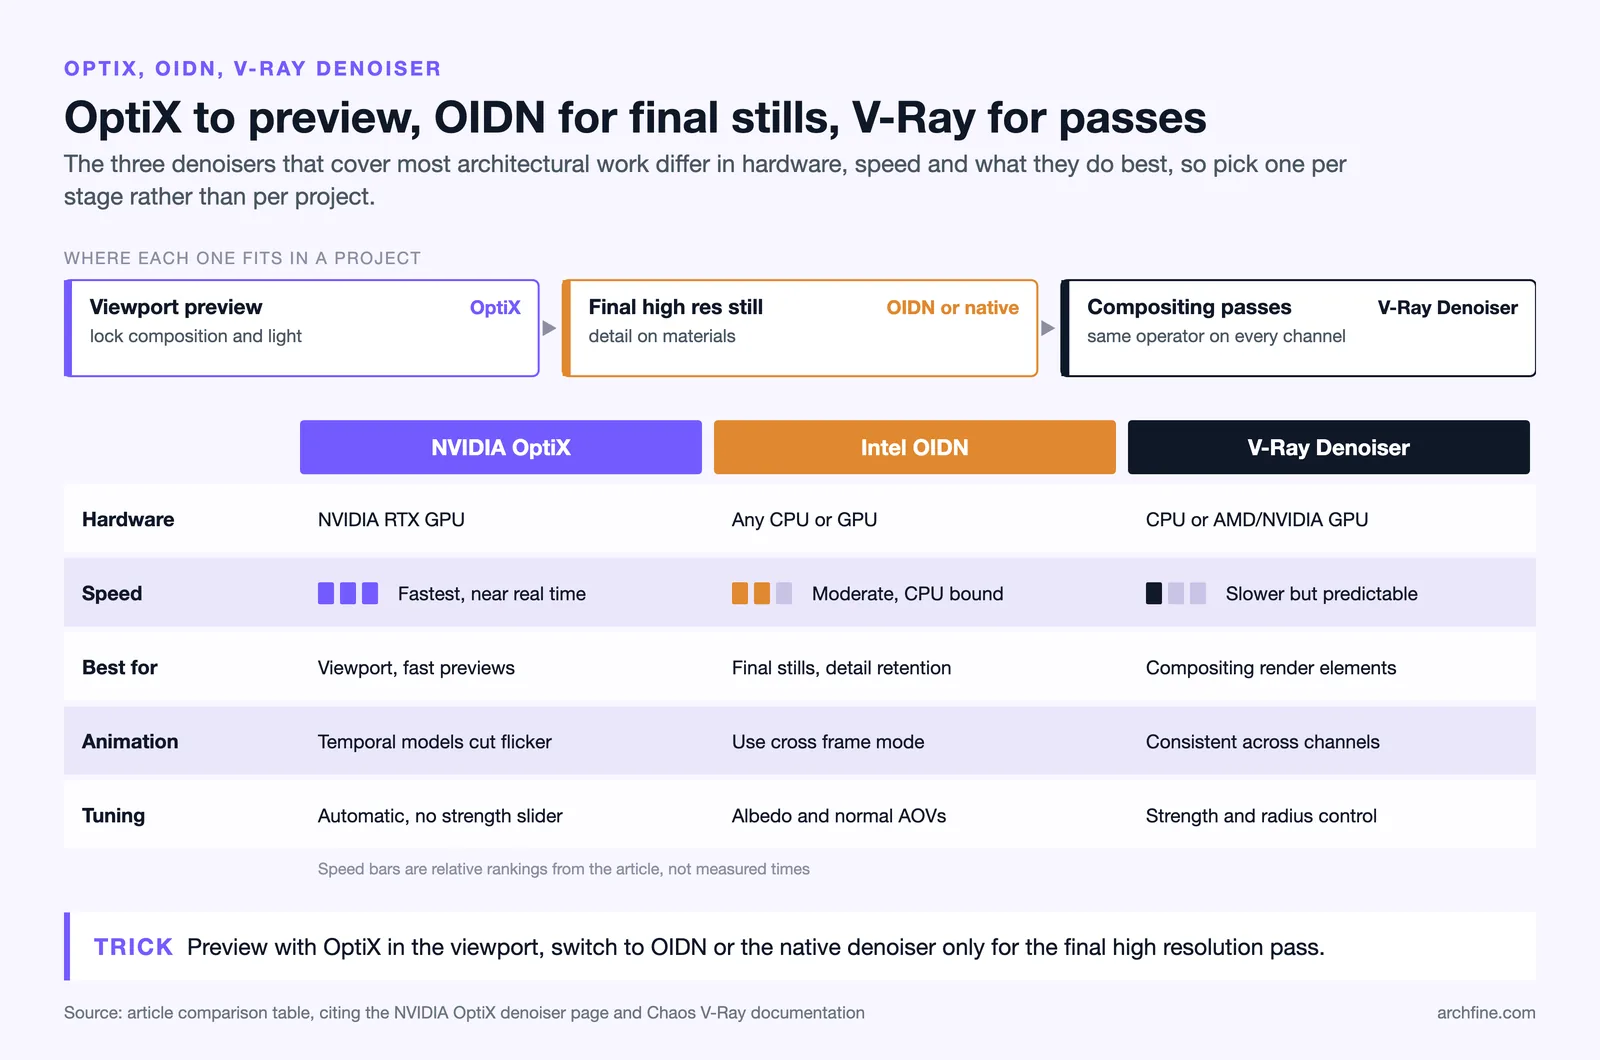
Three denoisers cover the vast majority of architectural work. NVIDIA OptiX is the GPU-accelerated speed option, Intel Open Image Denoise (OIDN) is the cross-platform quality option, and the built-in V-Ray denoiser is the most consistent for multi-pass compositing. The table below breaks down how they differ in practice.
Denoiser comparison at a glance
| Feature | NVIDIA OptiX | Intel OIDN | V-Ray Denoiser |
|---|---|---|---|
| Hardware | NVIDIA RTX GPU | Any CPU or GPU | CPU or AMD/NVIDIA GPU |
| Speed | Fastest, near real-time | Moderate, CPU-bound | Slower but predictable |
| Best for | Viewport, fast previews | Final stills, detail retention | Compositing render elements |
| Animation | Temporal models cut flicker | Use cross-frame mode | Consistent across channels |
| Tuning | Automatic, no strength slider | Albedo and normal AOVs | Strength and radius control |
OptiX shines when you need instant feedback. It updates the viewport live as samples accumulate and, per the NVIDIA OptiX denoiser page, adjusts dynamically to the sample count without a strength slider. OIDN tends to hold onto fine texture detail a little better on final stills because it leans on those AOV buffers. The native V-Ray denoiser is the safe choice when you split a render into elements and recombine them later, since it applies the same operator to every channel.
💡 Pro Tip
For client preview rounds, render with OptiX in the viewport to lock composition and lighting in minutes. Switch to OIDN or the native denoiser only for the final high-resolution pass. Treating the denoiser as a per-stage decision rather than a project-wide setting saves hours across a typical revision cycle.
How to reduce render noise without losing detail
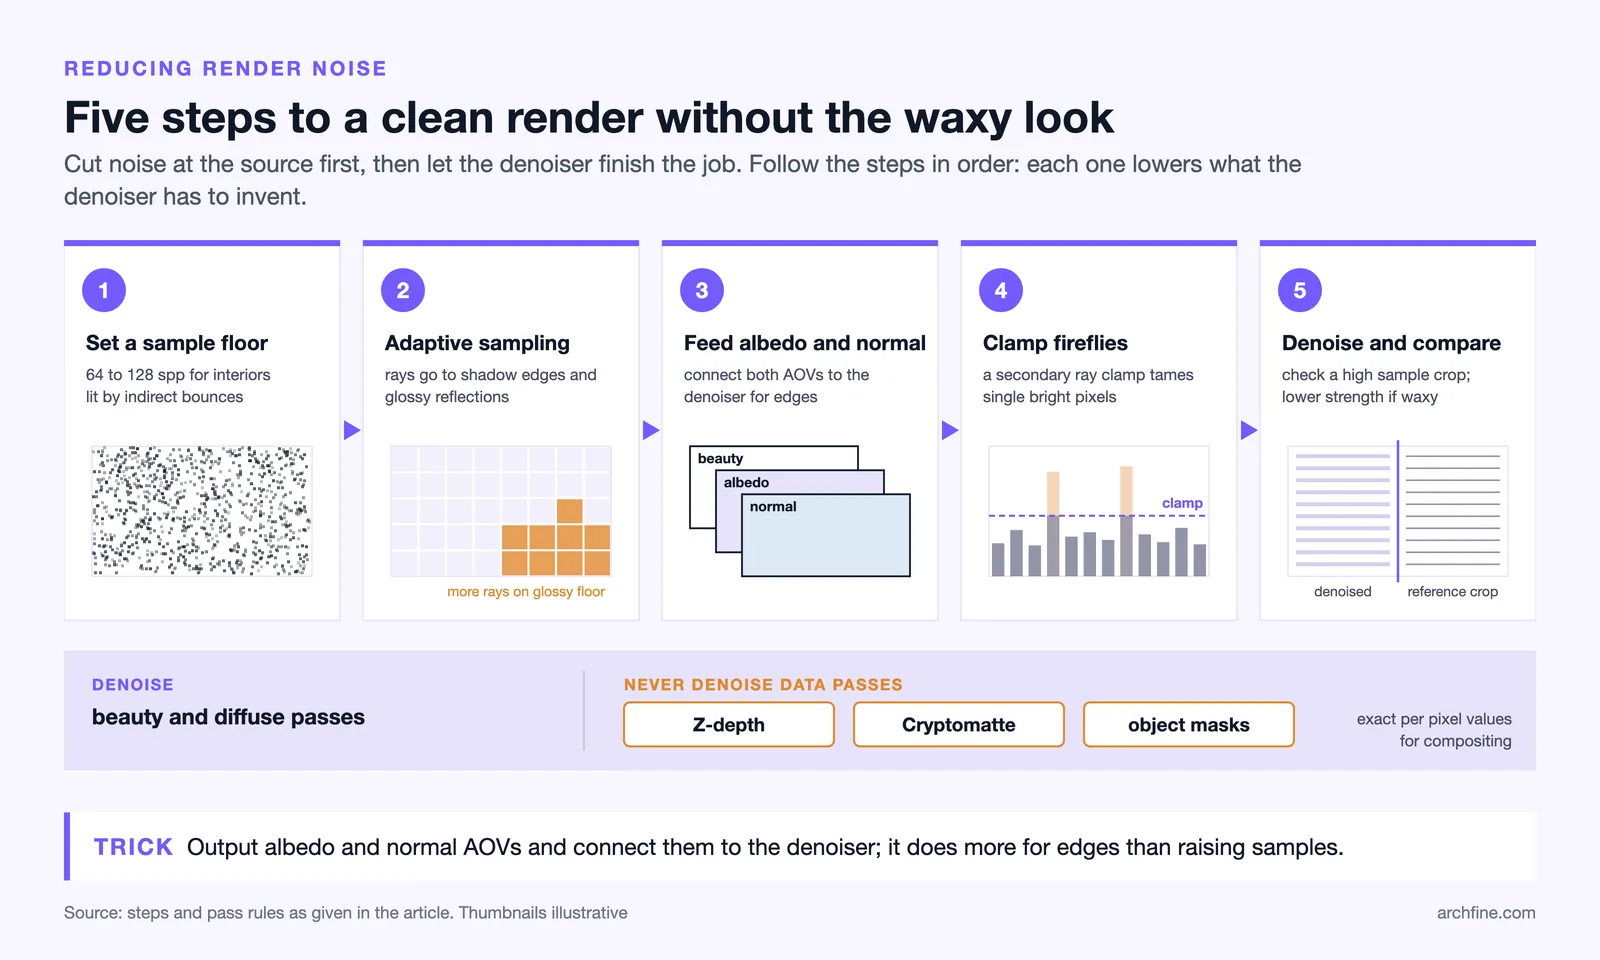
A denoiser is only as good as the image you feed it. Reduce render noise at the source first, then let the denoiser handle the rest. Follow these steps in order for the cleanest result at the lowest cost.
- Set a sensible sample floor. Give the denoiser enough signal to work with. For interiors lit by indirect bounces, 64 to 128 samples per pixel is a common starting point. Too few samples and the denoiser invents detail or smears surfaces.
- Enable adaptive sampling so the renderer spends rays where noise is highest, such as shadow edges and glossy reflections, instead of wasting them on flat, already-clean walls.
- Output the albedo and normal AOVs and connect them to the denoiser. This single step does more for edge retention than raising samples.
- Clamp fireflies. Set a secondary ray clamp to tame the bright single-pixel spikes that denoisers struggle to remove cleanly.
- Apply the denoiser, then compare against a high-sample reference crop. Lower strength if textures look waxy, raise it if grain survives.
This balance between sampling and denoising is what separates a clean render from a plastic one. The Blender Cycles engine, for example, exposes both adaptive sampling and OptiX or OIDN denoising in the same panel, so you can tune the trade-off interactively. The same principles carry across V-Ray, Corona, Arnold, and Redshift even though the menus differ.
One habit that pays off is treating noise as a per-region problem rather than a per-image one. A glossy floor reflecting a window may still look grainy long after the matte walls have cleaned up, and pushing the global sample count high enough to fix that one reflection wastes time everywhere else. Adaptive sampling combined with a noise threshold lets the renderer keep firing rays only at the floor while it leaves the converged walls alone. Then the denoiser cleans up the small amount of grain that remains, instead of trying to rescue a heavily under-sampled frame on its own.
⚠️ Common Mistake to Avoid
Pushing the denoiser to full strength on a render that is far too noisy is the most common error. The result is the waxy, oil-painting look that gives AI denoising a bad name. The denoiser cannot reconstruct detail that was never sampled. Raise samples until the grain is moderate, then denoise lightly rather than the reverse.
Denoising animation: how do you avoid flicker?
Still images are forgiving. Animation is not. A denoiser that works frame by frame can produce slightly different results on each one, so smooth surfaces appear to boil or flicker during playback. The fix is temporal, or cross-frame, denoising, where the algorithm looks at several frames together and keeps the result stable over time.
Recent NVIDIA OptiX models include temporal denoising that reduces this flicker for animation. V-Ray ships a standalone tool called vdenoise that can read a whole image sequence at once and produce a steadier result than denoising each frame in isolation. If your renderer offers a cross-frame or motion-aware option, turn it on for any moving sequence, and render the additional motion-vector AOV when prompted so the denoiser can track movement between frames.
💡 Pro Tip
Render your animation frames to a multi-channel EXR sequence with the albedo, normal, and motion-vector passes baked in. You can then denoise the whole sequence in one pass afterward, and re-denoise with different settings if the first attempt looks too soft, all without touching the renderer again.
Where does AI image rendering fit alongside denoising?
Traditional denoising cleans up a physically rendered image. A separate class of AI tools skips the render engine entirely and generates a photorealistic image from a model screenshot or sketch. These are different jobs. A denoiser preserves your exact geometry and lighting, while a generative platform reinterprets the scene to produce a finished look in seconds.

For concept stages and fast client visuals, AI image rendering can replace a full render-and-denoise cycle. Our guide on how to use AI to render architecture covers that workflow, and the breakdown of what makes a great architectural render applies whichever route you take. For production deliverables where geometric accuracy is non-negotiable, a denoised path-traced render is still the standard, and tool-specific guides such as SketchUp AI rendering and Rhino AI rendering show where each approach earns its place.
Frequently asked questions about render denoising
Does denoising reduce render quality?
Used correctly, no. A denoiser fed a moderately sampled image with albedo and normal AOVs produces results visually close to a fully converged render. Quality only drops when you feed it an extremely noisy frame and push strength to maximum, which softens fine texture detail.
How many samples do I need before denoising?
There is no fixed number, since it depends on the scene. Bright, evenly lit exteriors may denoise cleanly from 32 to 64 samples, while dim interiors with heavy indirect lighting often need 128 or more. Render a small test crop and raise samples until the grain is moderate rather than severe.
Can I denoise an animation without flicker?
Yes, by using temporal or cross-frame denoising rather than denoising each frame alone. Tools like NVIDIA OptiX temporal mode and the V-Ray vdenoise standalone read multiple frames together to keep results stable, which removes most of the boiling and flicker.
Is OptiX or OIDN better for architectural stills?
OIDN often retains fine material texture slightly better on final stills because it relies on auxiliary passes, while OptiX is faster and ideal for interactive previews. Many artists preview with OptiX and render the final image with OIDN or the native denoiser.
Where to Go From Here
Your Next Step: Open your current scene, drop the sample count to roughly a quarter of what you normally use, enable the albedo and normal AOVs, then run OptiX and OIDN on the same frame and compare crops side by side. That ten-minute test tells you which denoiser and sample floor your scenes actually need, and you can build every future render on that baseline.