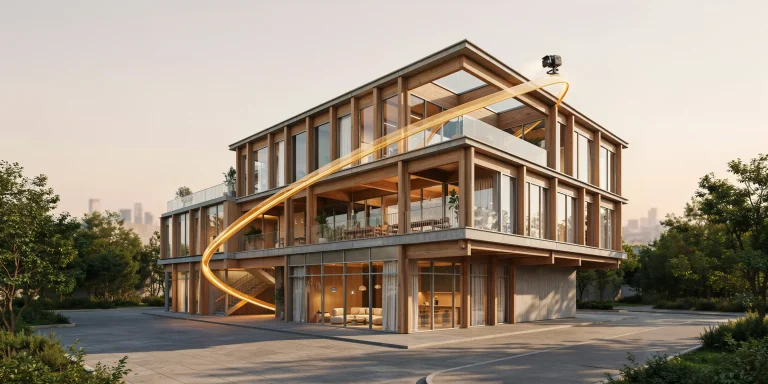
3D architectural rendering is the process of converting a digital building model into a photorealistic or stylized image by simulating geometry, materials, lighting, and a virtual camera. It turns abstract CAD data and 3D models into believable visuals that communicate design intent to clients, planning boards, and project teams before anything is built.
If you have ever wondered how a flat Rhino or SketchUp model becomes a sunlit street scene with reflections, soft shadows, and people, this guide breaks down the full pipeline. We will walk through what 3D architectural rendering is, the step-by-step process, the main types of output, the software that drives it, and the factors that separate a flat image from a convincing one.
What Is 3D Architectural Rendering?
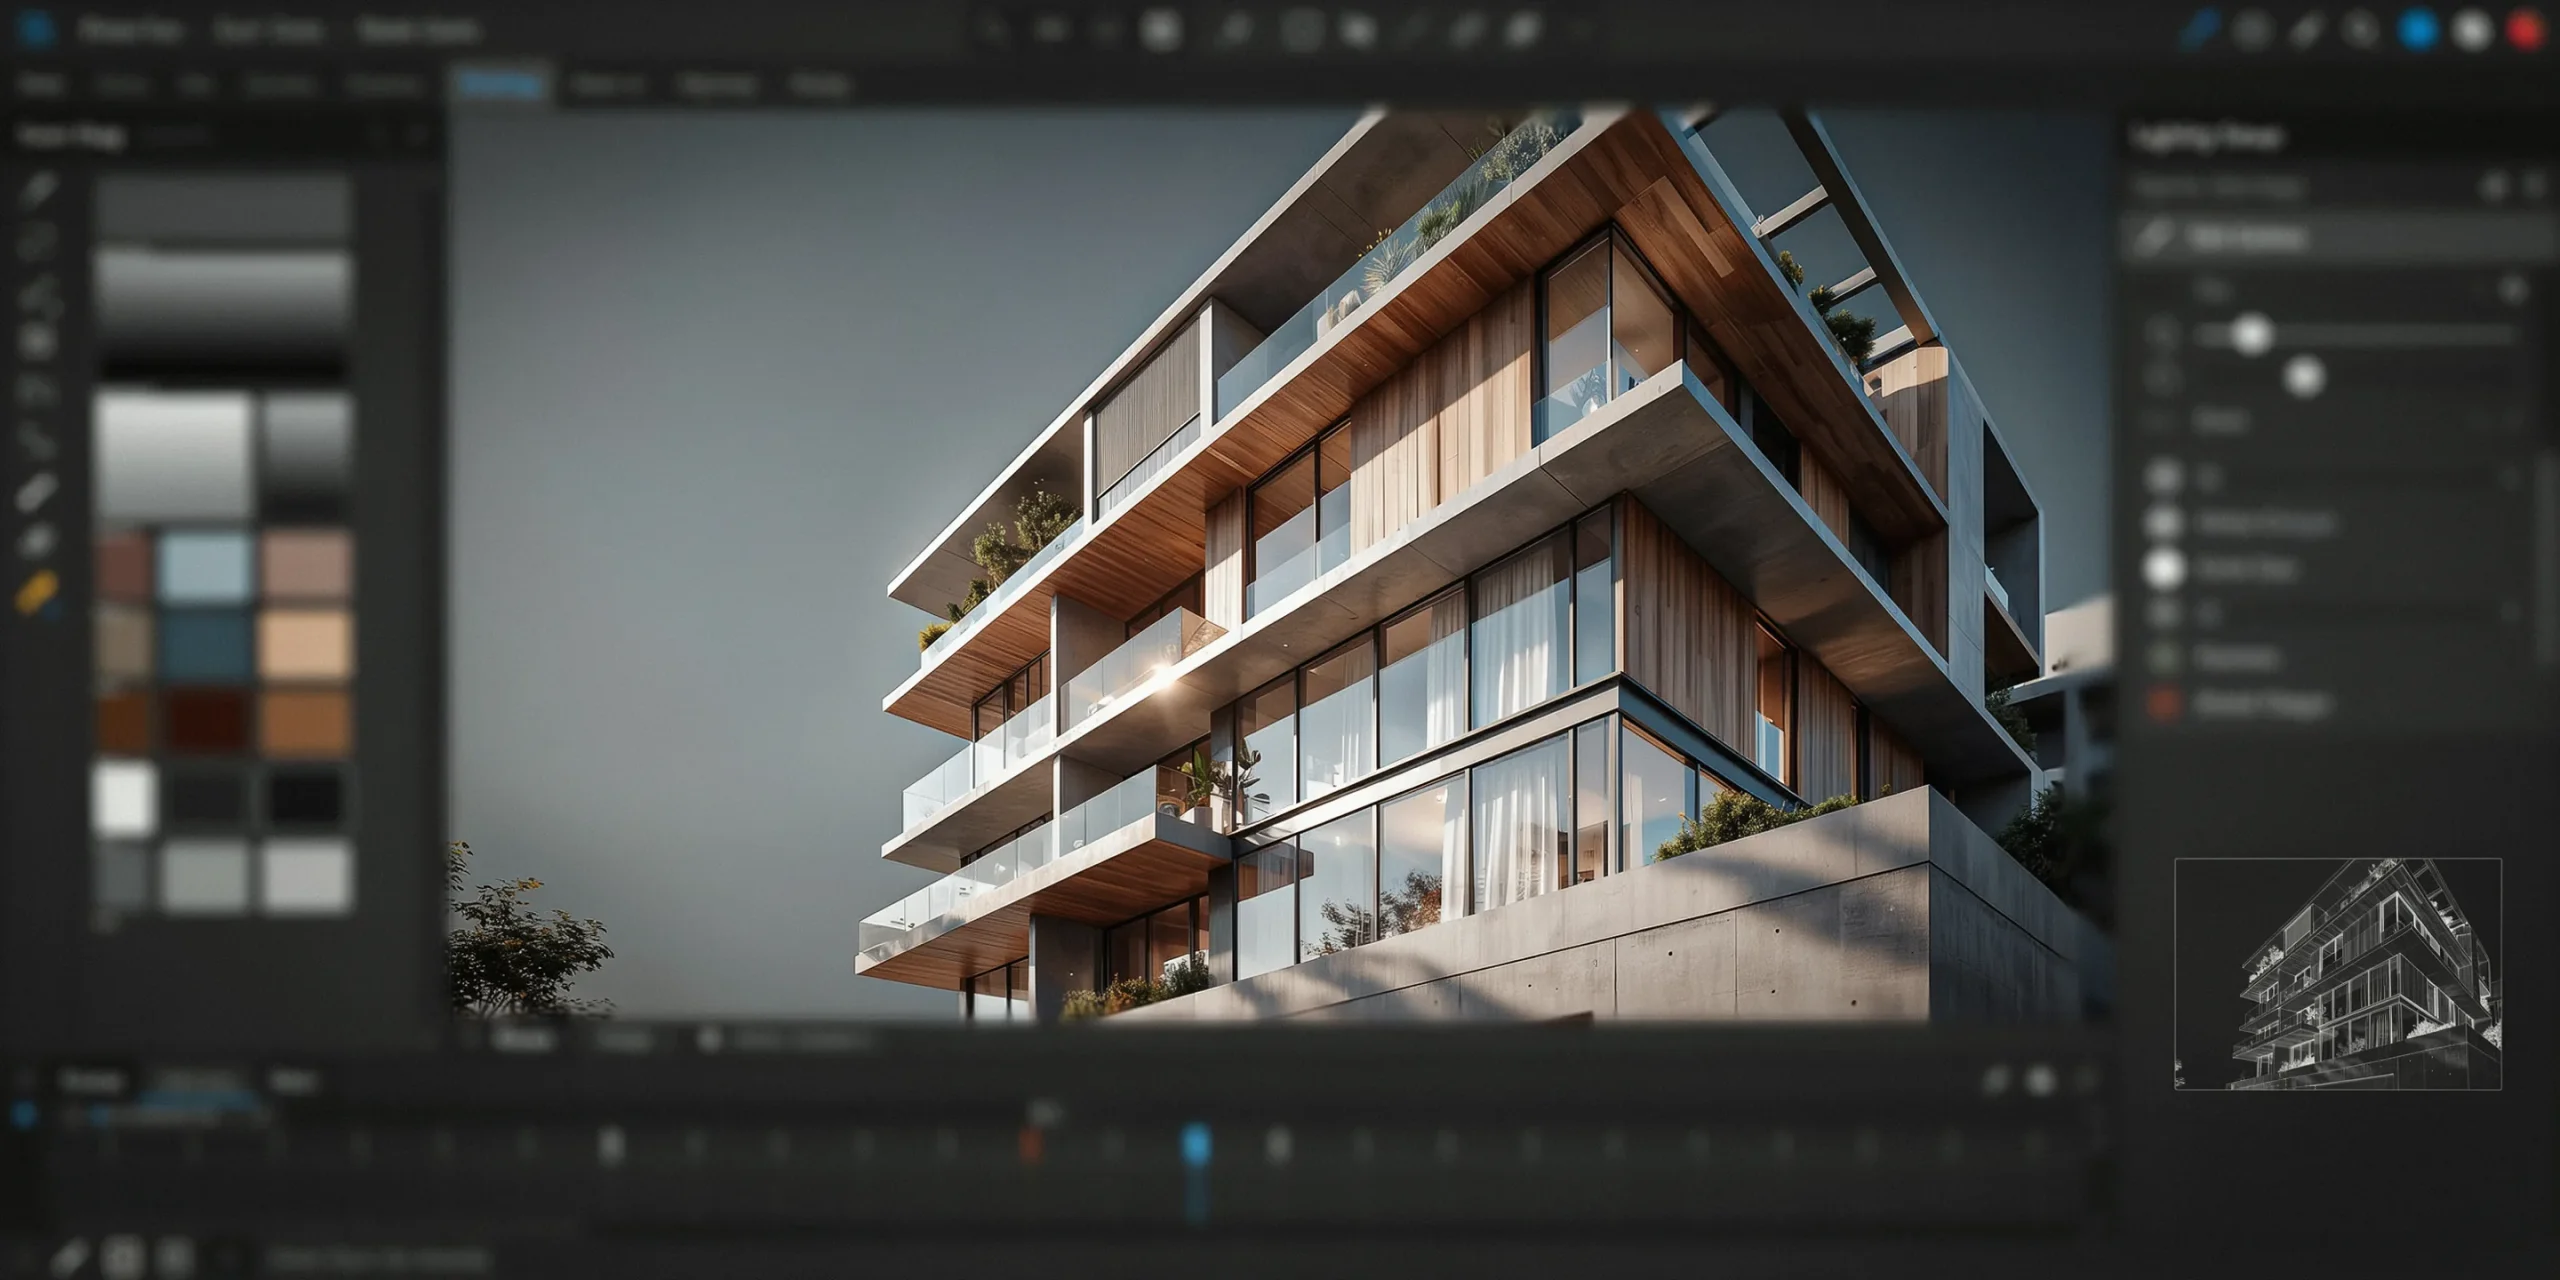
3D architectural rendering is the discipline of generating images from three-dimensional building models using software that calculates how light interacts with surfaces. The renderer reads geometry, material definitions, and light sources, then computes color, reflection, refraction, and shadow for every pixel to produce a final visual.
The term covers a wide range of outputs, from quick massing studies that test scale and proportion to final marketing visuals indistinguishable from photography. At its core, every render is an act of light simulation. The closer that simulation matches the physics of the real world, the more photorealistic the architectural CGI becomes.
🎓 Expert Insight
“Rendering software takes 3D models and transforms them into photorealistic or stylized images and animations, acting like a virtual camera and simulating light, materials, and textures.” (Chaos, developer of V-Ray)
This framing matters because it reminds designers that rendering is photography in a synthetic world. The same fundamentals that make a real photo work, namely framing, exposure, and light direction, decide whether a render reads as believable.
The 3D Architectural Rendering Process Step by Step
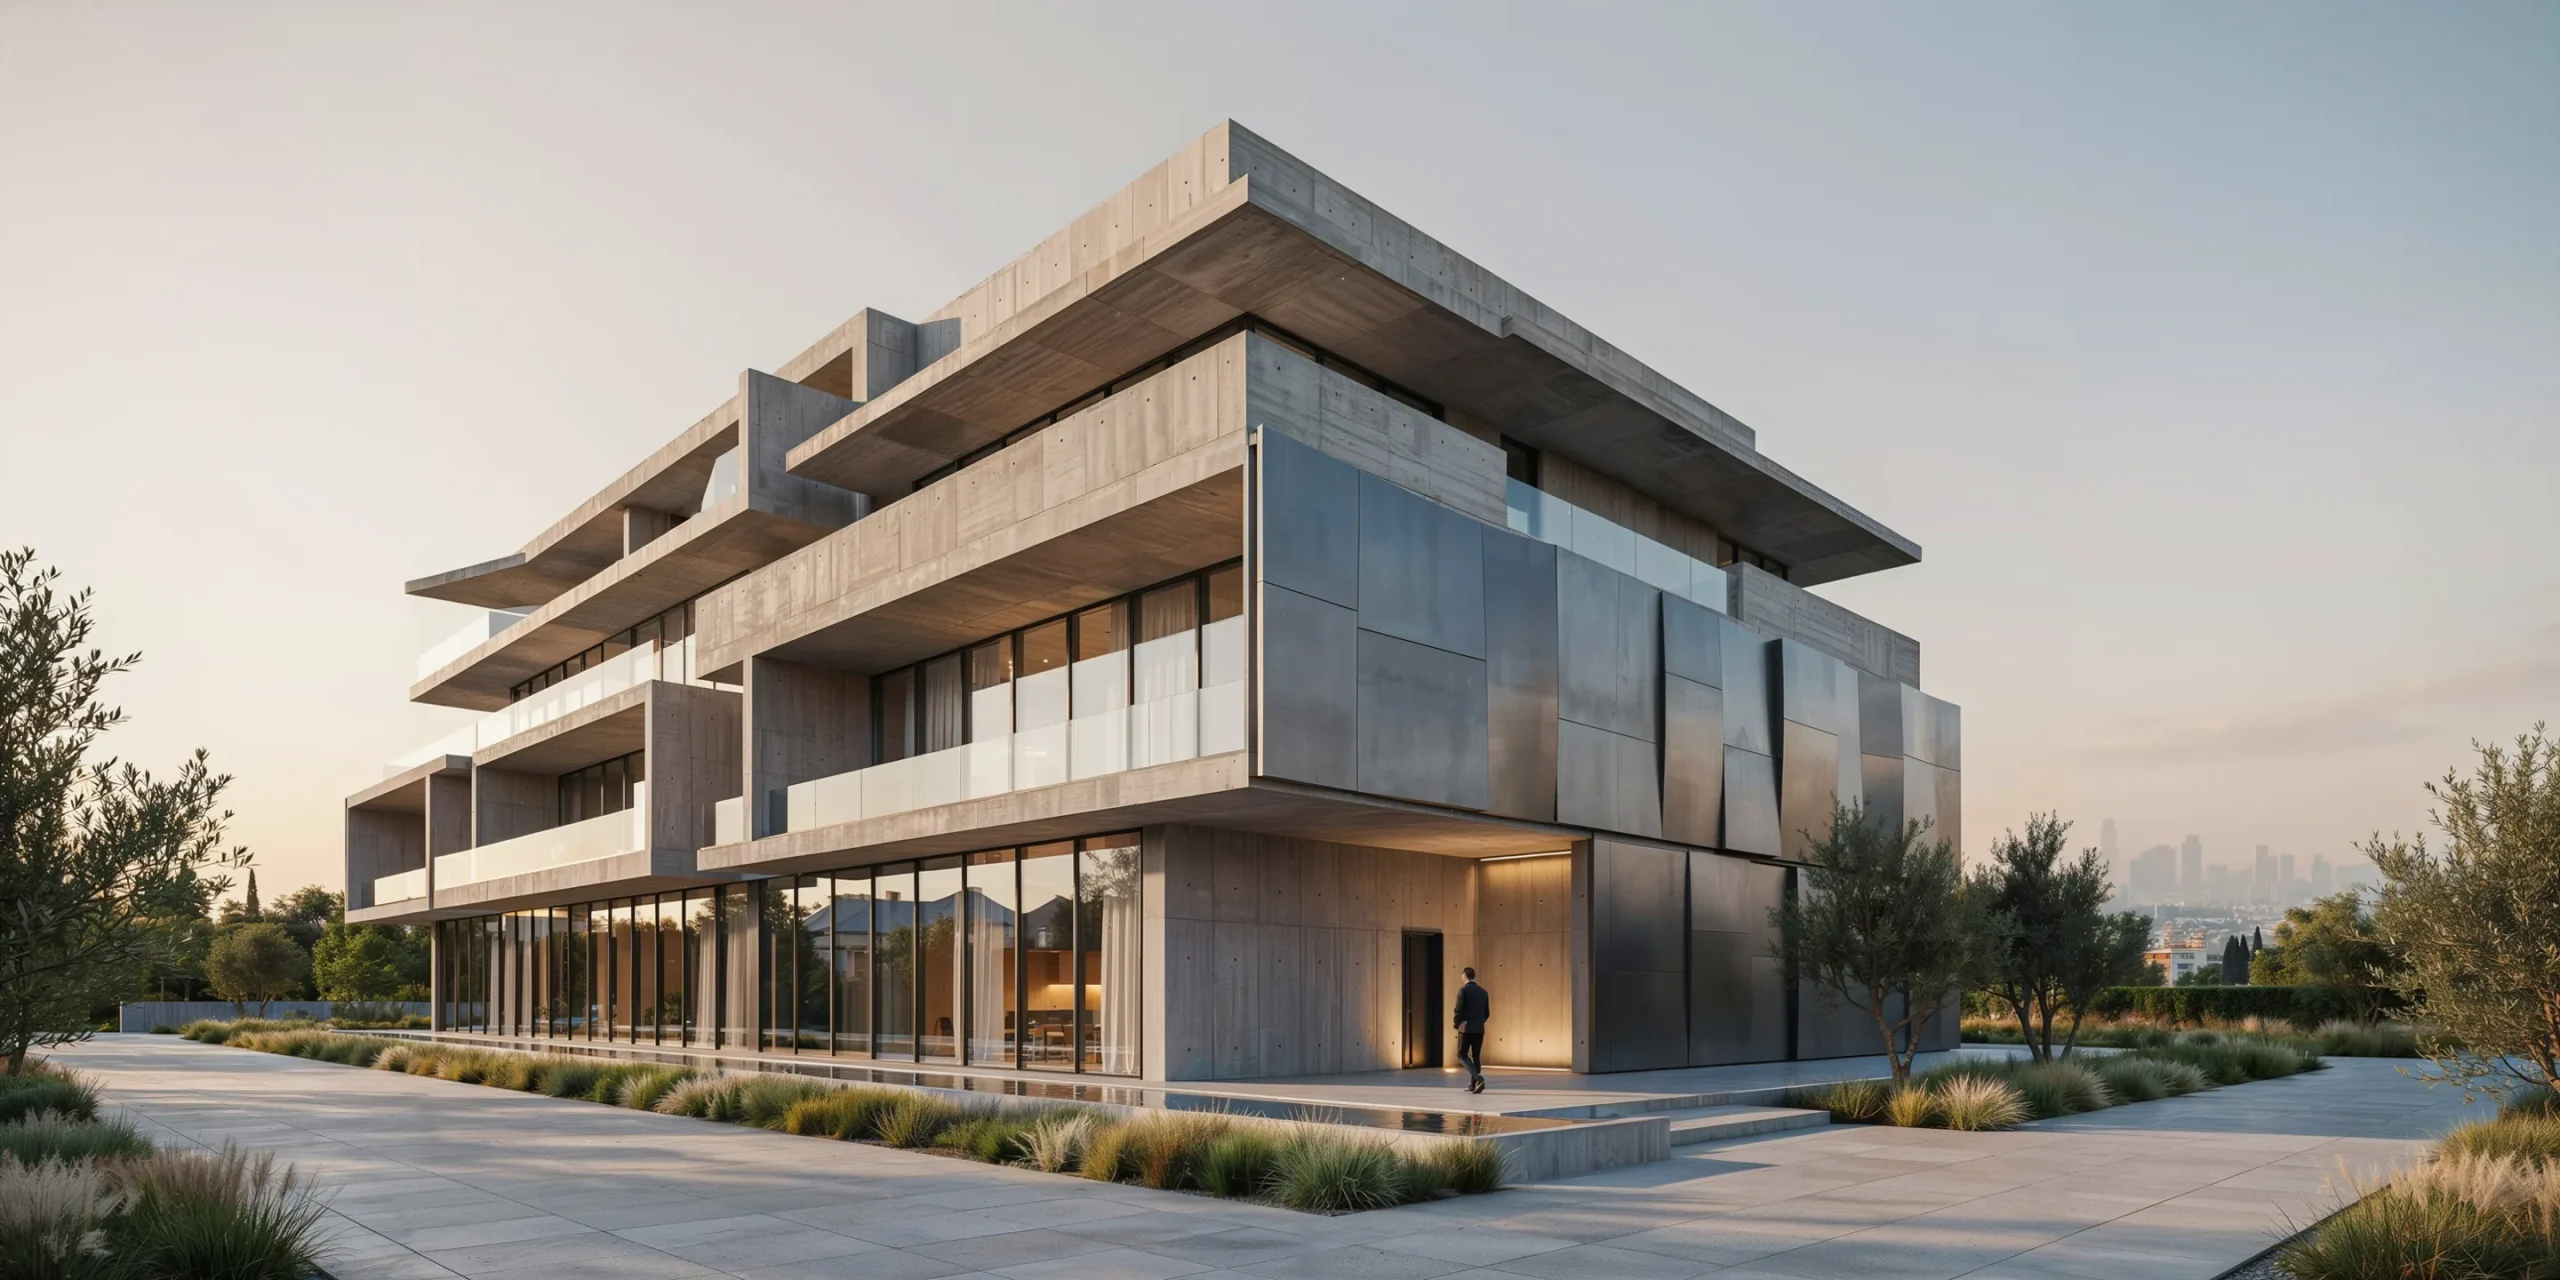
The rendering process follows a consistent five-stage pipeline regardless of the software used. Each stage feeds the next, and weakness in any single step shows up in the final image. Here is how 3D rendering for architecture moves from a raw model to a finished visual.
1. 3D Modeling
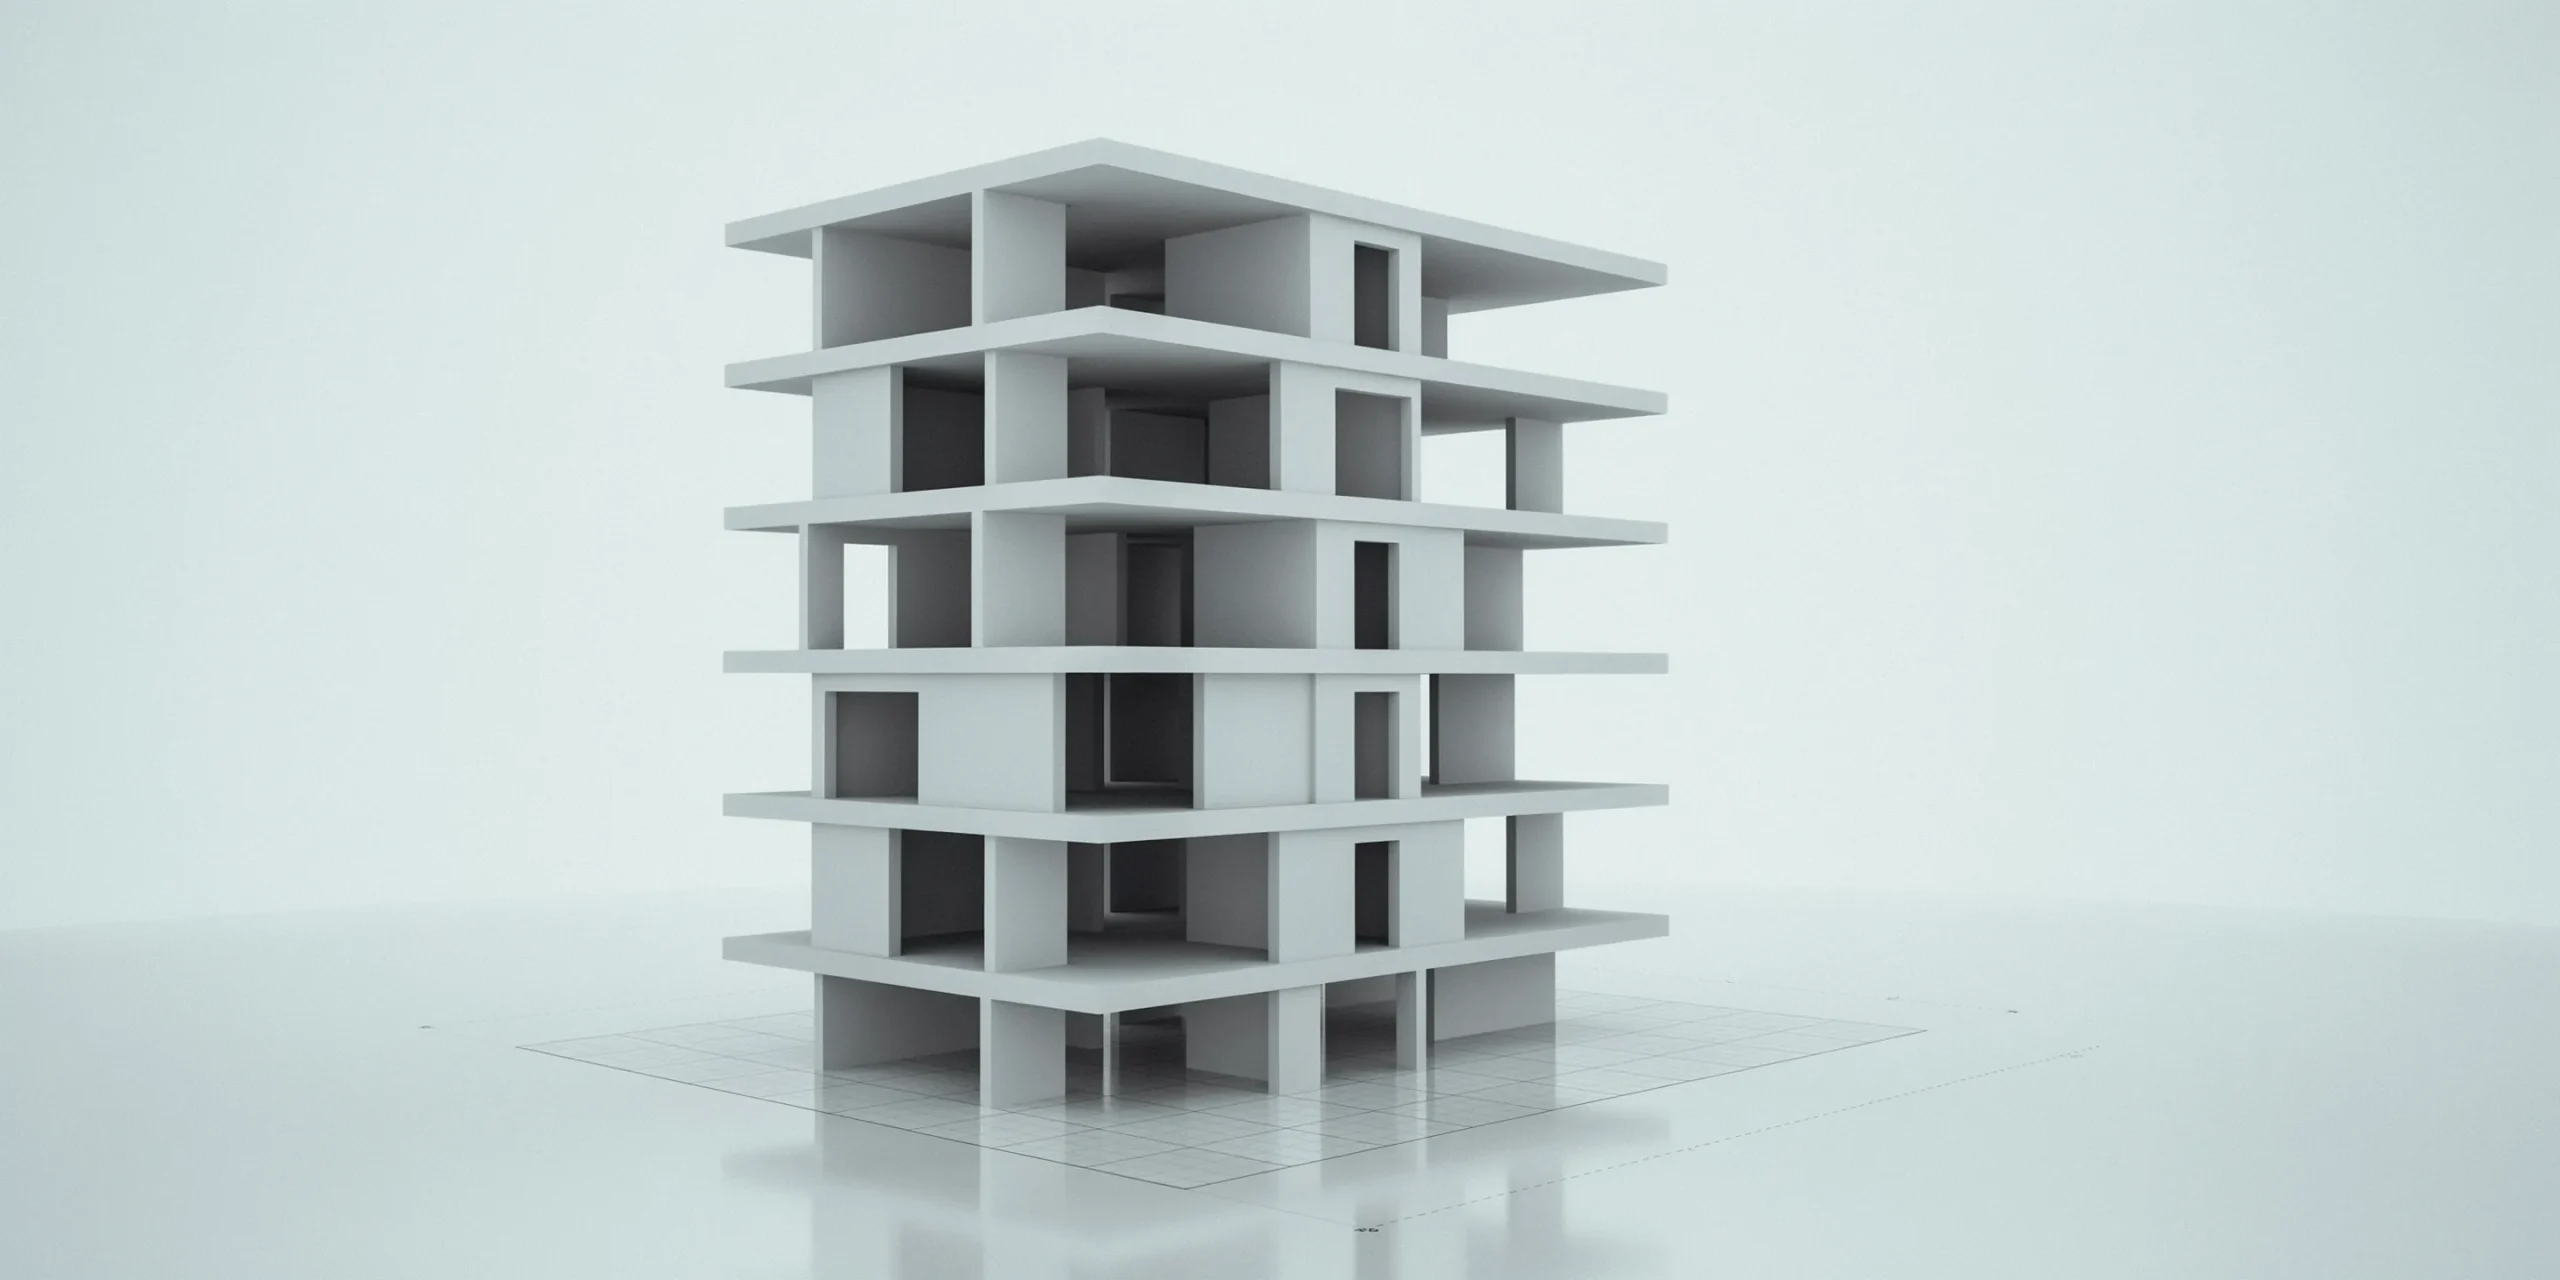
Everything starts with geometry. A 3D model defines the walls, slabs, openings, and site that the renderer will light. Models can come from BIM platforms like Revit and Archicad, or from direct modelers like SketchUp, Rhino, and 3ds Max. Clean topology and correct scale at this stage prevent distortion later, because the renderer treats every face exactly as it is built.
2. Materials and Texturing

Next, surfaces receive materials that tell the renderer how each one reflects and absorbs light. Modern workflows rely on physically based rendering (PBR) materials, which use measured values for roughness, reflectivity, and index of refraction. Asset libraries such as Chaos Cosmos supply scan-based materials that are physically accurate out of the box, which is why a brick or oak surface behaves correctly under any lighting condition.
📐 Technical Note
PBR materials are defined by measurable physical properties rather than artistic guesswork. Roughness controls how sharp or blurred a reflection appears, while the index of refraction (IOR) governs how light bends through transparent surfaces. Glass typically uses an IOR near 1.5 and water near 1.33, values you can set directly in V-Ray and most modern renderers for accurate results.
3. Lighting
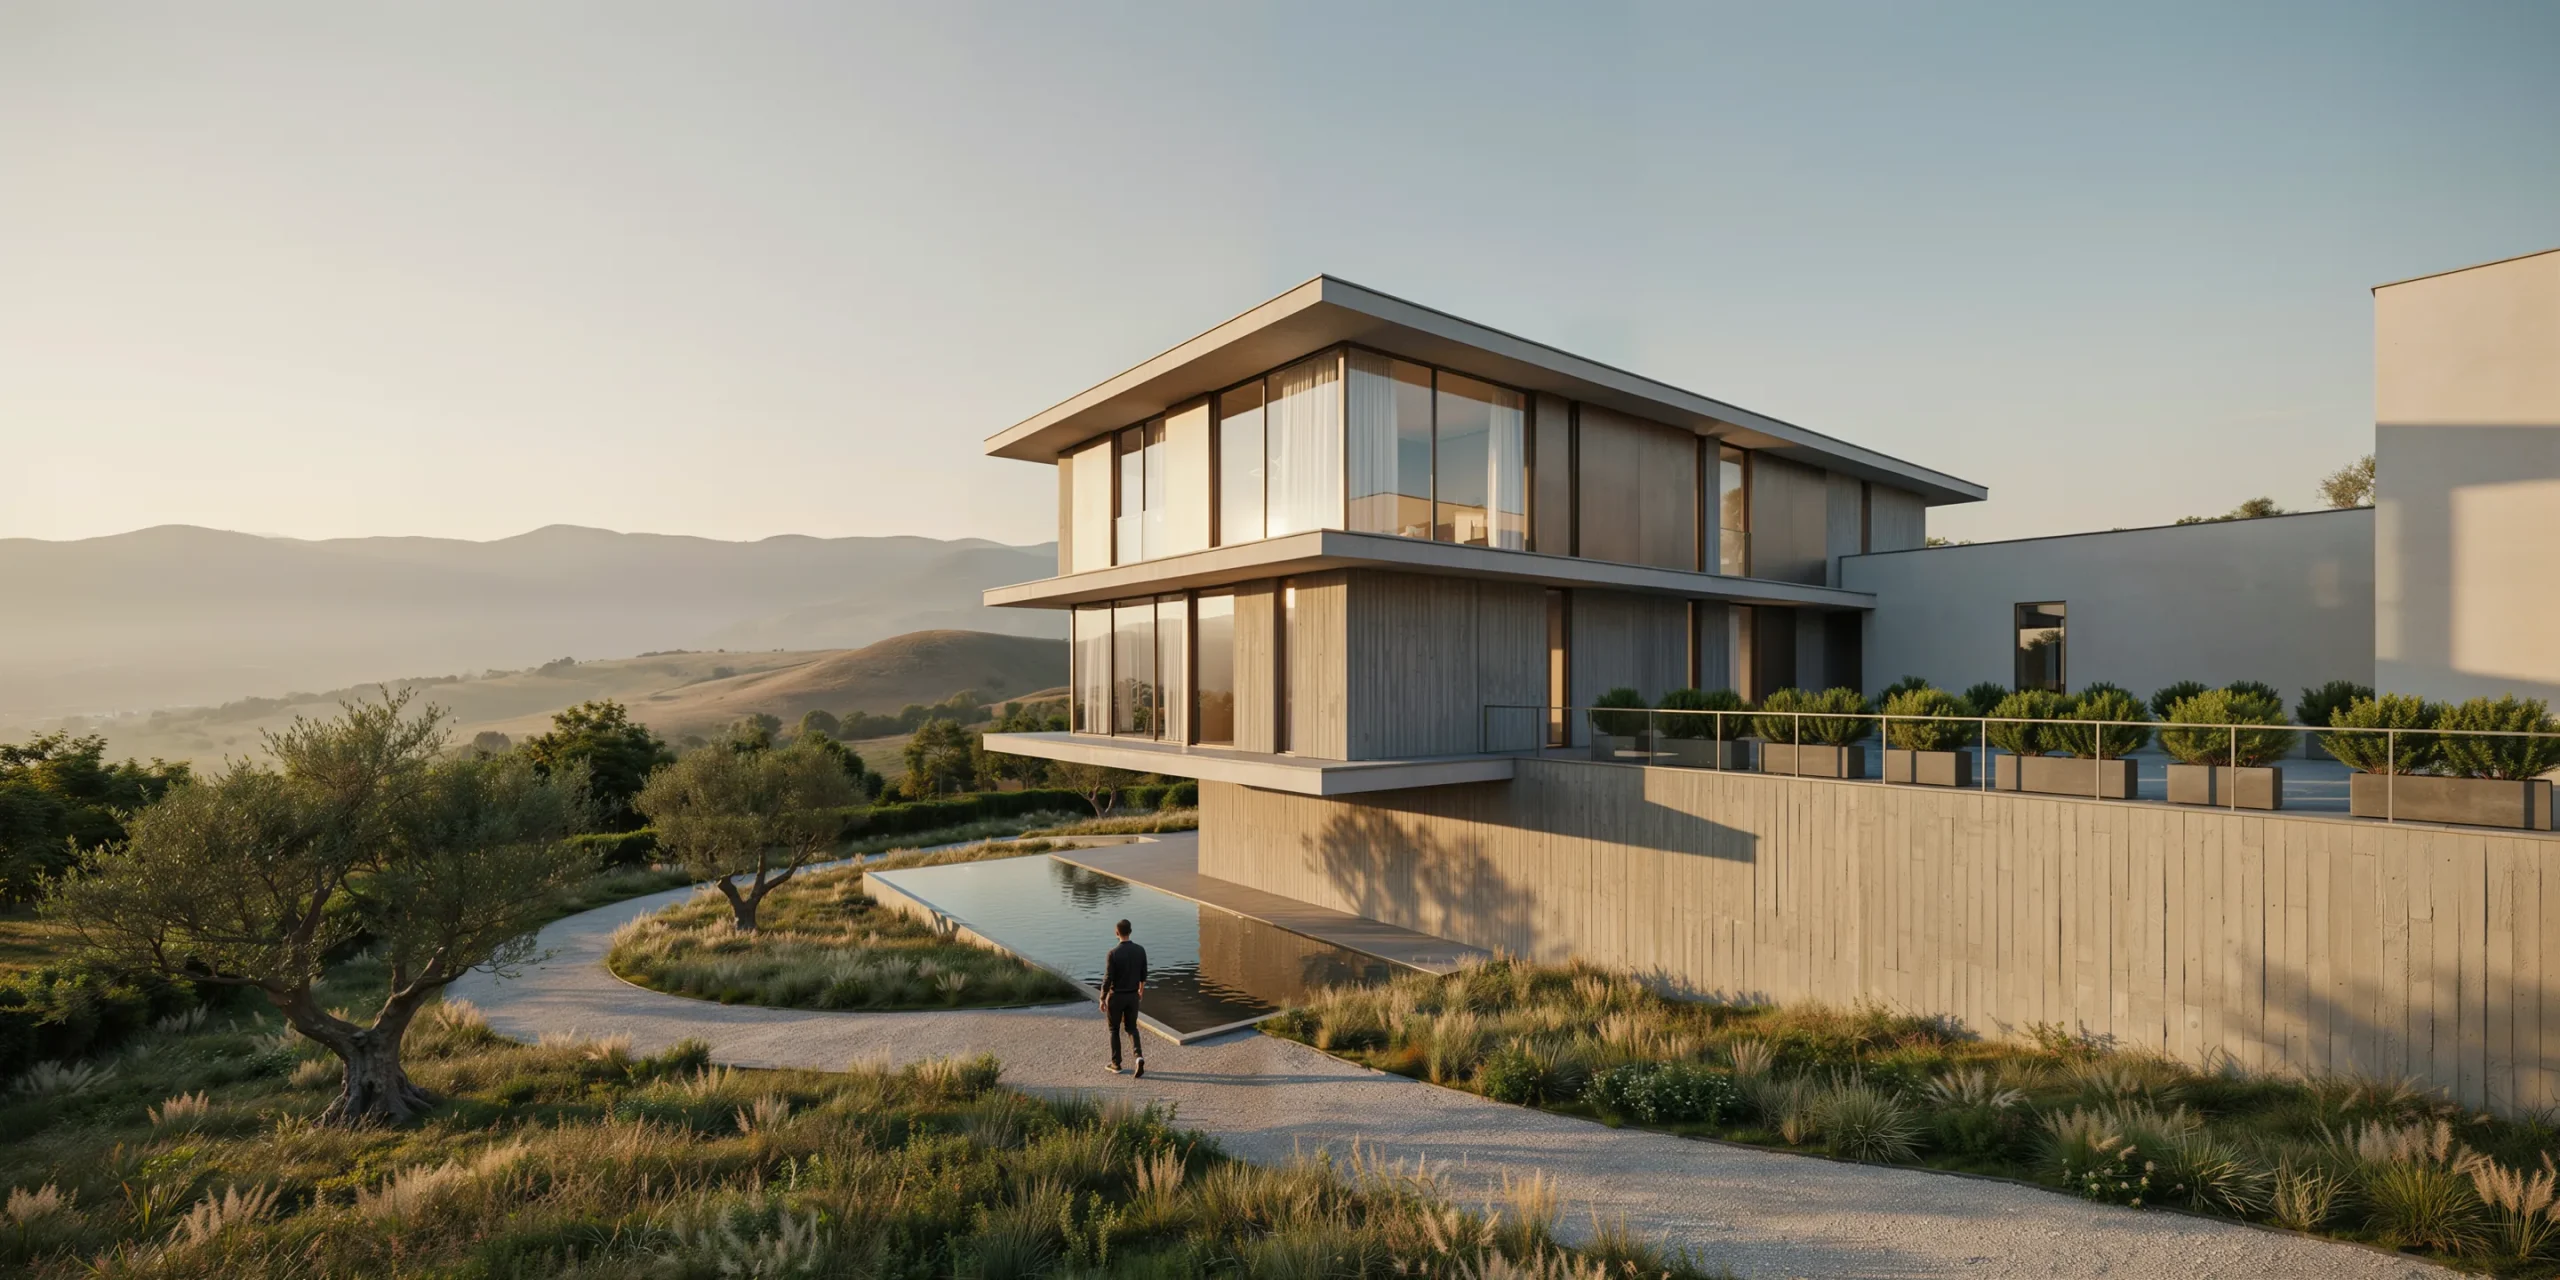
Lighting is arguably the most critical step in 3D architectural rendering. Architectural images depend on sun position, sky conditions, interior bounce light, and the interplay between daylight and artificial sources. A V-Ray Sun and Sky system simulates a physical light source plus an ambient sky, while HDRI maps provide image-based lighting that delivers a realistic atmosphere quickly. Expect to readjust lighting after applying materials, since physical surfaces react to light in ways a gray clay model does not.
4. Rendering
With geometry, materials, and lights in place, the renderer calculates the final image. Production renderers like V-Ray trace rays of light through the scene to resolve global illumination, reflections, and soft shadows. Render time depends on resolution, sampling quality, and scene complexity, which is why teams often test small region renders before committing to a full-resolution output.
5. Post-Production
The raw render is rarely the final deliverable. Post-production handles color correction, contrast, light mixing, and compositing in tools like Photoshop or an integrated light mix panel. Render elements such as masks and Cryptomatte let you adjust individual objects without re-rendering the entire scene, which saves significant time on client revisions.
💡 Pro Tip
When setting up a scene, position your camera before you finalize materials and lighting. Establishing the framing first, using the rule of thirds or a composition guide, tells you exactly which surfaces face the camera so you can spend your texturing effort where it actually shows. Detailing a wall the camera never sees is wasted render time.
What Are the Main Types of Architectural Rendering?
Architectural rendering splits into categories based on subject and output. The most common types are exterior rendering, interior rendering, aerial or site renders, animations, and 360-degree panoramas. Each serves a different communication goal across the design and marketing timeline.
Exterior rendering focuses on the building envelope, its context, and natural daylight. These visuals carry the most weight in marketing and planning submissions because they show how a project sits in its surroundings. Interior rendering emphasizes spatial quality, material finishes, and the mix of daylight and artificial lighting inside a room.
Aerial and site renders communicate masterplans and massing across a wider context, while animations and walkthroughs move a virtual camera through the design to show flow and sequence. Interactive 360 panoramas and VR experiences let clients explore a space themselves, a format that real-time engines like Enscape made standard in AEC practice.
🏗️ Real-World Example
Competition and planning visuals: Major architecture firms routinely commission exterior renders that combine a sunlit primary view with a dusk or “blue hour” variant. The dusk shot exposes the interior glow through glazing and emphasizes facade lighting, which is why so many published competition boards pair a bright daytime hero image with a warm evening counterpart of the same view.
Which Software Is Used for 3D Architectural Rendering?
The software choice depends on whether you need photorealistic final imagery, fast design-stage feedback, or both. Production renderers, real-time engines, and AI rendering platforms now cover the full spectrum of architectural visualization needs.
Chaos V-Ray is the long-standing benchmark for photorealistic architectural CGI and plugs directly into 3ds Max, Revit, SketchUp, Rhino, and Cinema 4D. Enscape delivers real-time rendering and VR inside Revit, SketchUp, Rhino, Vectorworks, and Archicad, so the whole team can move through a project at near-final quality during design. Lumion, D5 Render, and Twinmotion (built on Unreal Engine) offer GPU-driven real-time output with large entourage libraries, while Blender with its Cycles engine provides a free, open-source path to high-quality renders.
A newer category, AI rendering, generates photorealistic results from a single viewport screenshot in seconds rather than minutes or hours. Designers can export a clean viewport from SketchUp, AutoCAD, or Archicad and let the AI handle materials, lighting, and atmosphere. This approach excels at early-stage exploration and mood-setting, while traditional engines remain the choice for precise, technically accurate final deliverables.
⚠️ Common Mistake to Avoid
Many beginners choose a renderer before defining the deliverable. A real-time engine is ideal for design iteration and client walkthroughs, but it may not match a ray-traced engine for caustics and ultra-fine reflection detail. Decide what the final image must prove, then pick the tool. Forcing one renderer to do every job slows the whole workflow.
What Makes a 3D Render Look Photorealistic?
Photorealism in architecture comes from accurate lighting, physically correct materials, and thoughtful composition rather than raw render power. A high-end engine cannot rescue a scene with flat lighting or untextured surfaces, while a modest engine in skilled hands can produce convincing results.
The factors that consistently separate a believable render from an obvious CGI image include realistic light behavior with soft shadows and bounce light, PBR materials with correct roughness and reflection, varied entourage like trees and people to establish scale, and post-production that balances exposure the way a photographer would. Imperfection also reads as real, so subtle dirt, wear, and surface variation help an image avoid the sterile look of a default scene.
⚖️ Pros & Cons at a Glance
✔️ Real-time rendering: fast iteration, live VR walkthroughs, low learning curve, instant client feedback
✖️ Trade-offs: less control over fine ray-traced detail, GPU dependent, may need a production renderer for final hero shots
Where Is 3D Architectural Rendering Used?
3D architectural rendering supports design, communication, and marketing across the entire project lifecycle. During design, renders test material and lighting decisions before they are committed to construction. During approvals, exterior and aerial renders help planning boards and stakeholders understand scale and context.
In marketing, photorealistic visuals sell unbuilt developments to buyers and investors, often months before ground breaks. Animations and 360 tours extend this into immersive sales experiences, and interior renders guide finish and furniture selection for both clients and fabrication teams. Explore more workflows and tutorials in our rendering techniques resources.
Frequently Asked Questions
How long does a 3D architectural render take?
A single still image from a traditional engine like V-Ray can take from a few minutes to several hours depending on resolution, lighting complexity, and sampling settings. Real-time engines such as Enscape produce a comparable view almost instantly, and AI rendering platforms generate a photorealistic result from a viewport export in seconds, which is why teams often use real-time or AI tools for iteration and reserve long ray-traced renders for final deliverables.
What is the difference between rendering and visualization?
Rendering is the specific technical act of generating an image from a 3D scene, while architectural visualization is the broader discipline that includes modeling, materials, lighting, post-production, and storytelling. Rendering is one stage inside the larger visualization workflow.
Do I need a powerful computer for architectural rendering?
Hardware needs depend on the engine. GPU-based real-time renderers like Enscape, D5 Render, and Twinmotion benefit most from a strong graphics card, while CPU-driven ray tracing rewards high core counts and ample RAM. AI rendering shifts the heavy computation to the cloud, so it runs well even on modest laptops.
Is AI rendering replacing traditional rendering?
AI rendering is expanding the toolkit rather than fully replacing established engines. It excels at rapid concept exploration and mood studies, while traditional renderers like V-Ray still lead for precise control, technically accurate final imagery, and animation. Most studios now blend both approaches.
Putting It All Together
Bottom Line: 3D architectural rendering is a five-stage pipeline of modeling, materials, lighting, rendering, and post-production, and the quality of the final image depends far more on light and material accuracy than on raw engine power. Match your renderer to the deliverable, treat each render as photography in a synthetic world, and you will produce visuals that communicate design intent with confidence.