AI upscaling enlarges a rendered image beyond its original resolution by generating plausible detail rather than by interpolating existing pixels. For architectural work it solves a specific problem: a render produced at web resolution that now has to be printed at A1.
What it does not do is recover detail that was never there. The tool invents what it thinks belongs, which is fine on a brick texture and a problem on a facade with a specific mullion rhythm.
Understanding that distinction decides whether upscaling belongs in your workflow or creates a liability.
How AI Upscaling Differs From Resizing
The underlying image models are described at the image scaling entry on Wikipedia, and the generative approach at the text to image model entry.
Conventional enlargement interpolates. It looks at neighbouring pixels and averages between them, which produces a larger and softer image with no additional information.
AI upscaling generates. A model trained on millions of images predicts what detail would plausibly exist at higher resolution and draws it in, which produces a sharp image containing information that was never captured.
The difference is visible immediately and consequential in architecture. A brick wall upscaled gains convincing brick detail. A window upscaled may gain a glazing bar that the design does not have.
📐 Technical Note
Most upscalers expose a creativity or fidelity control that trades faithfulness against invented detail. At low settings the output stays close to the source and gains less apparent sharpness. At high settings it looks impressive and diverges from what you rendered. For anything representing a real building, low is the correct setting and it is rarely the default.
When Upscaling Is the Right Answer
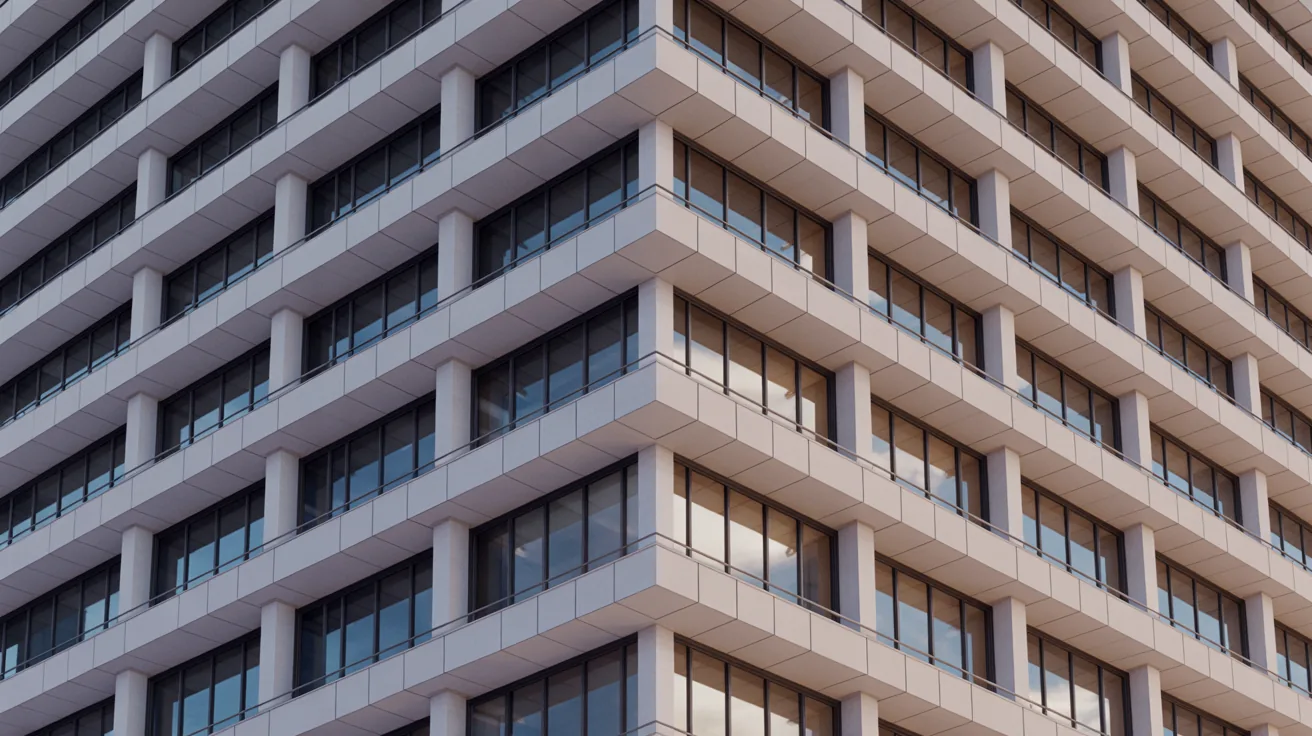
Print output from an existing render is the clearest case. A competition board at A1 needs several times the pixels of a web image, and re rendering at that size may not be possible if the scene no longer exists.
AI generated images are the second, since browser tools cap output resolution well below print requirements. Vendors such as Chaos build denoising and resolution handling into their engines for the same reason. Every one of the platforms covered in our roundup of AI design tools produces images that need enlarging for print.
Archive material is the third. Old project images rendered years ago at what was then a sensible resolution frequently need reuse at modern sizes.
Client stills pulled from a walkthrough video are the fourth, since video frames are low resolution by print standards.
When to Re Render Instead
If the scene still exists and the render is reproducible, render at the size you need. It takes longer and it produces genuine detail rather than plausible detail, and nothing in the image will surprise you later.
This is always the correct answer for a hero image. The one view a client commits money against should be rendered at final size, and the time cost is trivial against the consequence of an invented detail.
Where render time is the obstacle, distributing the work is usually cheaper than accepting invented detail, as our guide to render farms covers.
Upscale or re render
| Situation | Best route | Why |
|---|---|---|
| Scene exists, hero image | Re render | Real detail, no invention risk |
| AI generated image for print | Upscale at low creativity | No scene exists to re render |
| Archive image, secondary use | Upscale | Scene long gone |
| Background or context image | Upscale | Invented detail invisible |
| Planning or tender submission | Re render | Accuracy is required |
⚠️ Common Mistake to Avoid
Do not upscale an image going into a planning submission. Upscaling invents facade detail, and a submitted image showing glazing divisions or material patterns that the drawings do not contain creates a discrepancy the practice owns. Render at the required size or submit at the size you have.
Checking an Upscaled Image
Compare against the source at the same displayed size rather than at full zoom. Differences invisible at fit to window are exactly the ones that appear in print.
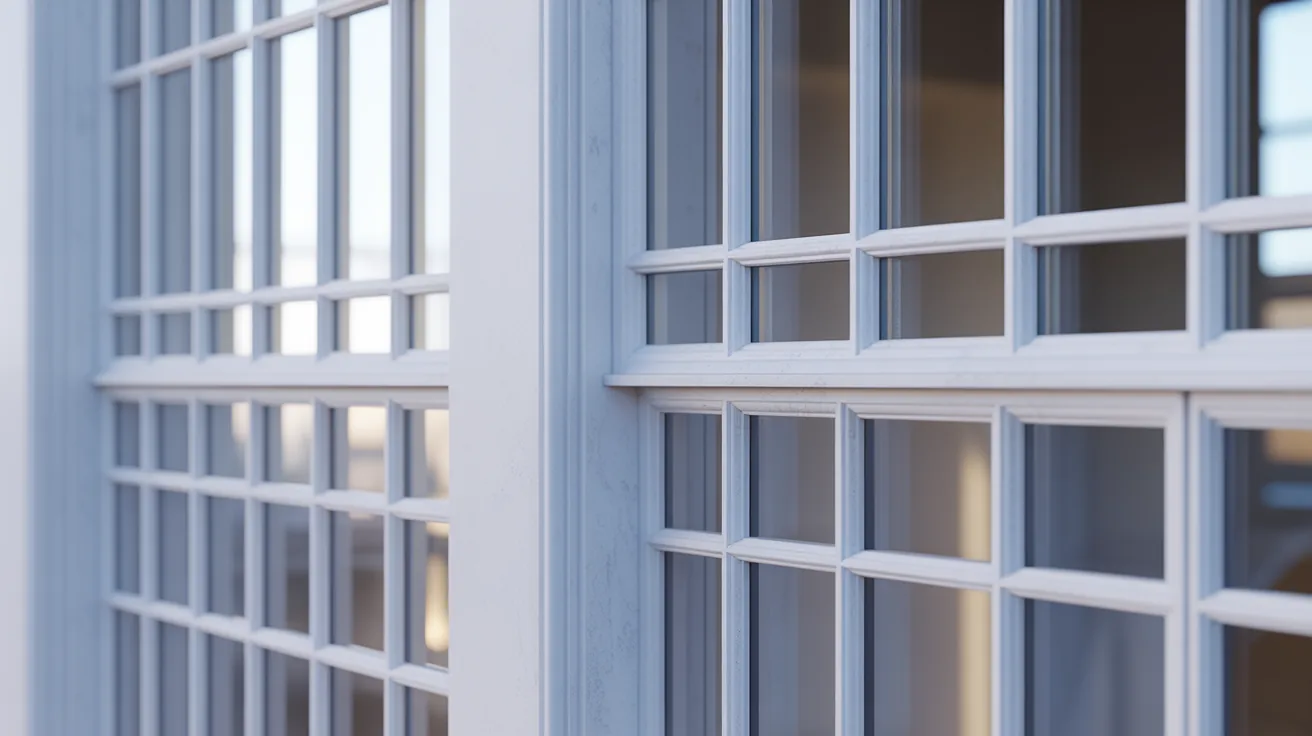
Check openings first. Windows and doors are where invented detail concentrates, and a glazing bar that appeared during upscaling is the most common single error.
Check text and signage. Any lettering in the source will be regenerated as approximate lettering, which reads as nonsense at print size.
Check repeating elements. Balustrades, louvres and cladding modules can gain or lose members during enlargement, which changes the rhythm of a facade.
Check people. Faces and hands are where generative models fail most visibly, and an upscaled figure in the foreground frequently becomes unusable.
Practical Workflow
Upscale before grading rather than after. Colour and contrast decisions made on the final resolution image hold, and grading a small image then enlarging it produces artefacts in the adjusted areas.
Work in stages for large enlargements. Two moderate steps frequently produce a better result than one aggressive one, and each step can be checked.
Keep the original. Every comparison depends on having it, and the upscaled version should never be the only copy.
Set resolution requirements at the start of a project instead of discovering them at the deadline. Knowing that the board is A1 before the first render is made removes the need for any of this, which is the point our guide to presentation boards makes about planning output size early.
Where This Sits Against Other Post Work
Upscaling is one operation among several that happen after a render, alongside grading, compositing and object removal, which our guide to render post production covers as a whole.
The difference is that most post production adjusts what exists and upscaling adds what does not. That makes it the one step in the sequence that carries an accuracy risk rather than only an aesthetic one.
Treated as a rescue operation for images that cannot be re rendered, it is genuinely useful. Treated as a standard step, it quietly introduces invented detail into a practice’s output, which is a harder problem to notice than to prevent.
Bottom Line: Upscale when the scene is gone and re render when it is not. Keep the creativity setting low on anything representing a real building, and never upscale an image that will sit alongside drawings.
Setting Resolution Requirements Early
Almost every upscaling problem is a planning problem. Deciding the output size at the start of a project removes the need for the whole operation.
Ask what the largest use will be. A board at A1, a brochure spread, a website hero. Then render to that from the beginning, since the cost difference at render time is far smaller than the cost of fixing it later.
Where the answer is unknown, render larger than you think you need. Downscaling is lossless and enlarging is not.