


One point perspective is a linear perspective system built around a single vanishing point on the horizon line. Every edge running away from the viewer converges on that point, while edges parallel to the picture plane stay horizontal or vertical. Architects use it for interiors, corridors, and section perspectives.
Most tutorials teach this as an art-class exercise: a road, a row of trees, a railway track shrinking into the distance. That version is fine for a sketchbook and useless on a project. The drawing an architect needs is measured. It has a defined eye height, a controlled depth, and geometry that a client, a contractor, or a rendering engine can trust.
What follows is the working method: what the system actually is, when to choose it over two-point, and a seven-step sequence you can run on trace paper or in CAD. The same instincts that separate a strong architectural render from a flat one apply here, because a perspective drawing is a render you build by hand.
What Is One Point Perspective?
One point perspective happens when one face of the object you are drawing sits parallel to the picture plane. That face keeps its true shape: verticals stay vertical, horizontals stay horizontal, nothing about it distorts. Only the edges running back into depth converge, and they all converge on the same spot.
That spot is the vanishing point, and in a strict construction it sits exactly where your line of sight pierces the picture plane. Stand square to the end wall of a corridor and you are looking at a one point view. Turn thirty degrees and you are not, because now two sets of edges recede and you need two vanishing points. You will also see it written as 1 point perspective or single point perspective. All three names describe the same construction.
Horizon Line, Vanishing Point, and Orthogonals
Three elements control the entire drawing. The horizon line is your eye level projected across the sheet, which is neither the ground nor the top of the wall: wherever you put it, that is how high the viewer is standing. The vanishing point is the single point on that horizon line where all receding edges meet. The orthogonals are those receding edges, meaning floor lines, ceiling lines, the head and sill of a window reveal. Lines that run parallel to the picture plane are called transversals, and they never converge.
Get those three right and the rest of the drawing is bookkeeping. Get the horizon line wrong and every object in the room ends up the wrong height, no matter how carefully you draw it.
📌 Did You Know?
Around 1420, Filippo Brunelleschi proved one point perspective with an experiment rather than an argument. He painted the Florence Baptistery on a small panel, bored a hole through it at the vanishing point, then held the panel with its painted face turned away from him and a mirror in front of it. Looking through the hole, he saw the painting reflected in the mirror; pull the mirror away and the real building appeared in exactly the same place. Smarthistory’s account of the experiment describes the setup in detail.
When to Reach for a Single Vanishing Point
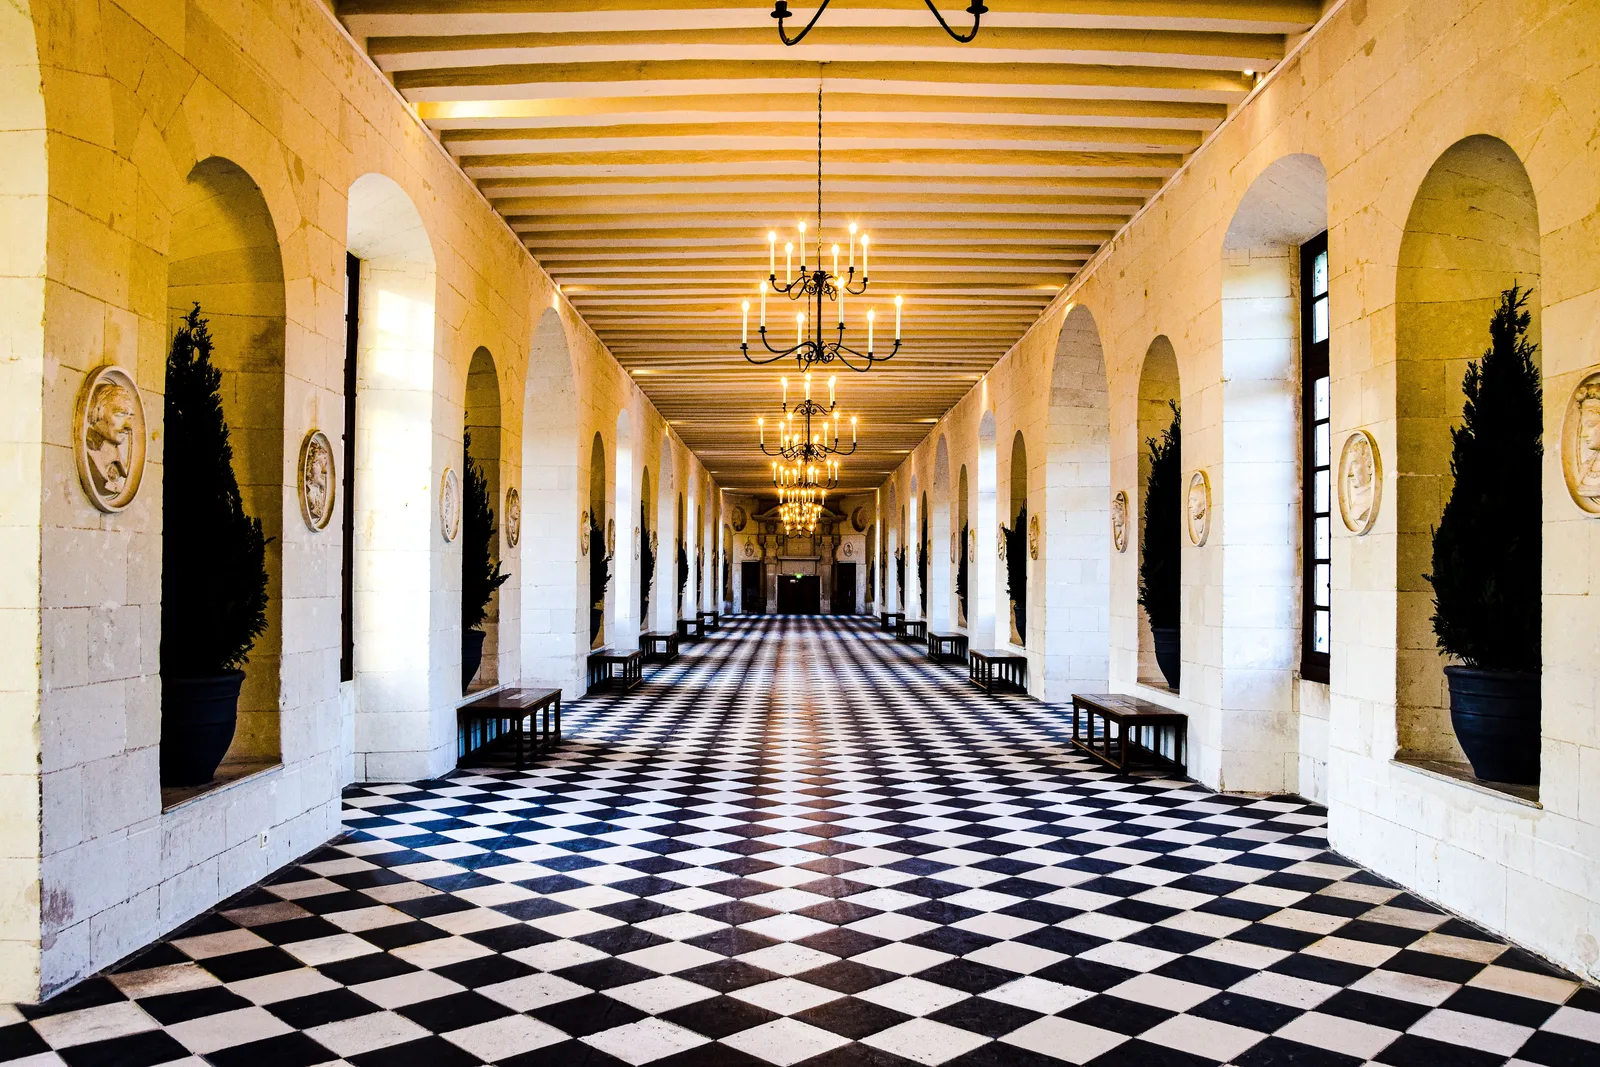
One point perspective is the right call whenever the subject has a dominant frontal plane and you want the viewer pulled straight into depth. Interiors are the obvious case, which is why the one point perspective room is the standard studio exercise. Corridors, naves, tunnels, colonnades, axial approaches to a facade, and section perspectives all read better with a single vanishing point than with two.
It is the wrong call when you need to show two faces of a building at once. A corner view of a house needs two-point. A tower seen from the pavement needs three. Choosing the projection is the same decision you make when you set a camera for an interior visualization: the geometry has to follow the story the image is meant to tell.
One Point vs Two Point vs Three Point Perspective
The three systems differ only in how many sets of edges converge. The table below maps the practical consequences.
| Feature | One-Point | Two-Point | Three-Point |
|---|---|---|---|
| Vanishing points | 1, on the horizon line | 2, both on the horizon line | 3, the third above or below |
| Where you stand | Square on to a wall or facade | At a corner, seeing two faces | At a corner, looking up or down |
| Vertical edges | Stay vertical | Stay vertical | Converge to the third point |
| Best for | Interiors, corridors, section perspectives | Exteriors, corner views, street blocks | Towers, aerial and worm’s-eye views |
| Setup effort | Lowest, one point to place | Moderate, points often off the sheet | Highest, easy to overdo |
| Typical weakness | Static and symmetrical if centered | Says little about interior space | Buildings look like they are toppling |
💡 Pro Tip
Sliding the vanishing point off the center of the frame is the drawing equivalent of a shift lens. The construction stays valid, because the vanishing point is still your center of vision; you have simply cropped the picture plane asymmetrically around it. Keep the room inside a roughly 60 degree cone of vision and the geometry holds. Push the point close to the frame edge and objects on the opposite side will start to stretch.
How to Draw One Point Perspective: The Seven-Step Method
The example below builds a room roughly 4 m wide, 5 m deep, and 2.7 m high, drawn at standing eye level. The same sequence works for a corridor, a gallery, or a street, and it runs identically on paper and in CAD.

Step 1: Draw the Back Wall as a True Rectangle
Start with the plane furthest from you. Because it sits parallel to the picture plane, it carries no distortion at all: draw it to scale as a plain rectangle. A 4 m by 2.7 m wall at 1:50 is simply an 80 mm by 54 mm box. Every other measurement in the drawing is taken from this rectangle, so draw it accurately before anything else.
Step 2: Set the Horizon Line at Eye Level
Draw a horizontal line across the rectangle at the height of the viewer’s eyes. This is the horizon line. For a standing adult it lands around 1.5 m to 1.6 m above the floor, which on a 2.7 m wall sits a little above the halfway mark. Drop it to roughly 1.1 m and you get a seated view, which flatters furniture and makes ceilings feel higher. Raise it above 1.8 m and the room starts to feel like an inspection rather than an invitation.
📐 Technical Note
Standing eye level in architectural perspective is normally drawn between 1.5 m and 1.6 m above the finished floor, with a seated view near 1.1 m. Keep the subject inside a 60 degree cone of vision measured from the station point, the convention set out in Francis D.K. Ching’s Design Drawing. Anything falling outside that cone picks up marginal distortion: circles read as stretched ellipses, and boxes shear at the edges of the sheet.
Step 3: Place the Vanishing Point
Mark a single point on the horizon line. Put it dead center and both side walls appear in equal measure, which produces a symmetrical, formal, slightly static image. Slide it to the left and the right-hand wall opens up, which is usually what you want when the design story lives on that wall. The point stays on the horizon line either way, because it is the height of your eye that fixes it, not the shape of the room.
Step 4: Project the Orthogonals
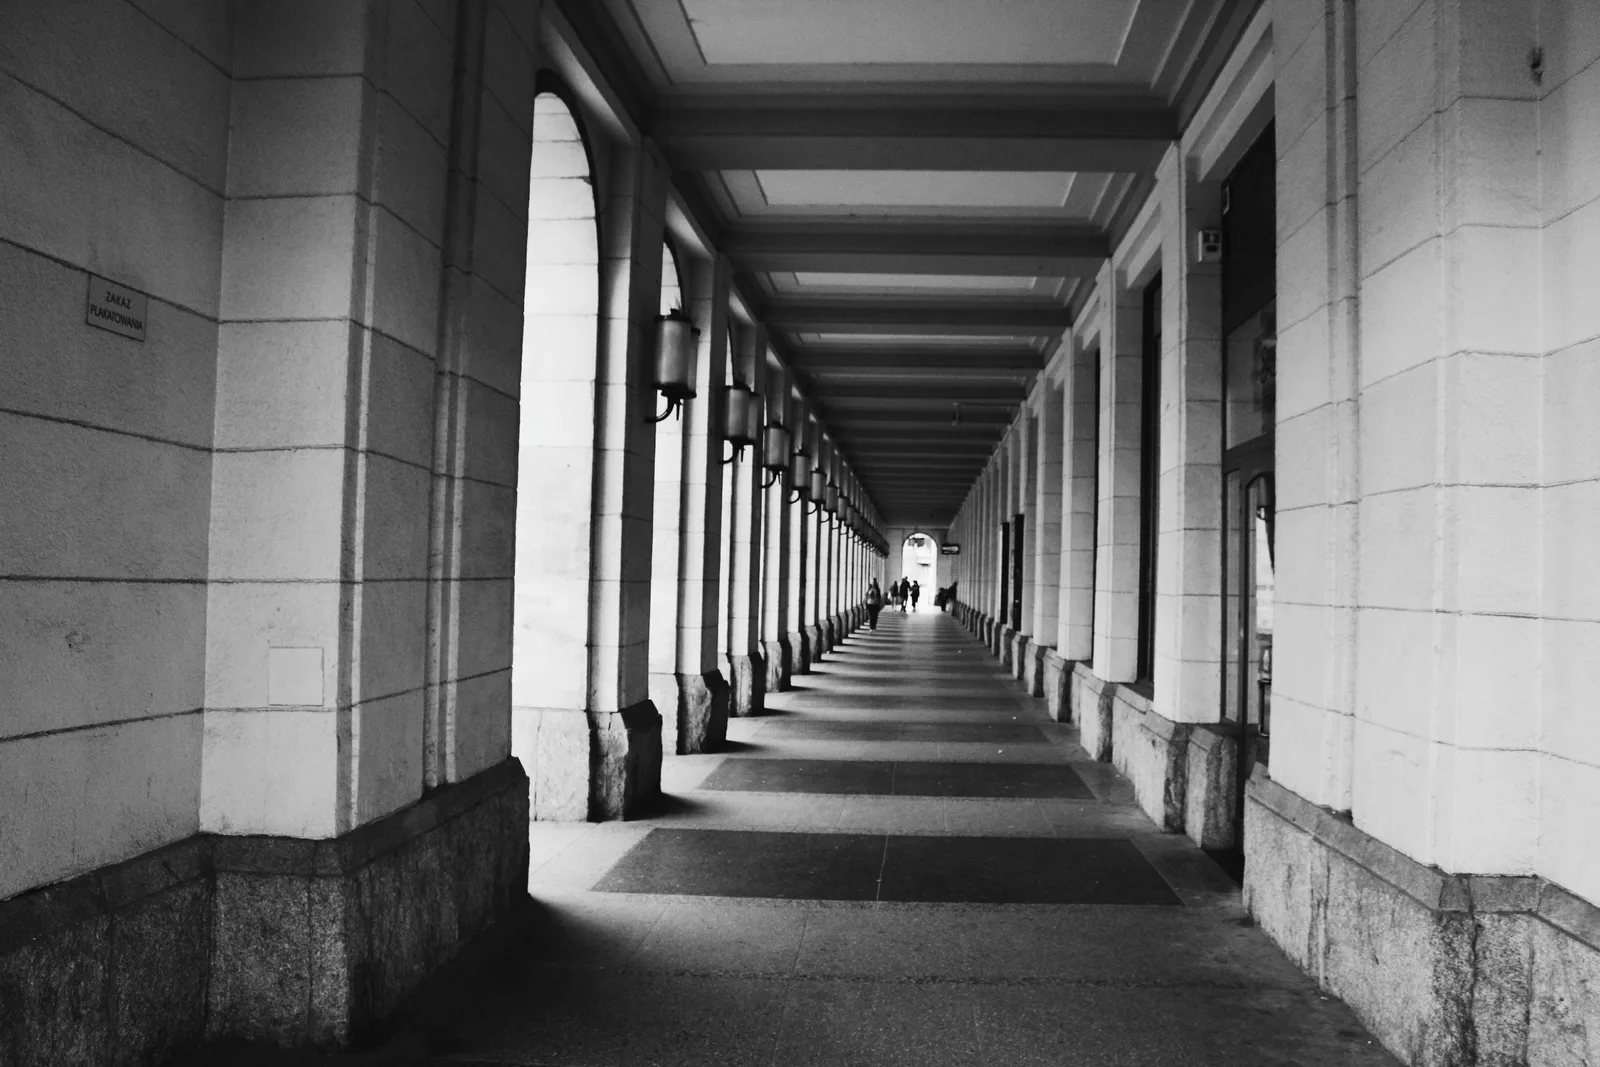
Draw a line from each of the four corners of the back wall through the vanishing point, and extend it out to the edge of the sheet. Those four lines define the floor, the ceiling, and both side walls in a single move. Anything that runs front to back in the real room, whether a skirting, a beam, a run of joinery, or a rooflight, follows one of these orthogonals.
Step 5: Fix the Depth with a Measuring Point
Depth is where most drawings fall apart, because equal distances in the room are not equal on the page. The fix is a measuring point, also called a distance point: a second point on the horizon line, set to one side of the vanishing point. Mark true dimensions along the base line of the sheet, run lines from those marks back to the measuring point, and read each depth where the line crosses an orthogonal. Aalto University’s guide to drawing perspective sections sets out the same construction step by step.
Move the measuring point further from the vanishing point and the view widens, as though you had stepped back. Bring it closer and the room compresses, as though you had switched to a longer lens.
⚠️ Common Mistake to Avoid
Spacing depth by eye is the fastest way to ruin an otherwise correct drawing. Equal distances in the real room compress as they recede, so floor tiles, ceiling joists, and fence posts drawn at even intervals look subtly wrong even to a viewer who cannot say why. Use the measuring point for the first few divisions, then halve each receding rectangle with its diagonals. Where the diagonals cross is the correct perspective center, every time.
Step 6: Build Openings and Furniture as Boxes
Every object in the room is a box until proven otherwise. A sofa, a door, a stair, a kitchen island: block it out as a rectangular volume first, then carve the detail into it. The rule never changes. Faces parallel to the back wall are drawn true, edges running into depth aim at the vanishing point, and verticals stay vertical. A window on the side wall therefore has vertical jambs, with a head and a sill that both run to the vanishing point.

The diagonal trick from the previous step does most of the work here as well. It spaces mullions, columns, ceiling ribs, and floor tiles correctly without any further measuring.
Step 7: Grade the Line Weights
A finished perspective reads through line weight, not through more lines. Keep the heaviest line on the cut edge or the nearest object, a medium weight through the middle of the room, and the lightest touch on the back wall and anything visible beyond a window. Erase the construction lines, or fade them until they sit as a ghost behind the drawing. The image now carries depth twice: once through geometry, once through contrast.
From the Drawing Board to the Render
The perspective section is where this technique earns its keep in practice. Cut the building, then project the space behind the cut back to a single vanishing point, and you get a drawing that carries dimensions and atmosphere in the same frame. It is a competition staple for exactly that reason, as ArchDaily’s collection of perspective sections shows, and Aalto’s drawing guide notes that a perspective section is almost always a one point construction. If you work in BIM, a section view exported from ArchiCAD gives you the same geometry to build on.
The digital version obeys the same rules. SketchUp‘s Camera menu offers Parallel Projection, Perspective, and Two-Point Perspective, and the official documentation explains what each mode does. A true one point view is what you get in ordinary Perspective mode when you keep the camera level and aim it perpendicular to the back wall. Framing matters downstream too, because a clean SketchUp export hands an AI render engine unambiguous geometry to read, while a skewed one does not.
💡 Pro Tip
Use standing figures as free proofreading. If everyone in the drawing is roughly your own height and stands on the same floor, their eyes land on the horizon line no matter how far back they are. Draw one figure at the back of the room and one at the front, and their eye lines should sit on the same horizontal. If a head floats above it, either that person is standing on a step or the drawing has drifted.
Hand drawing still has a place in this pipeline. A quick measured perspective beats modelling for a first client conversation, and once the proportions are settled it can go straight into a sketch to render workflow without redrawing anything.

One Point Perspective Examples Worth Studying
Leonardo’s Last Supper is the textbook case: a single vanishing point sits at the head of the central figure, and the painted room’s orthogonals drive the eye there before the viewer has read a single face. Masaccio’s Holy Trinity in Santa Maria Novella, painted around 1427, is earlier and far more architectural, a fictive barrel-vaulted chapel constructed so precisely that scholars have reverse-engineered its plan from the fresco.
Architecture pushed the same idea into three dimensions. The stage sets built for the Teatro Olimpico in Vicenza in 1585 rake the streets behind the stage so steeply that a shallow backstage reads as a deep city. Leon Battista Alberti had already written the method down: his treatise Della Pittura turned Brunelleschi’s demonstration into a repeatable construction, and The Met’s account of Renaissance architecture traces how that handbook reshaped the profession.
Practice keeps using it, mostly through the section perspective and the axial interior view. The technique has survived six hundred years because it does one thing better than any alternative: it makes the viewer feel they are standing in the space rather than looking at a picture of it. That is the same goal behind any AI rendering workflow today, reached with different tools.
Where to Go From Here
Your Next Step: Take the last interior you designed, pick the wall that carries the idea, and draw it as a one point perspective room at 1:50 with the horizon set at 1.5 m. Twenty minutes with a straightedge will tell you more about whether the space works than an hour of modelling.
Frequently Asked Questions
What is the difference between one point and two point perspective?
One point perspective has a single vanishing point and applies when you face a wall or facade square on, so only the edges running into depth converge. Two point perspective has two vanishing points, both on the horizon line, and applies when you stand at a corner and see two faces at once. Verticals stay vertical in both systems. Where you stand decides which one you are drawing, not which one you prefer.
Where should the vanishing point go in a one point perspective room?
Anywhere on the horizon line, depending on what the drawing needs to show. A central vanishing point gives a symmetrical, formal view with both side walls visible in equal measure. Sliding it toward one edge opens up the opposite wall and produces a more natural, photographic composition. Keep it inside the frame, and keep the room inside your cone of vision.
Can a one point perspective drawing have more than one vanishing point?
The room itself has exactly one. The drawing can still carry auxiliary points: measuring points on the horizon line to set depth, and separate vanishing points for sloped elements such as a staircase or a pitched roof, which sit above or below the horizon. Those extra points serve the construction and do not change what kind of drawing it is.
How do you find the horizon line in a photograph?
The horizon line always sits at the camera’s eye level, so look for where the receding lines converge. Extend the orthogonals in the image, such as the top and bottom edges of a corridor wall, and the height at which they meet is the horizon. As a cross-check, anything in the picture standing at the same height as the camera will be cut by that line.
Is one point perspective good for exterior views?
Only when the building is seen straight on. An axial approach to a symmetrical facade, a street elevation, or a courtyard viewed down its axis all suit it well. For most exteriors, where the design reads through two facades meeting at a corner, two point perspective communicates the form far more clearly.
