
To present your design concept to a non-technical client, replace jargon with plain language, lead with visuals instead of drawings, and structure the conversation around the client’s goals rather than your process. The most effective presentations connect design decisions to outcomes the client cares about: comfort, cost, timeline, and how the space will feel when it’s finished.

You spent weeks refining the floor plan. The massing is right, the circulation makes sense, and the material palette tells a clear story. Then you sit down with the client, open your drawings, and watch their eyes glaze over within thirty seconds. This is one of the most common frustrations in architecture and interior design. The gap between what a trained designer sees in a set of plans and what a non-technical client understands is enormous. Closing that gap is not about dumbing down your work. It’s about translating your expertise into a language your client already speaks. The nine strategies below will help you do exactly that, whether you’re presenting a residential renovation or a commercial building concept.
Why Non-Technical Clients Struggle with Design Presentations
Before fixing the problem, it helps to understand why it happens. Most clients have never been trained to read architectural drawings. A floor plan is an abstraction that requires spatial imagination most people haven’t practiced. Section drawings, elevations, and axonometric views add more layers of confusion. When clients nod along during your presentation without asking questions, it usually means they’re lost, not that they agree.
The American Institute of Architects (AIA) has noted that while architects enjoy strong public respect, there is very little public understanding of what architects actually do or how the design process works. That knowledge gap doesn’t disappear during a client meeting. It gets wider when designers fall back on technical vocabulary and industry-standard drawing sets.
There’s also an emotional dimension. Clients are investing significant money and personal trust in something they can’t yet see or touch. When the presentation feels confusing, it triggers anxiety instead of excitement. Your job is to make the invisible feel real and the uncertain feel safe.
Start with the Client’s Language, Not Yours
The single biggest shift you can make is to stop presenting from a designer’s perspective and start presenting from the client’s perspective. That means leading with their priorities, not your design process.
Instead of opening with site analysis and zoning constraints, open with the problem you’re solving. “You told us the kitchen feels cut off from the living area and you want to see your kids while you cook. Here’s how we’re addressing that.” This immediately connects your design decision to something the client said in their own words.
💡 Pro Tip
Before every client presentation, review your meeting notes from the discovery phase and highlight the exact words the client used to describe what they want. Mirror those phrases back during the presentation. When a client hears their own language reflected in your design rationale, trust increases immediately because they feel heard.
Avoid terms like “program,” “massing,” “fenestration,” or “building envelope” unless you define them. Even words that seem straightforward to you, like “elevation” or “section,” can confuse someone who has never worked with architectural drawings. Use “side view” instead of “elevation.” Say “a slice through the building” instead of “section.” The goal is clarity, not precision of terminology.

How to Use Visuals That Non-Technical Clients Actually Understand
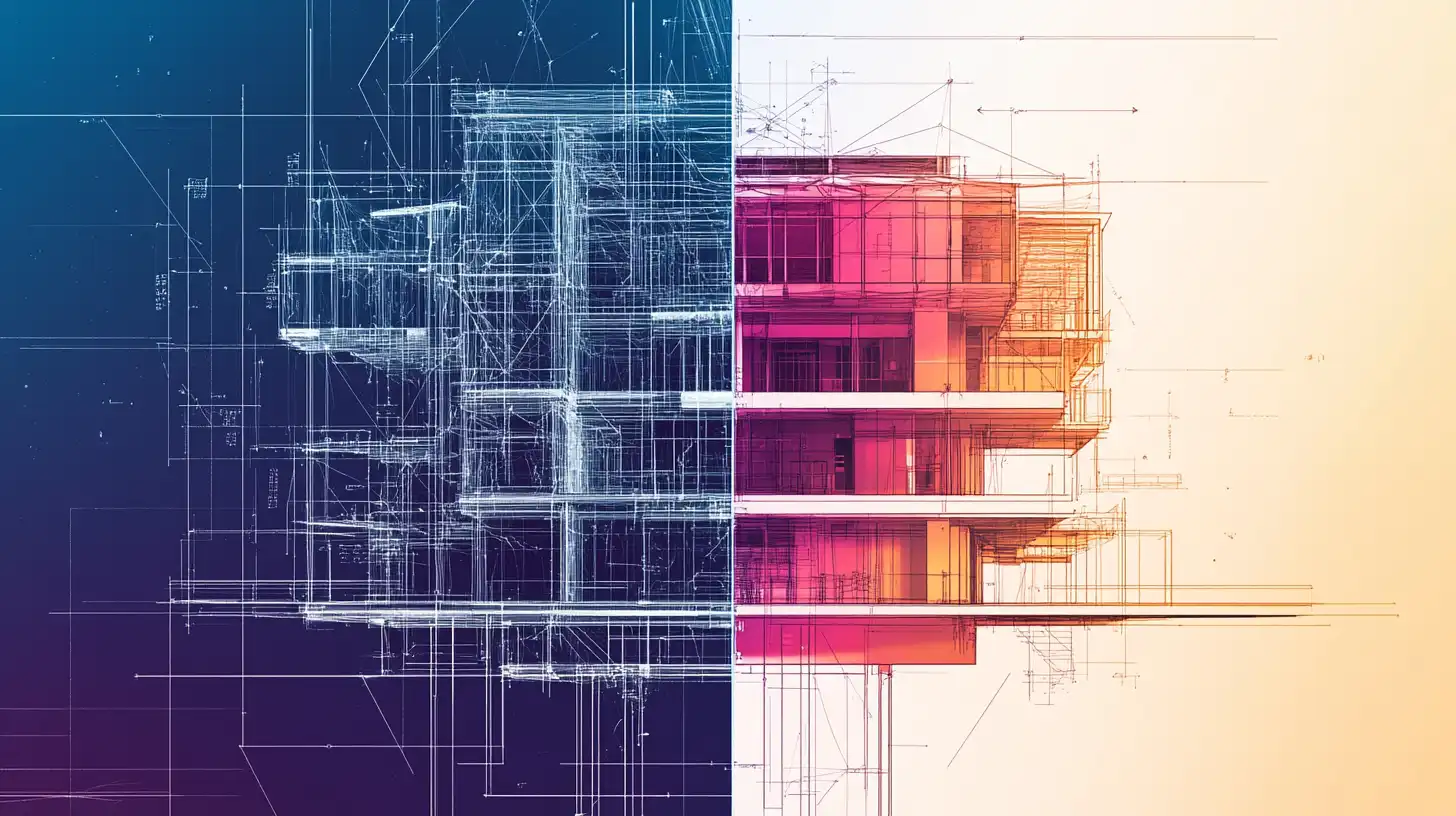
Visuals are the most powerful tool in any client presentation, but the wrong visuals can create more confusion than they resolve. Floor plans, while essential for design development, are poor communication tools for clients who can’t read them. The same applies to CAD wireframes and unrendered 3D models.
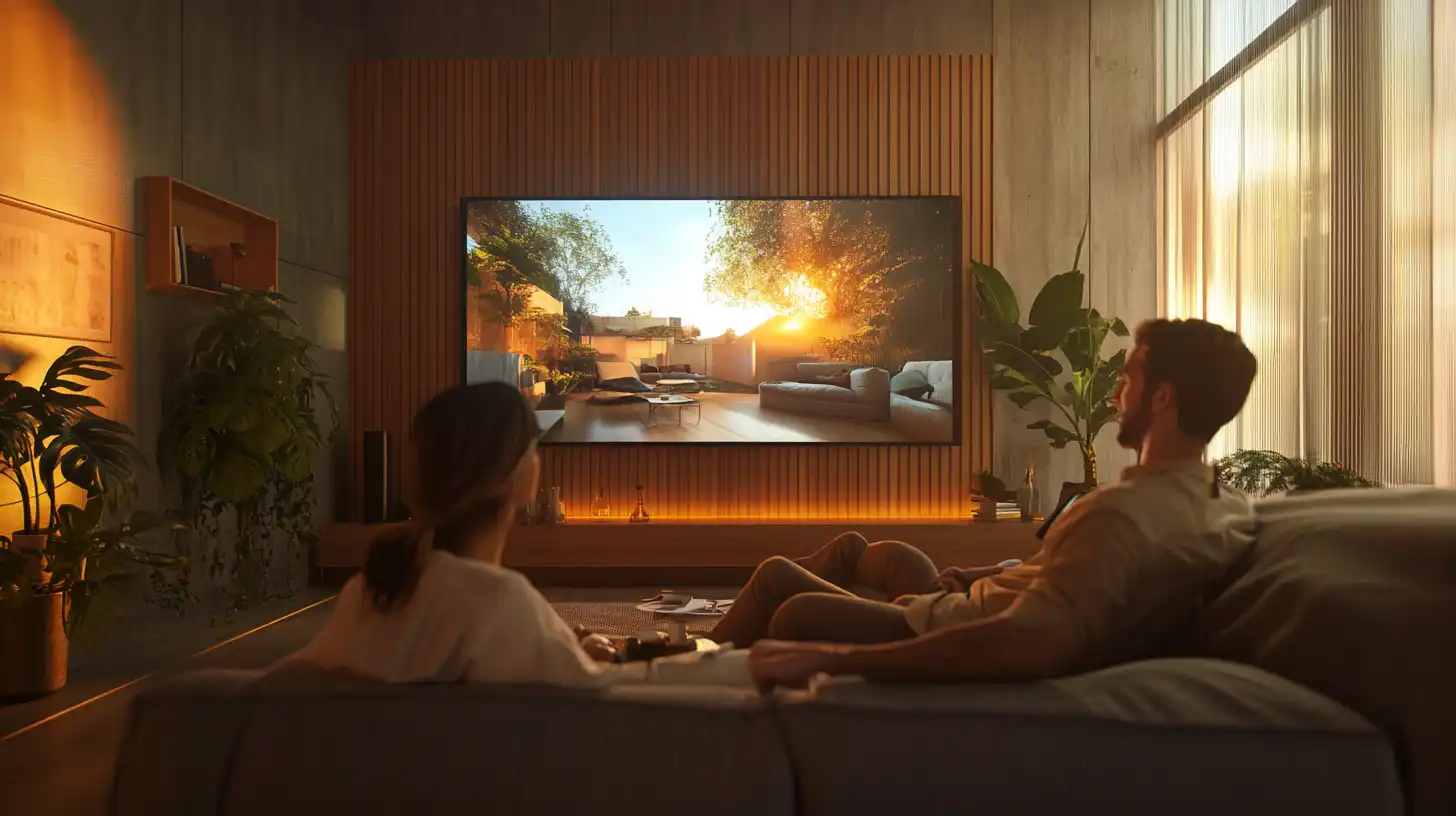
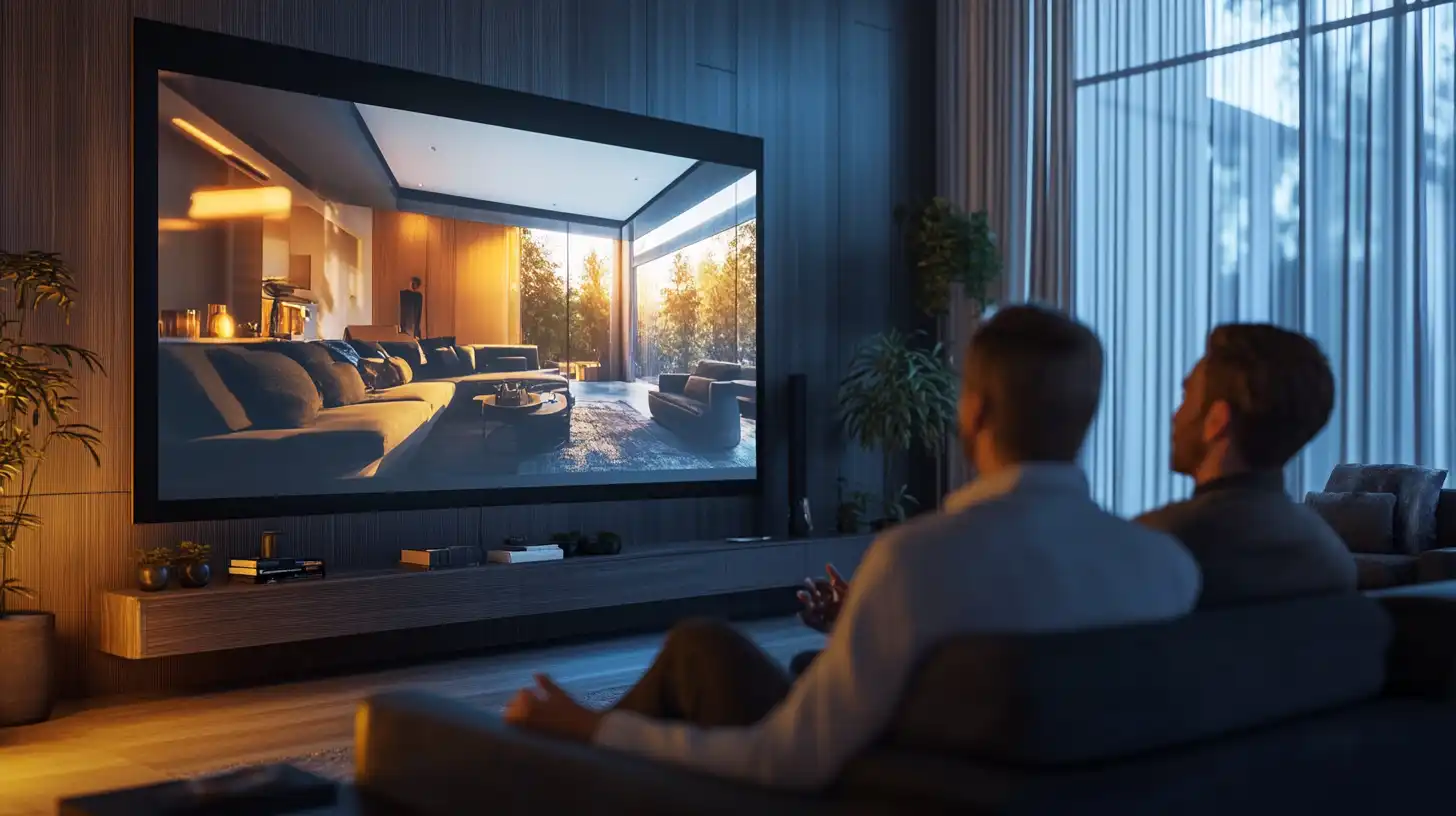
What works are images that look like the real thing. Photorealistic renders, perspective views at eye level, and before-and-after comparisons give clients something they can immediately understand because it resembles a photograph. According to the 2025 State of Architectural Visualization report by Chaos and Architizer, still-image renderings remain the most valued visualization format among both architects and their clients, even as newer technologies emerge.
If your project is at an early stage where photorealistic renders aren’t justified, use reference images. Collect photographs of completed projects that share a similar mood, material palette, or spatial quality with your concept. Group them on a digital mood board and walk the client through each image, explaining which specific elements relate to their project. This bridges the gap between abstract ideas and concrete expectations. For a deeper look at when each rendering style is most effective, see this breakdown on photorealistic vs stylized renders and which wins clients faster.
⚠️ Common Mistake to Avoid
Many architects show photorealistic renders too early in the design process, which causes clients to fixate on surface details like tile patterns or light fixture styles before spatial decisions are finalized. If you’re still working through the floor plan, use sketch-style or diagram-level visuals. Save photorealistic images for the stage where material and finish selections are actually on the table.
Tell a Story Instead of Explaining a Drawing
One of the most effective presentation techniques has nothing to do with software or visual tools. It’s storytelling. Walk the client through the space as if they’re living in it.
“You come in through the front door and the first thing you see is the double-height living area with the oak staircase on your left. Morning light comes in through these east-facing windows, and by afternoon, the courtyard garden is in full shade, which keeps the space cool without air conditioning.” This narrative approach turns a set of drawings into an experience the client can imagine. It activates spatial understanding in a way that pointing at a floor plan never will.
Structure your presentation as a journey, not a technical review. Start at the front door, move through the spaces in the order the client will actually use them, and pause at the moments that matter most to them. If the client told you they love cooking for friends, spend extra time in the kitchen and dining area. If outdoor living was a priority, walk them through the transition from interior to exterior with detail.
🎓 Expert Insight
“People don’t buy floor plans. They buy the feeling of coming home.”, Licensed architect with 20+ years in residential design
This observation captures why narrative presentations consistently outperform technical ones. Clients need to emotionally connect with the design before they can rationally approve it. The story creates that connection.
Use Physical and Tangible Materials
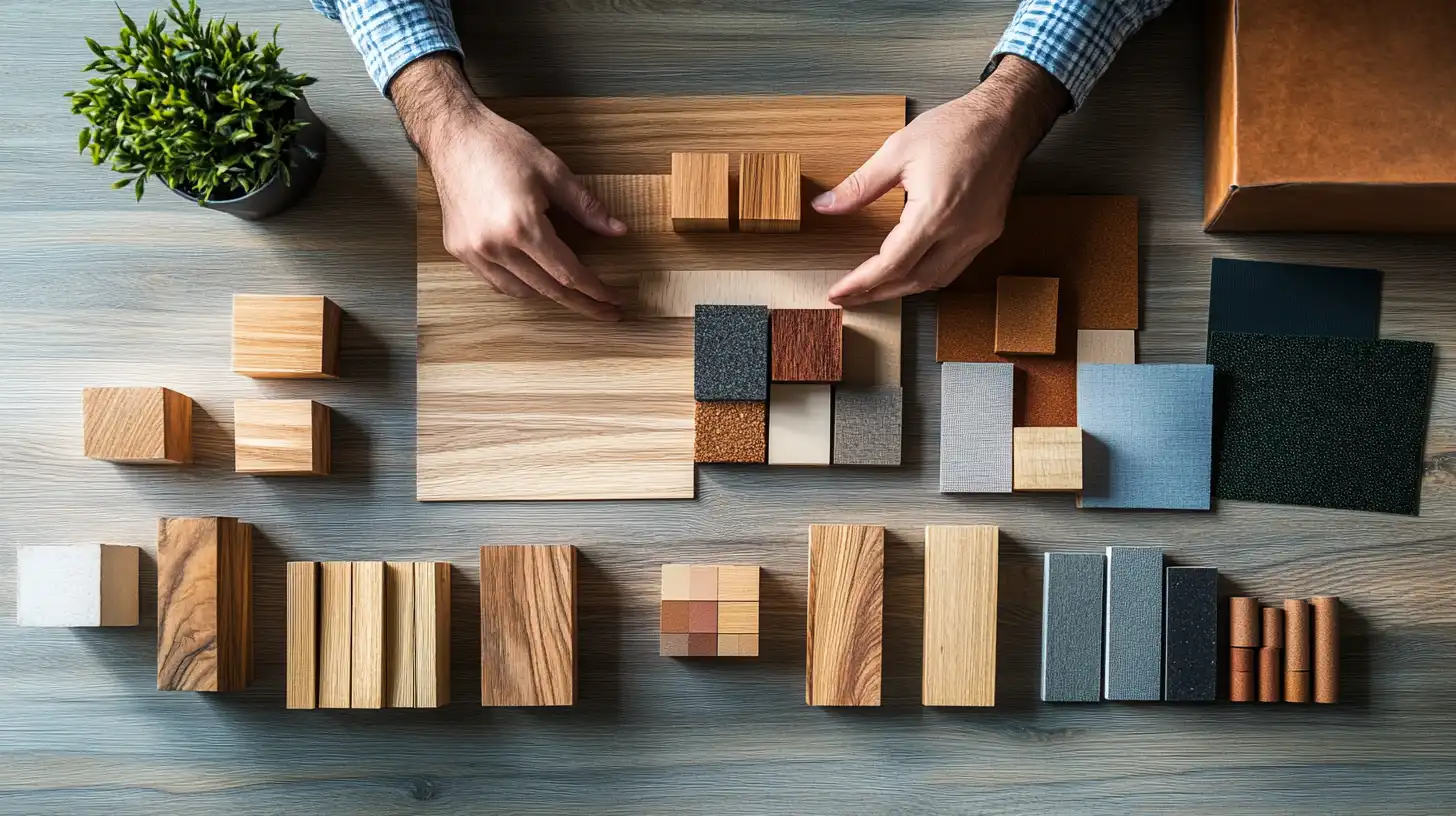
Screens are useful, but they can’t communicate texture, weight, or the warmth of a material. Bringing physical samples to a presentation gives the client something to hold, touch, and react to. A piece of reclaimed timber, a swatch of the proposed upholstery fabric, or a sample tile from the bathroom palette makes the project feel real in a way no render can.
Pair your physical samples with the visual presentation. As you show a render of the living room, place the corresponding wood sample and fabric swatch on the table in front of the client. This multi-sensory approach reduces the cognitive load of imagining everything at once. The client can see it on screen and feel it in their hand simultaneously.
For projects where physical samples aren’t practical, consider 3D-printed scale models. Even a simple massing model helps clients understand volume, proportions, and the relationship between spaces far better than a two-dimensional drawing. If 3D printing isn’t available, foam board and chipboard models built by hand still work well for this purpose.
Break the Presentation into Clear Decision Points
One of the worst things you can do in a client presentation is save all questions for the end. By that point, the client is overwhelmed and unlikely to give you meaningful feedback. Instead, structure the meeting around clear decision points.
Divide your presentation into sections, each ending with a specific question or choice. For example: “We’ve looked at two layout options for the ground floor. Option A gives you a larger kitchen with a separate dining area. Option B gives you an open-plan kitchen-dining space with a smaller utility room. Which direction feels right?” This keeps the client engaged and ensures they’re making decisions at a pace they can handle.
Limit the number of options you present at each decision point to two or three. More than that creates decision paralysis, especially for clients who aren’t used to evaluating design alternatives. If you’ve already identified the strongest option, say so and explain why, but give the client the final word.
How AI Rendering Tools Speed Up Client Communication
The traditional bottleneck in client presentations has always been the gap between design development and visual production. Preparing a set of polished renders for a single meeting could take days or even weeks, depending on the project’s complexity and your team’s capacity. That timeline creates a problem: by the time the renders are ready, the design may have already evolved.
AI-powered rendering platforms have changed this dynamic significantly. Tools like ArchFine can transform a rough sketch, a floor plan, or a basic 3D model screenshot into a photorealistic visualization in under 30 seconds. This speed opens up a presentation style that was previously impossible: real-time visual iteration during the meeting itself.
Imagine a client saying, “I like this layout, but what if the facade was in dark brick instead of render?” With an AI tool, you can generate a new image on the spot and continue the conversation without scheduling a follow-up meeting. This responsiveness builds confidence because the client sees their feedback immediately reflected in the design.
🔢 Quick Numbers
- 44% of architects already use AI to generate concept images and early design ideas (Chaos/Architizer State of Archviz Report, 2025)
- 85% of architects regularly face client requests for revisions on their renderings (Chaos/Architizer State of Archviz Report, 2025)
- 74% of architecture firms say they plan to increase AI usage in visualization over the next 12 months (Chaos/Architizer State of Archviz Report, 2025)
The key advantage here isn’t just speed. It’s that non-technical clients respond much better to photorealistic images than to sketches or wireframes. When you can produce presentation-quality visuals quickly, you spend less time explaining drawings and more time discussing the design itself. For a detailed look at what makes an architectural render effective, including lighting, materials, and composition, that resource covers the fundamentals.
Show Scale with Familiar Objects and People
Scale is one of the hardest concepts for non-technical clients to grasp from drawings alone. A room that looks generous on a floor plan might feel small in reality, and vice versa. The most effective way to communicate scale is by including familiar reference objects in your visuals.
Always place human figures in your renders and perspective drawings. Without people, clients have no instinctive way to judge how tall a ceiling is, how wide a corridor feels, or whether a room is big enough for their furniture. The figures don’t need to be detailed; even silhouettes provide enough scale reference for the brain to calibrate spatial dimensions.
Beyond people, include objects with universally understood sizes: a standard dining table with chairs, a car in the driveway, or a sofa in the living room. These everyday items serve as unconscious benchmarks. When a client sees a person standing next to the proposed kitchen island, they can immediately tell whether it feels proportionate.
💡 Pro Tip
If the client owns specific furniture they plan to keep, ask for measurements or photos early in the process. Include those items (or close approximations) in your renders. Nothing communicates scale more effectively than seeing their own couch in the proposed living room. It also shows the client you’ve been paying attention to their input.
Handle Feedback and Revisions Without Defensiveness
Even the best presentation will generate feedback, and some of it will be hard to hear. The client might dislike something you spent significant effort on, or they might request changes that you believe will weaken the design. How you respond in these moments determines whether the project moves forward smoothly or stalls.
First, listen fully before responding. Don’t interrupt or start justifying your choices while the client is still talking. Often, a client’s initial reaction is emotional and will refine itself if you give it space. Ask clarifying questions: “Can you tell me more about what feels off?” or “Is it the overall layout, or is there a specific part that doesn’t feel right?”
Second, separate the client’s underlying need from their proposed solution. A client who says “I want a bigger window there” might actually mean “I want more natural light in that room.” Understanding the real concern gives you room to propose alternatives that satisfy the client while preserving the design integrity. This is a principle the AIA’s Best Practices resources emphasize repeatedly: strong architect-client relationships depend on empathetic listening and clear, respectful communication.
Third, if you genuinely believe the client’s request would harm the design, explain your reasoning with visuals. “I understand you’d prefer a flat roof, but let me show you what happens to the proportions” is far more persuasive than “that won’t work.” Showing is always stronger than telling, especially with clients who can’t read technical drawings.
What to Include in Your Presentation Package
After the meeting, the client will want something to review at home, share with their partner, or show their bank. Sending a raw set of CAD files or PDFs full of technical drawings won’t help. Prepare a presentation package that works independently of your verbal explanation.
Visual Summary
Include 5 to 8 key images: a site plan (simplified, with labels), the primary floor plan with room names and approximate sizes in square meters or feet, two or three perspective renders showing the most important spaces, and one exterior view. Every image should include a short caption explaining what the client is looking at.
Design Rationale
Write a one-page summary of the design concept in plain language. Explain the main ideas, why you made key decisions, and how the design addresses the client’s stated priorities. Avoid technical terms. This page should read like a letter to the client, not a project specification.
Material and Finish Reference
Include a simple mood board or material palette showing the proposed finishes with names and brief descriptions. “European oak flooring, matte finish” is more useful to a client than a supplier code number.
Next Steps and Timeline
End the package with a clear list of what happens next, including deadlines, decisions the client needs to make, and the next meeting date. Clarity about the process reduces client anxiety as much as clarity about the design itself.
Video: Architecture Presentation Tips from a Licensed Architect
This video by DamiLee, a licensed architect based in Vancouver, covers four key principles for making architecture presentations more effective, from concept-wrapping to continuous audience engagement.
How to Present Design Concepts Remotely
Remote presentations have become standard practice for many architecture and design firms, but they introduce additional challenges. Screen-sharing a floor plan on a Zoom call is even less effective than printing one, because the client can’t zoom in, rotate, or physically point at what they’re asking about.
For remote meetings, rely almost entirely on perspective images and renders. Share your screen with a curated slideshow rather than opening your design software live. Each slide should show one clear image with a brief label. Move through the presentation at the client’s pace, not yours, and check in frequently with questions like “Does this make sense so far?” or “Should I go back to that last image?”
If possible, send the presentation package to the client 15 to 30 minutes before the meeting so they can follow along on their own device. This is especially helpful for clients who want to take notes or zoom in on specific details. Some firms also record the presentation walkthrough as a short video that the client can rewatch later, which reduces the number of follow-up emails asking for clarification.
Tools that generate renders quickly are especially valuable for remote presentations. When a client asks “what if” questions mid-call, being able to produce a new visual on the spot keeps the momentum going instead of ending the meeting with a list of unresolved requests. AI rendering platforms that accept sketch or floor plan uploads and return styled images in seconds make this kind of responsive, visual conversation possible. For architects who want to explore how AI fits into different stages of a project, this article on leading architects and how they approach design communication provides useful context on how top firms handle client-facing work.
🏗️ Real-World Example
Bjarke Ingels Group (BIG), Copenhagen: BIG is widely recognized for its ability to communicate complex architectural ideas to non-specialist audiences. The firm frequently uses simple diagrams, animations, and narrative storytelling in client presentations, public talks, and competition submissions. Their “Yes is More” philosophy includes making design logic visually obvious, even to someone with no architecture background, and this communication skill has been a significant factor in winning major international commissions.

Final Thoughts on Bridging the Design Communication Gap
Presenting a design concept to a non-technical client is a skill that improves with practice, but it starts with a mindset shift. The client doesn’t need to understand your process. They need to trust that you understood their needs and translated those needs into a space that works for them. Every choice you make in the presentation, from the words you use to the images you show to the way you handle feedback, either builds or erodes that trust.
The tools available today make this easier than ever. High-quality renders that once took days can now be produced in seconds. Reference images from completed projects around the world are a search away. Physical material samples can be ordered online and shipped to a client before the meeting. The barrier to a great presentation is no longer technology or budget. It’s the willingness to step out of a designer’s mindset and into the client’s shoes.
✅ Key Takeaways
- Replace architectural jargon with plain language and mirror the client’s own words back to them during presentations.
- Lead with photorealistic visuals, mood boards, or reference images instead of technical drawings that require training to read.
- Structure presentations as a narrative walkthrough of the space, not a technical review of drawings.
- Break the meeting into small decision points with two or three clear options at each stage to prevent overwhelm.
- Use AI rendering tools to generate visuals quickly, enabling real-time iteration during client meetings and faster feedback loops.
- Always include human figures and familiar objects in renders so clients can instinctively understand the scale of each space.
FAQ
How do I explain a floor plan to someone who has never read one?
Start by orienting the client with something they know. Point to the front door and say “this is where you walk in.” Then trace a path through the rooms as if you’re physically walking through the space together. Pair the floor plan with a 3D perspective view of the same area so the client can cross-reference between the two. If they still struggle, skip the plan entirely and present the design through renders and narrative description.
What if the client keeps changing their mind after every presentation?
Frequent changes usually signal that the client doesn’t fully understand what they’re approving. Improve the clarity of your visuals, slow down the decision-making pace, and confirm each decision in writing after the meeting. A short email summarizing “here’s what we agreed” after each session creates accountability and reduces backtracking.
How many render images should I prepare for a client presentation?
For a residential project, five to eight images typically cover the key spaces without overwhelming the client. Include one exterior view, two or three primary interior perspectives (living area, kitchen, master bedroom), and one or two detail shots of specific design features. For larger commercial projects, scale up proportionally but avoid showing more than 12 to 15 images in a single meeting.
Should I show the client unfinished or in-progress design work?
It depends on the client’s personality and the project stage. Some clients appreciate seeing the design evolve and feel more involved when they see sketches and rough options. Others lose confidence when the work looks unfinished. If you’re unsure, default to showing polished visuals and explaining that you explored multiple directions before arriving at this recommendation. You can always share process work later if the client asks.
Can AI rendering tools replace traditional rendering software for client presentations?
AI rendering tools are excellent for concept-phase visuals, quick iterations, and early client presentations where speed matters more than pixel-level control. For final marketing renders, construction documentation visuals, and images that need precise material accuracy, traditional rendering software like V-Ray or Corona still offers more control. Many firms now use both: AI tools for speed during design development and traditional tools for final deliverables. Understanding the key elements that define render quality helps you decide which tool fits each stage.

")
