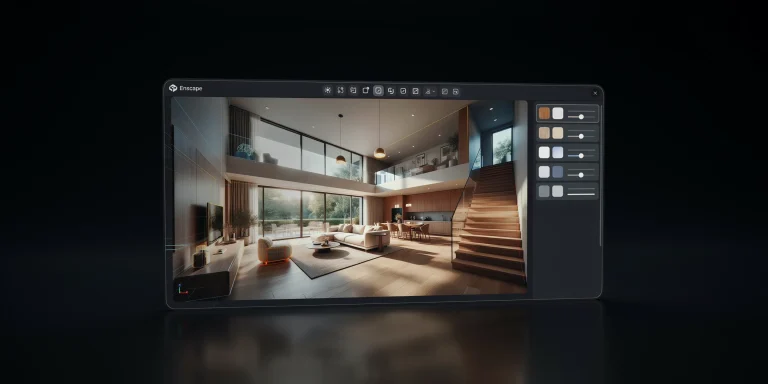
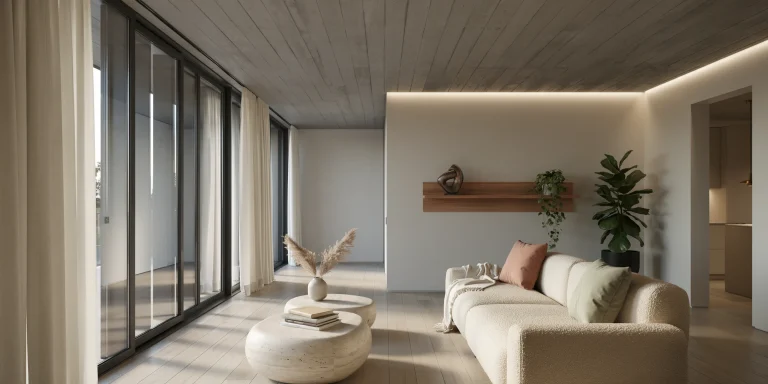
Learning how to render in SketchUp, Rhino, AutoCAD, ArchiCAD or 3ds Max comes down to the same four decisions in every one of them: which engine you use, how materials are assigned, how the scene is lit, and where the camera sits. The interfaces differ and the thinking does not.
The one meaningful split is between software with a capable renderer built in and software that needs one added. Knowing how to render in SketchUp is mostly a question of which plugin you choose, and the same is true of AutoCAD.
Knowing which category you are in saves a great deal of searching for features that do not exist.
Which Software Has What
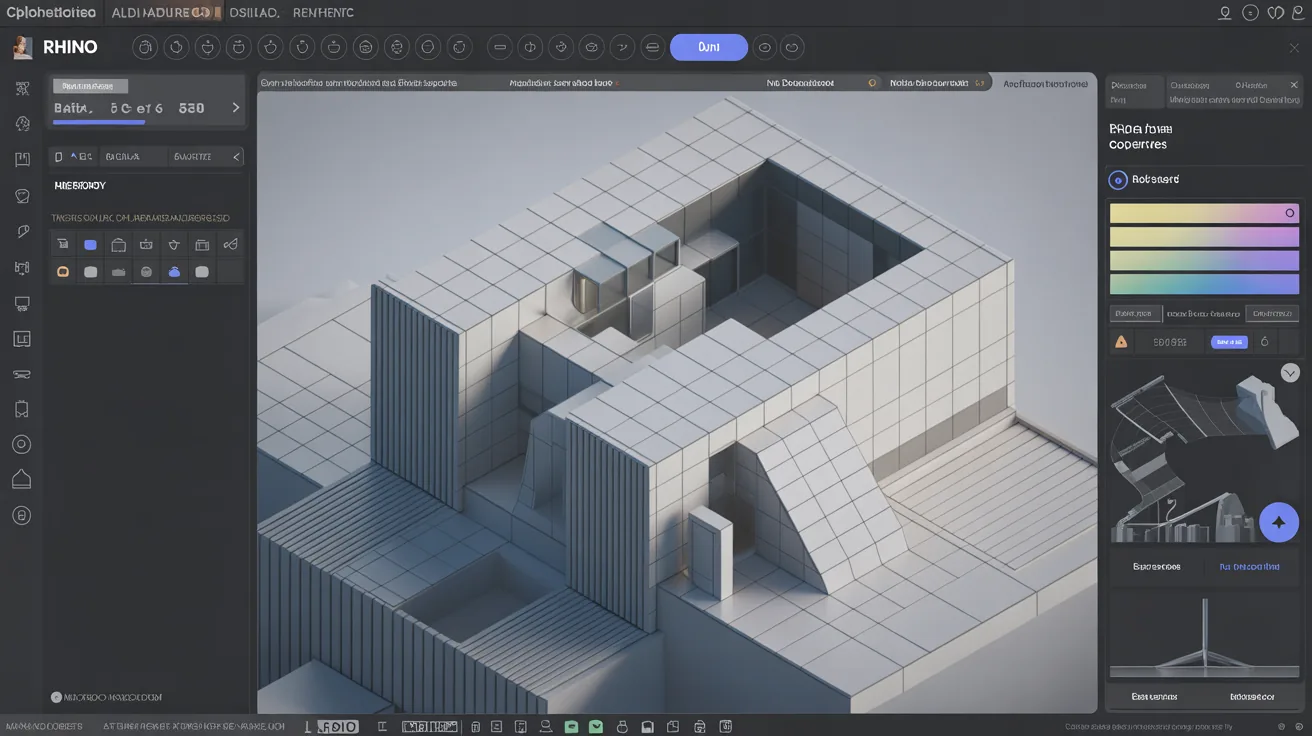
SketchUp ships with a basic renderer that nobody uses for output. Real rendering comes from a plugin, and the choice of plugin is the actual decision.
Rhino includes Rhino Render, which is genuinely capable for straightforward work, with V-Ray from Chaos and others available for more.
AutoCAD has rendering and it is not what the software is for. Anything beyond a quick visual belongs in a modelling package.
ArchiCAD includes a competent engine and integrates with Twinmotion, which covers most architectural output without adding anything.
3ds Max is built around rendering, ships with Arnold and is the standard host for V-Ray in production visualisation.
Revit has built in rendering that is adequate for checking and rarely used for final images, with plugins covering the rest as our guide to Revit rendering covers.
Engine options by host
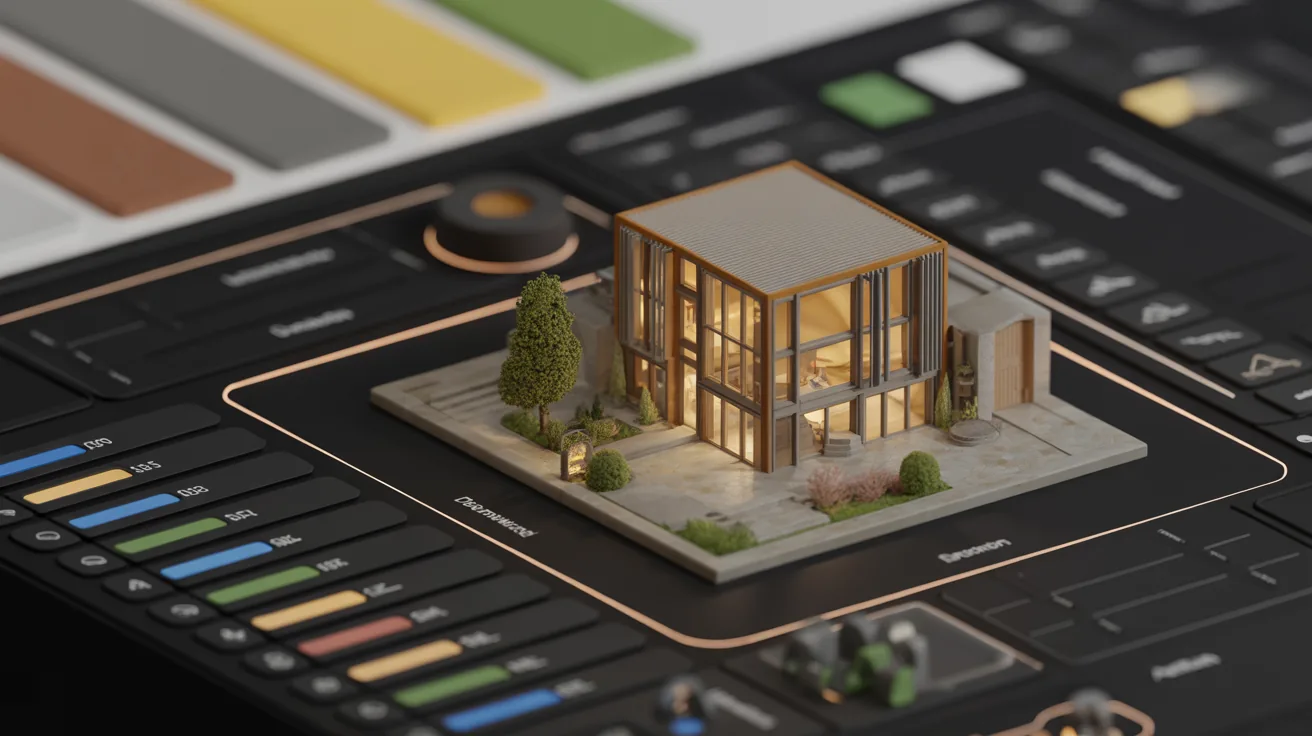
| Software | Built in | Common additions |
|---|---|---|
| SketchUp | Basic only | Enscape, V-Ray, D5, Twinmotion |
| Rhino | Rhino Render | V-Ray, Enscape, D5 |
| ArchiCAD | Yes, competent | Twinmotion, Enscape |
| 3ds Max | Arnold | V-Ray, Corona |
| AutoCAD | Basic only | Export to a modeller instead |
| Blender | Cycles and EEVEE | Nothing needed |
💡 Pro Tip
Set units and check model scale before assigning a single material. Textures are applied at real world size, so a model in the wrong units produces brickwork the size of paving slabs and every material you set afterwards has to be redone.
The Four Decisions
Materials
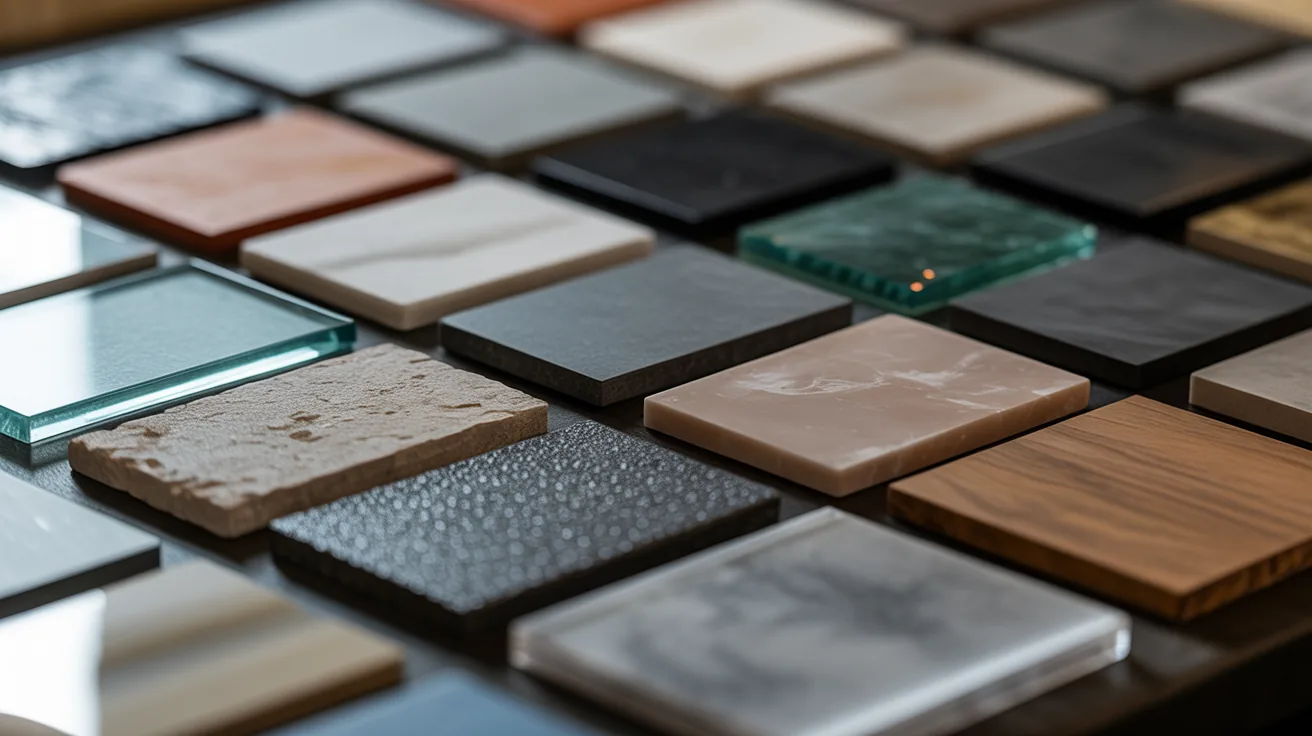
Assign by surface type rather than by object. Every engine works from material properties, and getting glass, masonry, metal and timber distinguished correctly matters more than perfecting any one of them.
Roughness does more work than colour. Polished, satin and matt versions of the same colour read as completely different materials, as our guide to PBR materials covers.
Lighting
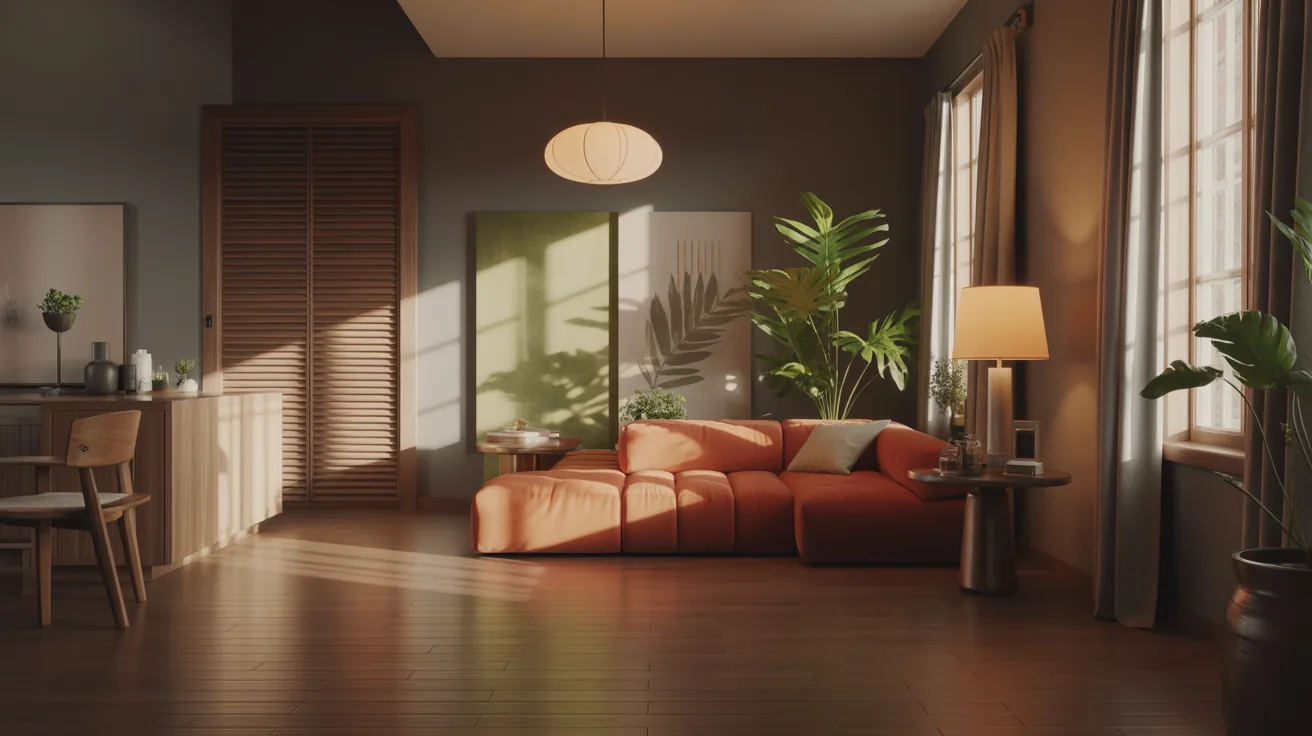
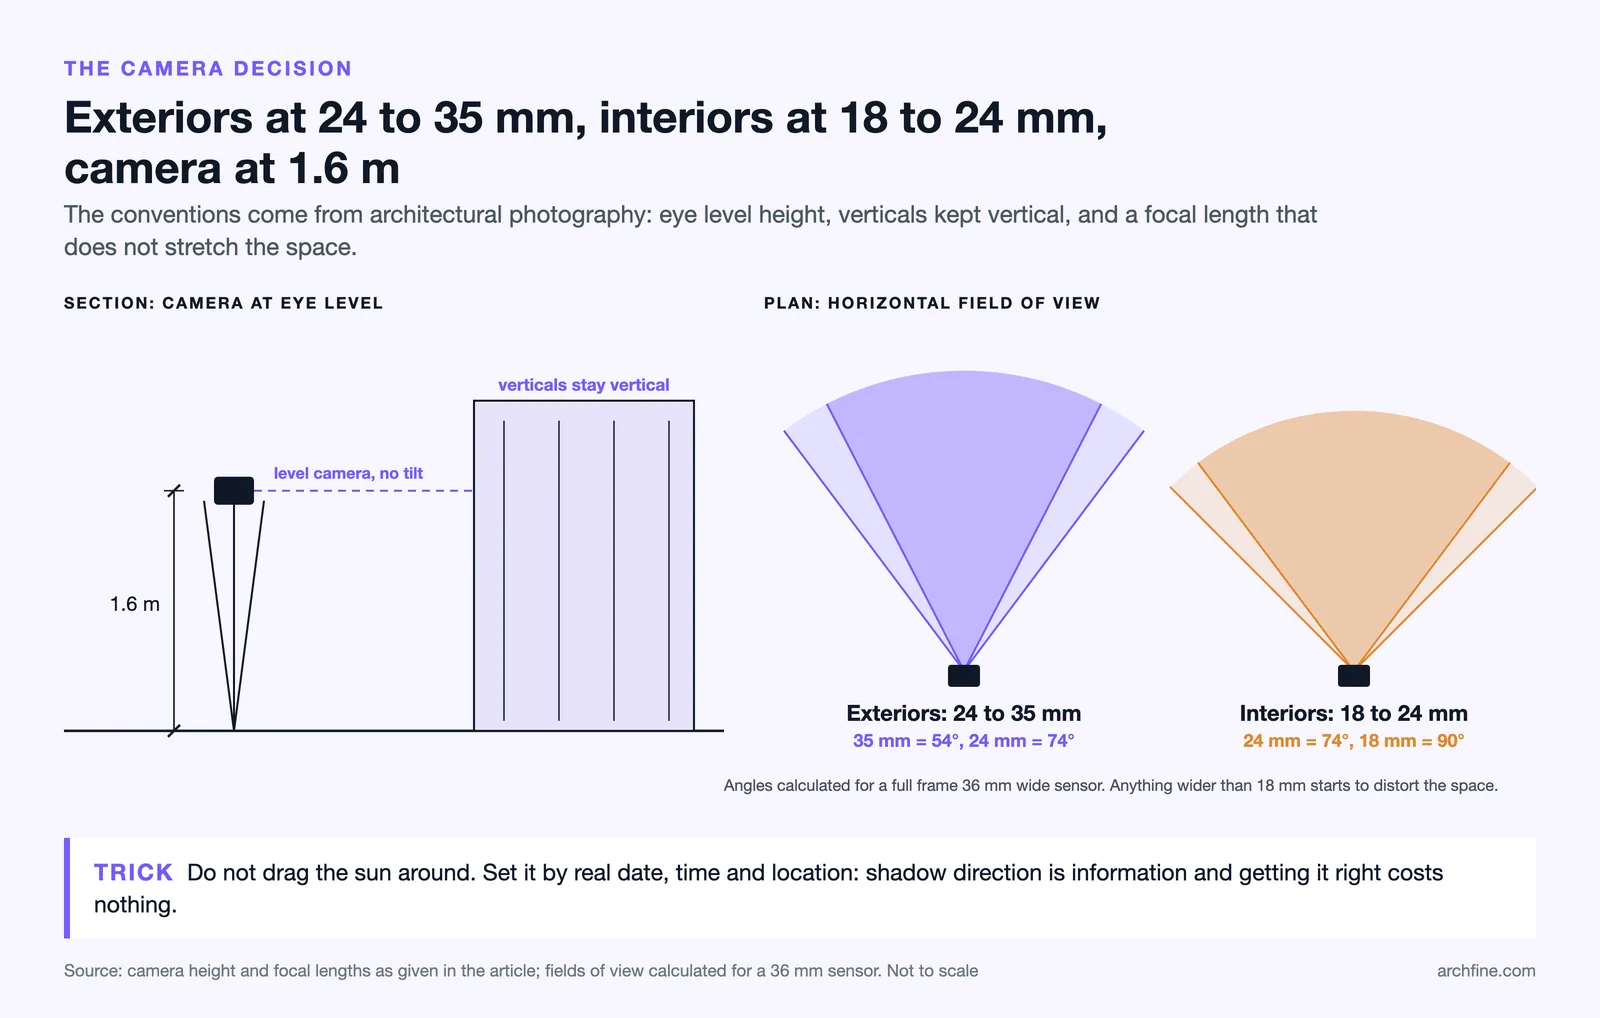
Set the sun by real date, time and location rather than by dragging it. Shadow direction is information and getting it right costs nothing.
Use an environment for sky and ambient light. A sun alone produces black shadows, and the sky is where most ambient illumination comes from.
For interiors, light through the openings rather than adding lamps to compensate, which is covered in our guide to global illumination.
Camera
Eye level, around 1.6 m, with verticals kept vertical. Every architectural convention here is borrowed from architectural photography and none of it is arbitrary.
Focal length between 24 and 35 mm for exteriors and 18 to 24 mm for interiors, avoiding anything wider that distorts the space.
Output
Render at final size rather than upscaling later, and enable render passes if the engine offers them, since they give control after the render as our guide to post production covers.
Getting a Model Ready to Render
The preparation decides how long everything afterwards takes, and it is the stage people skip.
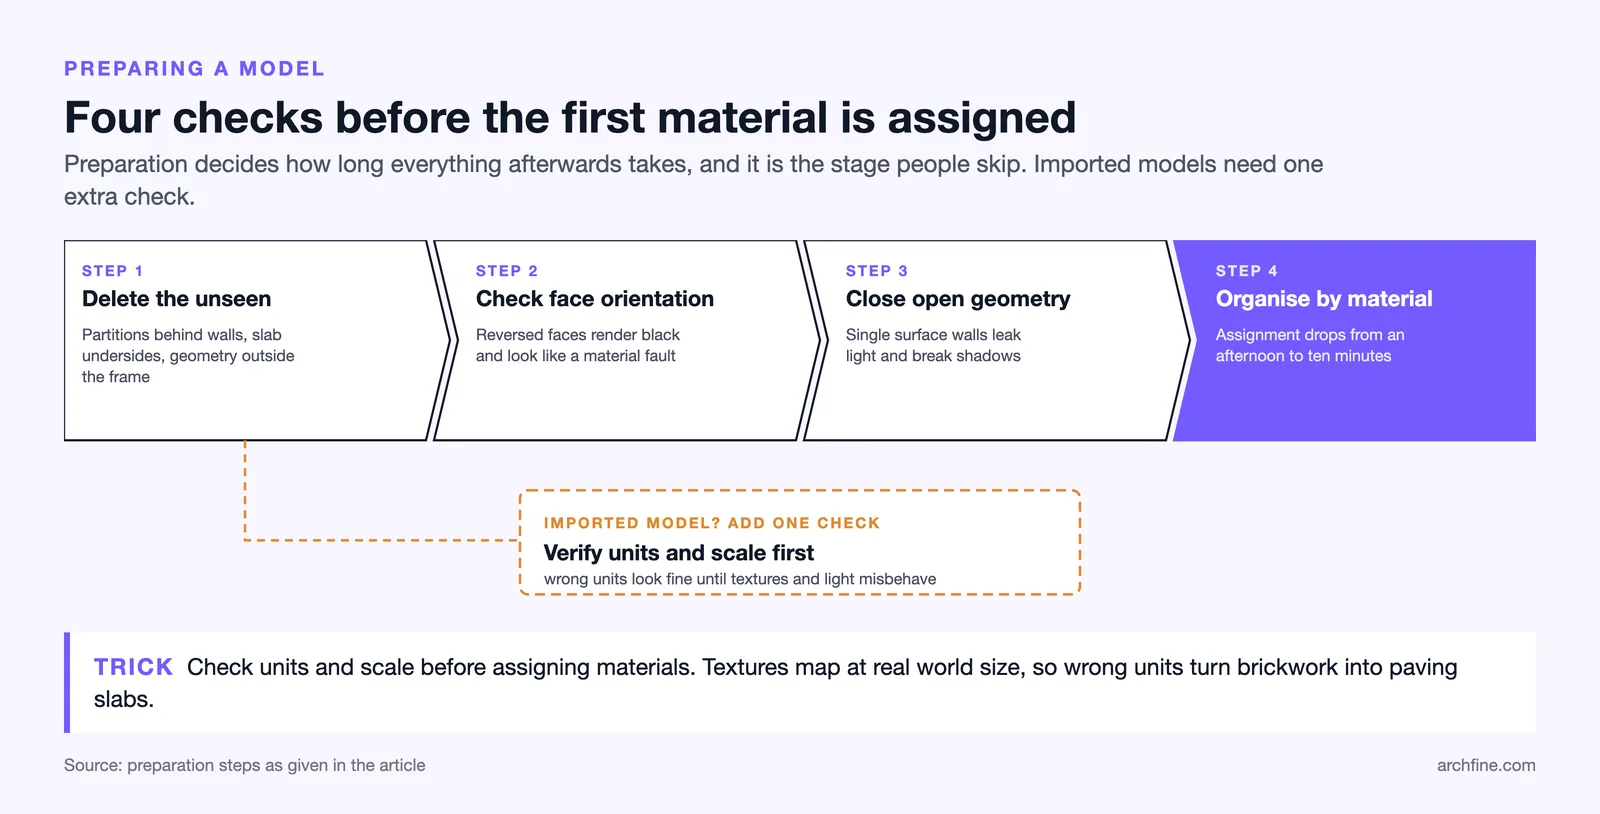
Delete what the camera will never see. Interior partitions behind a wall, the underside of a slab, geometry outside the frame. It contributes nothing and slows every operation.
Check face orientation. Surfaces facing the wrong way render black in most engines, and the symptom looks like a material problem rather than a geometry one.
Close open geometry. Walls modelled as single surfaces have no thickness, so light passes through them and shadows fail in ways that are difficult to diagnose.
Organise by material. Whatever the software, grouping geometry by intended material before rendering turns material assignment from an afternoon into ten minutes.
Imported geometry
Models arriving from another package need the same checks plus a scale verification. A model imported at the wrong unit scale looks correct until textures and lighting behave strangely, and the cause is rarely the first thing anyone checks.
Where AI Rendering Fits
Every software in this list now has an AI route alongside the traditional one, either through a plugin or by exporting a view to a browser tool.
The AI route is faster and produces images with no connection to your geometry beyond the source view. The traditional route is slower and produces images that match the model exactly.
Practices increasingly run both, using AI at concept stage and an engine for anything final, a division our roundup of AI design tools covers in more detail.
The one thing that does not change is the model. Better geometry produces better output through either route, which is why the preparation above matters regardless of which you choose.
How to Render in SketchUp and Other Software
In SketchUp, groups and components matter for material assignment, and materials applied to a group behave differently from materials applied to faces inside it. Getting this wrong is the most common SketchUp rendering confusion.
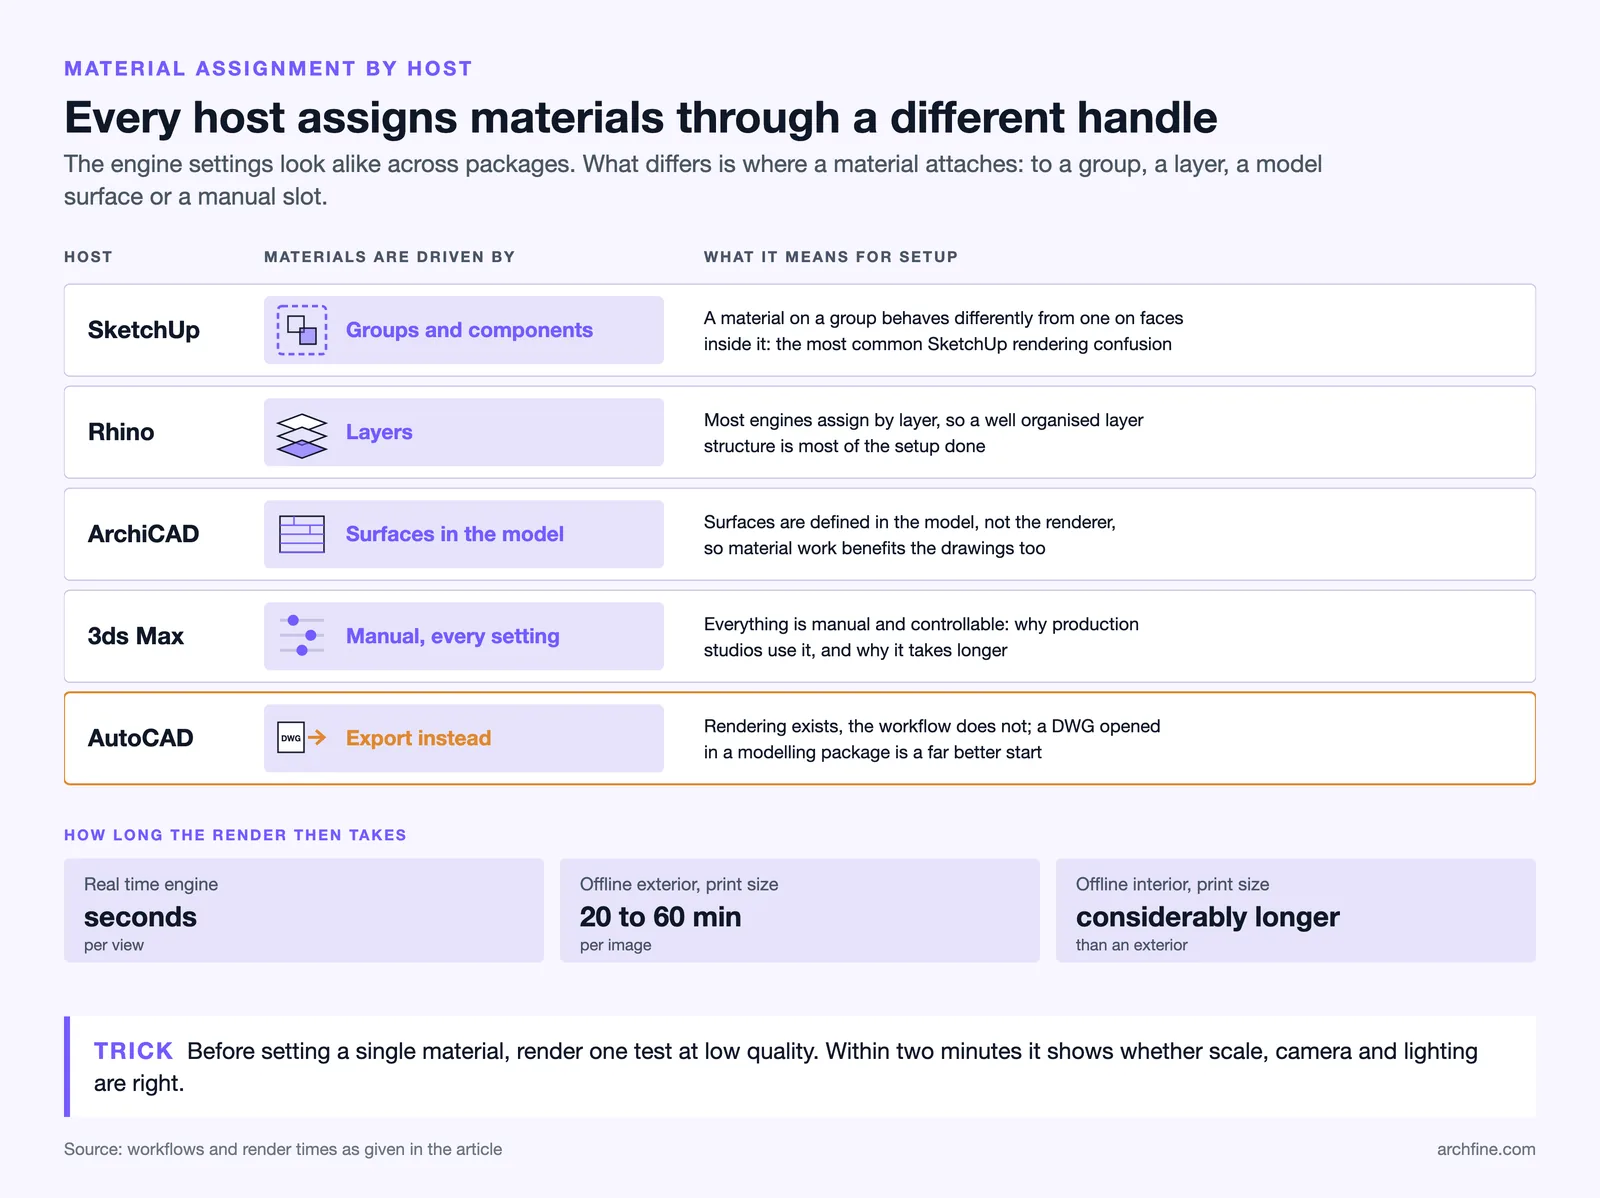
In Rhino, layers drive material assignment in most engines, so a well organised layer structure is most of the setup done.
In ArchiCAD, surfaces are defined in the model rather than in the renderer, which means material work benefits the drawings as well.
In 3ds Max, everything is manual and everything is controllable, which is why production studios use it and why it takes longer.
In AutoCAD, export instead. The rendering exists and the workflow does not, and a DWG opened in a modelling package gives you a far better starting point.
Frequently Asked Questions
Which is the easiest software to render in?
SketchUp with a real time plugin, or ArchiCAD with Twinmotion. Both put a usable image on screen within minutes of opening the model.
Do I need a separate render engine?
For SketchUp and AutoCAD, effectively yes. For Rhino, ArchiCAD, 3ds Max and Blender, the built in options cover a lot of work.
Why do my renders look flat?
Almost always lighting rather than materials. A single light source with no environment produces flat images in every engine, and the fix is an environment plus a properly positioned sun.
How long should a render take?
Seconds in a real time engine, twenty minutes to an hour for an offline exterior at print size, and considerably longer for interiors.
Can I render directly from a CAD drawing?
Not usefully. A 2D drawing has no geometry to light, and the model has to exist in three dimensions first.
Your Next Step: Check your model units, then render one test at low quality before setting a single material. That test will tell you within two minutes whether the scale, camera and lighting are right, which is where every rendering problem starts.
Building a Repeatable Setup
Whatever the software, the setup that works is worth saving. Camera settings, sun position, environment and base materials assembled once become a template.
Most people rebuild this on every project without noticing, which is where the time goes. An hour spent making a template pays back on the first project and every one afterwards.
Keep a test scene alongside it. A simple room with known materials rendered in your setup gives you a reference for when output changes unexpectedly after a software update.