A rendered floor plan is a plan drawing with material, shadow and furnishing added so a non technical viewer can read it. Estate agents use them for listings, interior designers use them for client presentation, and architects use them when a technical plan will not communicate to the audience in the room.
The technique divides into two approaches. A 2D rendered plan stays flat and adds texture, colour and drop shadows. A 3D rendered plan shows the space in perspective or axonometric with furniture modelled.
Both start from an accurate plan, and the quality of that base decides everything that follows.
Why Plans Need Rendering At All
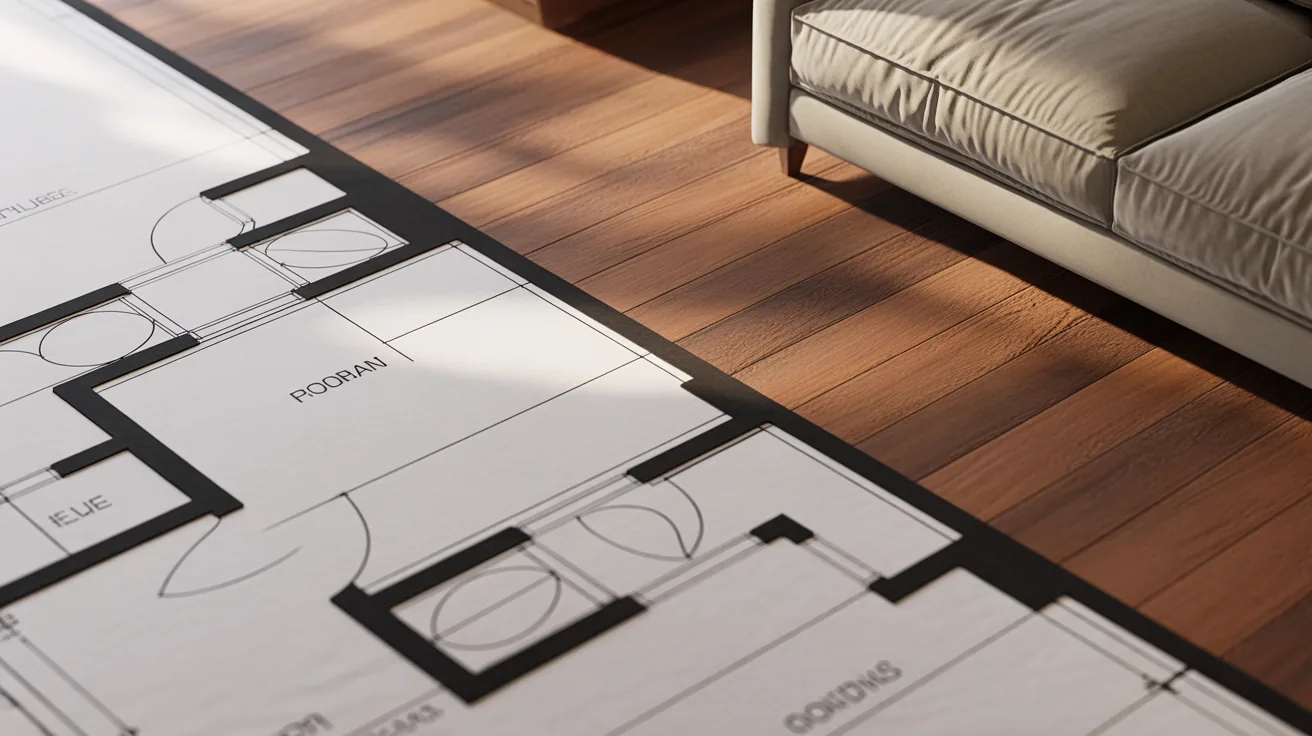
Technical plans are written in a convention that people outside construction do not read fluently. Hatched walls, door swing arcs and dimension strings all carry meaning that has to be learned.
A rendered plan replaces convention with recognition. A sofa looks like a sofa, timber looks like timber, and the room reads as a room rather than as a diagram.
The trade is precision. Rendered plans usually lose dimension strings and technical annotation, which is why they supplement a technical drawing rather than replacing it. A rendered floor plan is a communication document, and it should be produced alongside the measured one rather than instead of it.
💡 Pro Tip
Keep room areas on a rendered plan even when you drop everything else. It is the one number every viewer wants, it costs almost no visual space, and its absence is the most common complaint about otherwise attractive listing plans.
Making a Rendered Floor Plan in 2D
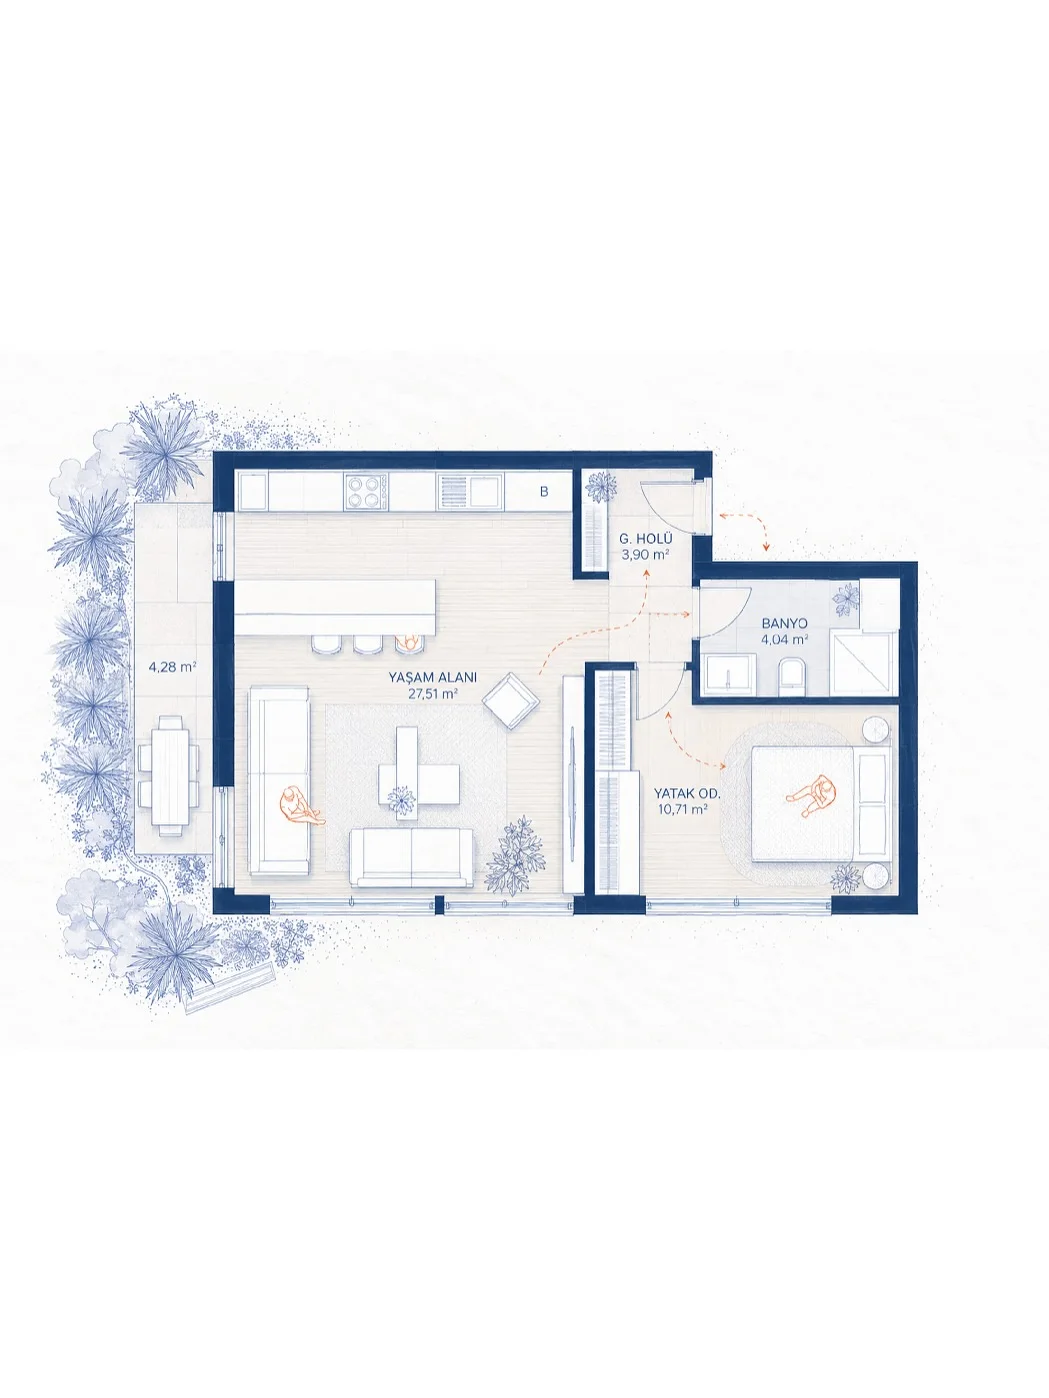


Start from a clean base
Export the plan as vector line work from SketchUp, a CAD tool such as QCAD or your BIM package with walls, openings and fixed elements only. Remove dimensions, grids, annotations and anything technical, since they will fight everything you add.
Fill the walls
Solid dark walls read best on a rendered plan. Hatching is a technical convention and it makes a presentation plan look busy. A solid fill with a subtle drop shadow separates the building from the page immediately.

Add floor materials
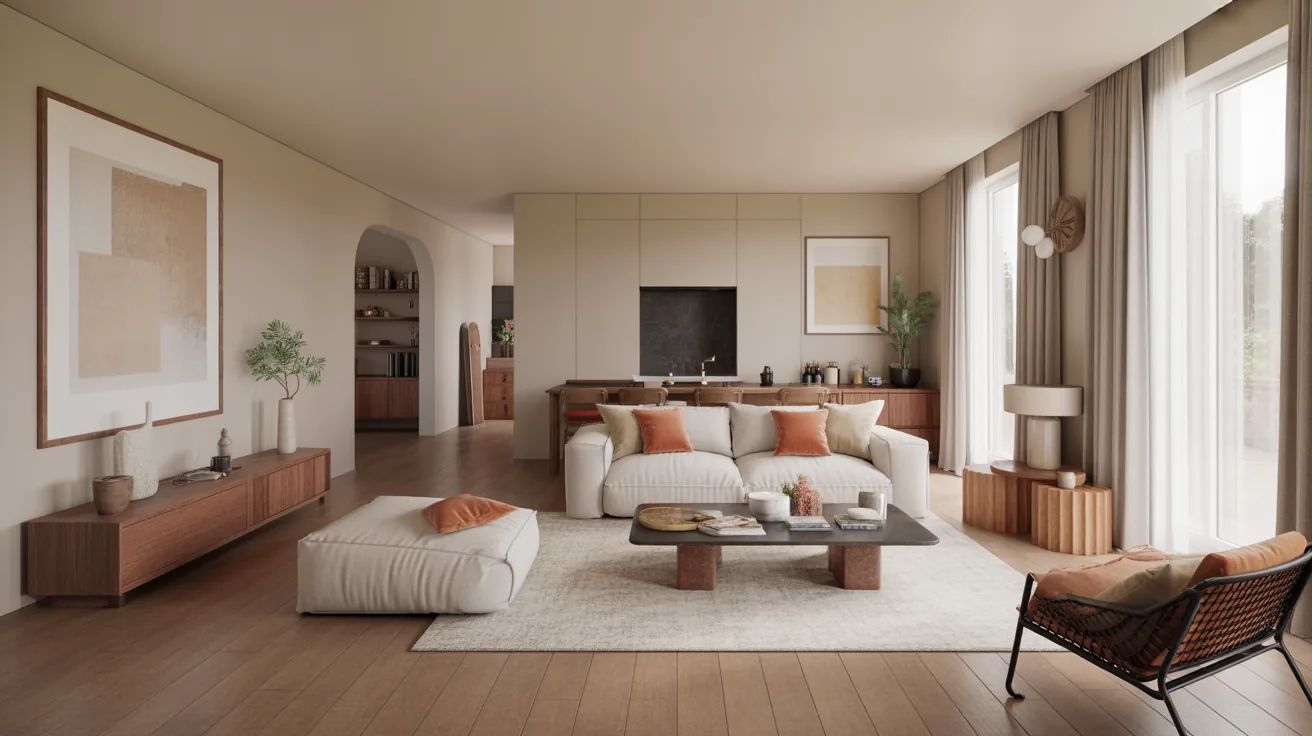
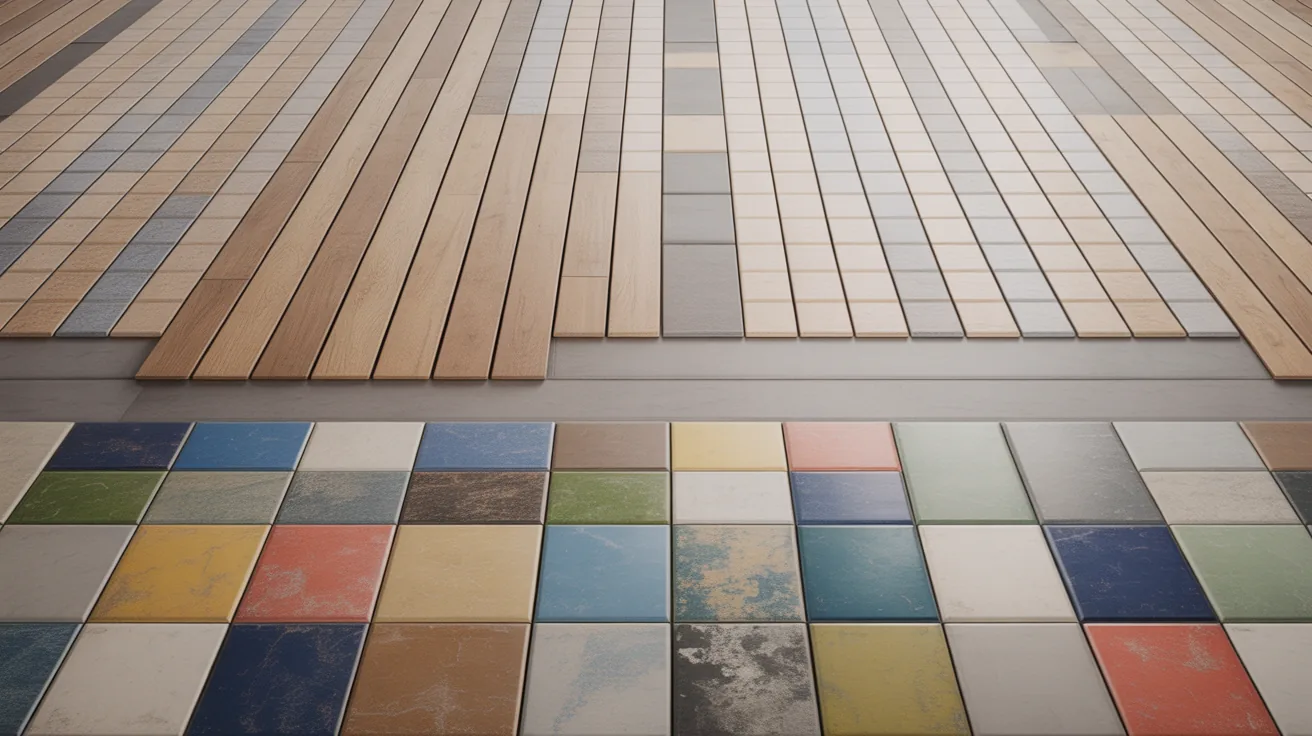
Apply texture per room at approximately correct scale. Timber boards running the right way, tile at plausible size and carpet with visible texture do most of the work in making a plan read.
Real world scale matters here as much as it does in 3D, and a floor texture at the wrong size is the fastest way to make a plan look wrong without anyone identifying why, as our guide to texture mapping covers.
Furnish sparingly
Furniture establishes scale and use. A bed, a sofa, a table and chairs, a kitchen run. Anything beyond that is decoration and it makes the plan harder to read.
Shadow and depth
A soft shadow under walls and furniture lifts the plan off the page. Keep it consistent in direction and subtle in strength, since heavy shadows look artificial.
Rendering a 3D Plan
A 3D floor plan removes the ceiling and views the space from above at an angle, which is easier for most people to read than a flat plan.


Build it from a simple model with real wall heights, then render with a camera in orthographic or a shallow perspective. Cutting the walls at around a metre keeps sightlines into every room.
Lighting should be flat and even rather than dramatic. The purpose is legibility, and strong shadows hide parts of the plan.
Furniture matters more here because it is seen in three dimensions, and generic library pieces at the wrong scale are more obvious, which our guide to finding usable models covers.
2D against 3D
| Aspect | 2D rendered plan | 3D rendered plan |
|---|---|---|
| Production time | Hours | Requires a model first |
| Readability for lay viewers | Good | Best |
| Measurability | Retained if scaled | Lost in perspective |
| Best use | Listings, layout options | Client presentation, marketing |
Rendered Plans for Property Listings
Listings with a floor plan attract more enquiry, and a rendered plan performs better than a technical one because the audience is buyers rather than builders.

Keep it simple for this use. Room names, areas, a north point and a scale bar, with furniture indicating use rather than styling the space.
Consistency across a portfolio matters more than individual quality. Twenty listings with plans in one style look professional, and twenty in different styles look outsourced to twenty people, a point covered further in our guide to AI for real estate agents.
Tools
Vector editors handle 2D rendered plans best, since the base is line work and the additions are fills and textures.
Modelling packages plus a render engine handle 3D plans, and the model can be crude since the ceiling is removed and the camera is distant.
Tools such as Floorplanner and RoomSketcher produce both automatically at lower quality and much higher speed, which suits volume work, as our roundup of floor plan software covers.
AI tools now convert a plan into a rendered version directly, which works acceptably for marketing and inherits every error in the source plan.
Frequently Asked Questions
How long does it take to render a floor plan?
A 2D rendered plan takes two to four hours from a clean base. A 3D version depends entirely on whether a model already exists.
Should a rendered plan keep dimensions?
Keep room areas and drop dimension strings. Areas are what viewers want and strings make the drawing look technical.
What scale should I work at?
Match the intended output. A listing plan viewed on a phone needs larger text and less detail than one printed at A3.
Can AI render a floor plan automatically?
Yes, and the output is marketing quality rather than technical. It also reproduces any error in the input plan, so the base needs checking first.
Your Next Step: Take one existing plan, strip everything technical from it, and add only floor materials and four pieces of furniture. That minimum version is usually more readable than a fully styled one.
Common Mistakes
Keeping technical annotation is the first. Dimension strings, grid lines and drawing references all fight the rendered treatment and make the plan look like neither one thing nor the other.
Furniture at the wrong scale is the second, and it misleads in the way that matters most, since the whole point of the plan is helping someone judge whether the space works.
Textures at arbitrary scale is the third. Floorboards at half a metre wide or tiles the size of a table read as wrong immediately even to viewers who cannot say why.
Inconsistency across a set is the fourth. Twenty unit plans in slightly different styles look like twenty separate jobs, and consistency is most of what makes a package look professional.
A minimum viable rendered plan
Walls solid, floors textured at real scale, four pieces of furniture per room, room names, areas and a north point. That version takes an hour and communicates almost everything a fully styled plan does.
Producing a Set Efficiently
Twenty unit plans done individually take a week. Done as a set with a template they take a day, and the difference is entirely in preparation.
Build the graphic template once: wall fill, floor textures, furniture set, text styles and the layout of the sheet. Every plan then drops into it.
Work in one file with all plans rather than separate files, so a change to the template applies everywhere rather than twenty times.
Check them together at the end, side by side at the same size. Inconsistencies are invisible one at a time and obvious in a grid, which is also how a buyer will see them on a listing page.