
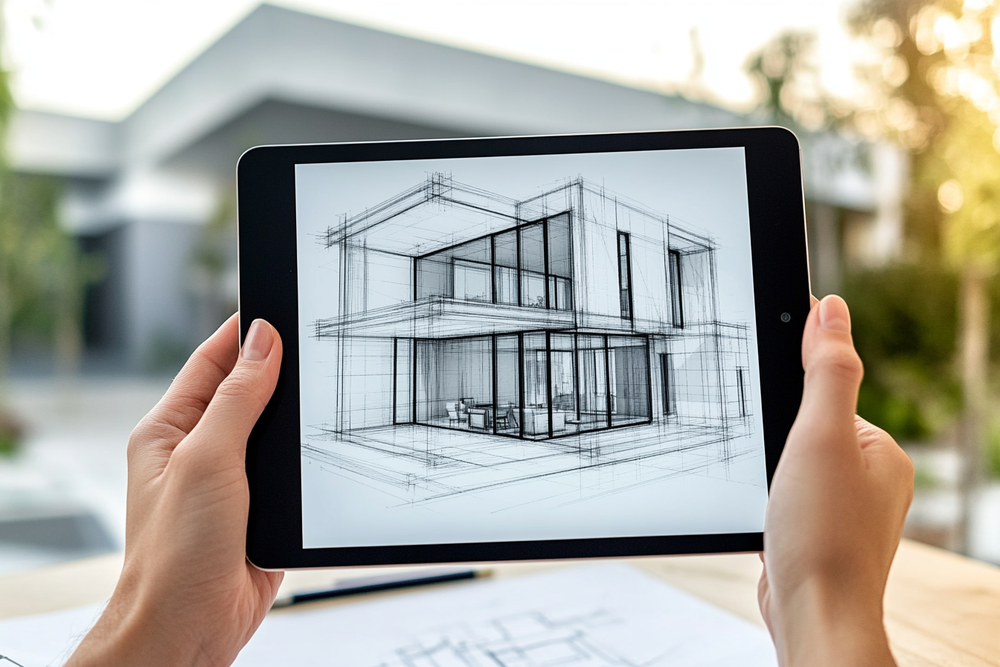
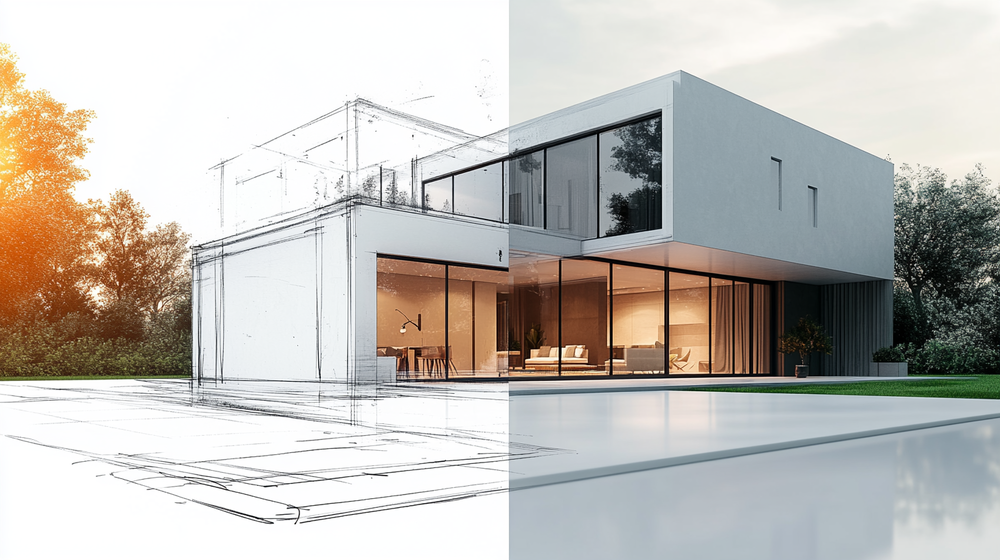
Creating exterior renders without 3D modeling skills is now possible thanks to AI-powered rendering platforms that transform simple sketches, photos, and CAD screenshots into photorealistic architectural visuals within seconds. Whether you are a student, a homeowner planning a renovation, or an architect looking to speed up early-stage presentations, AI rendering eliminates the traditional barriers of complex software, expensive hardware, and months of training.
Exterior rendering used to be one of the most time-consuming stages of architectural visualization. Producing a single photorealistic image of a building facade typically required proficiency in tools like 3ds Max, V-Ray, or Lumion, along with hours spent on material assignment, lighting setup, and post-production. For architects and designers without dedicated visualization teams, this created a serious bottleneck between concept and client presentation.
That bottleneck is disappearing. AI rendering tools now allow anyone with a sketch, a site photo, or even a basic SketchUp viewport export to generate polished exterior visuals in under a minute. The technology works by analyzing the geometry, perspective, and spatial logic of your input image, then applying realistic materials, lighting, and atmospheric effects through trained neural networks. You describe the aesthetic you want, and the AI handles the rest.
This guide breaks down exactly how to create stunning exterior renders without touching traditional 3D modeling software. Each step is practical and based on real workflows that architects and designers use in 2026.
What Are AI-Powered Exterior Rendering Tools?
AI-powered exterior rendering tools are cloud-based platforms that use machine learning algorithms to convert two-dimensional inputs into photorealistic architectural images. Instead of building a full 3D model, assigning materials, setting up lights, and waiting for a render engine to process the scene, you upload an image and let the AI interpret the spatial information.
These platforms accept various input types. Hand-drawn sketches, CAD exports from Revit or ArchiCAD, SketchUp viewport screenshots, and even photographs of existing buildings all work as starting points. The AI engine identifies edges, surfaces, depth cues, and perspective lines in your image. It then applies architectural materials like concrete, glass, wood, and stone while simulating natural lighting conditions and atmospheric effects.
The key difference from traditional rendering is that AI tools do not require you to build geometry. There is no polygon modeling, no UV mapping, no material node trees. The entire rendering logic runs server-side on high-performance GPUs, which means your laptop or tablet is enough to produce results that previously demanded a workstation. Most architecture-specific AI renderers use diffusion models guided by constraint systems like ControlNet, which help preserve edges, proportions, and spatial depth from the original input image.
💡 Pro Tip
When uploading SketchUp exports to an AI rendering tool, use a clean white-background viewport with visible edges turned on. The AI reads geometry more accurately when lines are crisp and there is minimal visual noise. Avoid exporting with built-in sketch styles like watercolor or pencil edges, as these confuse the AI and produce inconsistent material application.
Platforms like Archfine AI are specifically trained on architectural datasets, which means their outputs maintain structural accuracy, believable material textures, and correct lighting behavior. This separates architecture-focused AI renderers from general image generators like Midjourney or DALL-E, which produce visually impressive but often geometrically unreliable results.
Why Exterior Renders Matter for Architects and Designers
Exterior renders serve a specific purpose in architecture. They communicate how a building relates to its surroundings, how the facade interacts with natural light at different times of day, and how materials read at scale. For clients, an exterior render transforms an abstract floor plan or elevation drawing into something tangible. It answers the question: “What will this actually look like?” As Architizer reports, still-image renderings remain the most valued visualization format among clients, even as newer immersive technologies gain traction.
During early design stages, producing these visuals quickly can change the direction of a project. When you can show a client three different facade options within a single meeting, decisions happen faster. Revisions become conversations rather than multi-week cycles. This speed directly translates into competitive advantage for firms competing on turnaround time.
Real estate developers also rely on exterior renders for pre-sales marketing. A photorealistic image of a planned residential complex, placed in its actual site context with accurate landscaping, generates buyer interest before construction begins. For these use cases, the visual does not need to be technically perfect down to every bolt. It needs to be convincing, atmospheric, and fast to produce.
📌 Did You Know?
According to the 2024-25 State of Architectural Visualization report by Chaos and Architizer, 46% of architecture firms already use AI at some point in their visual workflow, and 74% plan to increase their AI usage within the next 12 months. AI-assisted workflows are estimated to save 30 to 50% of GPU rendering time across typical client projects.
Step 1: Prepare Your Input Image
The quality of your AI-generated exterior render depends heavily on the input image you provide. AI rendering tools analyze your image to understand building geometry, scale, and spatial relationships. A clean, well-composed input produces significantly better results than a blurry or cluttered one.
You have several options for your input:
- A hand-drawn sketch of a building elevation or perspective view
- A screenshot from SketchUp, Revit, Rhino, or ArchiCAD showing the exterior view you want rendered
- A photograph of an existing building that you want to restyle or reimagine
- A simple line drawing or diagram showing basic massing and proportions
For the best results with hand sketches, use clean lines on white paper. Dark, consistent pen strokes work better than light pencil marks. If you are exporting from CAD software, choose a camera angle that shows the most important facade elements. Remove unnecessary construction lines, section markers, and annotation text before exporting. For SketchUp users, the official SketchUp image export guide walks through the exact settings for clean 2D graphic exports at custom resolutions.
When using a site photograph as your base, pick an image taken during overcast conditions or golden hour. Harsh midday shadows can confuse the AI engine and produce uneven material application. A straight-on or slightly angled perspective tends to produce cleaner results than extreme wide-angle or fisheye shots.
Step 2: Choose the Right AI Rendering Platform
Not all AI rendering tools produce the same results for exterior architecture. General-purpose image generators create atmospheric visuals but often distort window proportions, invent structural elements, or ignore gravity. Architecture-specific platforms are trained on building data and understand how facades, rooflines, fenestration patterns, and landscape elements actually work.
When evaluating platforms, consider these factors:
Geometry Preservation
The tool should maintain the proportions and structural logic of your input image. If you draw a two-story building with five windows per floor, the render should reflect that exact configuration. Platforms that use ControlNet-based architectures or similar constraint systems tend to preserve geometry more reliably than pure text-to-image generators.
Material and Style Options
Look for platforms that offer architectural style presets such as modern, industrial, Scandinavian, Mediterranean, or brutalist. These presets guide the AI toward appropriate material palettes and lighting moods. Some tools also support style transfer, where you upload a reference image and the AI applies that aesthetic to your design.
Output Resolution and Export
For client presentations, you need at least 2K resolution. For print materials and marketing collateral, 4K or higher is preferable. Check whether the platform supports high-resolution upscaling after the initial render, as this can significantly improve the final output quality.
The table below compares different approaches to exterior rendering, from fully manual to fully AI-powered:
Traditional vs AI Exterior Rendering: A Quick Comparison
The following table highlights the key differences between traditional 3D rendering workflows and AI-powered alternatives:
| Factor | Traditional 3D Rendering | AI-Powered Rendering |
|---|---|---|
| Learning Curve | Months to years (V-Ray, 3ds Max, Lumion) | Minutes to hours |
| Time per Render | 30 minutes to several hours | 5 to 30 seconds |
| Hardware Required | High-end GPU workstation | Any device with a browser |
| Cost per Image | $250+ (outsourced) or software licenses | $0.10 to $2 per render |
| Precision Level | Pixel-perfect, technically accurate | High for concepts, moderate for construction docs |
| Best Use Case | Final marketing renders, construction documents | Concept design, early client presentations, iterations |
🎓 Expert Insight
“AI will not replace architects. It will replace architects who don’t use AI.” — Refik Anadol, Media Artist and Architect
Anadol’s observation reflects the practical reality of concept-stage work in 2026. The competitive advantage no longer comes from whether you can render, but from how quickly you can translate an idea into a visual that moves a project forward.
Step 3: Write an Effective Rendering Prompt
Most AI exterior rendering tools accept a text prompt alongside your image upload. This prompt guides the AI toward the materials, mood, and style you want. Writing a good prompt is a skill, but it does not take long to learn.
A strong exterior rendering prompt includes four elements: building style, material palette, lighting condition, and surrounding context. Here is an example:
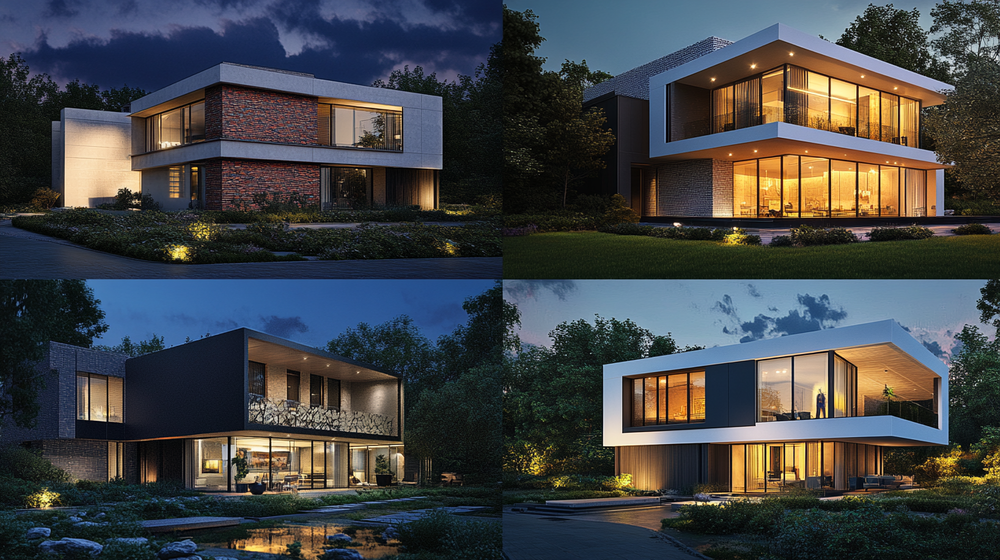
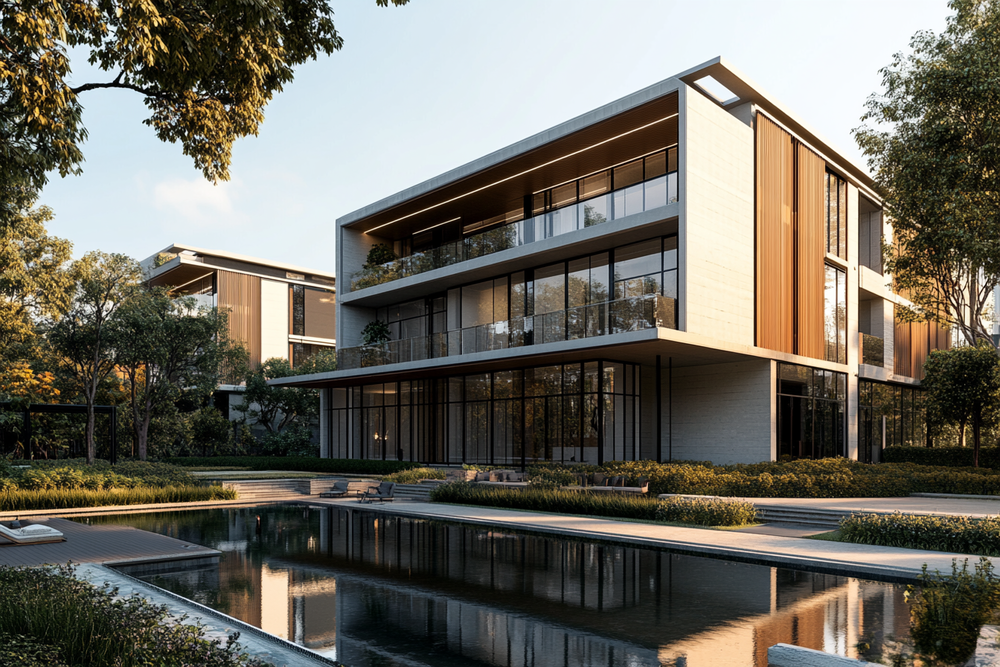
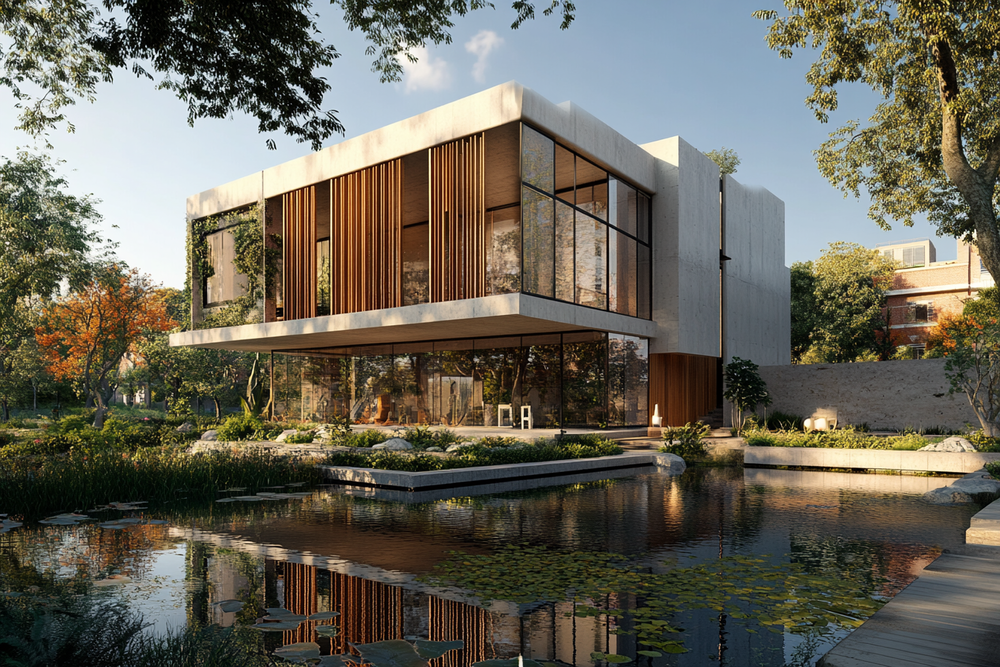
“Modern two-story residential exterior, white concrete facade with vertical timber cladding accents, floor-to-ceiling glass windows, flat green roof with native grasses, golden hour lighting, surrounded by mature oak trees and a gravel driveway, photorealistic architectural visualization.”
Avoid vague language like “beautiful house” or “nice building.” The AI performs better with specific material names (corten steel, travertine, zinc panels) and lighting descriptions (overcast sky, warm afternoon sun, twilight with interior lights on). Mentioning the photographic style also helps. Terms like “architectural photography,” “editorial quality,” or “drone perspective” give the AI a clearer target.
If you are using a platform with style presets, the prompt can be shorter. Select “Modern Minimalist” as your style and then add only the details that differ from the default, such as “add a reflecting pool in the foreground” or “change the facade material to dark brick.”
Step 4: Iterate and Refine Your Results
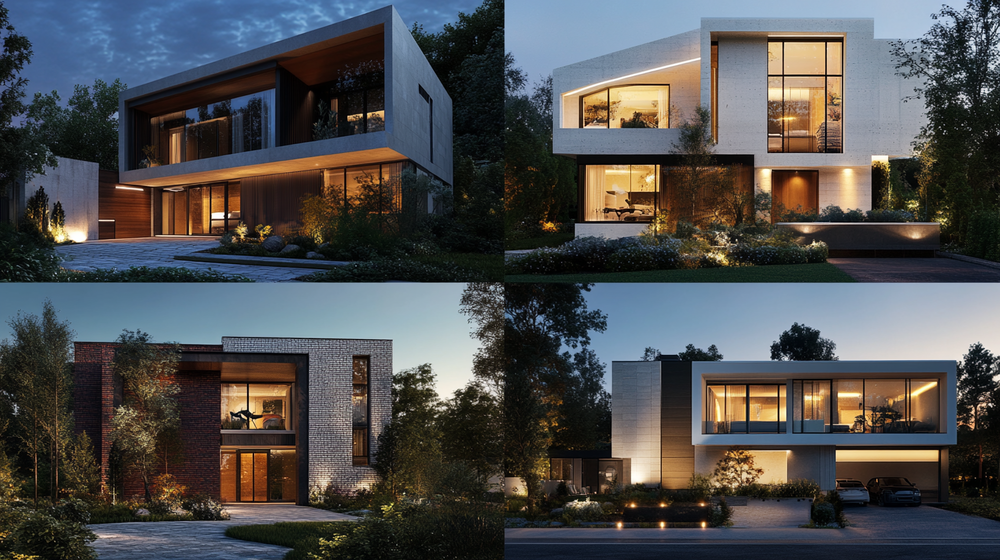
Your first AI render will rarely be the final version. The real power of AI rendering comes from iteration speed. Because each image takes seconds rather than hours, you can run ten or twenty variations in the time a traditional workflow would produce one.
Start by generating three to five initial renders with slightly different prompts or style settings. Compare them and identify which elements work and which need adjustment. Most platforms allow you to modify specific areas of the image through inpainting tools, where you select a region (like the roofline or landscape) and ask the AI to regenerate just that section.
Common refinements for exterior renders include:
- Adjusting the time of day (morning light versus evening ambiance)
- Swapping facade materials (brick to stone, timber to metal)
- Adding or removing landscape elements (trees, hedges, water features)
- Changing the sky condition (clear blue, dramatic clouds, overcast)
- Adding human figures and vehicles for scale
⚠️ Common Mistake to Avoid
Many beginners accept the first AI render and present it to clients without any refinement. AI outputs often have minor inconsistencies in window mullion patterns, ground plane reflections, or vegetation scale. Always zoom in to 100% and check for artifacts before using the image in a professional context. A two-minute review can prevent embarrassing questions during a client meeting.
After refining the render, use the platform’s upscaling feature to increase resolution. Most AI renders are generated at a base resolution around 1024×1024 pixels. Upscaling to 4K (3840×2160) or higher using AI-enhanced super-resolution preserves detail and produces images suitable for large-format printing and high-resolution presentations.
Step 5: Integrate Renders Into Your Presentation Workflow
A great exterior render only delivers value when it is presented effectively. Once you have your final images, the next step is integrating them into your existing design and presentation workflow.
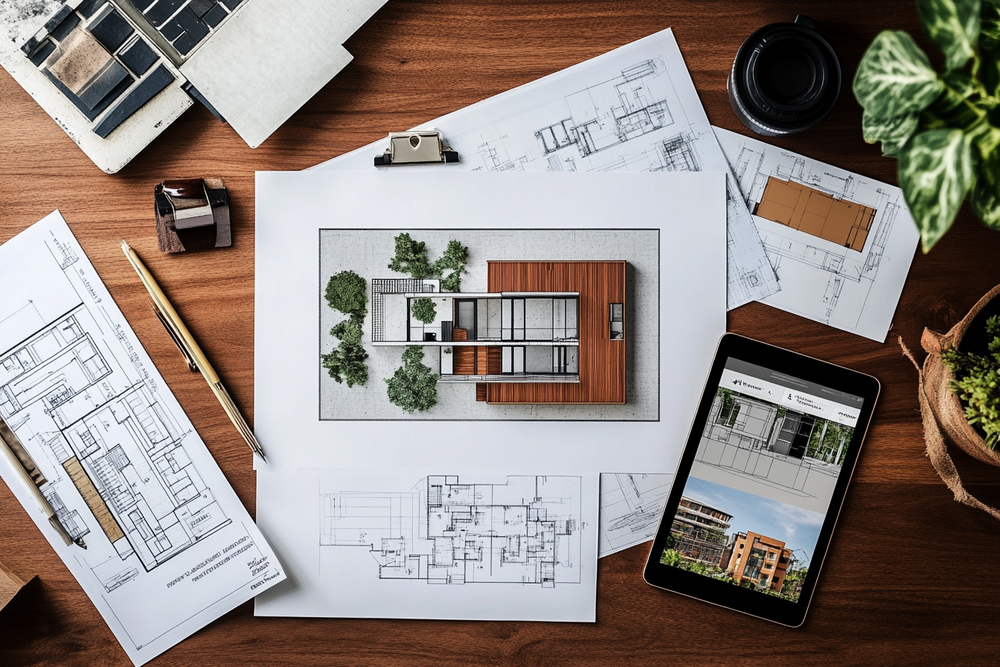
For client presentations, export your renders in the highest available resolution and place them in your slide deck alongside floor plans, site plans, and material boards. The combination of technical drawings with photorealistic AI renders creates a presentation package that communicates both the logic and the emotion of your design.
For social media and portfolio use, consider adding subtle post-processing touches. Tools like Adobe Photoshop or Lightroom can help you adjust contrast, color temperature, and vignetting to match your firm’s visual identity. Some AI rendering platforms include built-in post-processing filters that simulate lens effects, depth of field, and color grading.
For real estate marketing, pair your exterior renders with aerial perspectives and interior shots to create a complete visual narrative. AI tools can generate all three from the same project inputs, maintaining visual consistency across the entire set.
💡 Pro Tip
Experienced architects recommend using AI renders during the first three rounds of client feedback, then switching to V-Ray or Lumion only for final marketing-grade deliverables. This hybrid approach can cut your total visualization timeline by 50% or more without sacrificing the quality that wins approvals and closes deals.
How Does AI Rendering Compare to Traditional Methods for Exteriors?
Traditional exterior rendering through engines like V-Ray, Corona, or Lumion still produces the highest level of technical accuracy. When you need pixel-perfect control over every material, every light bounce, and every reflection, a manually configured rendering pipeline is unmatched. This is why construction documentation visuals and competition-level submissions still rely on traditional methods.
Where AI rendering excels is everywhere else. Concept presentations, early client meetings, design charrettes, feasibility studies, social media content, and quick design iterations all benefit from the speed and accessibility of AI tools. The cost difference is also significant. Traditional rendering, whether done in-house or outsourced, can cost hundreds of dollars per image when you factor in software licenses, hardware depreciation, and labor hours. AI platforms produce comparable concept-quality results for a fraction of that cost.
The most effective workflow in 2026 combines both approaches. Use AI rendering to explore and communicate ideas rapidly during the first 80% of the design process. Switch to traditional rendering only when you need the final 20% of precision for marketing materials, permit submissions, or design awards.
⚖️ Pros & Cons at a Glance
✔️ Pros: No 3D modeling skills required, renders in seconds, cloud-based (no hardware needed), extremely low cost per image, fast iteration cycles
✖️ Cons: Less precise than physics-based renderers, occasional artifacts in fine details, limited control over individual material properties, not suitable for construction documentation
Best Practices for Professional-Quality AI Exterior Renders
Getting consistently good results from AI rendering requires attention to a few principles that separate professional-looking output from amateur attempts.
First, always control your camera angle. A slightly elevated perspective (around 1.5 to 2 meters above ground level) looking toward the main facade at a 30 to 45-degree angle tends to produce the most architecturally effective compositions. This mimics the classic architectural photography viewpoint and gives the AI the best spatial information to work with.
Second, be consistent with your lighting direction across all renders for the same project. If your front facade render shows afternoon sun from the southwest, your side elevation render should maintain the same sun position. Inconsistent lighting across a presentation set signals to clients that the images are not real, even subconsciously.
Third, add context to your scenes. An isolated building floating in blank space looks unrealistic regardless of how good the AI rendering is. Include ground planes, sidewalks, neighboring structures (even simplified ones), vegetation, and sky conditions. These contextual elements anchor the building in reality and dramatically improve the perceived quality of the render.
Finally, build a library of reference images that match the aesthetic you want. When you find an exterior photograph or render that captures the right mood, save it. Many AI platforms support reference image uploads, where the AI applies the style, lighting, and atmosphere of your reference to your design input. This approach produces more consistent and intentional results than relying on text prompts alone.
🏗️ Real-World Example
Archfine AI Workflow: Archfine AI is trained specifically on architectural datasets, which means it understands structural proportions, material behavior, and lighting physics in ways that general AI image generators do not. A simple hand sketch or low-resolution site photo uploaded to Archfine can be transformed into a photorealistic exterior render within seconds, maintaining depth, spatial logic, and material consistency. This makes it particularly useful for architects who need to test multiple facade options during a single design review session.
Where AI Exterior Rendering Is Headed
The technology behind AI rendering is evolving rapidly. In 2024, most tools could handle basic style transfer and material application. By 2026, the leading platforms can preserve precise geometry, generate consistent multi-angle views of the same building, and even produce short animated walkthroughs from a single static render.
The next wave of development focuses on real-time AI rendering within design software. Plugins for Revit, SketchUp, and Rhino are already available from several platforms, allowing architects to see AI-generated visuals updating live as they modify their models. This collapses the gap between design and visualization to nearly zero.
Video generation is another frontier. Several AI platforms now offer the ability to convert a static exterior render into a 10-second cinematic animation with camera movement, atmospheric changes, and environmental animation. For social media marketing and client presentations, this capability adds significant value without additional effort.
For architects and designers who have not yet integrated AI rendering into their workflow, the learning curve has never been lower and the payoff has never been higher. You do not need 3D modeling skills, expensive hardware, or months of training. You need a sketch, a clear idea of what you want, and a platform built for architecture. For broader context on how AI is changing architectural practice, ArchDaily’s AI coverage tracks the latest developments across the industry.
FAQ
Can AI rendering completely replace traditional 3D rendering for exterior projects?
Not entirely. AI rendering excels at concept visualization, early client presentations, and rapid design iteration. For final marketing renders, competition submissions, and construction documentation visuals that require pixel-level precision, traditional rendering engines like V-Ray or Lumion still deliver superior control over materials, lighting, and geometric accuracy.
What type of input produces the best AI exterior renders?
Clean SketchUp or Revit viewport exports on a white background with visible edges produce the most consistent results. Hand-drawn sketches with dark, clean lines on white paper also work well. Photographs of existing buildings are useful for restyling projects. Avoid cluttered images with annotation text, dimension lines, or heavy post-processing effects.
How much does AI exterior rendering cost compared to hiring a visualization studio?
AI rendering platforms typically charge between $20 and $50 per month for unlimited or high-volume render access. Outsourcing a single exterior render to a professional visualization studio starts at approximately $250 and can exceed $1,000 for high-end marketing images. The cost savings with AI tools are significant, especially for firms producing multiple concepts per project.
Do I need a powerful computer to use AI rendering tools?
No. Most AI rendering platforms are cloud-based, meaning the processing happens on remote servers with high-performance GPUs. You can generate photorealistic renders from any device with a web browser, including laptops, tablets, and even smartphones. There is no software to install and no minimum hardware requirement beyond a stable internet connection.
How can I make my AI exterior renders look more realistic?
Use specific material names in your prompts instead of generic descriptions. Add contextual elements like vegetation, ground textures, neighboring buildings, and sky conditions. Maintain consistent lighting direction across all renders for the same project. Use the platform’s upscaling feature for higher resolution, and apply minimal post-processing in Photoshop or Lightroom for color grading and contrast adjustment.
✅ Key Takeaways
- AI rendering tools allow you to create photorealistic exterior renders from sketches, photos, or CAD exports without any 3D modeling experience.
- Prepare a clean input image with clear lines and good perspective for the best results.
- Choose an architecture-specific AI platform that preserves geometry and understands building materials.
- Write detailed prompts specifying materials, lighting, and context rather than vague descriptions.
- Iterate rapidly by generating multiple variations and refining with inpainting and upscaling tools.
- Combine AI renders with traditional methods for a hybrid workflow that maximizes both speed and quality.
AI rendering technology and platform features evolve rapidly. Specific tool capabilities, pricing, and output quality may vary. Always evaluate platforms with your own project inputs before committing to a subscription.


