

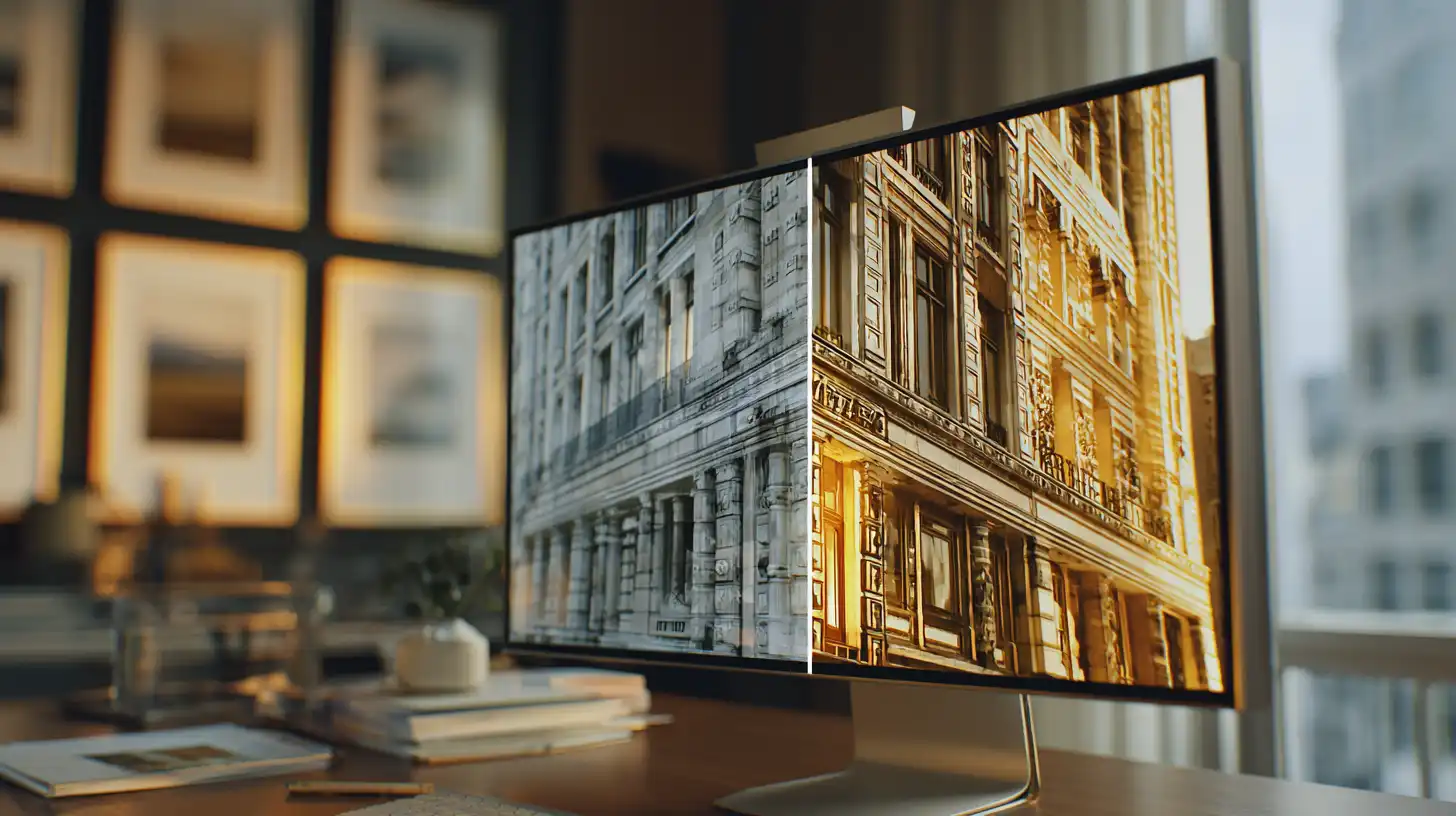
Photo to render AI tools take real photographs of buildings, rooms, or sites and transform them into photorealistic architectural visualizations. The AI reads the geometry, lighting, and spatial structure of the photo, then applies design styles or material changes to produce a new render without manual 3D reconstruction.
Architectural visualization used to require weeks of 3D modeling, material setup, and rendering time. Today, a single photograph is often all you need. Photo to render AI technology has fundamentally changed how architects, interior designers, and real estate professionals produce presentation-quality imagery — by working directly from images of real spaces and buildings rather than building scenes from scratch.
This guide explains how the process works technically, which photo types produce the strongest results, and how to get consistently clean outputs from any AI rendering workflow.
What Does “Photo to Render AI” Actually Mean?
The phrase refers to a category of AI tools that accept a photograph — of a building exterior, an interior room, a construction site, or a landscape — and produce an architectural render as output. The render can reflect the original structure’s proportions while applying new materials, lighting conditions, or design styles.
This is fundamentally different from text-to-image generation. When you convert photo to render AI, the model is not inventing a scene from scratch. It is analyzing an existing spatial structure and transforming its visual properties. The architectural geometry, the perspective, and the basic layout are preserved. What changes is the surface treatment: materials, finishes, lighting, and sometimes the surrounding environment.
The technology is most useful in three scenarios:
- Renovation projects — showing a client what an existing building will look like after facade or interior changes
- Real estate marketing — upgrading photography of incomplete or unfurnished spaces to show finished results
- Design iteration — quickly testing multiple material or lighting options on the same real-world reference
How AI Converts a Photo into an Architectural Render
Understanding the underlying process helps you provide better inputs and set realistic expectations for the output. AI rendering from photo inputs is not a single-step operation — it involves several layers of image analysis before any visual generation takes place.
Geometry and Depth Analysis
The first step is spatial parsing. The AI model analyzes the photograph to identify planar surfaces — walls, floors, ceilings, facades — and reconstructs a rough depth map of the scene. This is what allows the tool to understand which parts of the image are vertical surfaces, which are horizontal, and how they relate to one another in three-dimensional space.
Modern diffusion-based rendering models have been trained on millions of architectural photographs paired with 3D render outputs. This means the geometry analysis is not rule-based — it is learned from real-world spatial patterns, which gives it the ability to handle unusual angles, irregular spaces, and partial views that explicit geometric algorithms would struggle with.
Style Transfer and Material Mapping
Once the geometry is understood, the model applies material and style transformations. If you are using a text prompt alongside the photo input — for example, “concrete facade with floor-to-ceiling glazing” — the AI maps those material descriptions onto the identified surfaces based on what it learned during training about how those materials appear in real architectural contexts.
This is the stage where AI rendering from photo inputs diverges most clearly from basic image filters or style transfer tools. Architectural AI rendering applies materials with spatial consistency: a concrete wall will shade and shadow differently from a glass one, and the model accounts for that in the output.
Lighting Simulation and Output
The final stage is lighting synthesis. The model infers or follows the specified lighting conditions — time of day, light direction, ambient intensity — and applies them consistently across all surfaces in the scene. The output is a photorealistic render that maintains the compositional structure of the original photograph while presenting a transformed version of the built environment.
Best Photo Types for AI Rendering
Not all photographs produce the same quality of AI render output. The model’s ability to analyze geometry, detect materials, and simulate lighting depends directly on the quality and characteristics of the input image. Below is a breakdown of the most common photo types and what to expect from each.
| Photo Type | Geometry Clarity | Material Detection | AI Render Quality |
|---|---|---|---|
| Exterior building, daylight | High | High | Excellent |
| Interior, well-lit | High | High | Excellent |
| Interior, low light | Medium | Low | Fair |
| Aerial / drone photo | Medium | Medium | Good |
| Site / landscape photo | High | Medium | Good |
| HDR or heavy filter photo | Low | Low | Poor |
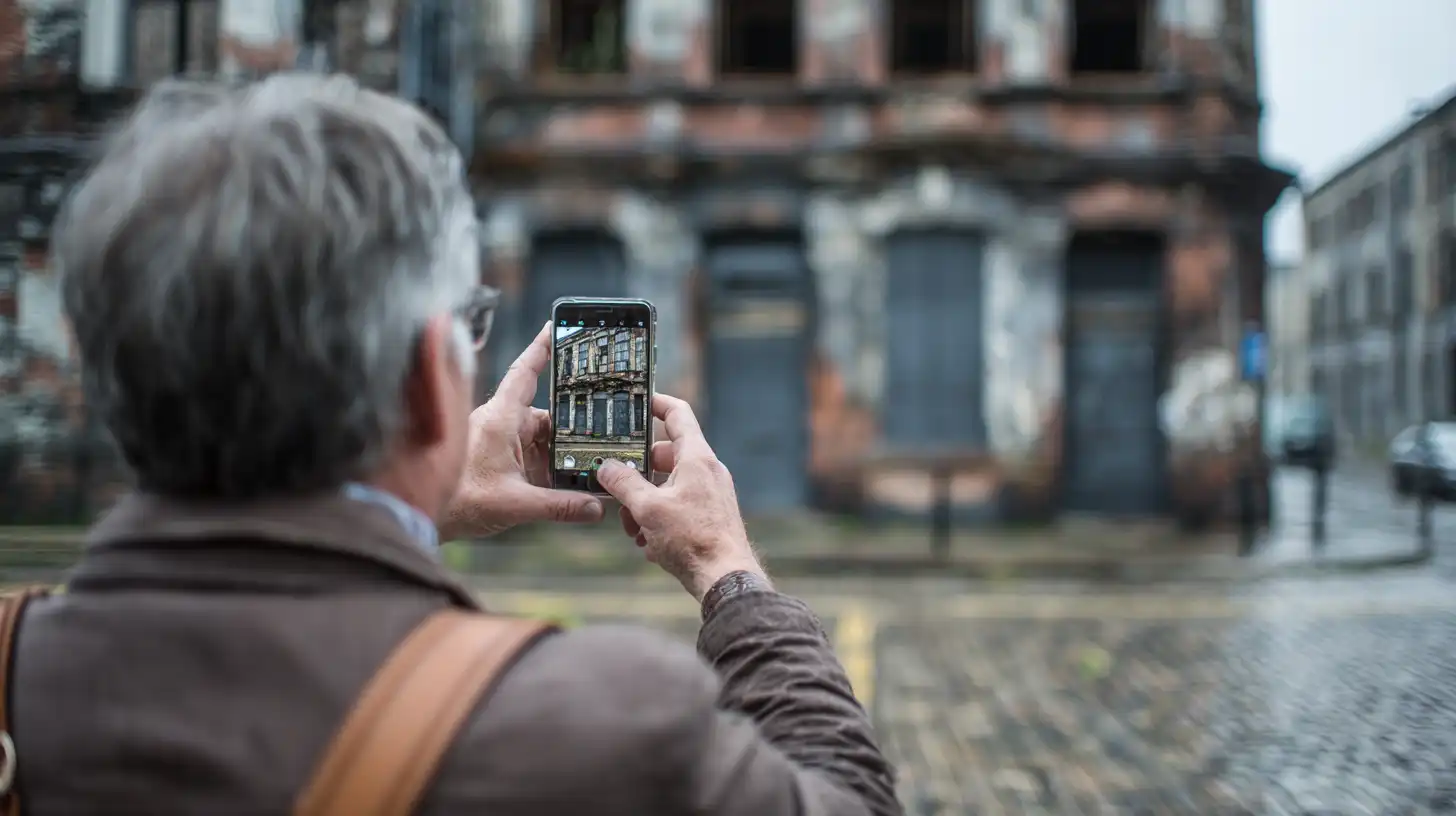
Exterior Building Photos
Exterior shots taken under natural daylight are consistently the strongest input type for AI rendering. The model receives clear planar information from facades, strong shadow data for depth inference, and visible material textures that allow accurate mapping. A standard street-level or slightly elevated shot with the building as the primary subject produces excellent results with most AI rendering platforms.
For existing building photo to render workflows — where the goal is to show a facade renovation or material change — an exterior daylight photograph is almost always the right starting point.
Interior Room Photos
Well-lit interior photographs are the second strongest input category. Room photo to render AI workflows work best when the image captures the full geometry of the space: at least two walls visible, a clear floor plane, and sufficient ambient light to reveal surface textures. Corner shots and wide-angle perspectives perform better than tight close-ups because they give the model more spatial context to work with.
Low-light interior photographs introduce noise and reduce material detection accuracy. If your only available reference is a dark interior shot, adjusting brightness and contrast before upload will improve the output.
Site and Landscape Photos
Site photographs work well for early-stage design visualization — for example, showing what a proposed building would look like on an empty or partially developed plot. The AI analyzes the ground plane, horizon line, and surrounding context, then composites the rendered building into the scene. Site photo to architectural render workflows tend to produce good results when the sky is clear and the ground plane is visible.
Pro Tip: Photos taken with a wide-angle lens produce better AI render results than those shot with a telephoto. Wide-angle captures more of the spatial structure and gives the AI enough wall, floor, and ceiling context to apply materials accurately. Telephoto shots compress depth, which confuses the model’s spatial analysis.
How ArchFine Processes Photo Inputs
ArchFine is a chat-based AI rendering platform built specifically for architectural workflows. Unlike general-purpose image generation tools, ArchFine accepts a photo upload and a text prompt together — and uses both to guide the rendering output.
The ArchFine photo render process works in three steps:
- Upload your photo — exterior, interior, or site image in standard formats (JPG, PNG, WEBP)
- Add a prompt — describe the material changes, style, or lighting you want applied to the space
- Receive your render — ArchFine returns a photorealistic render in approximately 30 seconds
ArchFine’s rendering pipeline is optimized for architectural inputs specifically. The model has been trained on architectural photography and visualization data, which means it understands spatial relationships in buildings more accurately than general-purpose image-to-image tools. When you use ArchFine to turn photo into render outputs, you retain the compositional structure of your reference photograph while gaining full control over the surface treatment.
The platform is designed for architects, interior designers, and real estate developers who need fast, presentation-quality visuals without 3D modeling pipelines. A single photo can produce multiple render variations — different materials, lighting times of day, or design styles — within minutes.
Did You Know? Most AI rendering platforms process images using diffusion models trained on millions of architectural photographs and 3D render outputs. This means the AI has learned material behavior, lighting physics, and spatial relationships from real-world data rather than rule-based rendering engines.
How to Get Better Renders from Existing Photos
The quality of your AI rendering output depends as much on input preparation as it does on the platform you use. These practices consistently produce cleaner results across any AI photo rendering tool architecture workflow.
- Use raw or lightly edited images. Photos with heavy post-processing — saturation boosts, HDR compositing, or strong presets — distort the color and contrast data the model uses for material detection. A clean, minimally edited photograph gives the AI more accurate information to work with.
- Shoot with a wide-angle lens when possible. As noted above, wider perspectives capture more of the spatial structure and produce more reliable geometry analysis.
- Ensure adequate ambient light. For interior photography, even simple window light is significantly better than low-light conditions. If natural light is limited, a brief exposure correction before upload can improve results.
- Write specific prompts. Vague prompts like “make it look modern” produce inconsistent results. Specific material descriptions — “white exposed concrete walls, oak wood floor, matte black window frames” — give the model clearer targets for material mapping.
- Crop to the subject. If the photo includes large areas of irrelevant context — a crowded street in front of a building, or unrelated furniture — cropping closer to the architectural subject reduces noise in the model’s spatial analysis.
Common Mistake to Avoid: Using a photo with heavy filters or HDR processing as your input often produces inconsistent AI renders. Heavily edited photos alter the color temperature and contrast data the model uses for material detection. Raw or lightly edited photos consistently give cleaner results.
Photo to Render vs. Sketch to Render: Which Works Better?
Both input types are valid — they serve different stages of the design process.
Sketch to render workflows are best suited for early conceptual design, when the built environment does not yet exist and the designer is exploring form and massing. A hand-drawn or digital sketch gives the AI spatial intent without constraining it to an existing structure. The output is inherently more interpretive.
Photo to render AI workflows are better suited for later-stage design — when a real building or space already exists and the goal is to visualize changes or alternatives. Because the input is photographic, the AI has precise spatial and lighting data to work with. The output is more controlled and more consistent with the real-world reference.
In practice, many professionals use both: sketches for concept exploration, photographs for client presentation of realistic outcomes. ArchFine supports both input types, allowing users to move between conceptual and photorealistic workflows within the same platform.
For a technical explanation of the img2img methods underlying these tools, the Stable Diffusion img2img documentation provides a detailed reference. ArchDaily’s visualization coverage and Dezeen’s AI visualization articles offer broader context on how the profession is adopting these tools. The Wikipedia article on architectural rendering gives useful historical background on how the field has evolved.


